Alana Judah
in over 11 years
More from Alana Judah
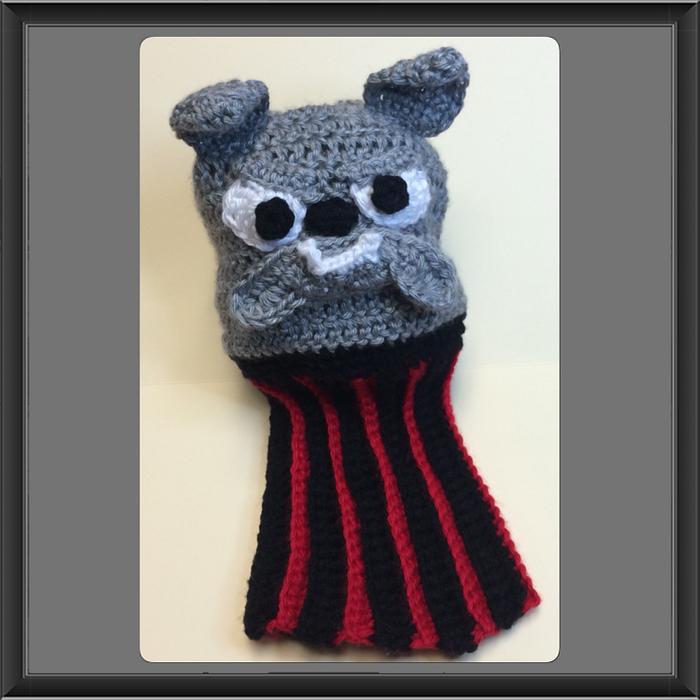
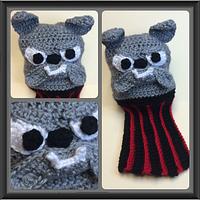
Bulldog Golf Club Cover
I made this for my son’s best friend. He’s on the school’s golf team. Obviously, the school colors are red and black and the bulldog is the mascot.
http://www.ravelry.com/projects/AlanaJudah/bulldog-beanie
Head:
I used a basic beanie hat pattern to get started. I used dc. Use a hdc or sc for a more solid fabric.
mr
ch 3, 8dc in mr
2 dc per dc (18dc)
2dc, 1 dc in next dc repeat
2dc, 1 dc in next 2 dc repeat
2dc, 1 dc in next 3 dc repeat
… and so on until desired diameter. D=C/3.14
D=diameter of circle
C=circumference required to go over club keeping in mind your cover will stretch
Once diameter is achieved, dc in each stitch until approximately 5-6” tall or as desired. Fasten off.
Sleeve:
The sleeve is worked up and down, not around the circumference.
Chain to desired length, turn
Foundation sc to desired length. I like the foundation sc better than just a regular chain start. It is more stretchy than a regular chain which is important for this project.
All stitches should be in the back loops only. This is what creates the ribbing affect. I alternated red and black (school colors) every two rows and carried the yarn up the sides. That edge will be the one I attach to the head to hide the yarns going up the side.
ch 1, sc in each ch across, blo. repeat
the ch 1 at the beginning does not count as a sc.
Continue to crochet rows back and forth until fabric will stretch to desired circumference C as the sleeve must also stretch over the golf club.
Fold over into a tube shape right sides together, rows will go up and down, and sc the edges together. Fasten off. Turn right side out.
Attaching head to sleeve:
Count the number of stitches in the final round of the head. sc around the end of the sleeve you want to attach the same number of sc as the final round of the hat. Space the sc stitches as evenly as possible. Fasten off. I did 2 rounds of sc to create a little wider band between the head and sleeve to sort of simulate a collar. This could we wider and a different color to more clearly represent a collar.
With right sides facing, sc together the head and sleeve stitch per stitch. Fasten off. Turn right side out.
The bulldog features were made per the referenced Bulldog Beanie pattern. You could really make any character at this point.
Bulldog Beanie pattern by Christins from My Sweet Potato 3 published in My Sweet Potato 3 Patterns Ravelry Store
Alana


