


Share your craft projects
Make new craft buddies
Ask craft questions
Blog your craft journey
re: Blackie

So much has been done I kind of forgotten where I left off at, :)
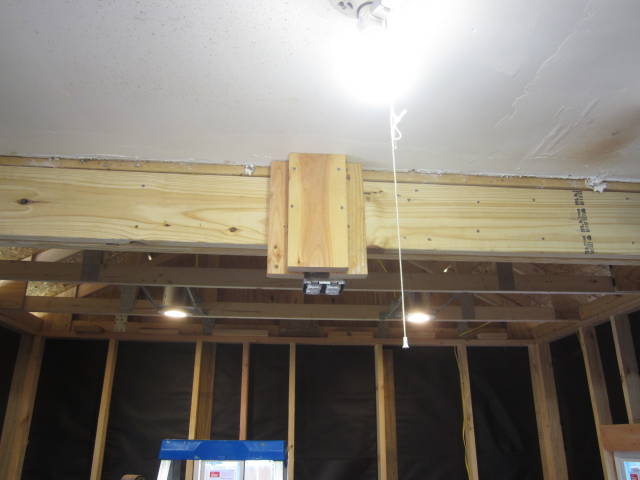
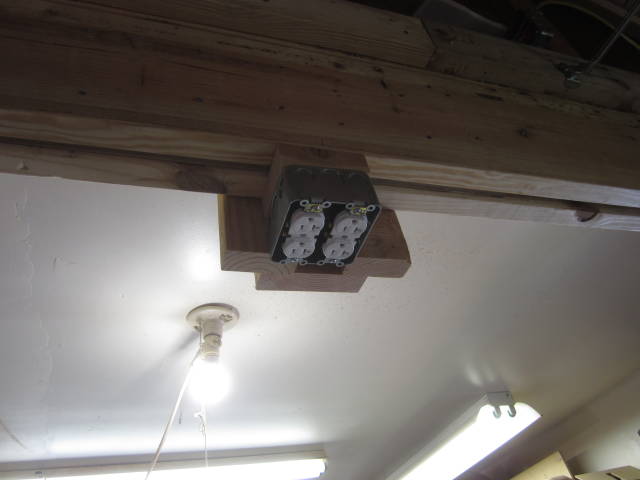
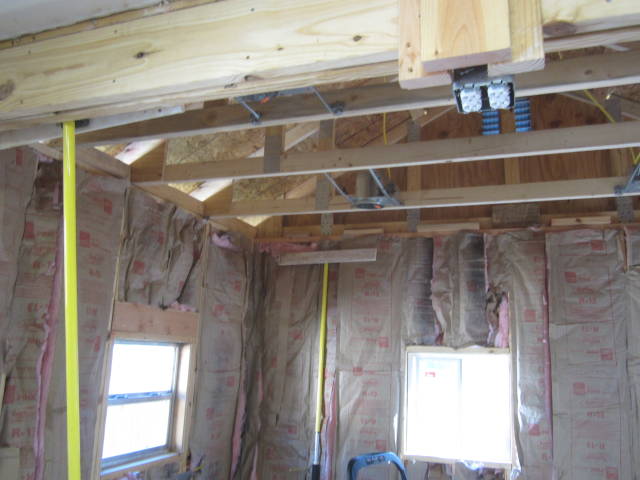
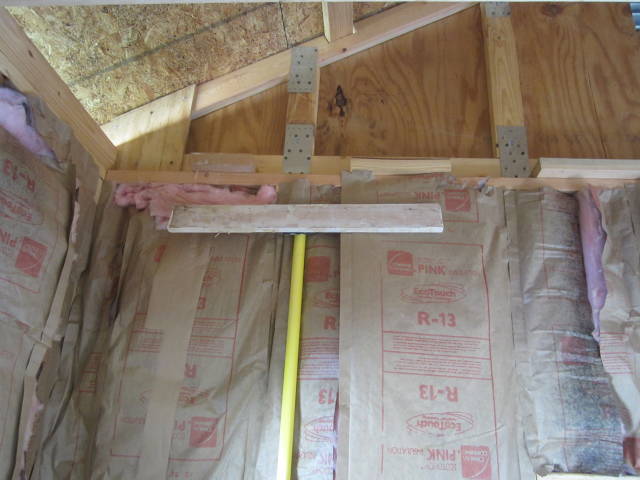
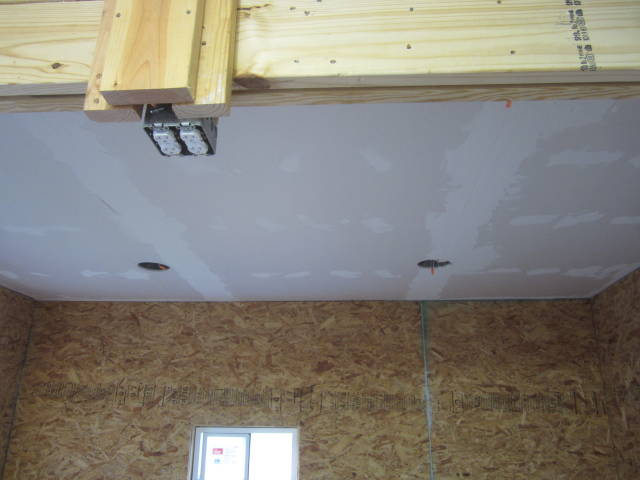
Wed most of the day was spent doing some house cleaning along with some more wiring and installing the ceiling duplex of plugs. I placed two 2×4s on each side of the wires leading down to the plug housing and one 2×6 to cover the wires for protection but after putting more thought into this I believe I will remove the 2×6 as I wouldn’t want to forget and run a screw through trying to hang something I’d rather see the wires and allow the 2×4s to guard them.
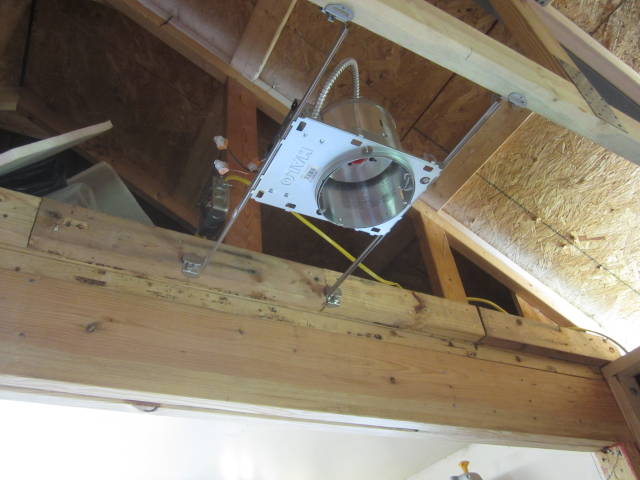
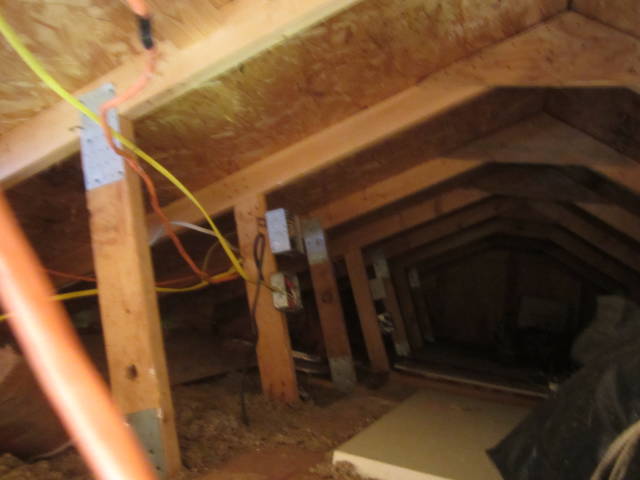
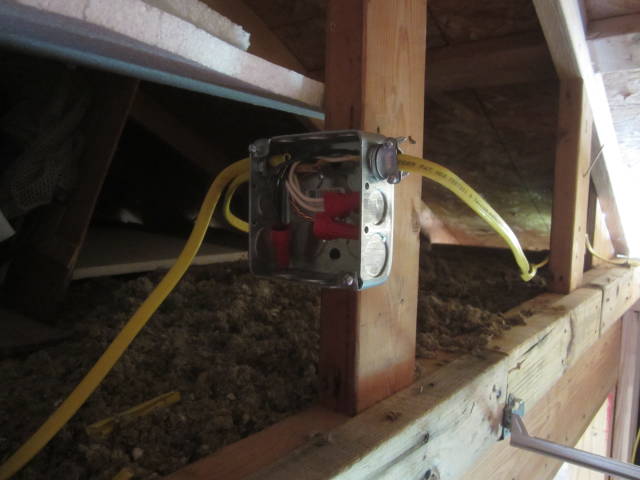
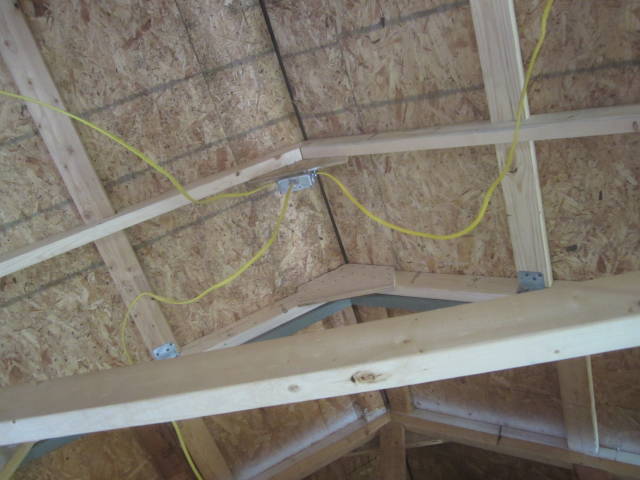
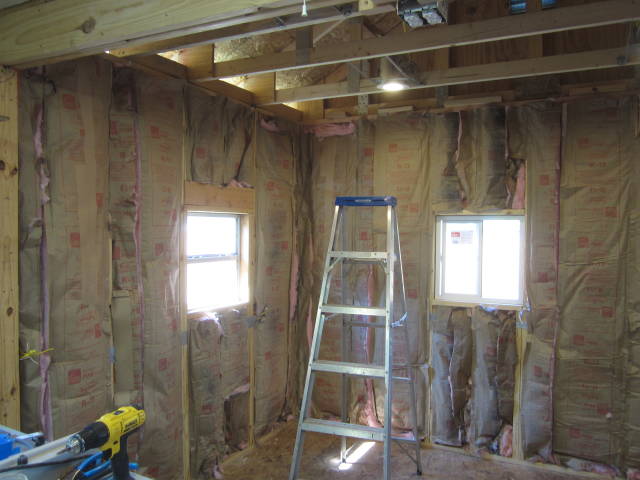
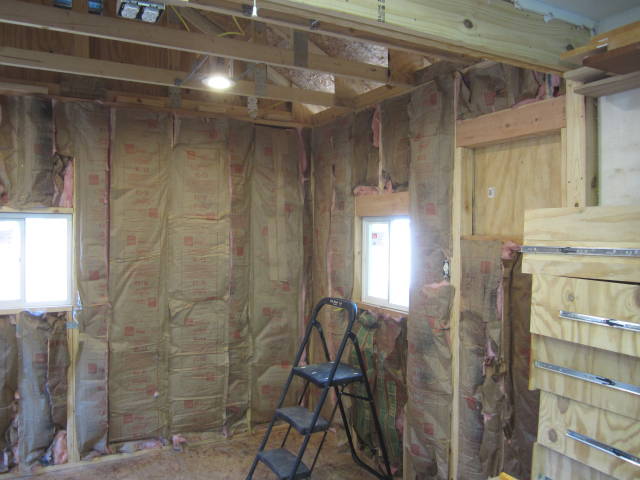
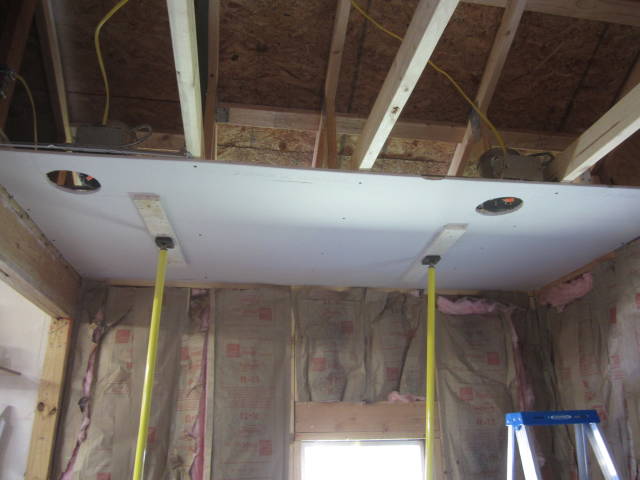
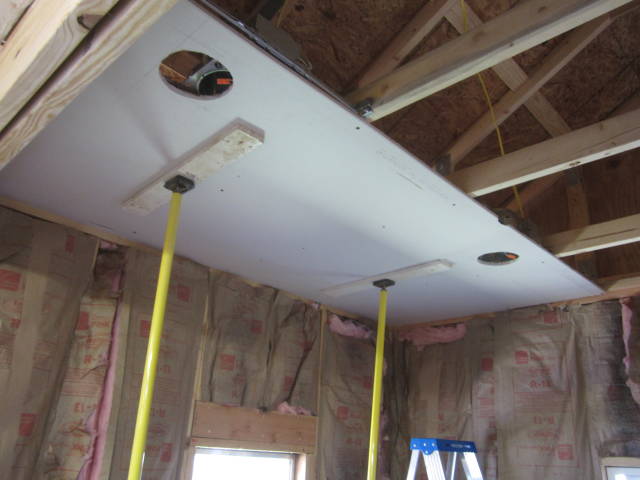
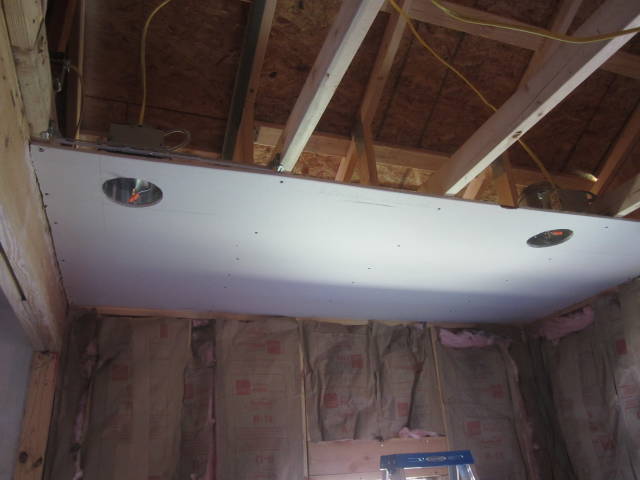
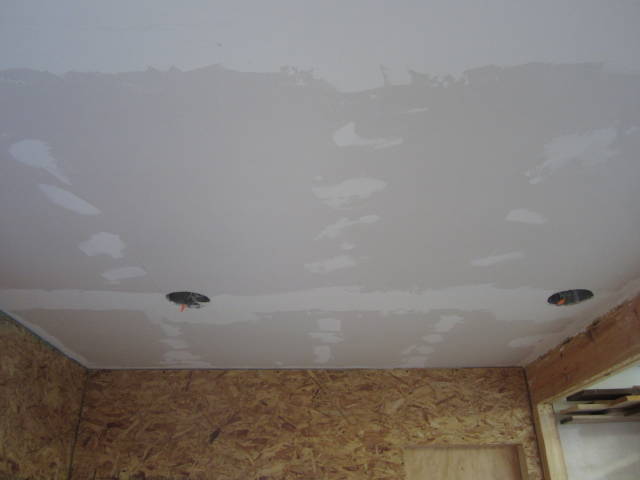
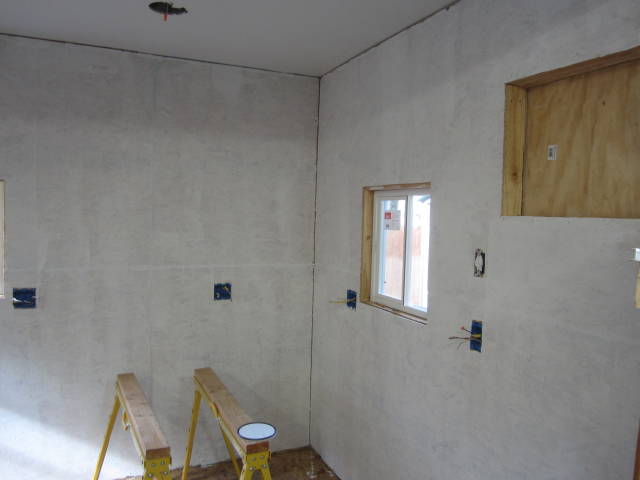
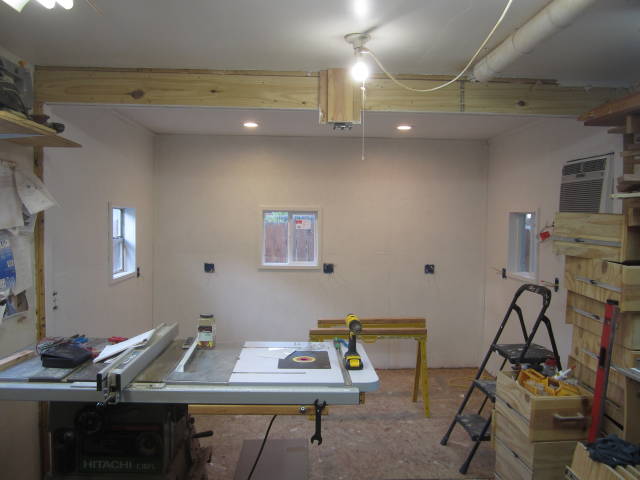
Thursday was spent installing the next two recessed lighting, installing another junction box in the attic to feed the rest of the plugs and lastly installing wall insulation, today was spent hanging the ceiling sheet rock, tomorrow will be hanging the walls along with the AC unit.
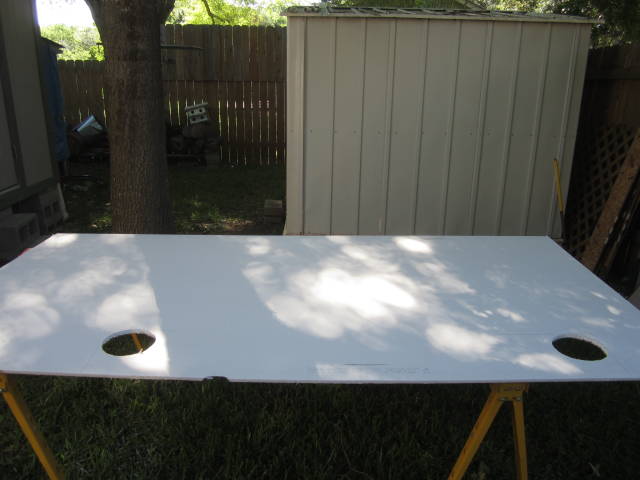
Hanging the sheet rock I used a 2×6 screwed to the wall studs just a few inches below where the sheet rock was to be screwed in on one end of the wall, I already had the jacks I just added some 1”x 3” boards screwed into one end of the jack to act as a support, I first leaned one end of the sheet rock so that it rested on top of the 2×6 and walked the other end up keeping pressure against so that it remained resting on top of the board, I then had one jack ready and within reach and placed it under the end I was lifting and then placed the second jack so that it raised the other end off of the board, I used my dremel tool with a spiral bit to cut the holes in the sheet rock with.
Warning! Lots of pictures to view :)


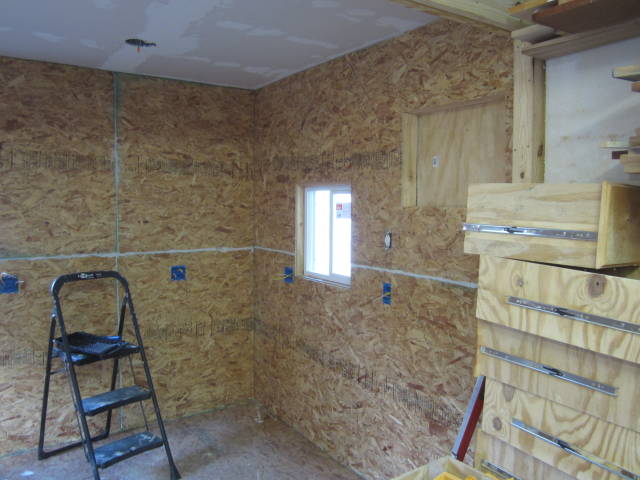
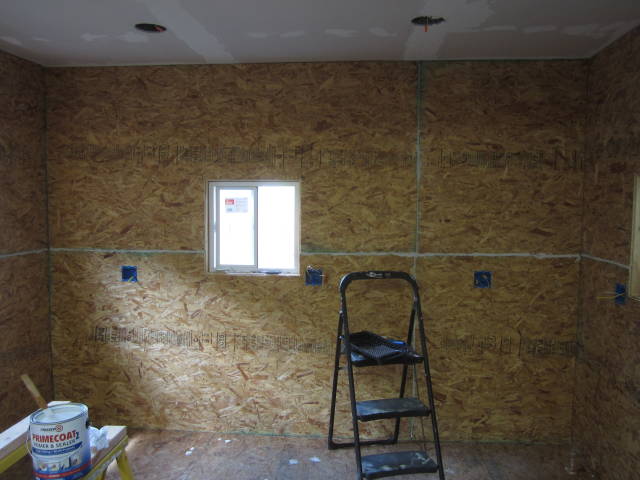
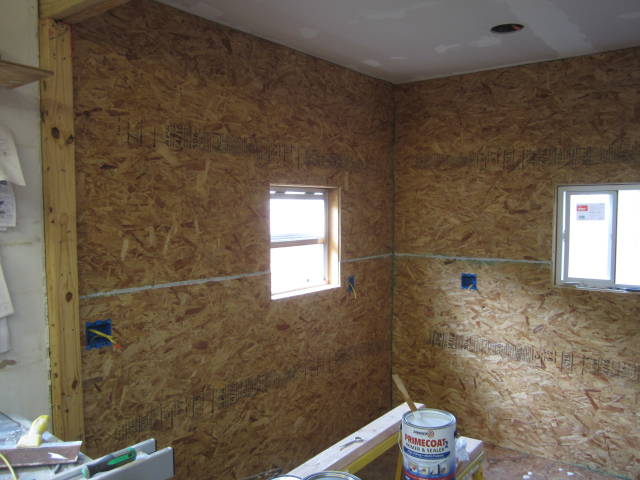
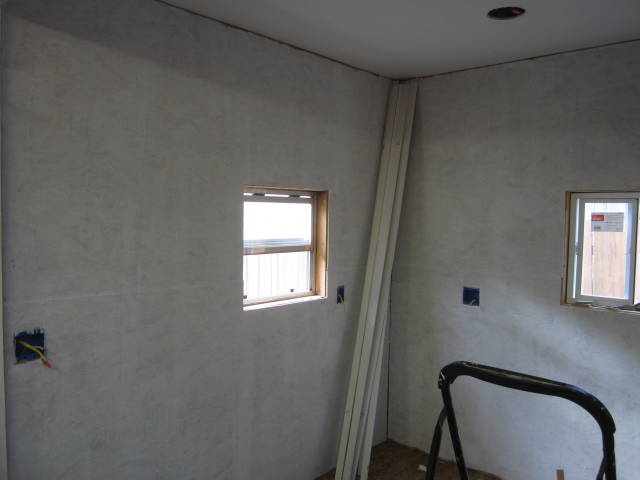
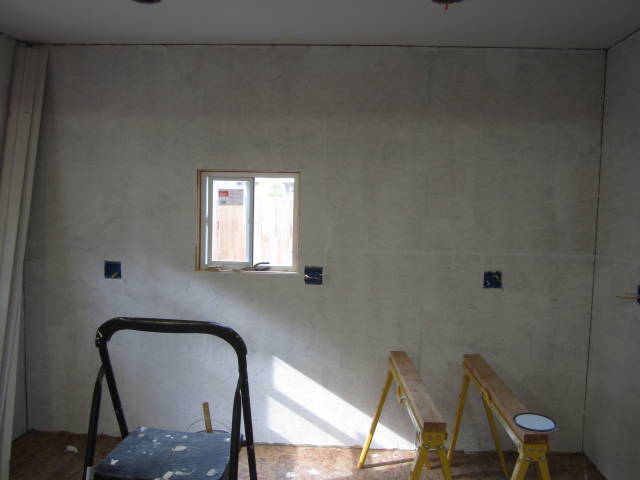
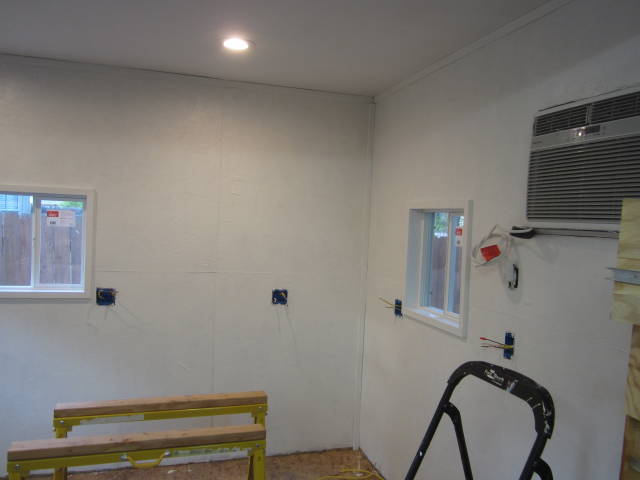
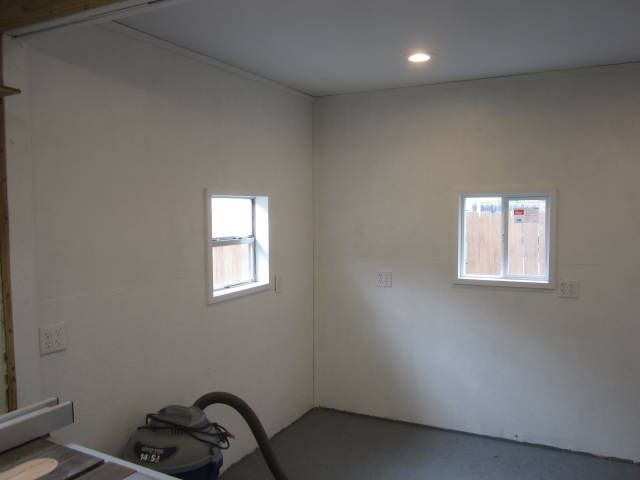
Sunday, I completed taping and floating and starting hanging OSB on the walls along with cutting out the receptacle box holes, Yesterday (Monday) I completed hanging the walls along with the first coat of primer on the ceiling and walls, today I will be insulating the attic starting off early this morning while it’s cool and installing the AC unit.

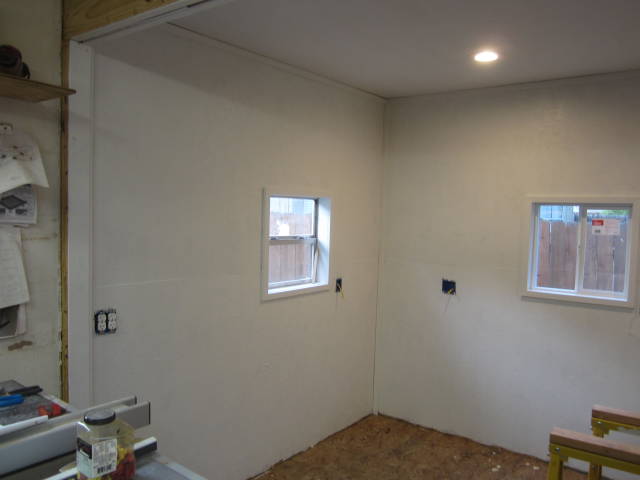
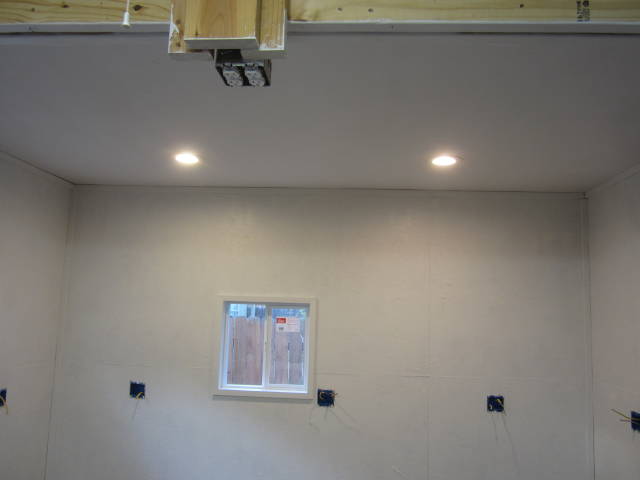
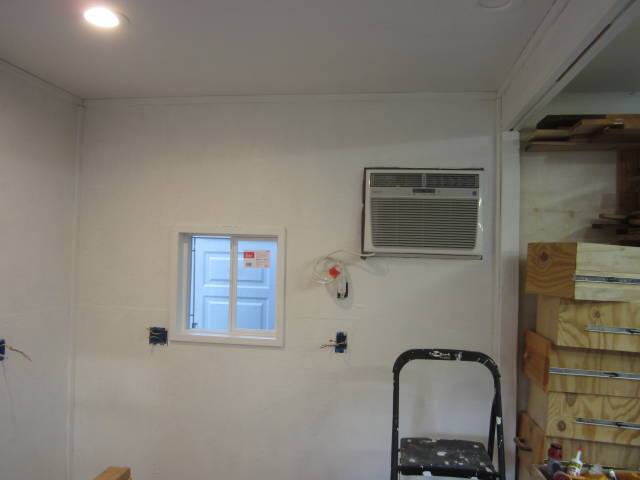
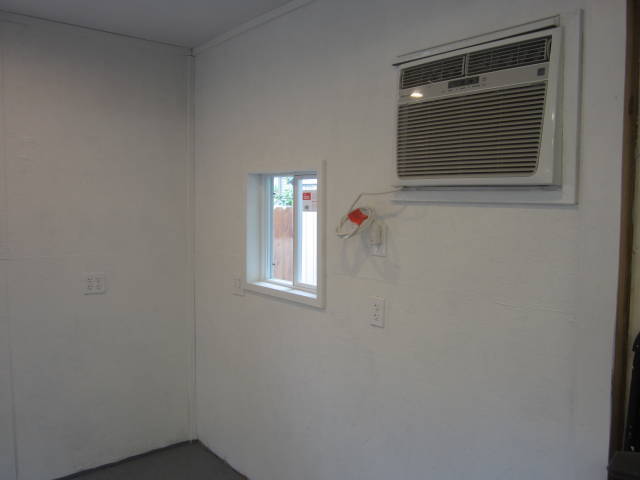
Yesterday morning was spent insulating the attic then the rest of the day was spent trimming out the walls, today I completed the trim on the walls along with making and adding trim around the windows, painting the walls, also the AC went in the wall, after installing he LED lights I found two not working so I’ll have to make another trip up into the attic to resolve the problem.
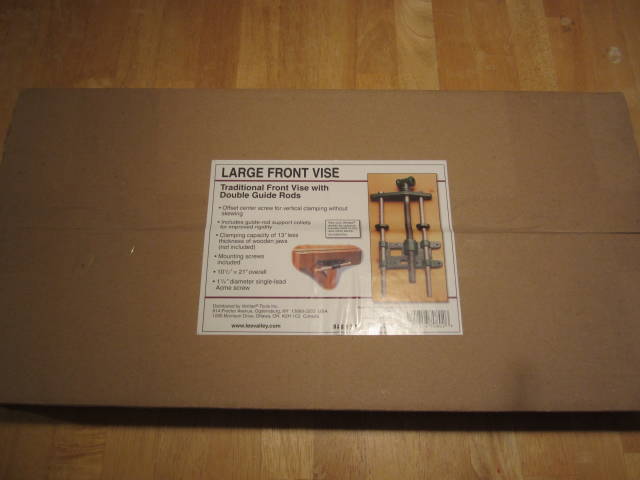
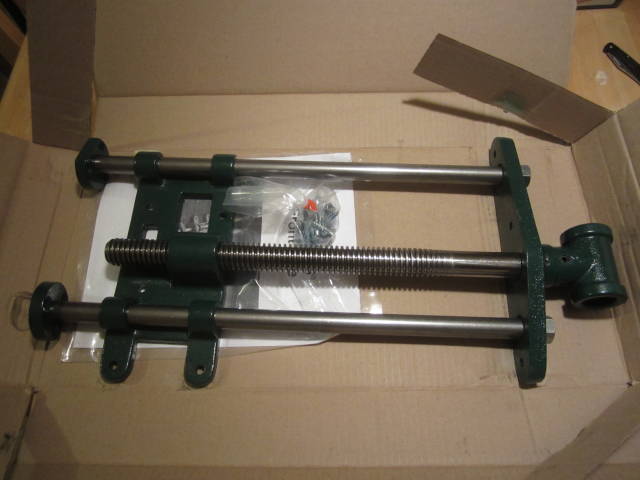
I’m also happy that I received my new large front vice from Lee Valley yesterday.
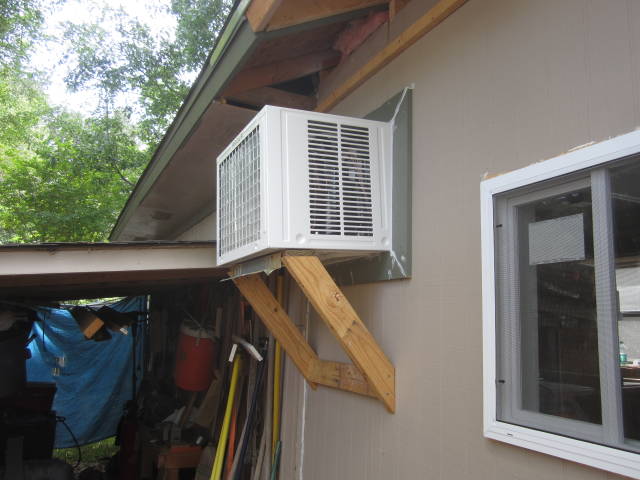
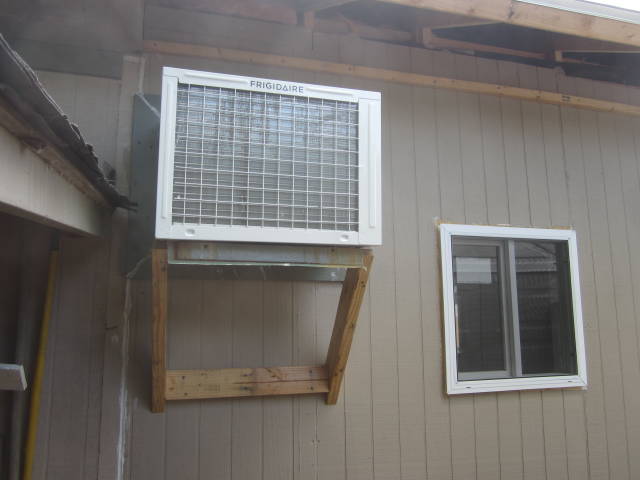
Starting the middle of this week, I built the knee bracing for the AC unit, I believe it was Grizz that expressed concern on wall bracing for the unit? If so in the photos will show what I was talking about on knee bracing.
After the bracing was done I had my sisters BF come over to help me lift the AC unit into the case once I had it mounted in the wall, well after it was all said and done I realized I had the case to far into the building and needed to readjust but my sister BF had already left and I didn’t want to bother him again so I asked another friend to come help me it was the person that’s been helping me, we made the changes and replaced the AC unit back into the case now it’s in like it’s supposed to be, once that was all done I used insulation batting to stuff in between the case and the walls to close in all gaps, I than followed it up with white Lighting 3006 caulking completed trimming the inside along with the outside around the AC unit followed up with more caulking closing all the gaps it’s now sealed in and freezing me out of the shop :)
Yesterday I applied dark gray garage floor epoxy paint to the floor, purchased and painted all of the exterior trim boards and today I completed installing the rest of the plugs along with wall plates, installed 2”x 2” on the backside for connecting the soffit too and did some more house cleaning along with purchasing all the plyboard for the wall and base cabinets.
The plan is to start working and cutting the parts for the wall and base cabinets.

Soffits are installed, wall cabinet casing are built and installed, started on the base cabinets and removed all of the ceiling fluorescent lighting and replaced with LED recessed lighting, still 4 more to go in the old part of the building.
With all the rain we are having, I’m having to use the break in the clouds to work on the outside but I also am grinding hard on the inside to get my shop back in operation.
The wall cabinets will receive edge banding and cabinet grade ply doors with European hinges, the shelves are adjustable, they measure 36” x 30” x 12”
The floor base cabinets, instead of cutting the toe kick notch cut in the side pieces as I have done in the past I’m instead trying something new, I’m instead building the base out of 2×4s using them as the platform to set the cabinets on, they are 21” deep to allow the 3” space for your toes and feet and instead of the 4 1/2” high space it will be 4 1/4” (3 1/2” + 3/4”) bottom cabinet plate, the base cabinets will measure in 30” pods 3 long for 8’ L x 36” H, with using this method it also allows for easy leveling before the cabinets are installed on top. I used composite shims to level.
Randy - If I'm not on the computer than I'm out making sawdust.