re: Blackie

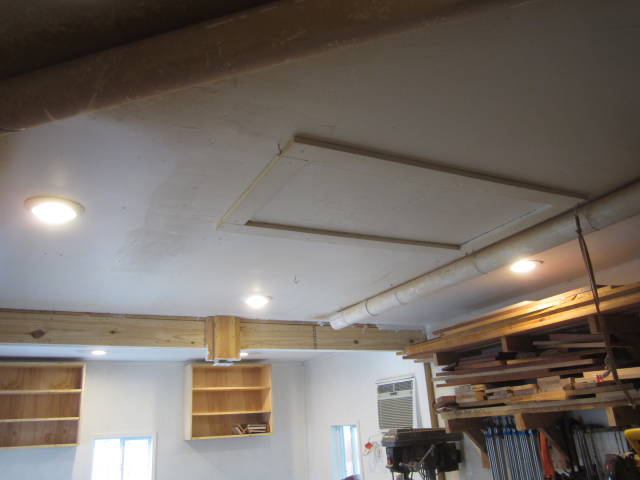
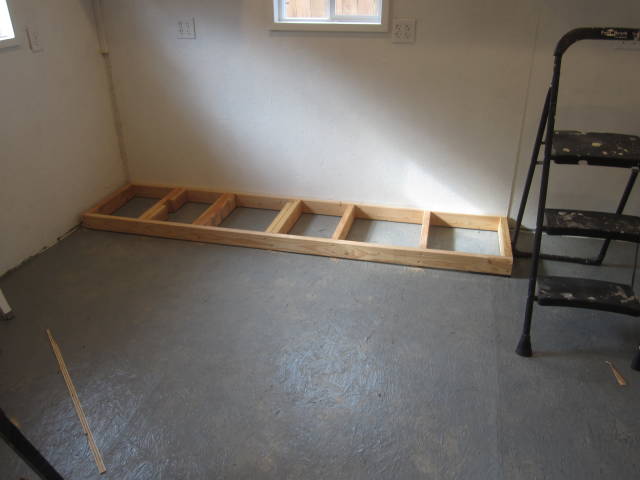
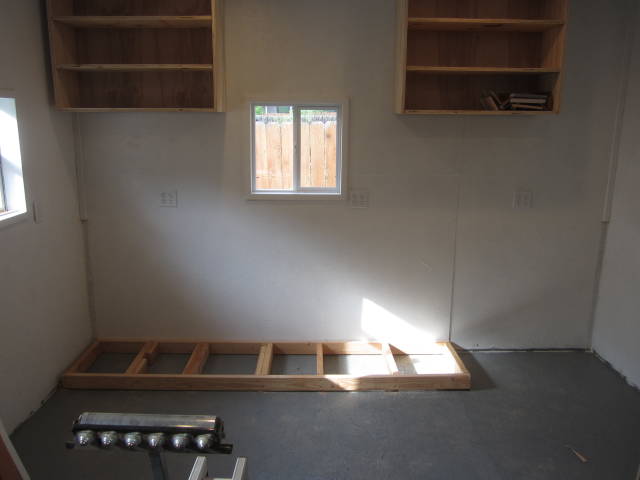
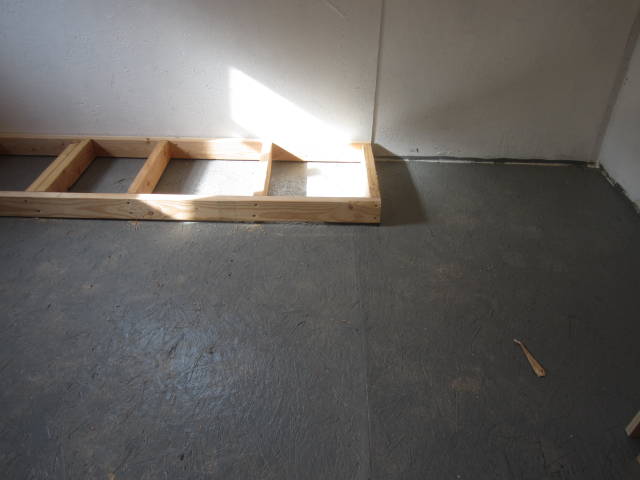
Cutting and building the base cabinets, I started out early getting an early start on the lighting, before sunup to attack the lights and get them completed as summer heat is upon us and I still needed attic work to do and wanted to get it out of the way while it was still cool.
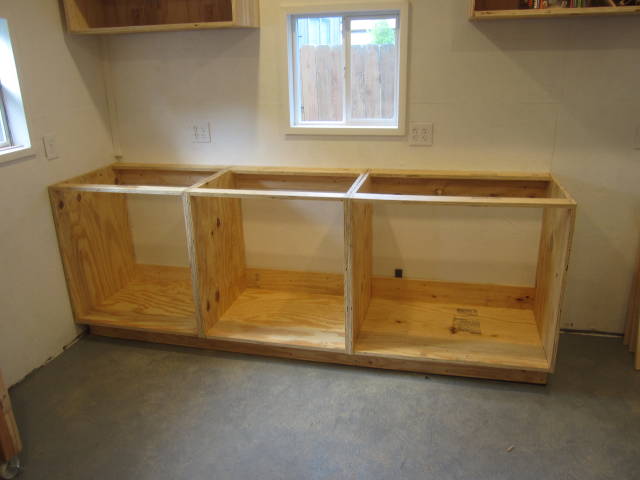
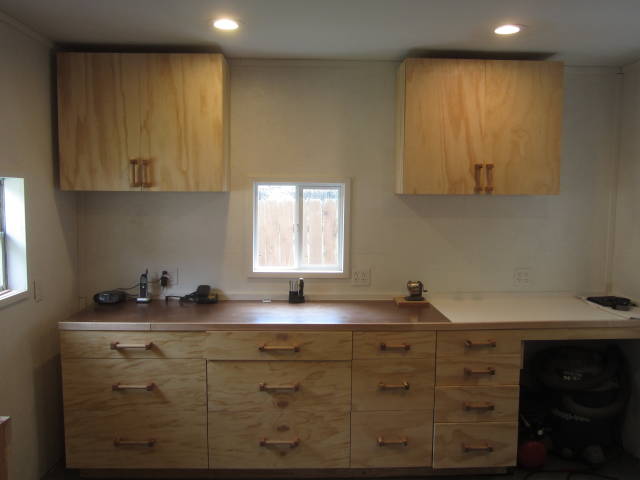
I installed three more light boxes, the kind that clamp to the sheet rock and ran new wiring I than started back on the base cabinets, the top will receive a single sheet of 3/4” ply then a sheet of 1/2” and a final sheet of masonite, I have the 3/4” sheet just sitting on top right now as I still have to build and install the drawers.
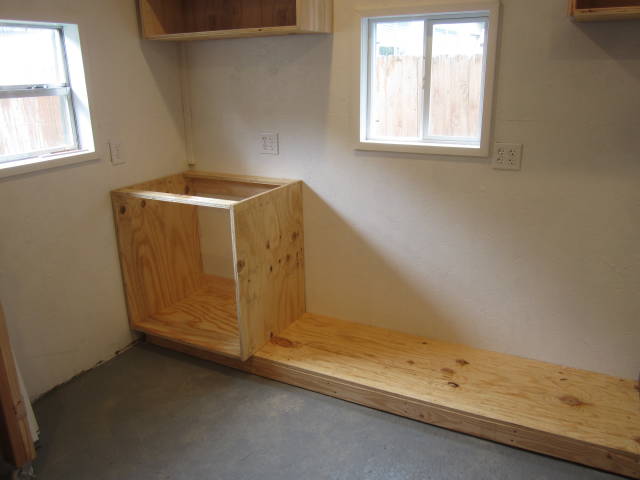
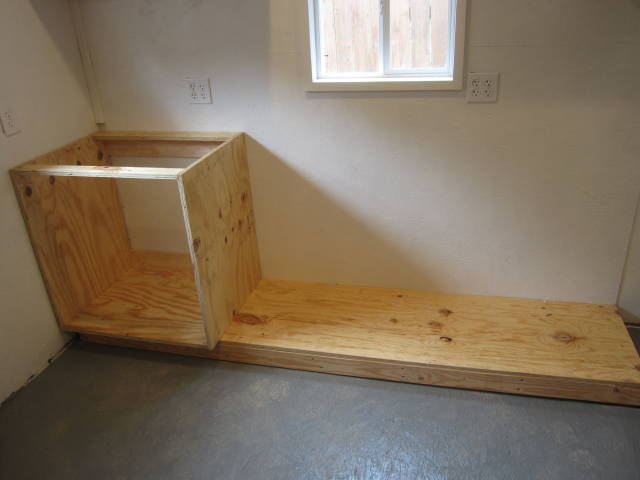
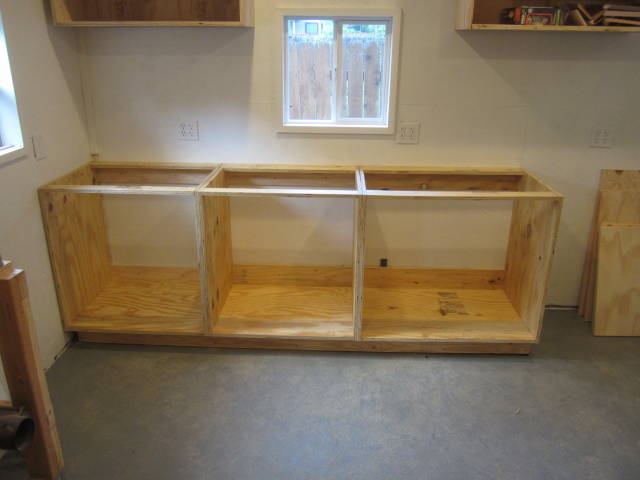
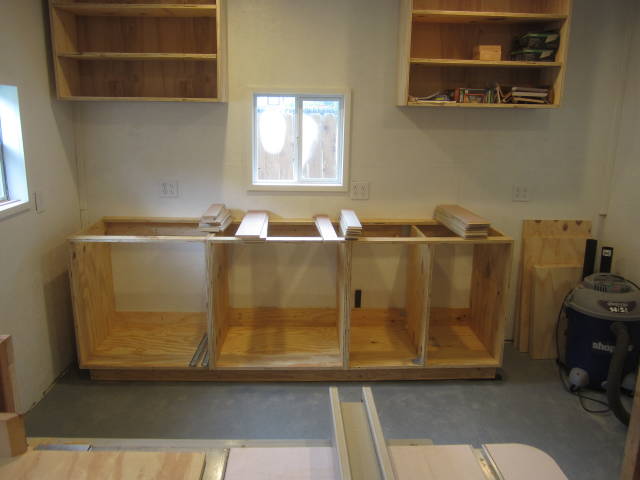
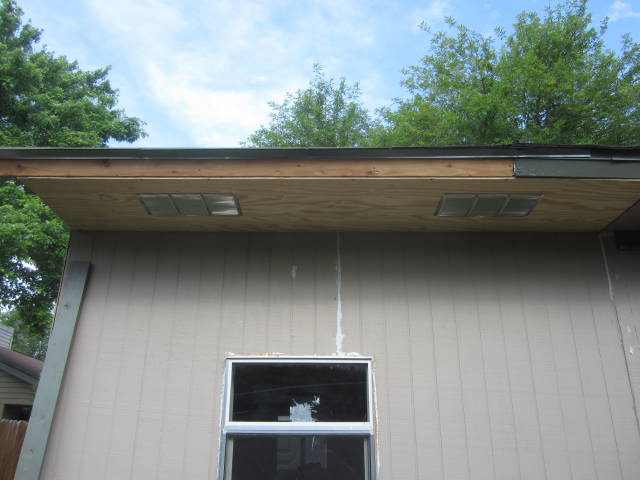
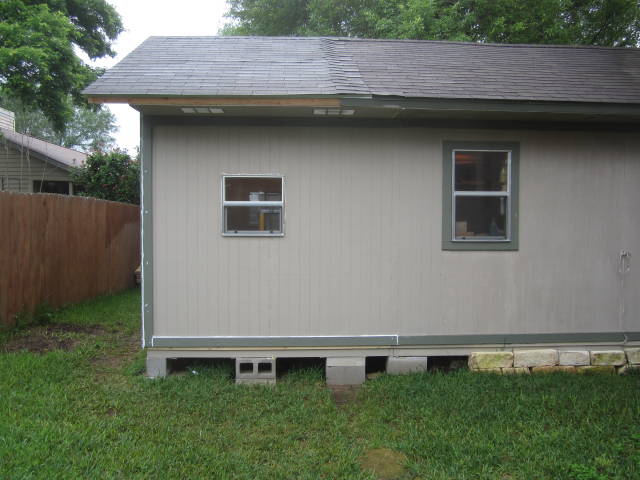
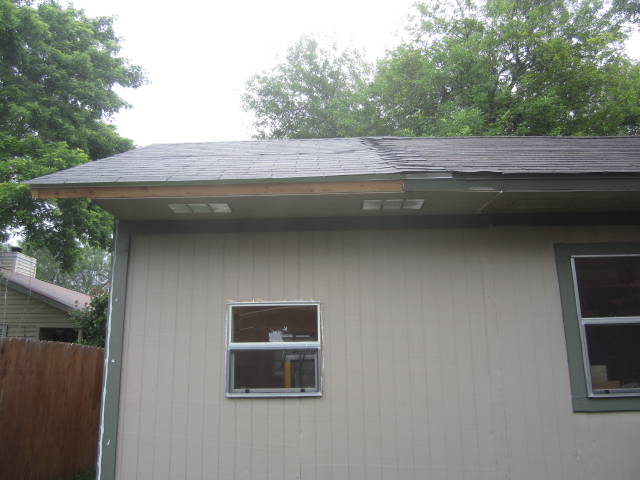
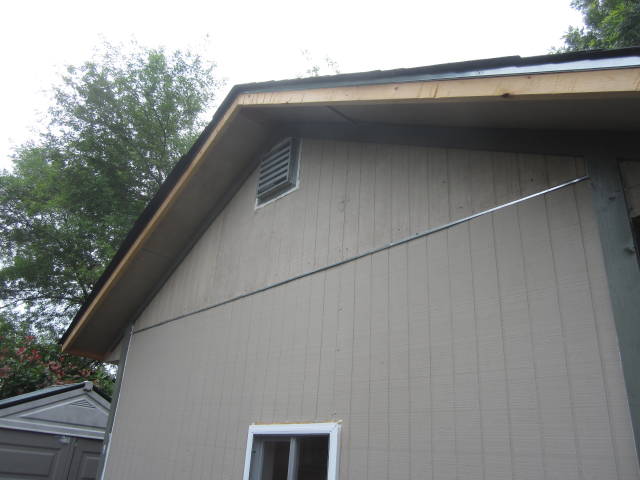
The past several days I did some more work on the exterior, completed all of the soffits, added some more trim and a bit more paint, still more to do on the exterior, on the inside I plugged away and completed the drawers and have them ready to install, I’m using story sticks for installing the drawer sliders, I cut four scrap pieces of ply to the length I needed for the top drawers, using a brad nailer I popped a couple of temporary nails in each stick,
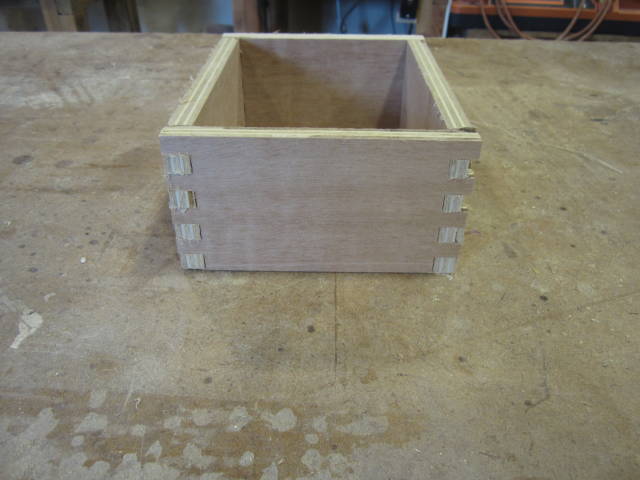
Building the drawers I first tried box joints but since I don’t have a dado set I use a router bit instead but I was getting tear out plus it was too time consuming so I gave rabbit joints a try, the glue wait time was another issue so I settled on pocket hole screws instead which made things move much faster.


The temporary story sticks with two brad nails holding them to the wall.
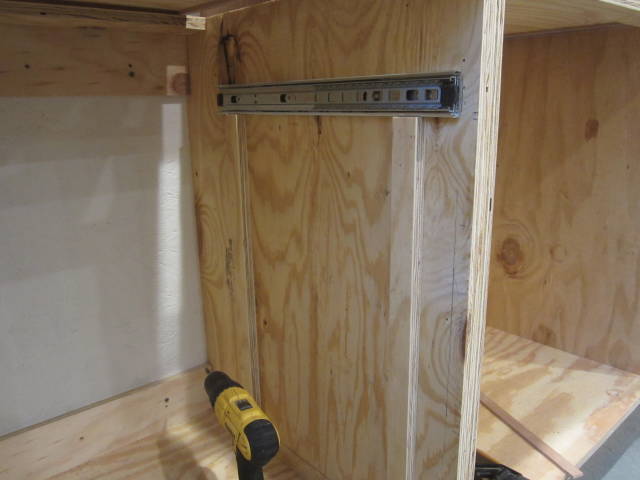
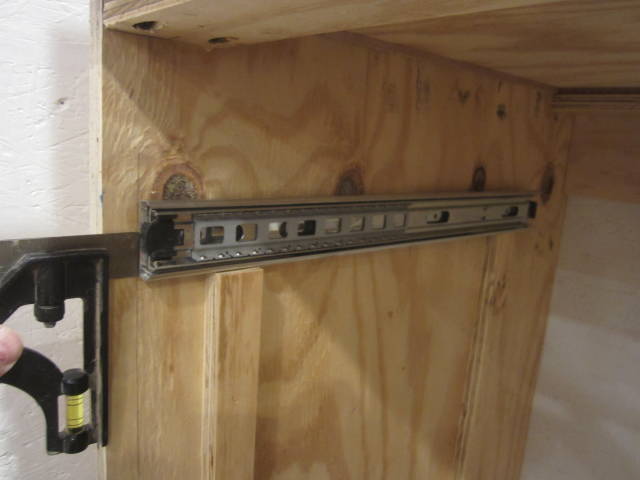
I used an adjustable square to set the depth of the sliders.
Started early this morning and plugged at it all day from dusk 7:00 AM to 7:15 PM, Rick Dennington was right when he said in my blog #19 “It’s a proud feeling to stand back and look at your work, and say “I did that”….
The bottom drawers are sitting 3/16” off the bottom of the cabinet floor, I used 3/16” shims for spacers, the rest of the drawers were done with story sticks.
Tomorrow I’ll start on fitting the counter top, then doors and drawer fronts lastly I decided on cabinet paint white for the finish.
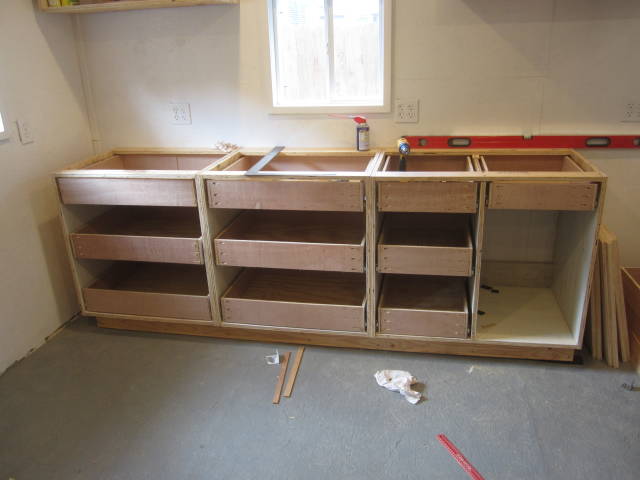
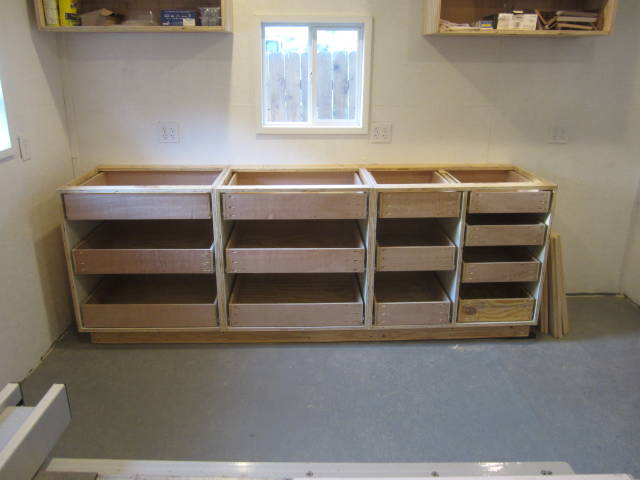
The past two days I drilled hard at trying to complete the cabinet work center, All drawers were installed yesterday, today I started working on installing the top which consist of a sheet of 3/4” ply, a sheet of 1/2 ply and a final sheet of masonite, the open right corner was left open to install a 4’ x 25” kitchen formica counter top that a next door neighbor gave me several months back only it had sit on my deck that whole duration and thus warped I didn’t find that out until I trying installing it this morning it had a significant downward bow so I sit it out to be disposed of and beelined to Homedepot once I got there I made my way to the rod and flat bar isle and grabbed a 2” x 4’ flat bar to use as a straight edge then made my way to the 4’ kitchen counter top section, everyone of the counter tops I found had a slight warp in them so I remembered someone posting here on LJ’s some melamine boards so I searched and found just what I needed a 4’ x 15 3/4” slab of true and straight Melamine board plus it was much.. much cheaper, I purchased two of them and ripped one so they both fit in the corner, I used the same trim boards that I used on the wall corners for the face of the cabinet and the back top edging of the counter top. The corner I beefed up very well with 2×4’s to support the Melamine boards. Once the top was complete I started cutting and putting on the drawer fronts.
Going through the pictures it will show how it all came together.
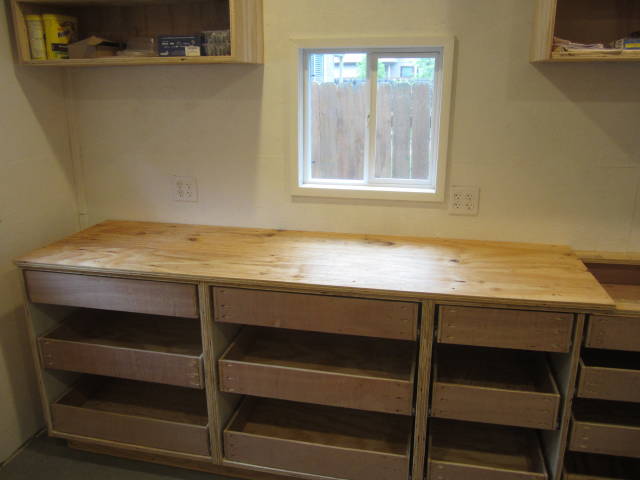
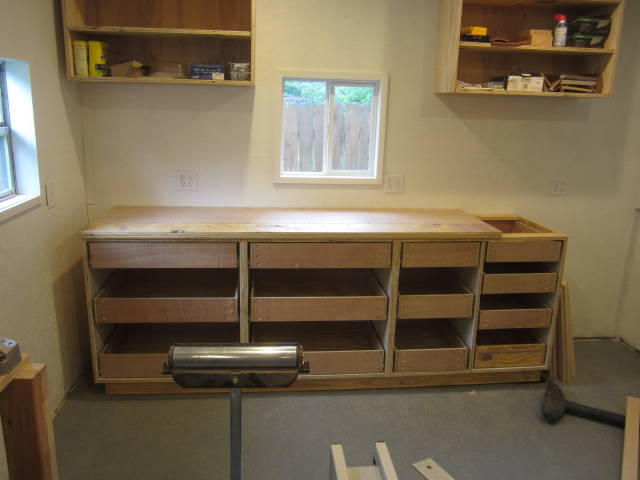
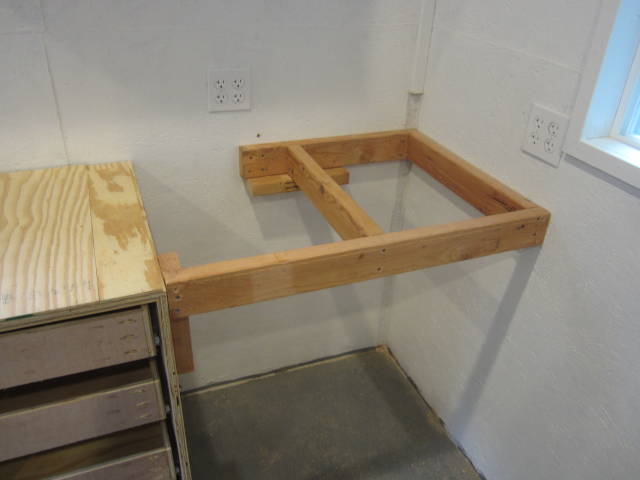
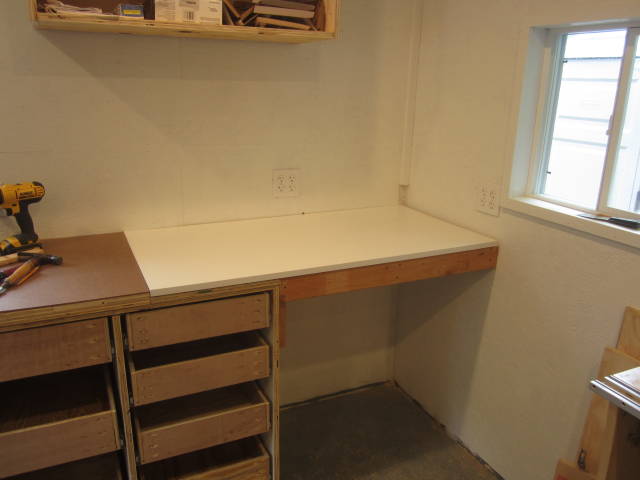
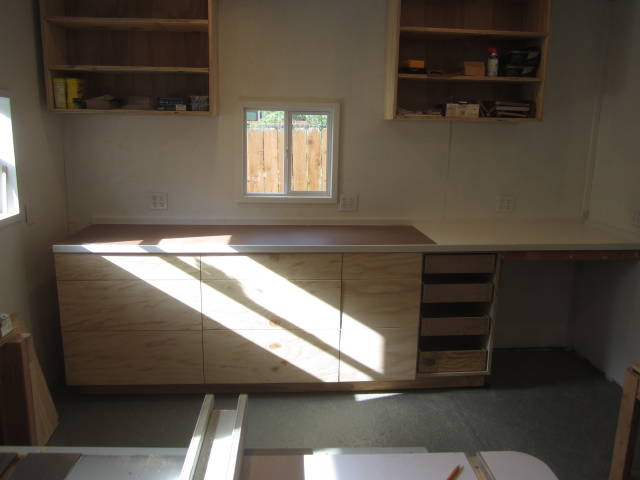
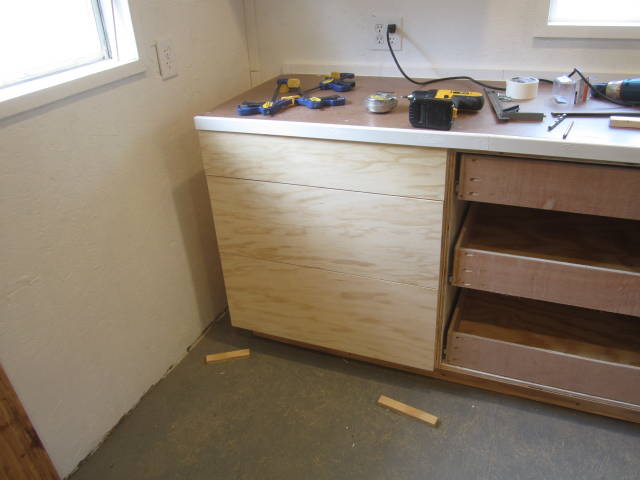
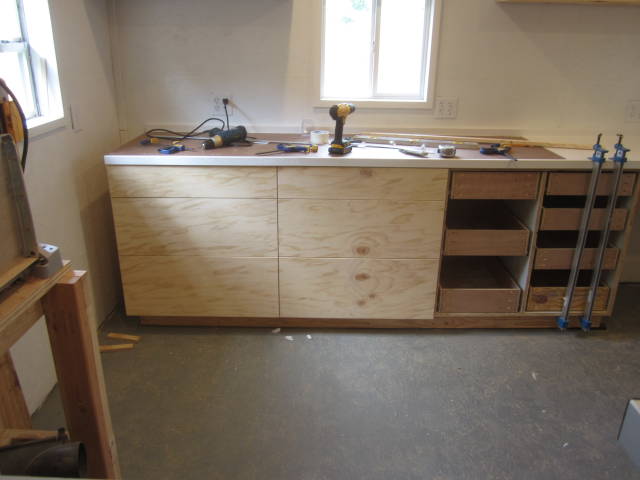
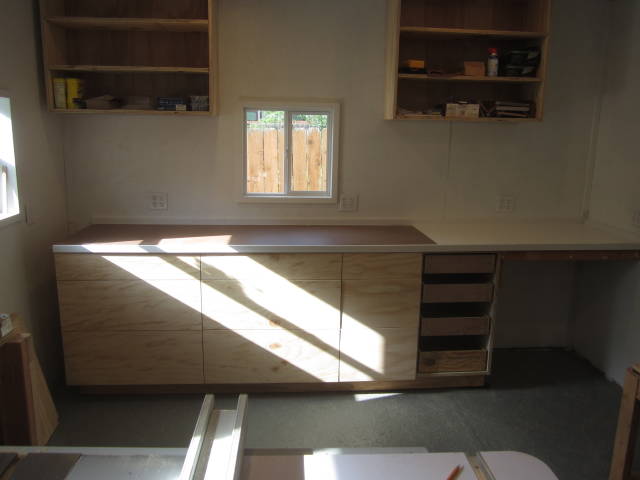
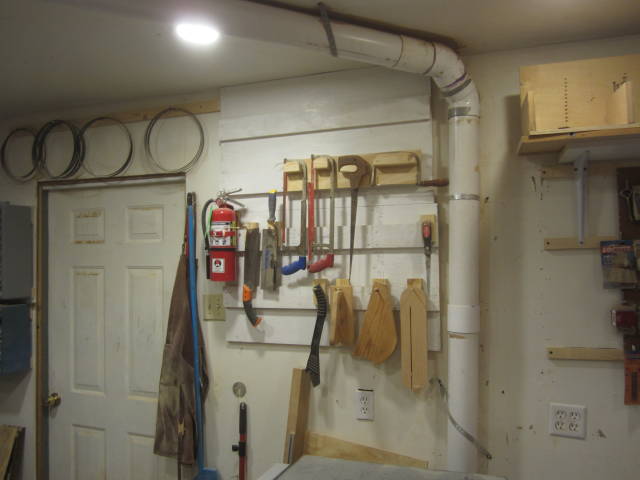
Here’s an update on the shop addition, I have completed the work center and will now move to building a new center workbench replacing the old one, I’ve installed a french cleat system to house my clamps along with some other changes in the shop such as removing the old corner wall cabinets and discarding them and then will reposition both the drill press and the bandsaw on the wall that the old wall cabinets were on.
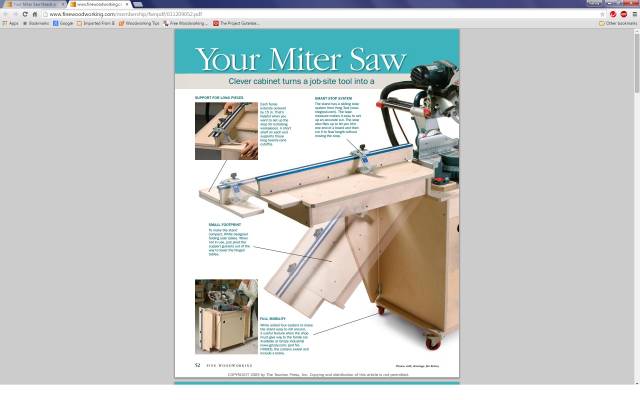
I’ve also put on order the Kreg Fence System for the upcoming miter saw station that I will be building as well, I’ll be using the Fine Woodworking plans to build the station with.
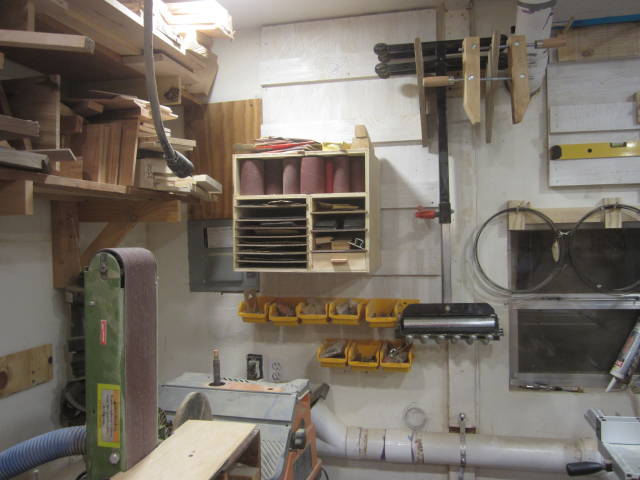
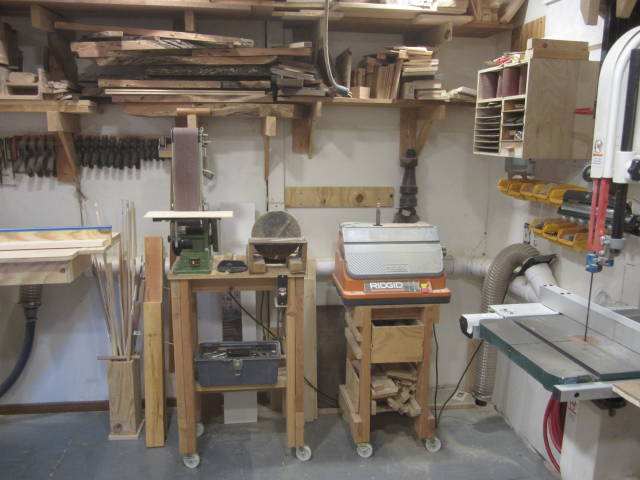
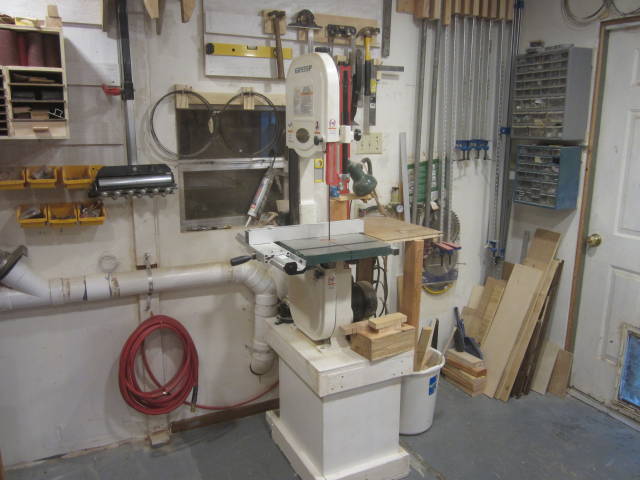
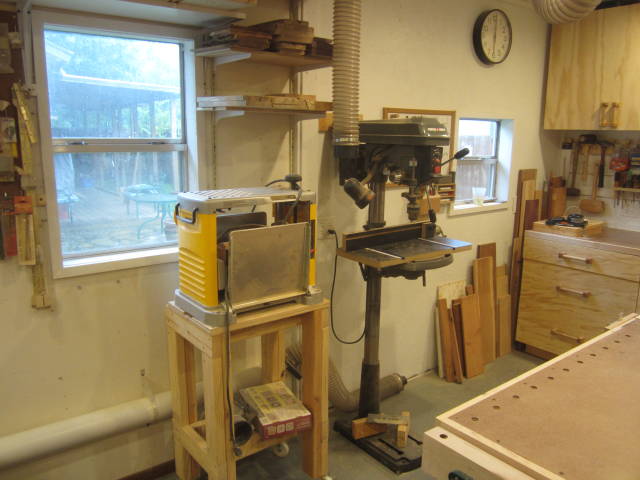
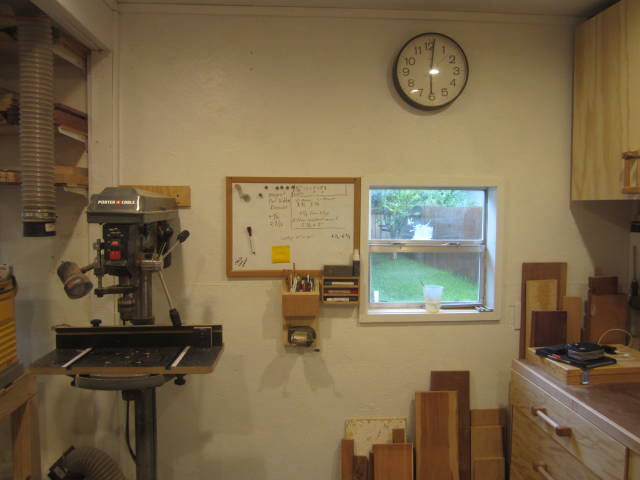
Today was spent house cleaning along with both rearranging and reorganizing working in the original part of the shop, all walls and ceiling were vacuumed, the Bandsaw was relocated to a new wall along with the drill press and the smaller equipment was moved to the wall that the bandsaw used to sit on, two of the old wall cabinets were removed and taken over to my dads house to be hung in his garage.
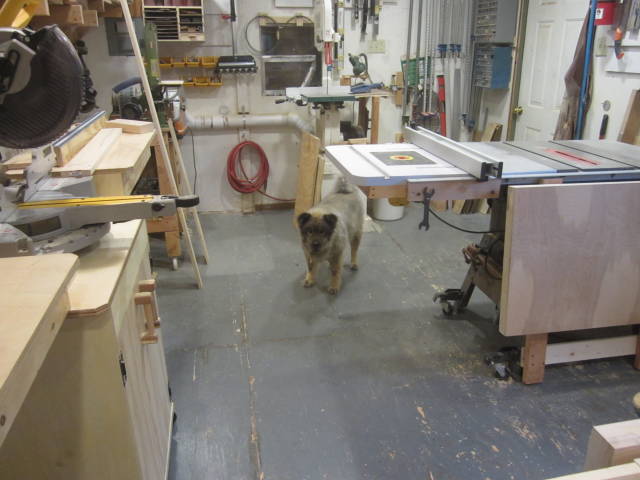
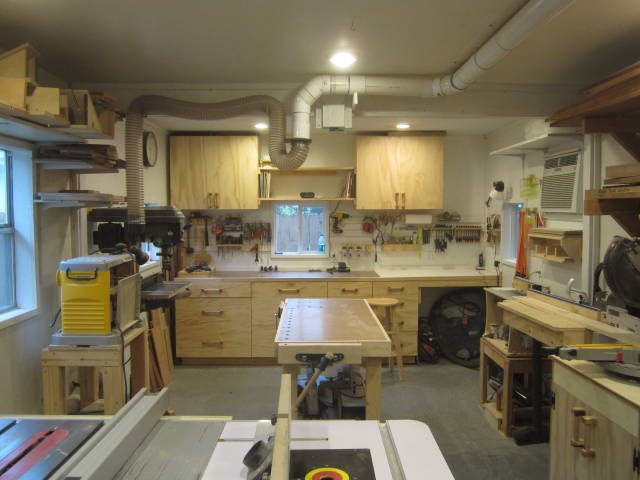
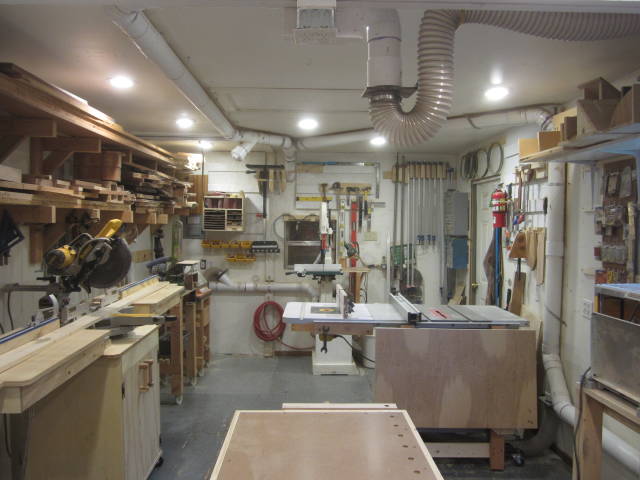
The pictures below show the inside of the whole shop as it is now, still a lot more to do, the center workbench you see, I want everyone to say goodbye to it, it’s going to be demolished, it’s going to be replaced with the proper workbench with holes for dogs and a lee valley front vise, I am also showing you the recessed LED lighting that replaced all of the fluorescent lighting fixtures that used to hang from the ceiling.
Edit In I also failed to mention that my air compressor is located outside the shop under a lean-to and the DC is also located outside the shop in an attached closet that I made for the DC collector, this frees up a lot of space as well.
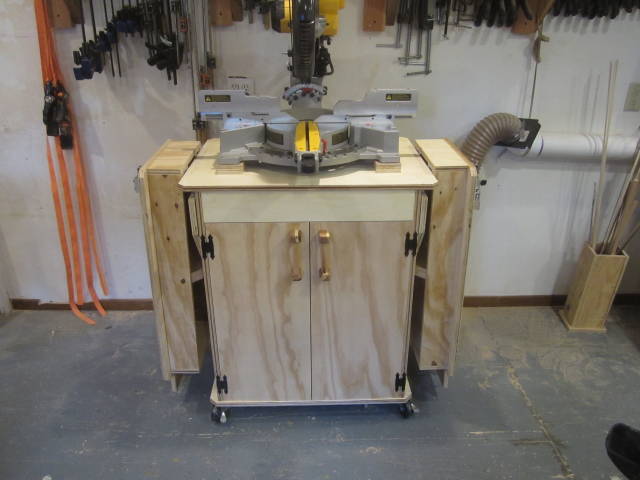
I now have the machinery in their rightful places and pretty sure everything is set in stone now, I swapped the workbench with the tablesaw along with the small machinery, the workbench now sits under the ceiling receptacle box and is lined up with the DC as well, I completed the DC plumbing and have that all worked in along with the completed trim and interior paint, I have now started building the miter saw stand, actually the old stand told me that he wanted to go first over the new workbench, one of the casters broke loose from the screws and it was limping with a huge tilt so I removed the miter saw and have several of the parts cut and ready for assembly. All of the plyboard are project wood, partially workbench and miter saw stand.
I still have to come up with something for an out feed table on the table saw.
For those that are viewing for the first time, I have both my Air compressor and DC located outside of the shop.


Randy - If I'm not on the computer than I'm out making sawdust.


