


Share your craft projects
Make new craft buddies
Ask craft questions
Blog your craft journey
Whittler1950
39 posts
and
6 followers
in over 11 years
in over 11 years
The Captive Hinge Pin
The captive hinge pin is an interesting way of hiding a hinge on the top of a band saw box. I use a hardwood axel peg for the pin. Hobby stores sell them for making wooden cars & trucks.
Once the perimeter of the box blank has been shaped, take a 1/4" slice off the bottom side. Determine where the pin will be and drill a counter sink the size of the head of the pin. It’s important that the hole is straight so I carefully level the table on my drill press. Axel pegs come in various lengths, so you’ll need to determine the depth of the countersink to accommodate the thickness of your blank. At a minimum, it should allow the head to sit below the surface. Using the dimple at the bottom of the countersink to center the bit, drill a 1/4" hole to within 1/16" of the front side. Be careful not to drill all the way through. (If you are using a magnetic closure, this is a good time to drill a small hole to mark the location. Again, you don’t want to drill all the way through.)
You are now ready to take a 3/8" slice off the top of the blank. You will see the hole for the pin in both the top and the body of the blank. Sand the top and the body as needed. Insert the pin from the bottom and into the hole in the top. Check to see that the top contacts the body. If not, trim the end of the pin as needed. Cut out the waste from the body to form the box cavity.
Wax the pin except for the end to be glued into the top hole and be sure that it turns freely in the hole. Carefully install the pin through the bottom gluing only the tip into the hole in the top. (You may want to place a piece of waxed paper between the top and body to prevent freezing the top. It will pull out when the glue is dry) You don’t want any glue squeeze out so be careful not to overdo it. The pin is now captive. Sand the bottom as needed and then glue it back in place to complete the box.
If you have questions, please don’t hesitate to ask.
3 Comments
Axel peg. 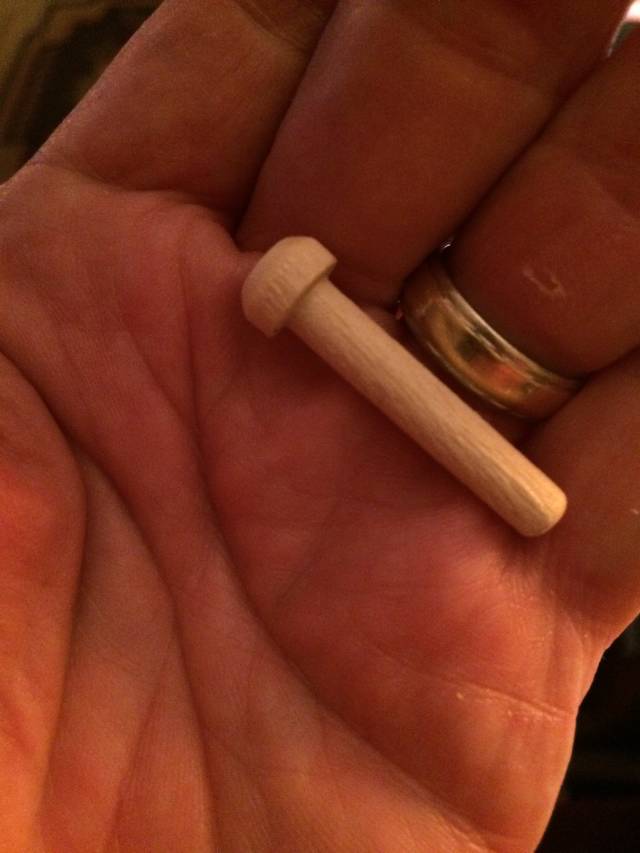

Thank you for the tutorial. Dan
Will work wood for food.

Thanks for the blog but I always have trouble understanding processes like this without step by step photos
woodworking classes, custom furniture maker