


Share your craft projects
Make new craft buddies
Ask craft questions
Blog your craft journey

Norman Pirollo
165 posts
and
18 followers
in about 6 years
in about 6 years
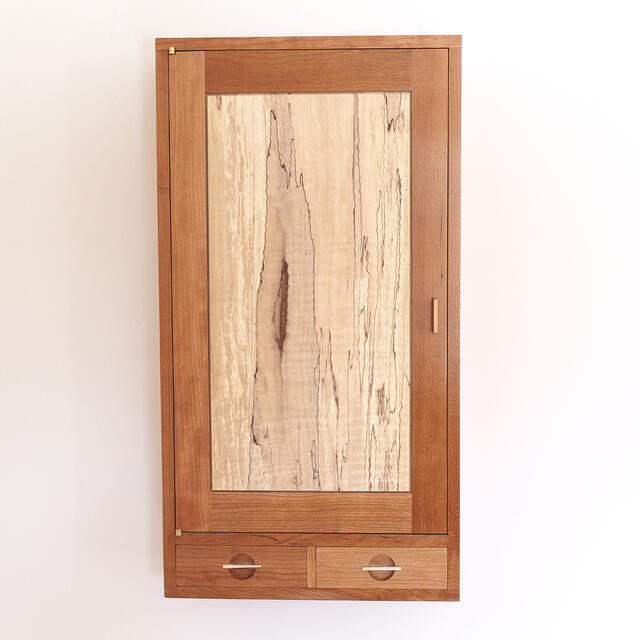
Cherry Wall Cabinet
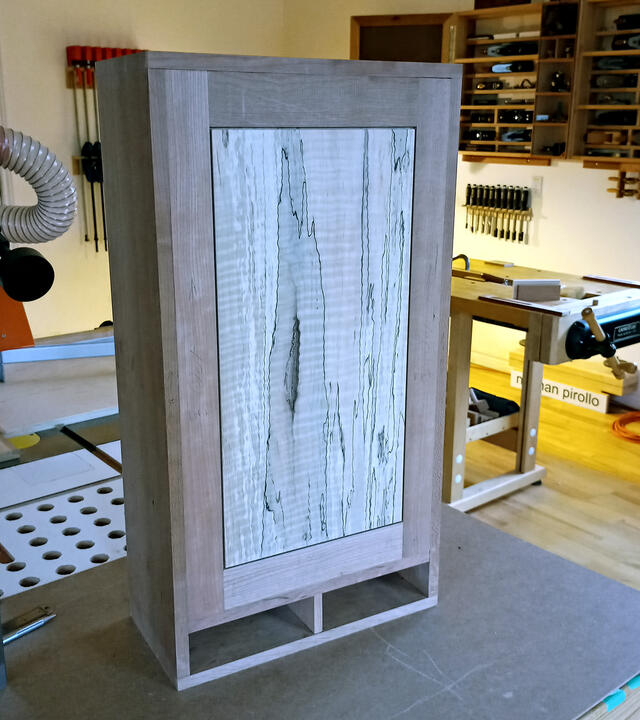
Normally I create cabinets using the Krenov method of joining case side to top and bottom panels. This is accomplished with dowels, tightly spaced in a row. A feature of the Krenov method of joining cases allows the top and bottom panels to protrude in every direction. The method has worked well over the years but I wanted something different with this cabinet. This new wall cabinet would have a single door and panel along with two external drawers at the bottom. The door would be inset and conceal three drawers within the cabinet. The focal point of the cabinet is the spalted maple door panel. The case itself is made from cherry, carefully selected for matching grain and tone.
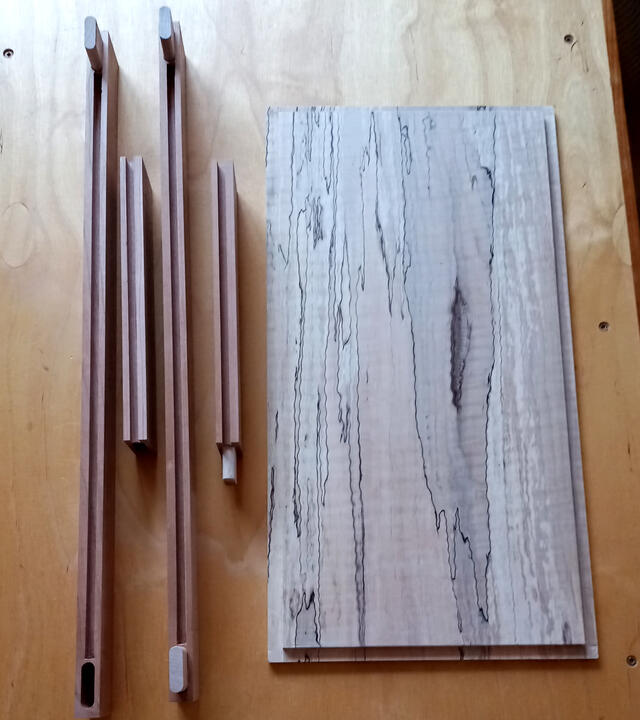
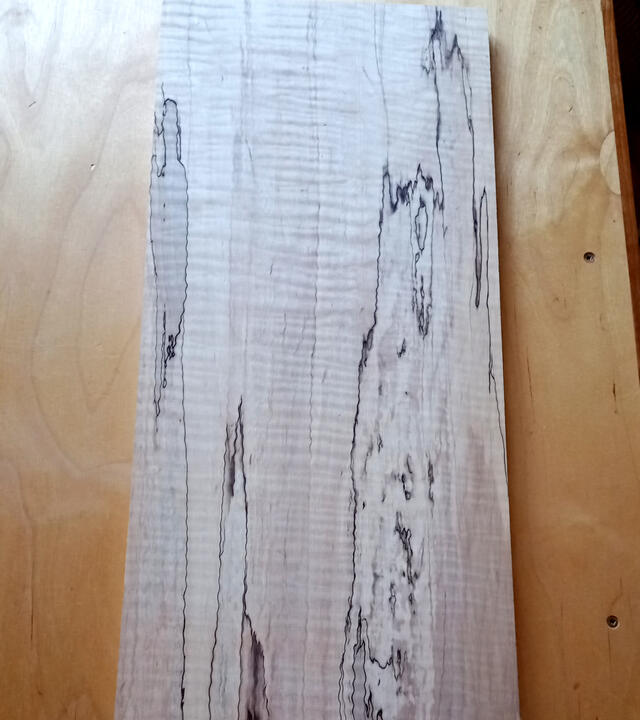
I took some time to find just the right panel with graphics that appealed to me. As with all spalted woods, there is a fine line when decay in the wood impacts the rigidity of the wood. This particular piece of spalted maple was just right, the decay was not advanced and the panel was structurally strong.
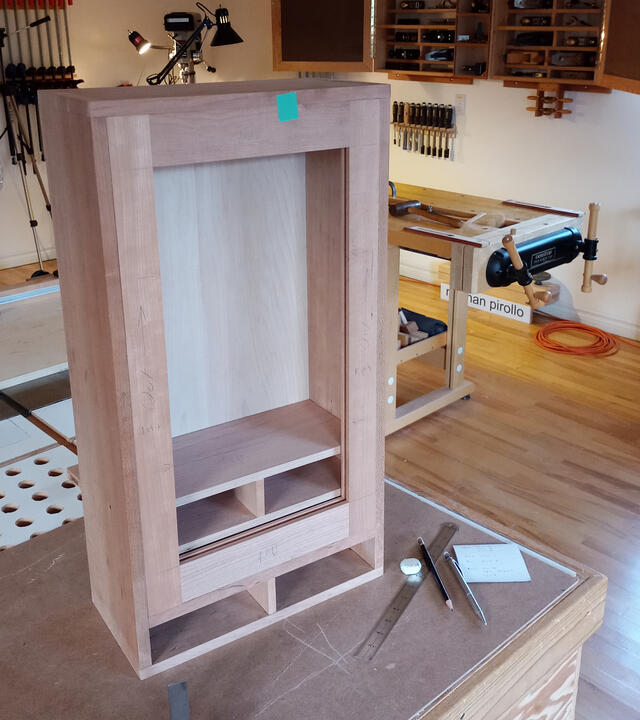
The wall cabinet design revolved around the dimensions of this door panel. The depth of the cabinet would also be a maximum of six inches to not protrude excessively from the wall. As seen in the images, hand tools were used to create the joinery for this wall cabinet. Although I use machines to initially process wood, over time I have gravitated to using hand tools more often in my furniture builds. Since the cabinet door is inset, offset knife hinges were necessary. I normally use straight knife hinges with overlaid doors, this cabinet design was different.
The case itself is joined together using dovetails. This provides a clean aesthetic with square corners. Creating the handmade dovetails was somewhat of a challenge due to the size of the components. I normally use handmade dovetails only in drawer construction or small boxes. The spacing and size of the dovetails was carefully chosen to allow for a rabbeted back panel while maintaining sufficient strength. The tails were narrow and irregularly spaced, enhancing the handmade dovetail construction and keeping the aesthetic light.
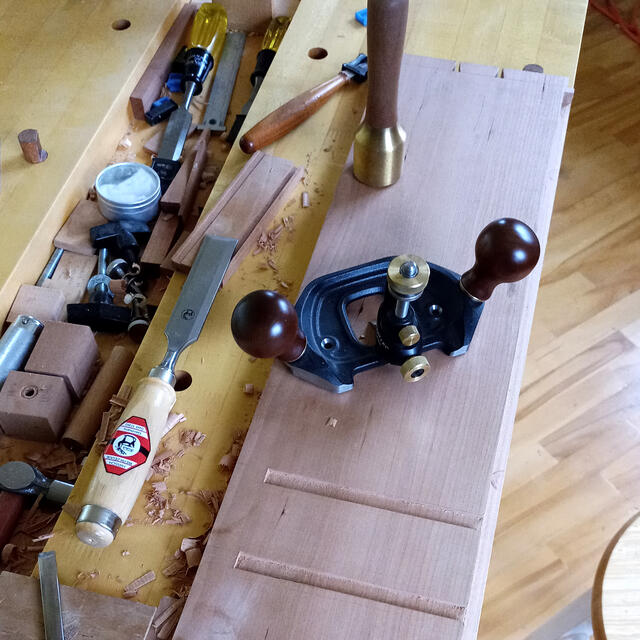
The inner drawers dividers were dadoed into the case sides. Stopped grooves were created using chisels, a mallet, a marking knife and router plane. Creating these dadoes using hand tools was a pleasant experience. It was not time consuming and to my surprise went rather quickly.
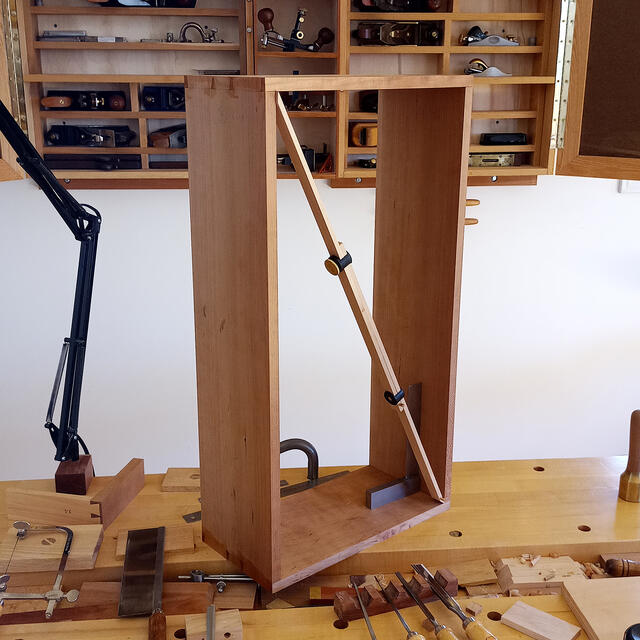
The completed case is seen in the image below. After final fitting of the door frame, offset knife hinges are installed. The case opening is measured diagonally using a bar gauge to ensure it is square before the door is trimmed to the opening. A uniform reveal around the door frame is critical to the aesthetic and fit of the door to the cabinet.
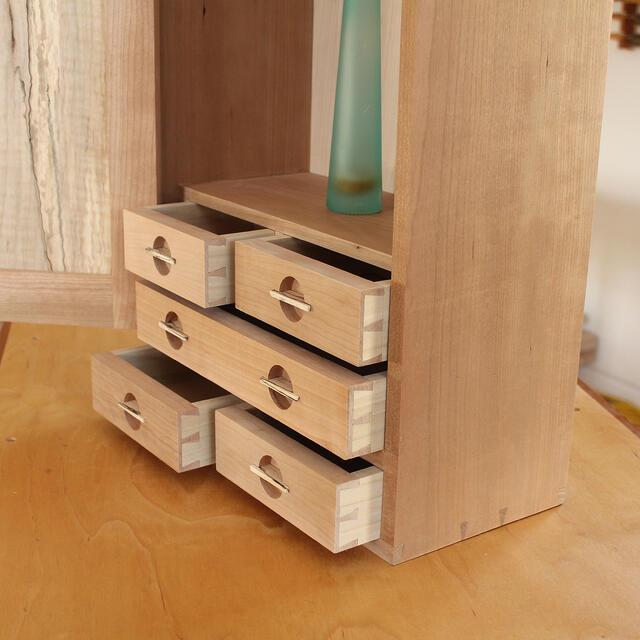
Afterwards, the drawers were individually created. A total of five drawers (3 internal, 2 external) were handmade using cherry drawer fronts and aspen sides and back. Since each drawer was custom fit to the cabinet, they were made individually. I begin by sizing a drawer front to a drawer opening and dovetail the drawer front to the sides. Then the drawer back and bottom are created. The drawer bottom slides in a groove to allow for wood expansion. The final step is to fit the drawer to its compartment.
Although this wall cabinet is not very large, I used many of my skills to handcraft it. Hand tools were used for the most part with construction involving traditional dovetail joinery. The pulls are unusual owing to the fact that there in not much depth for the internal drawers. To compensate, I use recessed drawer pulls. This provided me an extra 3/4 inch in drawer depth.
The wall cabinet turned out well. A series of thinned shellac coats were added to protect the wood. I intentionally left the door panel without finish to keep the wood in its natural color and avoid even the slightest yellowing. Since the wall cabinet is decorative, there is minimal risk of damage to the door panel. The wall cabinet is hung using metal French cleats.
Norman Pirollo