Well, this is such a great and giving site, I thought I should contribute a little. So here you go. There's still plenty of snow out on the lake but we're only about 6 weeks away from open water on the lake and rivers around here.
I've made a few paddles in the past, and this is how I make them. Nothing too fancy here, mostly handtools and lots of sweat. This is a very satisfying project, and it's really not too difficult. There are no mating parts, no dovetail, no mortises, and no tenons. You only have to remember to stop when it "feels right" in your hands.
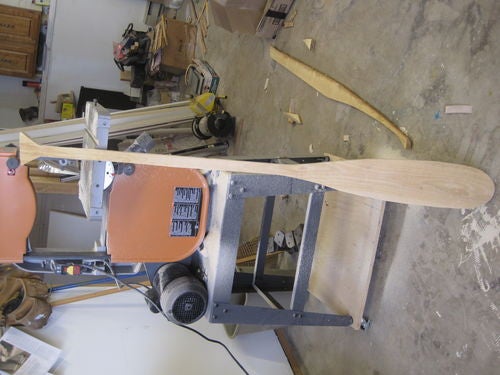
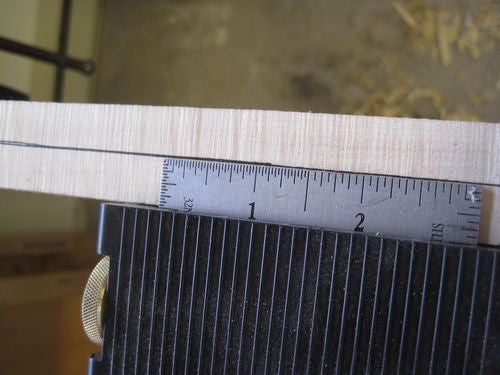
So I'm going to make this one out of a piece of yellow birch that's been standing in the corner all winter and needed to come to life as something. It is 4/4 thick. I don't like working with anything thinner because the shaft ends up oval shaped and feels wrong when paddling. I'm also not a fan of softwood paddles, they are definitely lighter, but they're a lot weaker. I've broken softwood paddles going down the river. They only break when you really need them.
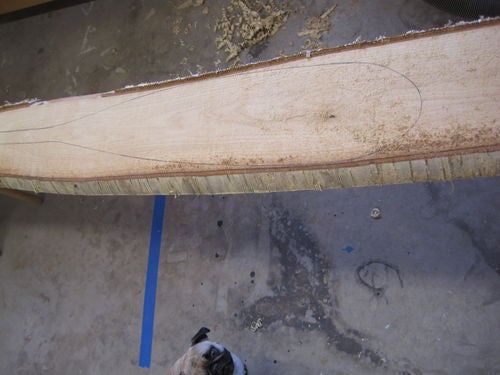
That's my shop helper Sascha looking on. and the blue line on the floor is for my dartboard.
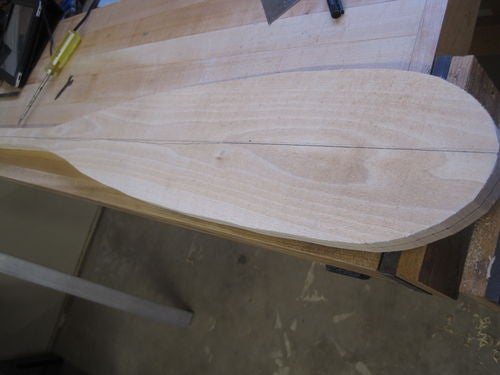
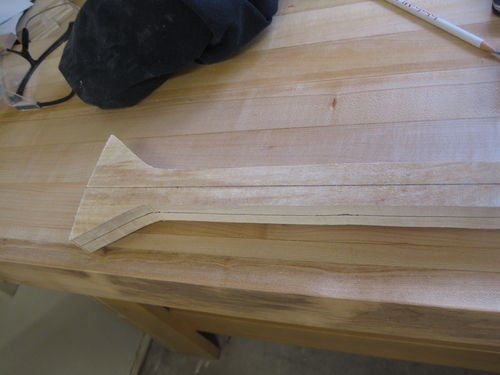
I just took my old favourite otter tail paddle and traced around it. You can see in the next shot that I perhaps leaned my pencil too much, so I took a straight edge and connected the blade shape to the hand grip. You can take a large piece of paper and draw a half paddle shape and fold the paper in half then cut it out to get your shape. I know I like this shape, so I just use it. I've always used one piece of wood to make my paddles, but I may try a laminated blade sometime.
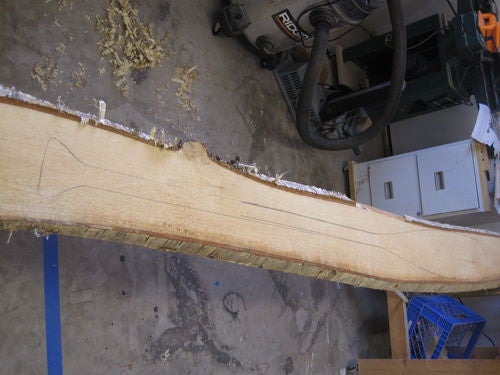
So next I rough cut the paddle out on the bandsaw. You can do this with a jigsaw, or even a handsaw(if you have a LOT of patience).
So here's the roughed out paddle.
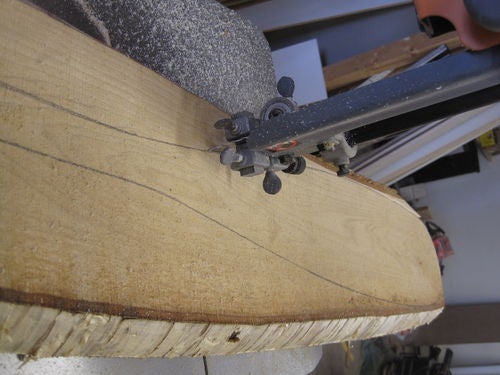
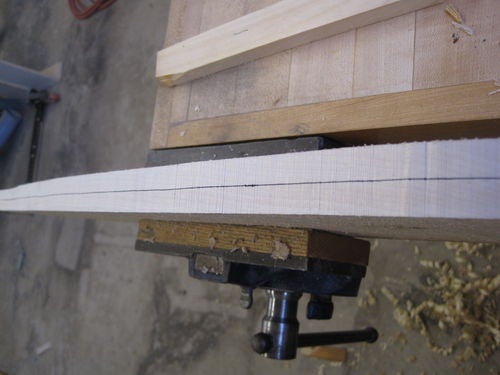
So the next thing I do it put a fine ink centreline around the outside of the paddle. This helps later when shaping.
This line goes all the way around the paddle.
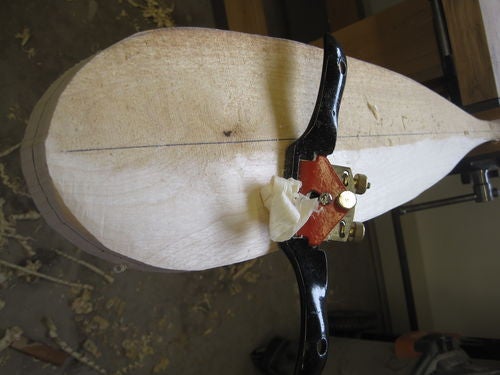
Next thing is a centreline down both side of the paddle over it's entire length. I find the widest point of the blade and make a mark in the centre of the blade, and I make another mark near the top of the shaft in the middle of the face. Then I use a straightedge and connect these two points with a line that goes from the top to the bottom of the paddle. I do this on the front and back of the paddle. So now you have a one inch thick, very heavy, clunky looking paddle, with lines on it.
Notice how ugly I left the hand grip. That'll be finished nicer later on.
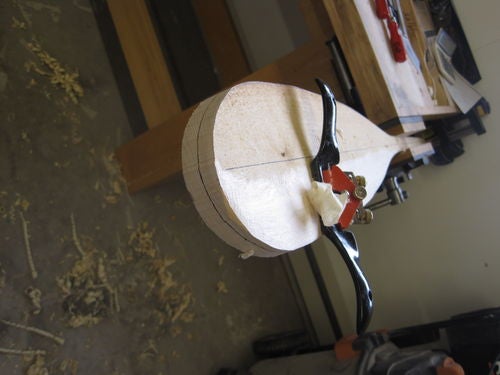
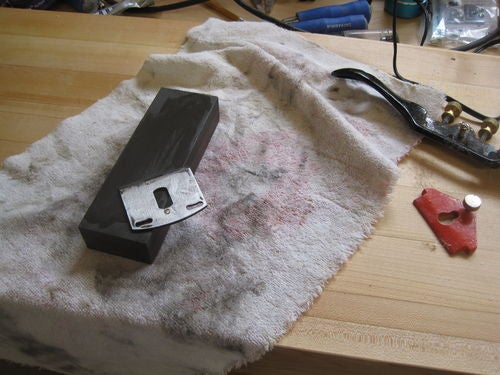
OK, now we start the fun stuff. Tools from here on are a lot of fun. Mostly I use my spokeshave, a rasp, sometimes my #4 plane, and sometimes I've been known to take a few finish strokes of the paddle blade with my #6. Here's the start.
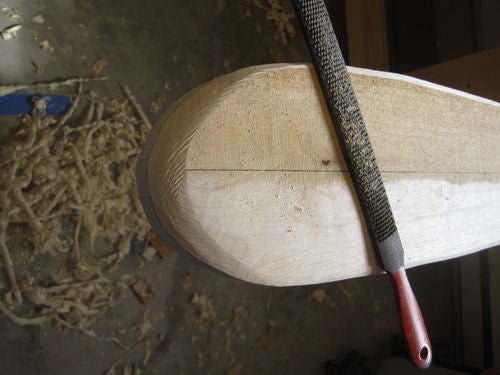
So the first place I start is the blade. Right now I'm just roughing it out. I take the outside edge down to the centre line and fair it back to the centreline on the face. In the next shot, you can see something that always happens to me. The very end of the paddle doesn't seem to get done and the sides do. It happens I think because I want to leave the centre of the paddle at full thickness until I rough out both sides.
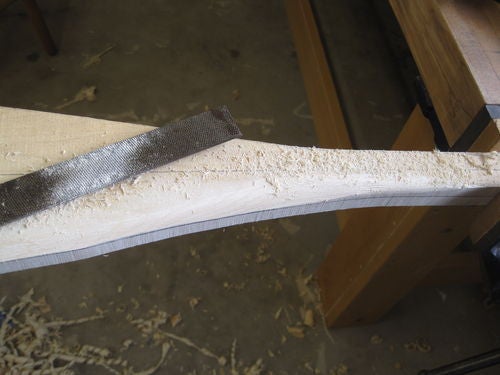
You also get to use your rasp. You get to be a little artistic here without worrying about something not fitting.
This is my "Sharpening Station". As you can see I have very expensive diamond stones, and a slow turning wet carborundum wheel. Not really. This may not be fancy, but you know what? It works. I'd like to have a couple of $150.00 diamond bench stones, and a $1000.00 Tormek. But for now, I work with what I have. (any tool companies that need their sharpening gear to be tested and reviewed, just let me know. lol)
So back to the paddle. I'm back at the end of the blade removing a bit more wood.
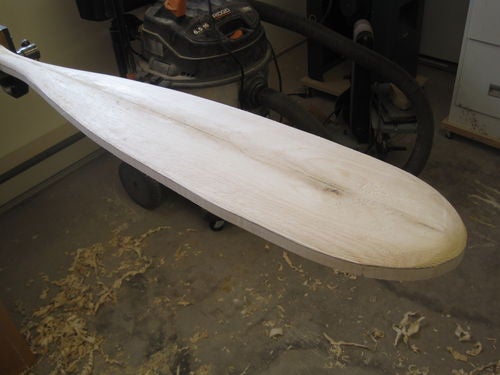
So here's the first side of the blade roughed out. If you look very closely you can see the centreline around the outside edge is still just barely there.
You can see in the next shot that the centreline on the face is still there. Later on that will disappear whe the blade gets thinned out and finished.
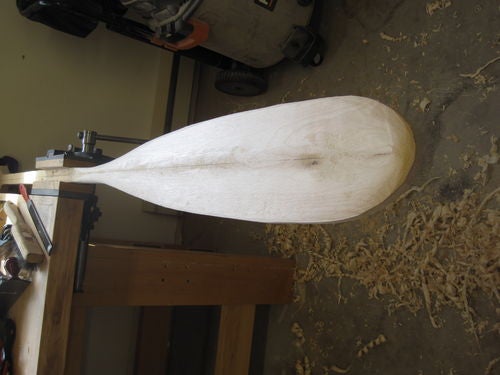
I'm about an hour in at this point. That includes remembering to take pictures along the way. I'm going to flip the paddle over and do the same thing to the other side.
A good and clear presentation. Thanks. Why no gluing (different woods)? That saves a lot of wood and perhaps makes it even stronger? And still no dovetail, no mortises, and no tenons. 😉
Very neat project! I have a colleague from work that wants me to build him a Greenland paddle. For a little joke I made him a mini until I get the time (and confidence) to try an actual paddle.