


Share your craft projects
Make new craft buddies
Ask craft questions
Blog your craft journey

Bagtown
32 posts
and
5 followers
in about 11 years
in about 11 years
Making A Canoe Paddle #2
On to the shaft
Originally Posted on LJ Mar 2, 2012
So for this installment we'll rough and semi finish the shaft and semi finish the blade.
So I turned the blade over and roughed that side out.
Originally Posted on LJ Mar 2, 2012
So for this installment we'll rough and semi finish the shaft and semi finish the blade.
So I turned the blade over and roughed that side out.
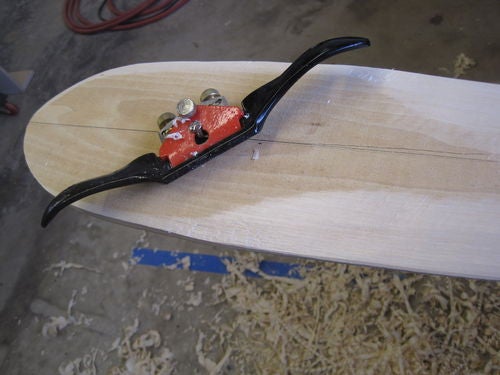
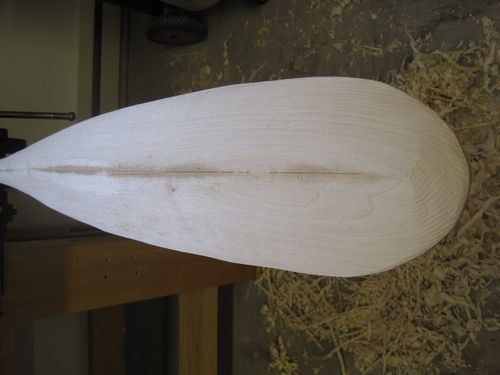
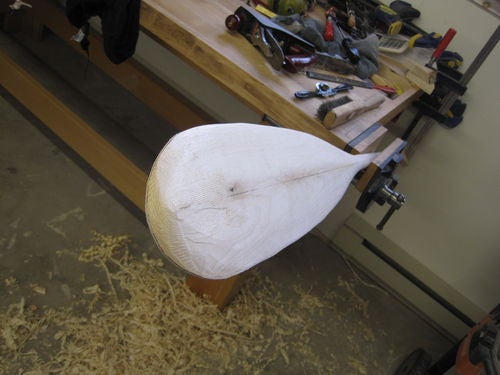
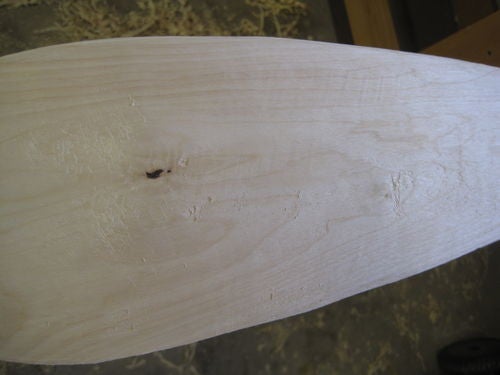
You see in the next shot that again the centreline on the face of the blade is still there.
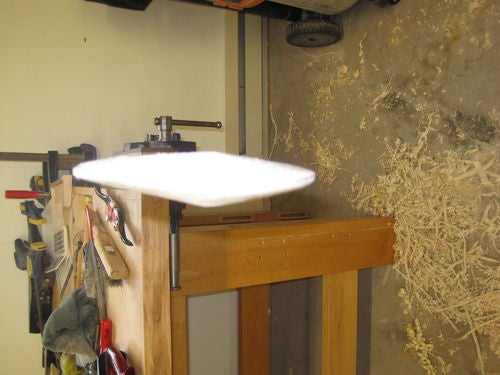
The focus in this next shot is a little blurry but hopefully you get the idea. It's an end view of the blade. You see that the crossection is sort of diamond shaped. You'll also notice that mine is a little off, but I can fix that later as long as I pay attention when I'm finishing later.
So now that the blade is roughed out I turn the paddle around and start on the shaft. I started to notice when using the spokeshave on the shaft that the grain is a little crazy on this piece of birch, and I keep changing directions to try to control some of the tearout.
I use the spoke shave to rough it out, basically I just start by chamfering the corner off and the working my way out to the ink lines. After I rough with the spoke shave I use a fine rasp and just start working my way around and up and down the shaft. The key is to keep moving and not try to knock of a bump by filing it off square. The other thing to remember is to keep running your hand over it and feeling the wood, and knocking off the high spots. I enjoy this kind of project because it's more a "feel" and "artistic" sort of thing rather than square, and level, and plumb. It makes for a nice change. Just keep the centre lines in mind and finish rounding the shaft until it feels right to you.
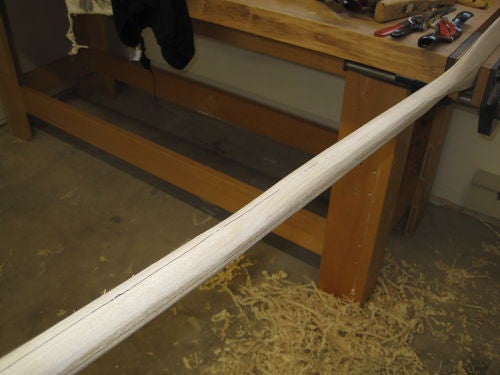
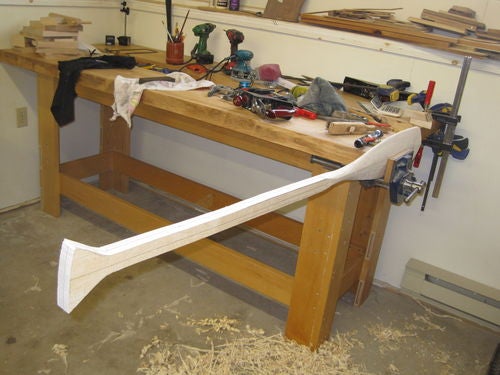
You'll notice in the next shot the lines are beginning to disappear a little as the shaft begins to take shape.

Now that the shaft is semi finished its time to go back to the blade. (I leave the hand grip until the very end)
This is where my #4 really gets to come out to play.
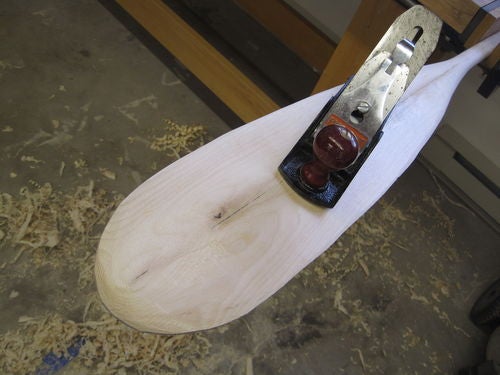
Getting the blade thinned out takes some time and you really need to remember to pay attention to the thickness and keep looking at the blade from the bottom and comparing the thickness of the two faces of the blade. This can be very satisfying taking a shape from a round shaft to a wide flat shape. The shaping at the waist (top of blade/bottom of shaft) I mostly do with the rasp.
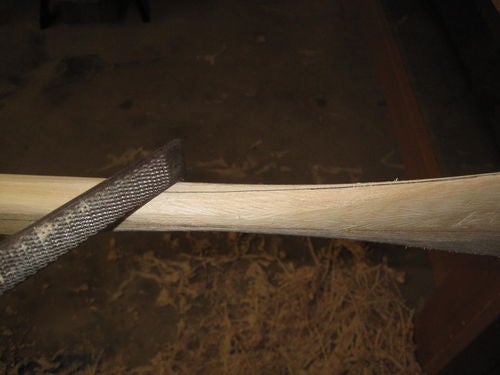
I end up flipping the paddle over 6 or 7 times, and working the blade down to an acceptable thickness (thinness ?)
As I get thinner the paddle begins to come to life. I like a paddle that has spring and feels alive when you're using it. The thing to watch out for is to not get too thin. I plane the centre out flattish then work the toe of the blade thinner and fair the edges back to the centre. And keep repeating this until it feels right. For me, paddles that are thick seem dead and unresponsive.
If you noticed in the first installment of this, in the very first picture there seemed to be a small knot in the face of the board. I ignored it because the only way I could fit this paddle shape on that board was the way I did it. That little knot has become more and more frustrating as I go. The grain around it goes in all directions, so the tearout is crazy. Take the time to hone your blades every now and again and this will help keep cut down on this.
Once I get things a little thin, I back my blade off to start taking fine see through ribbons of wood.
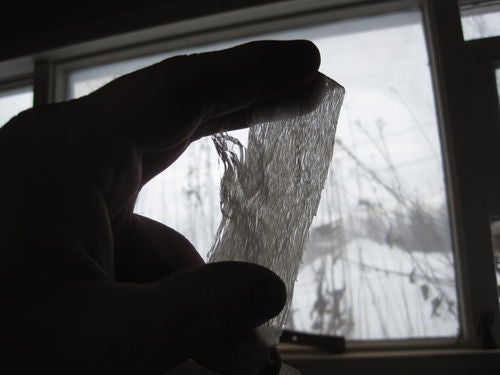
From here it's just running your hand over the face and feeling for high spots and knocking them down and fairing them out with the plane, sometimes the spokeshave (especially near the toe). And some of it is done with the fine rasp.
Here's where I am at this point. The paddle has begun to feel very light. I'm not sure how the yellow birch is going to be at this point(I've never made a paddle from this type of wood yet), but it feels nice and springy. Very alive.
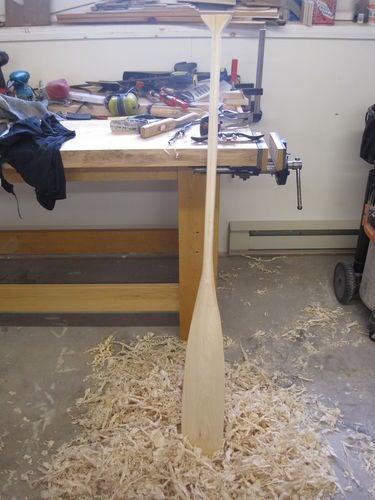
So that's it for the moment. The next installment will be focused on the hand grip, and a sanding, and the final finish.
Thanks for looking,
Mike
Mike in McMurray