Share your craft projects
Make new craft buddies
Ask craft questions
Blog your craft journey

ChuckV
1681 posts
and
15 followers
in almost 12 years
in almost 12 years
A Small Buffalo Herd
I restored three Buffalo Forge Company drill presses. I still have them all and they are in use.
The Big Blue Buffalo
I picked up an old Buffalo 18 drill press on Craigslist for $75. This was made by the Buffalo Forge Co. They did not put serial numbers on these machines. There is a User's Guide for this drill that was published in 1957, so my drill must be from around that time. My favorite piece of advice from that document is:
Don't change belt with motor running.
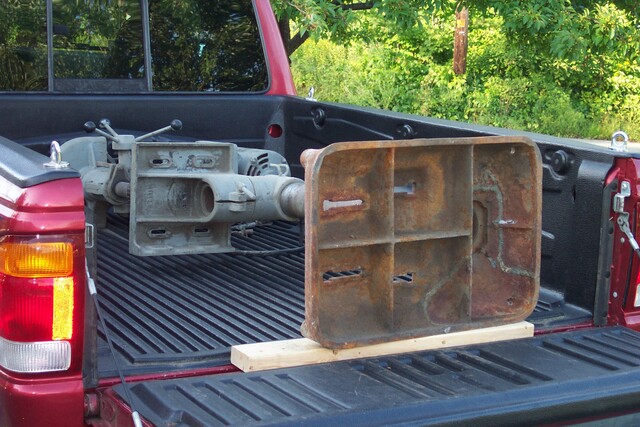
The drill was located in an auto body shop not too far from my house. When I arrived and said I was there to see Paul about a drill press, I heard, "I'm Paul. I will show you the drill press…such as it is." That didn't sound too good, but I was still hoping that Paul was just not a very good salesman. The drill press was in a back room of the shop. Paul said that he had had it for two years but never used it. I imagine that one of the reasons they did not want to use it is that it is definitely a pre-OSHA model. By design, the pulley guard only covers the front pulley.
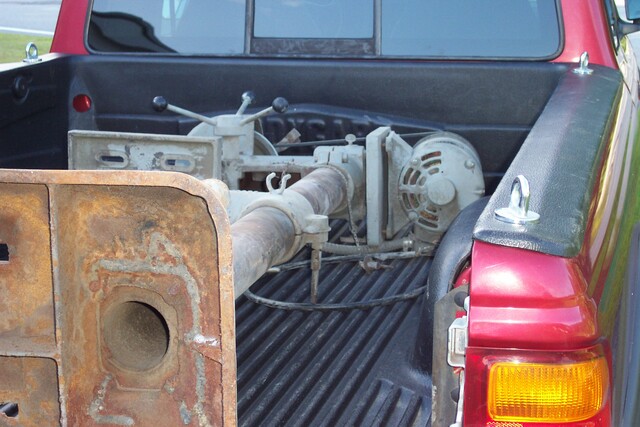
Paul told me that he got the drill from a body shop that was owned by a family friend and was going out of business. So I believe that this other body shop (owned by Woodrow Wilson - but not that Woodrow) is where the machine spent its youth. We plugged it in and it ran pretty quietly, despite some obvious misalignment. Paul and two other body shop employees unbolted the machine from the floor and got it into the back of my pickup truck.
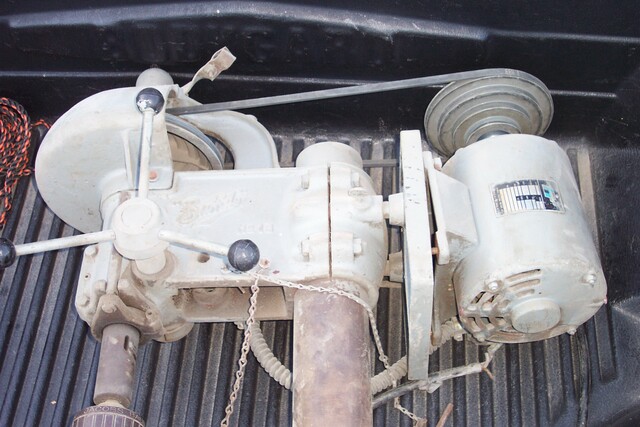
Here are a few shots of when I first got it home:
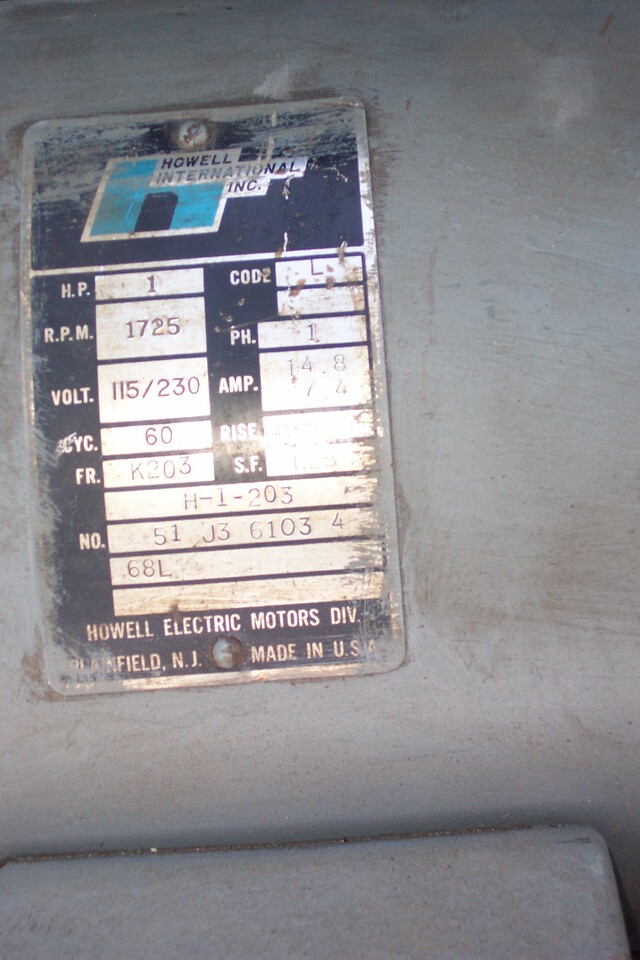
Here is the motor label:
There was some rust, lots of gunk, and gray paint on many surfaces that really should not be painted. But I imagine that having paint on these parts, such as the surface of the table, saved it from more serious corrosion.
From the start of the restoration, I did not intend to end up with a museum piece. Mostly, I wanted to make the machine as safe, accurate and smooth running as I could. I have to admit that as I came to realize what a wonderful piece of machinery I had, I found myself spending more and more time improving its appearance.
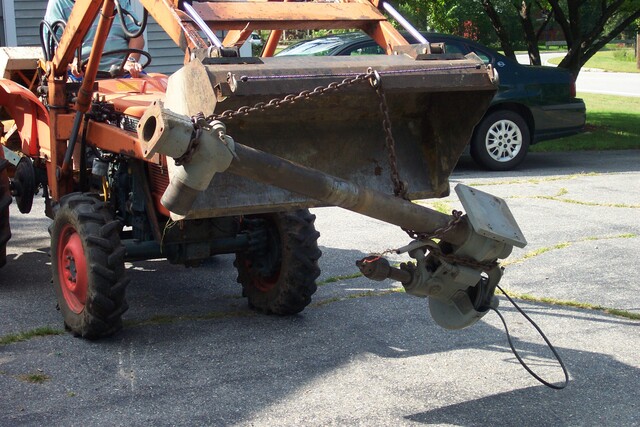
The drill and motor weigh about 400 lbs. I took some large parts off while it was in the truck, but the remainder was still very heavy. My neighbor with a tractor, who often helps me with such things, was not available before we got the remnants of a hurricane. With a bit of rearranging, I was able to get the truck into my shop for the stormy night.
The next day, my neighbor came to the rescue:
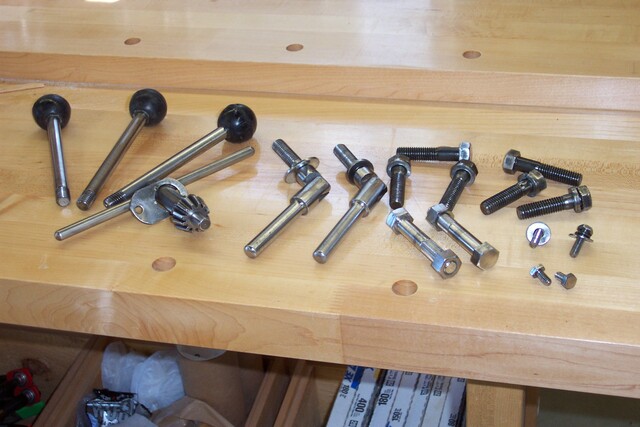
The removal of unwanted paint and preparing for repainting was a lot of work - but very satisfying as I could see the potential. Here is some of the hardware after removing paint, gunk and rust:
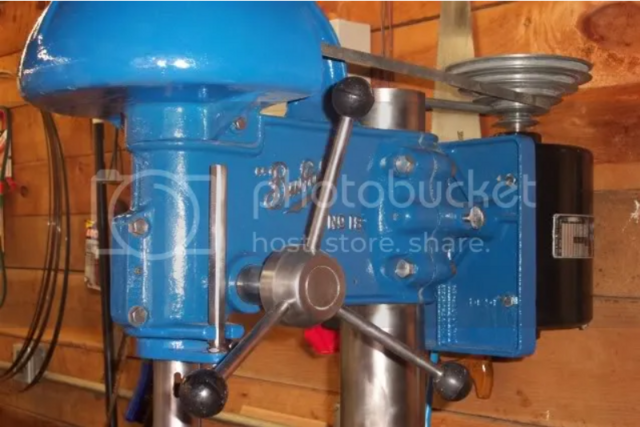
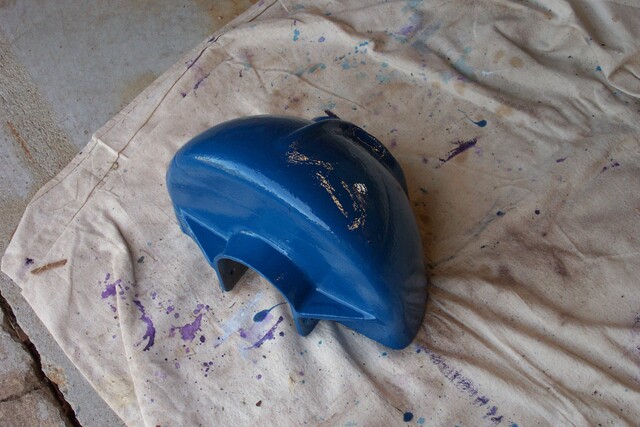
I wanted to use brush-on Rust-Oleum to repaint. It seems that there are far fewer color choices in the liquid than in the aerosol. I choose Royal Blue. It turned out to be a bit brighter that I expected. Well, I will not have to worry about misplacing the drill press! For example, here is the UFO-like pulley guard:
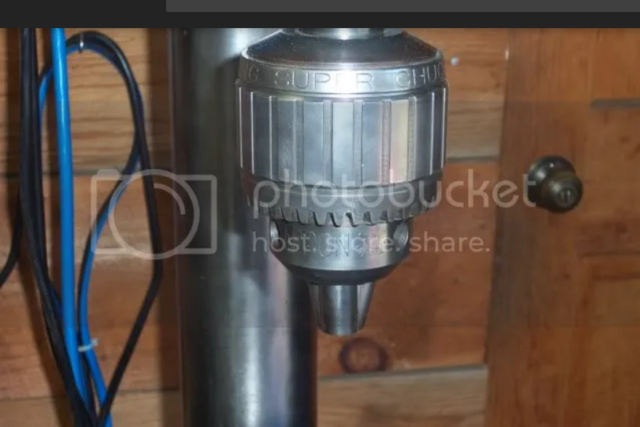
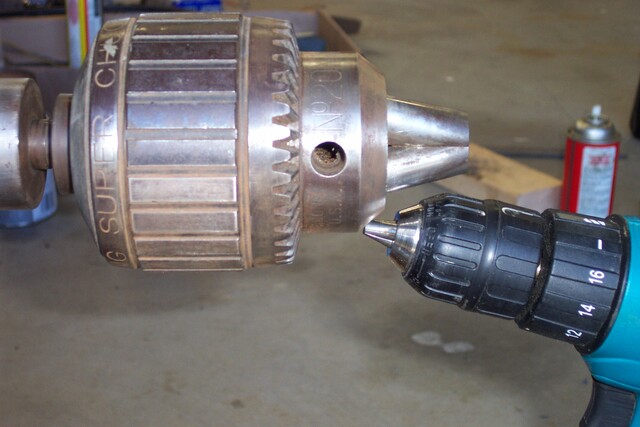
The chuck on the drill press is a monster. It is the Jacobs model 20N "Super Chuck". The capacity is 3/8" - 1". Here it is next to the 1/2" chuck on my cordless drill:
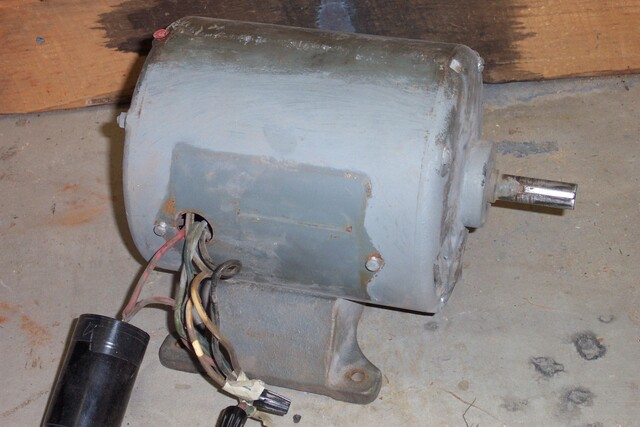
The 1 HP induction motor is wired for 120V. There was some funny wiring involving a light switch attached to the side of the main frame of the drill. Also, the cord was bad and there was no ground attached anywhere. But, the motor ran beautifully from the very start:
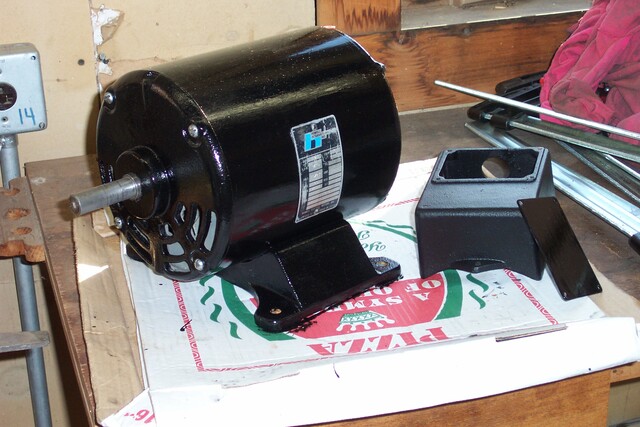
Here it is cleaned and repainted:
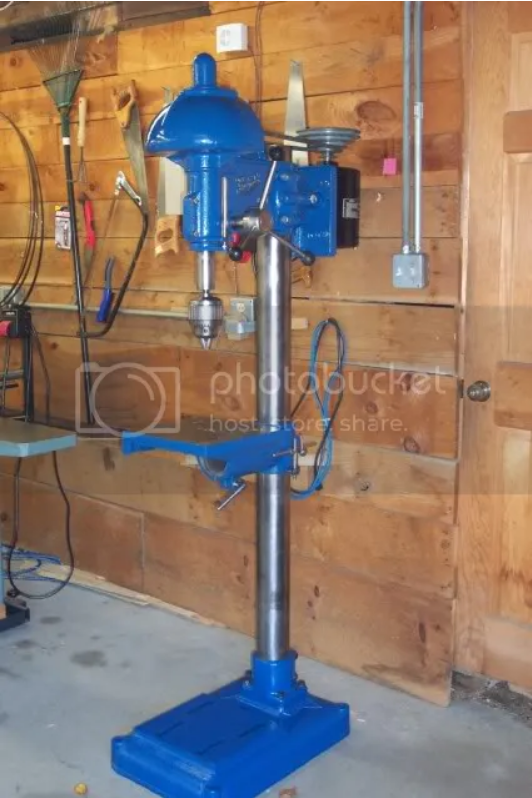
It was a great feeling to finally put the machine back together and get it running. It runs great. The runout of this drill is half that of my two-year-old Delta.
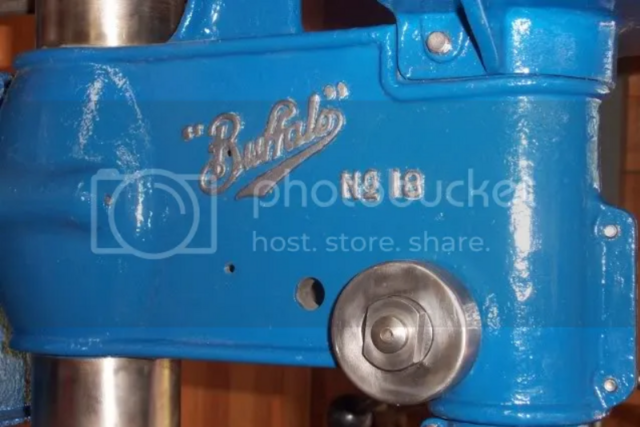
Here are some pictures of the Big Blue Buffalo (Sorry about the photobucket watermarks - it's a long story!):
A Small Post Drill
About a year later, I fixed up an old Buffalo Forge post drill:
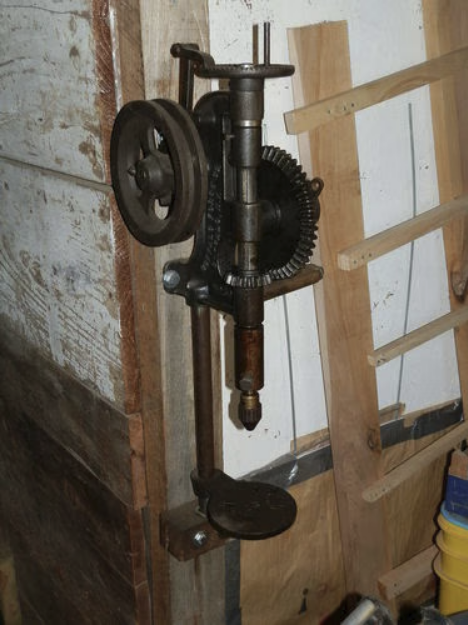
This little drill comes in very handy when someone just need to do something quick. Also, my son often uses it to drill holes in his smaller metalworking projects.
The Camel Back Buffalo
A few years later I purchased another Buffalo that is between the size of those two. It is a 10" camel back flat belt machine. I had this sitting around for about five years and finally got to work on it. It looked like this:
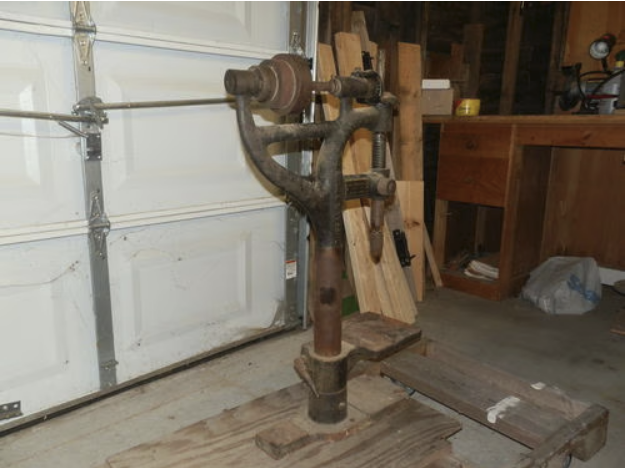
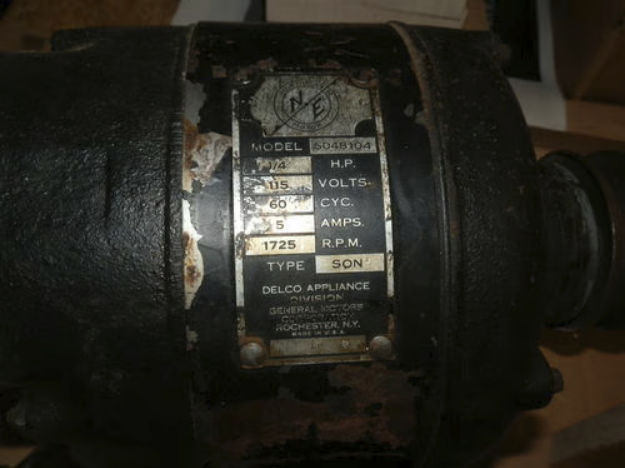
I had an old 1940s-era 1/4 hp motor available and decided to use it for this drill press:
Before spending too much time on this project, I tried a "proof of concept." I put some oil in the oil holes of the motor and the drill press. I cleaned the ancient grease out of the gears on the drill press and added some new grease. Then I used some clamps and a V-belt to set up this contraption:
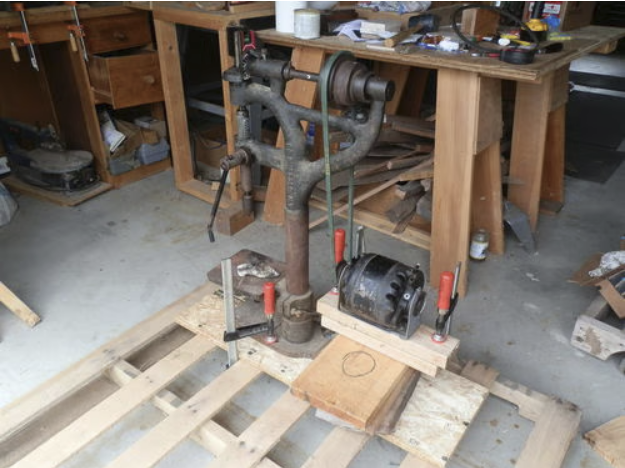
When I fired up the motor, it all held together. I expected the belt to come flying off, but it kept itself more or less centered on the crowned drill press pulleys. I even drilled some holes:
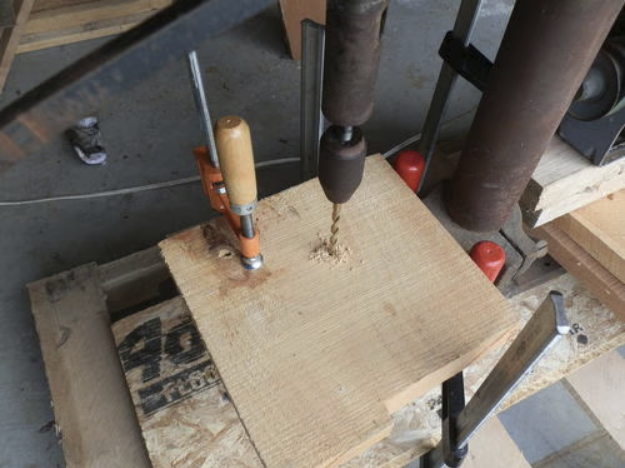
My goal was to get the machine in working condition and remove the excess rust, but not try to "restore" it to a shiny like-new condition. I've learned a lot about these considerations through volunteering at our town's Historical Society.
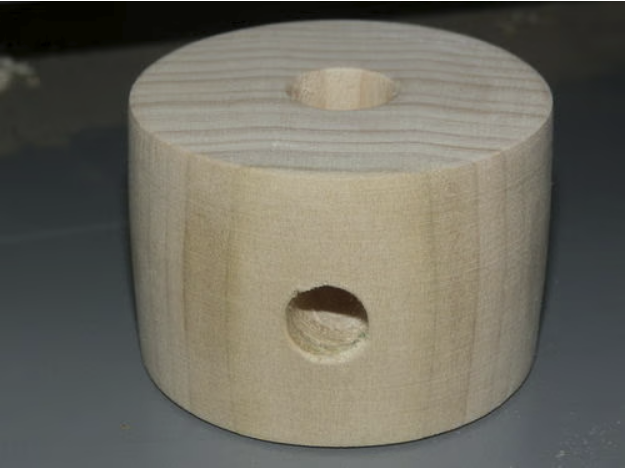
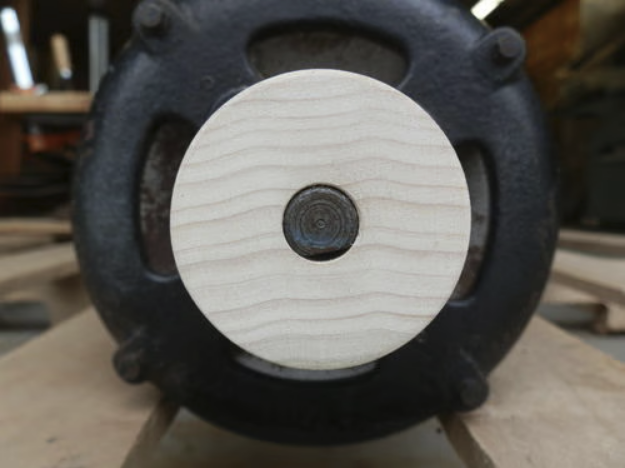
I needed to replace the V-belt pulley on the motor with a crowned flat belt pulley. I made one on my lathe:
I bought a belt locally. If anyone is near Worcester, MA and needs a belt for just about any application, old or new, give Hudson Belting a call. They are great and have been in business for 160 years - about 75 at the current location. They made me a belt to my exact specification while I waited. My son and I got a mini tour of the place. The belt was half the cost of buying it online. It is actually a nylon belt with leather facing. It is not supposed to stretch like a leather belt does. If it does, Hudson Belting will cut it back to the original size for free. This greatly simplified my design for mounting the motor.
<< Seven years later, the belt is still working fine as promised. >>
Here is a close-up of the belt material:
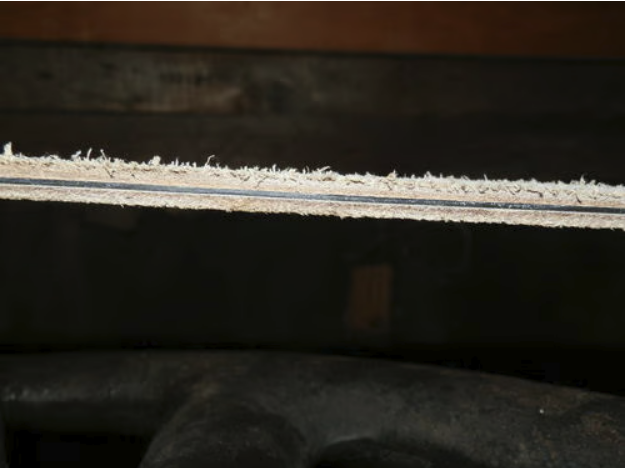
I took most of the machine apart to clean, check and lubricate. It is amazing to see how this thing is constructed and how well it has held up to all the use that it has obviously had. I used scraps and pallet parts to mount the drill press and motor such that the belt has the correct tension. This way, I can move it easily (well, with some help) if I don't like where I have it now and not have to fiddle with the belt tension again.
I doubt that this drill press was designed to run very fast. I will only run it on the largest pulley of the three on the drill press. I made the motor pulley 2" in diameter, which is already pushing the minimum for the belt. The motor runs at 1725 RPM. After the reduction of the pulleys and the internal gears (22/28), the bit is running at 600 RPM,
I really enjoy working on old machines like this one. This won't replace my modern drill press for most tasks, but I will make a point of using it when I can so that I can hear that great sound of the belt running around. Here is a photo of it in place in my workshop. I have it on a not-so-great bench that was there when we moved in.
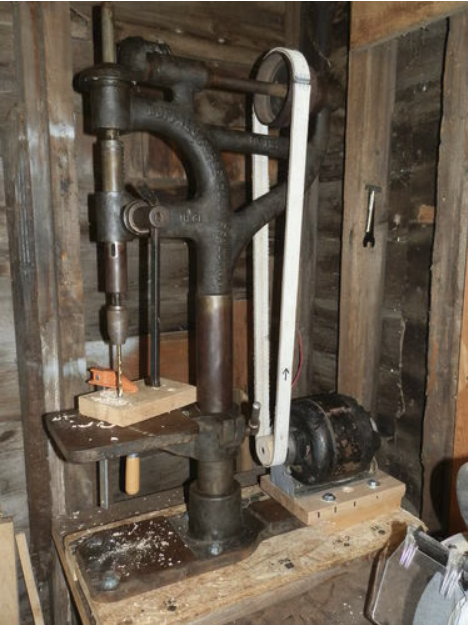
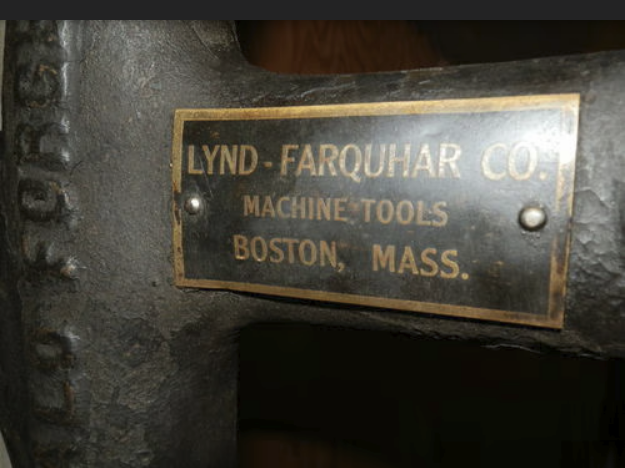
Here is a metal plate identifying the original seller:
“Fake quotes will ruin the internet” — Benjamin Franklin
3 Comments
Quite the collection Chuck! Must be some deep visceral connection to buying tools with "chucks" 😀
It isn't often, but when you need a 1" chuck, you need it. Nice looking rehabs!
I have a "micro" chuck for the #60 drills, has a 3/8" straight shank which fits into all my other tools chucks. Lets me basically ignore the minimum size spec for the big boys.
It isn't often, but when you need a 1" chuck, you need it. Nice looking rehabs!
I have a "micro" chuck for the #60 drills, has a 3/8" straight shank which fits into all my other tools chucks. Lets me basically ignore the minimum size spec for the big boys.
It's not easy living with the Super Chuck. 😉
Like you, I have a smaller chuck that I can put into the big one.
Like you, I have a smaller chuck that I can put into the big one.
“Fake quotes will ruin the internet” — Benjamin Franklin
man thats a lot chucks, chuck ! damn nice restoration work.
working with my hands is a joy,it gives me a sense of fulfillment,somthing so many seek and so few find.-SAM MALOOF.


