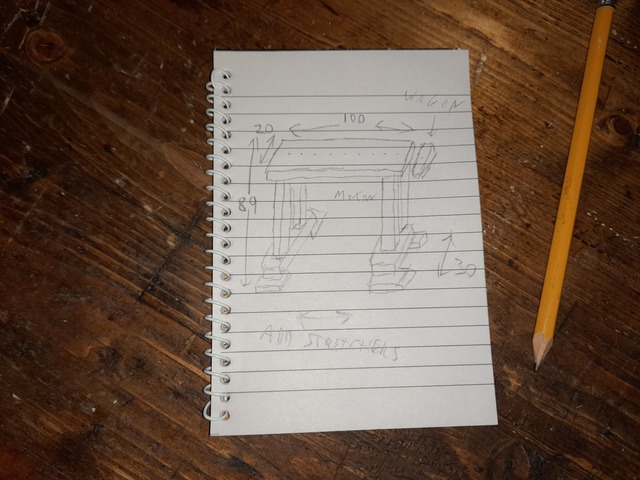
Had a bunch of 1x4’s lying around so decided to make a mini saw/workbench.
No particular plan – I've got a rough idea in my head of how I want it to end up but I’ll make most of it up as I go along. I made a quick sketch just so we can see how different the final product is.
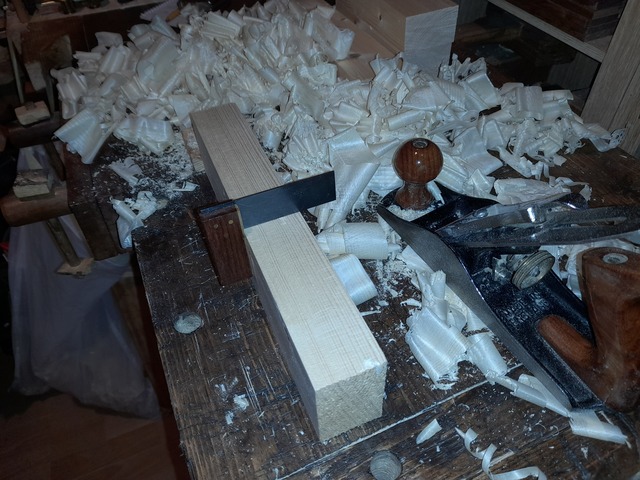
Start with the legs
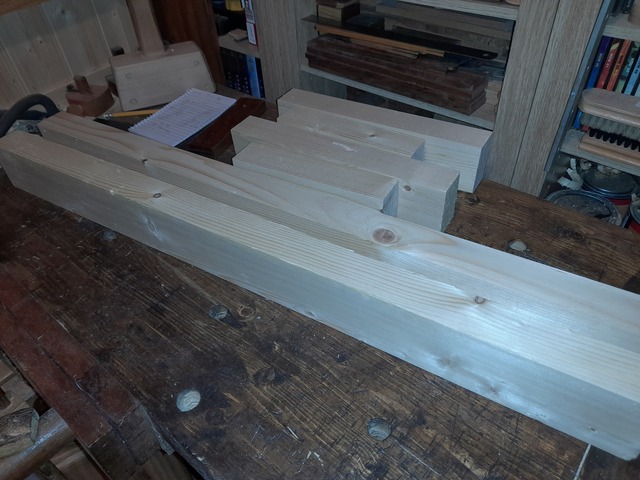
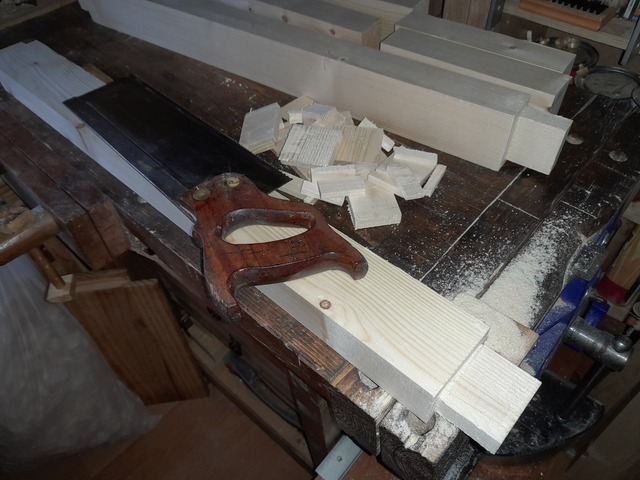
Cut the rails to rough length, I was going to go with 4 legs, but looking at it there is no way that'd fit, so this will be more in the style of a Japanese sawhorse. So the rough idea is is out the window on the first cut, which is a record, even for me.
Square them up.
And repeat for the legs
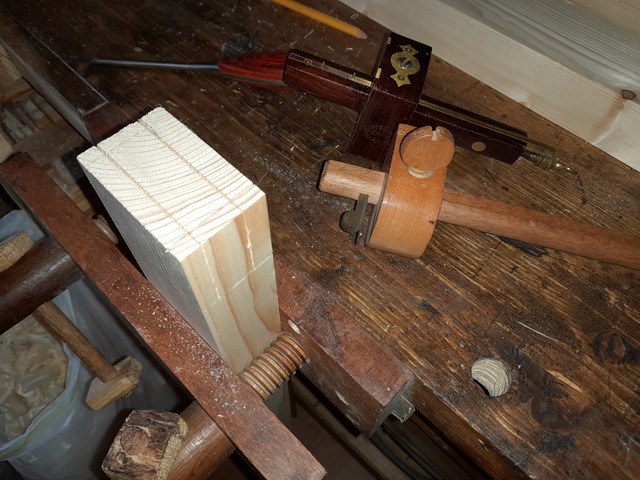
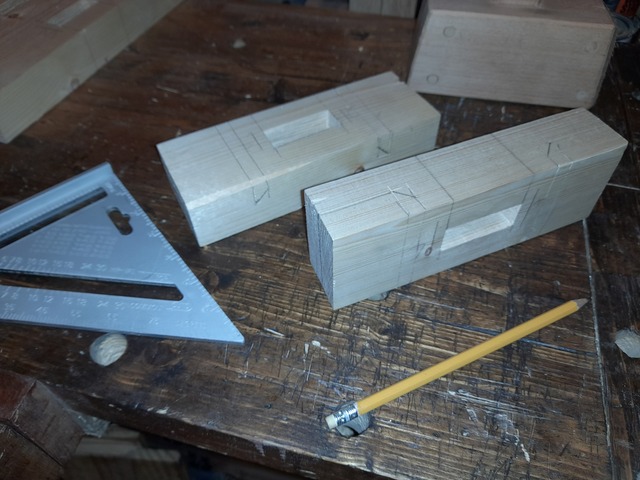
Through tenons for the legs I reckon, so cut the tenons.
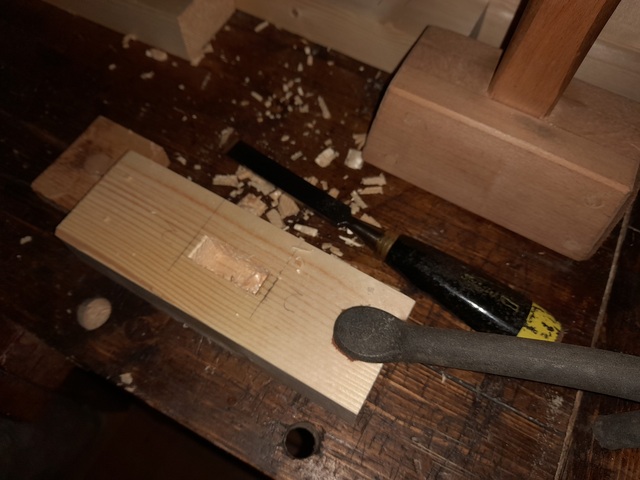
Partway through from one side for the mortise.
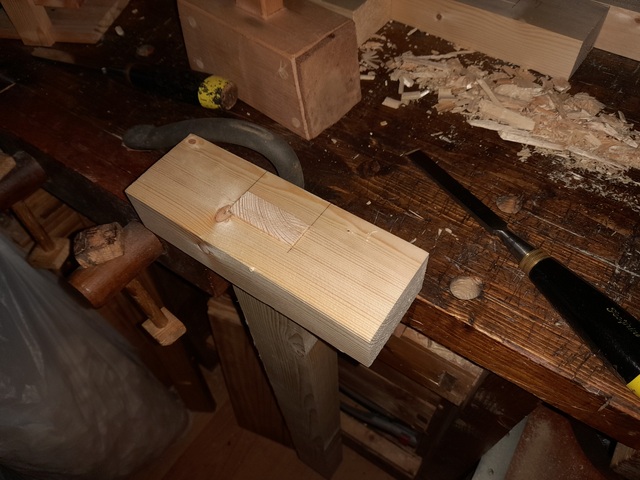
Finish off from the other and test fit.
Repeat.
And they will do.
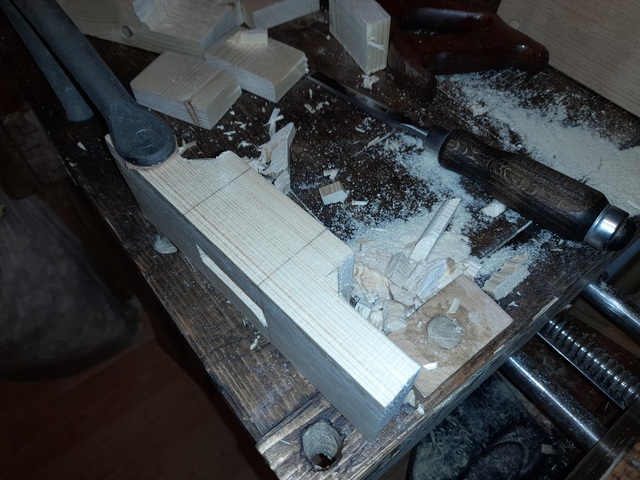
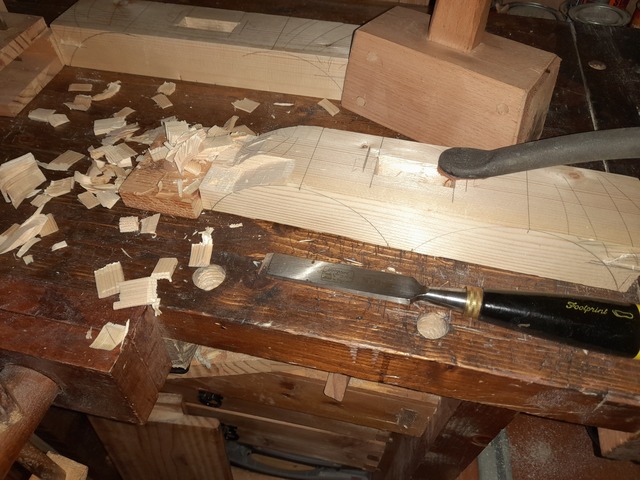
Mark up the rails for some shaping.
Saw away the waste and chisel the angled relief.
I don’t like the way that looks, so I’ll round it over with a rasp.
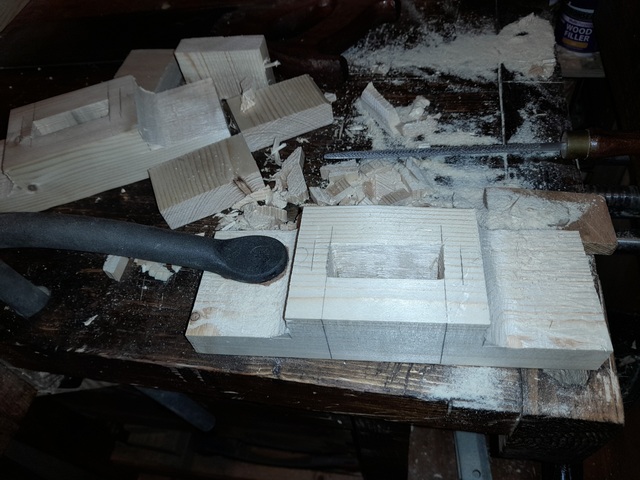
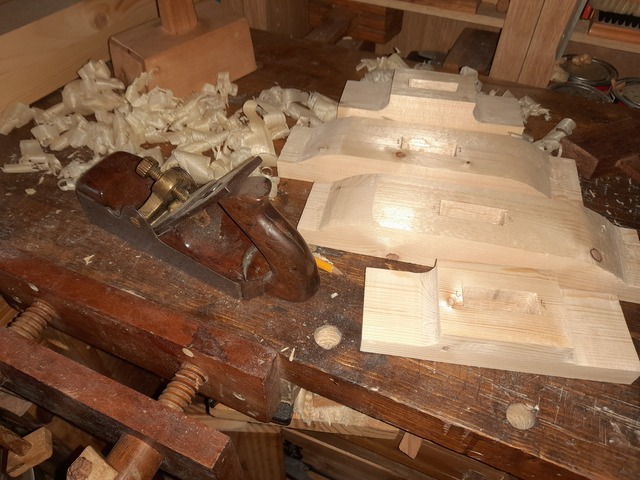
Mark out the feet – a tin of paint is a valid marking out tool in case you were wondering.
And chisel out the shape.
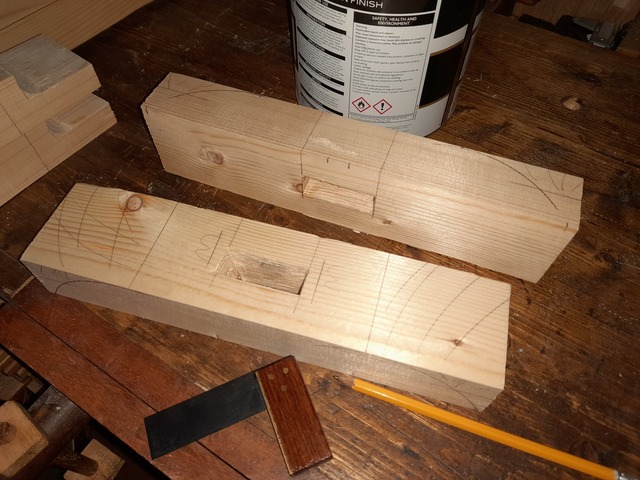
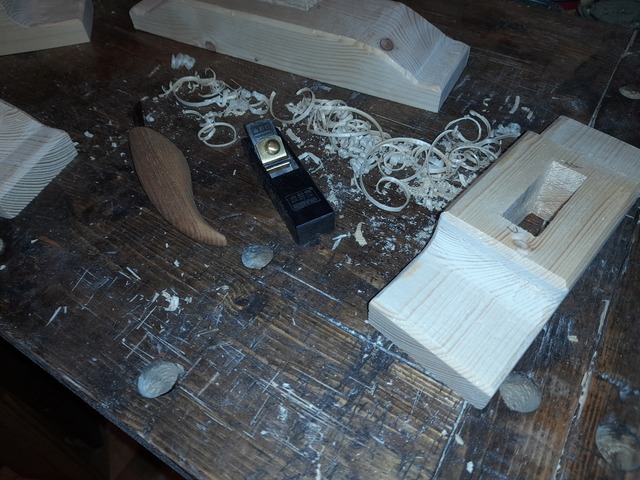
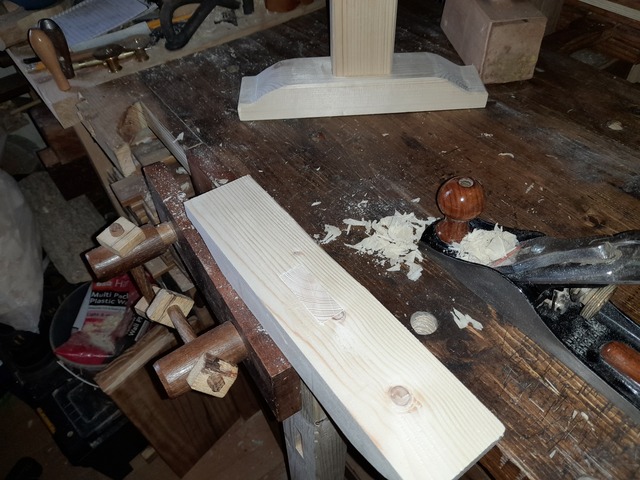
Plane the pencil marks off, bevel the edges. and call it done.
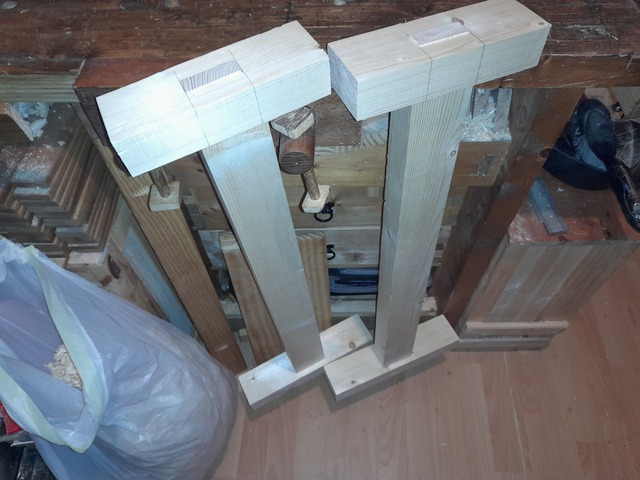
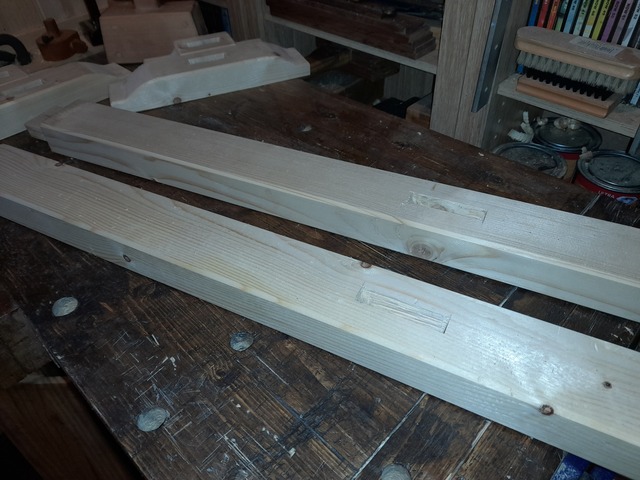
Much the same with the legs, mortise for the stretcher and bevel the edges.
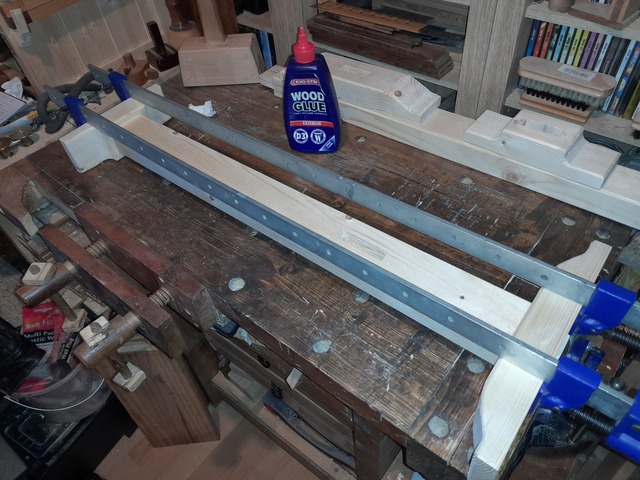
Glue it up.
And flatten the bit of the tenon that pokes out of the mortice.
And that’s it for the legs for now, I'll add some way to level it out for uneven floors later.