First stab at a worktop workbench, I'll make a better one if i use it much.
So going in I wanted it to be cheap (well, free), so I made the dimensions up as I went along based on what I could find lying around. I also wanted to try making it without using any metal hardware, because, well, why not :)
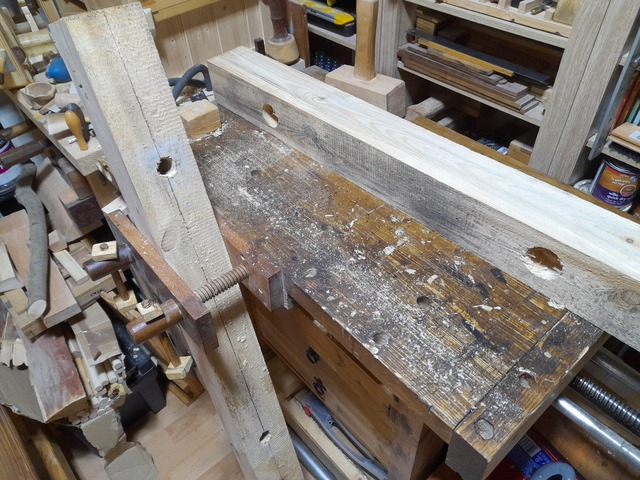
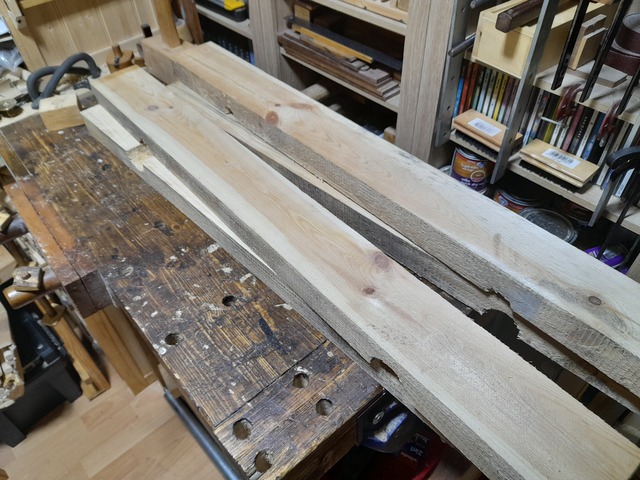
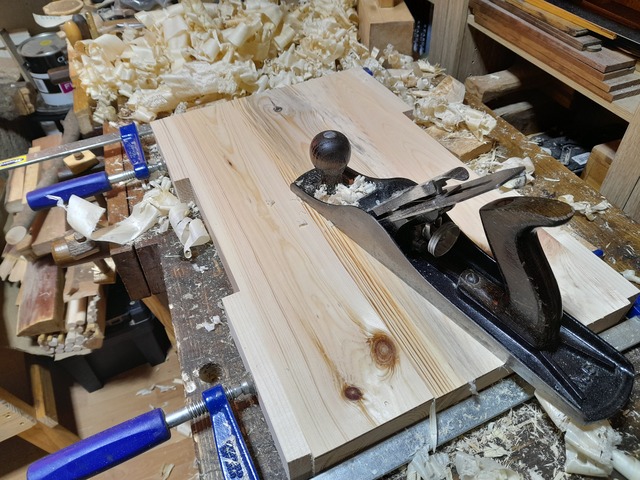
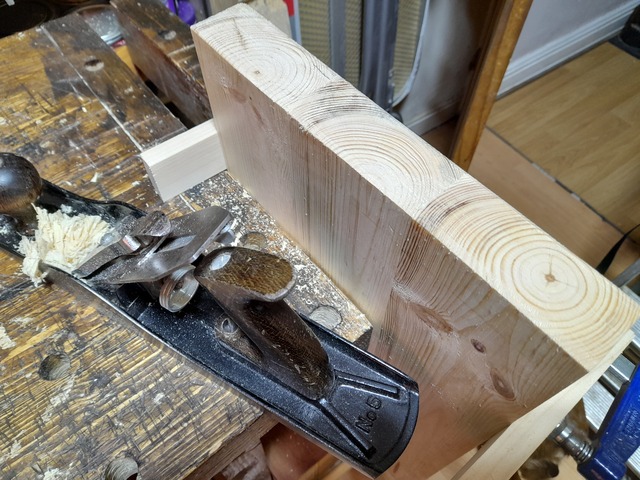
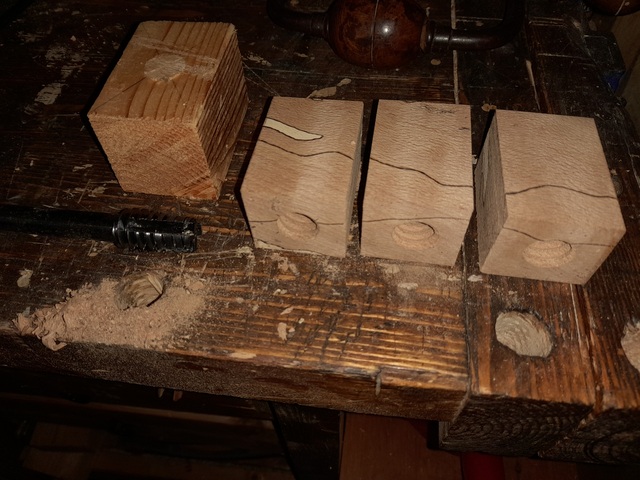
So, started off with some dunnage from work, terrible wood, but free (and I can get as much of this as I want, so will probably use it again) Rip it into a couple of (more of less) 2x4s
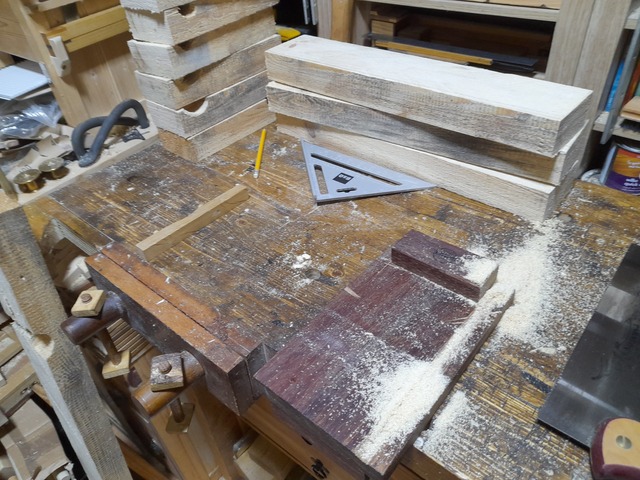
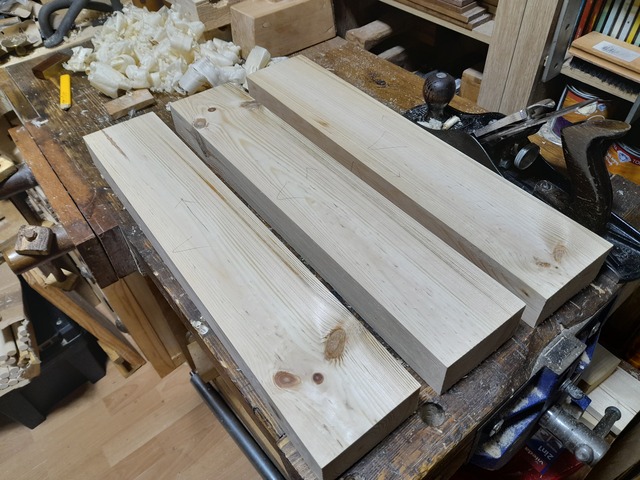
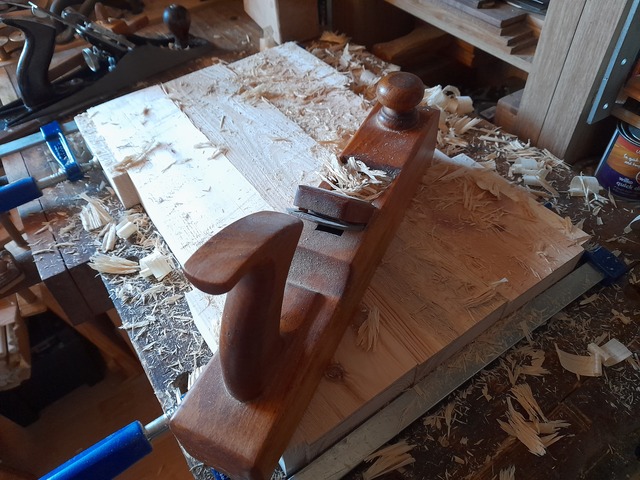
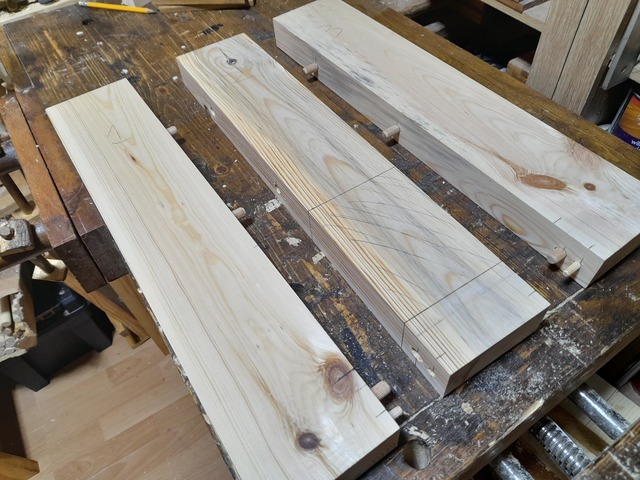
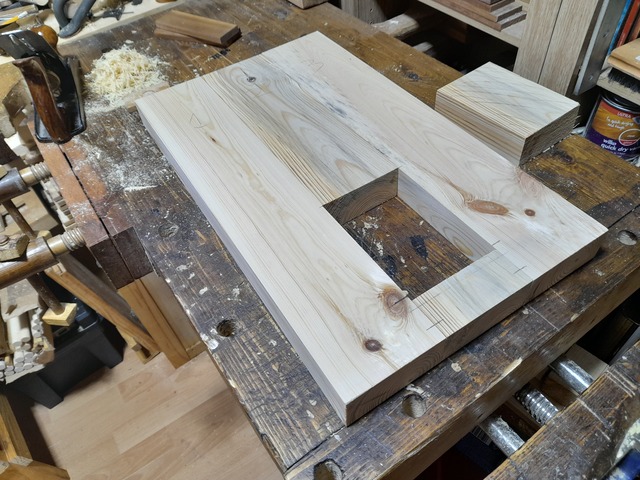
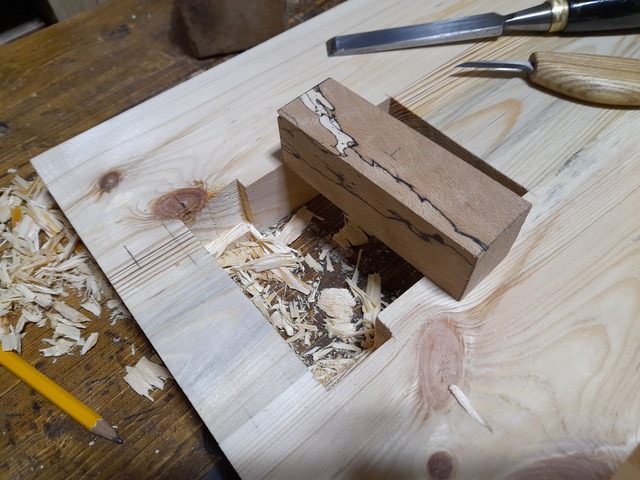
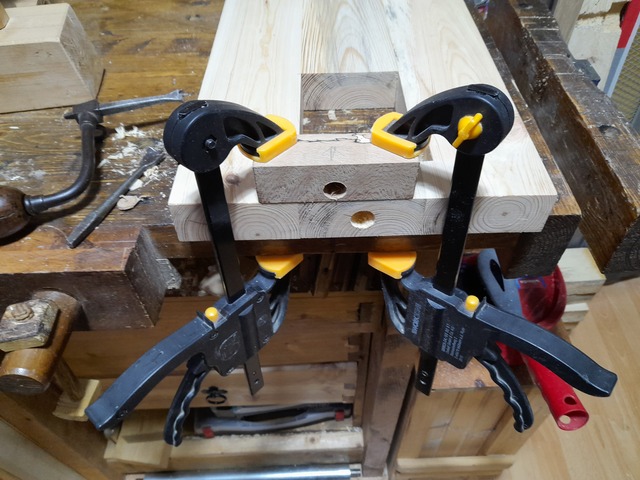
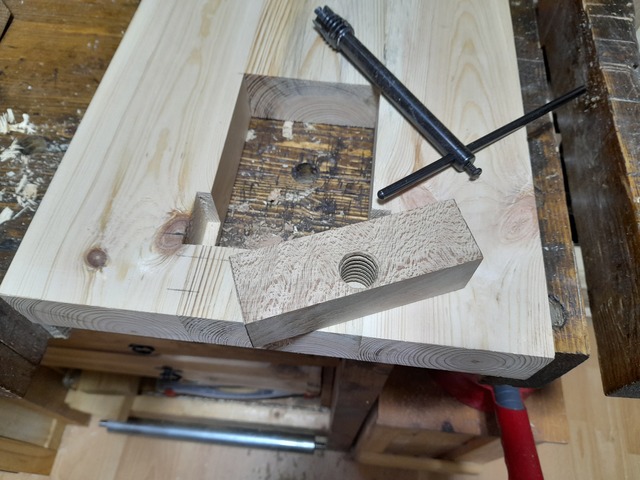
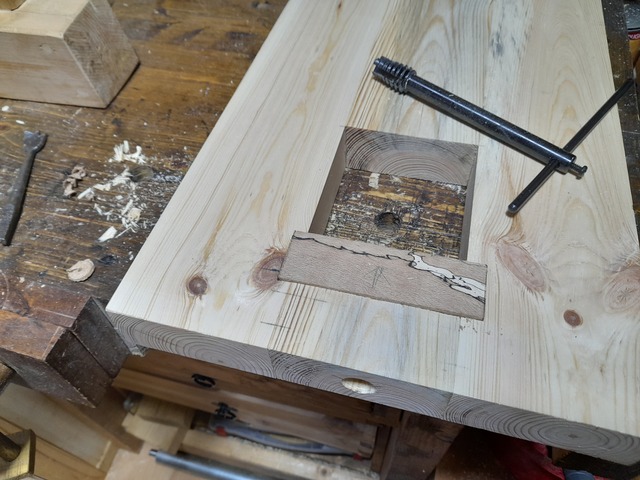
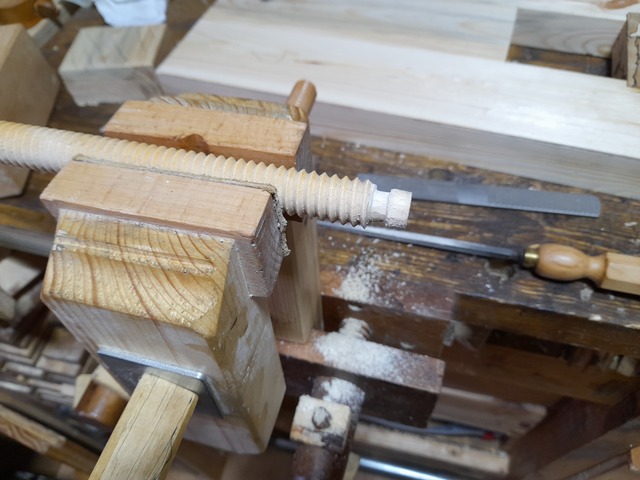
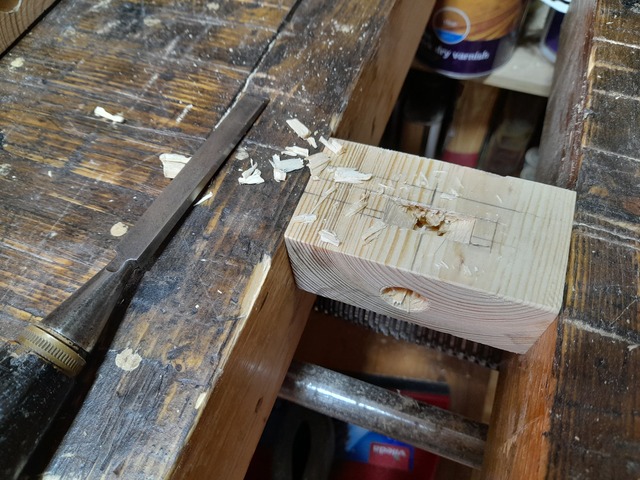
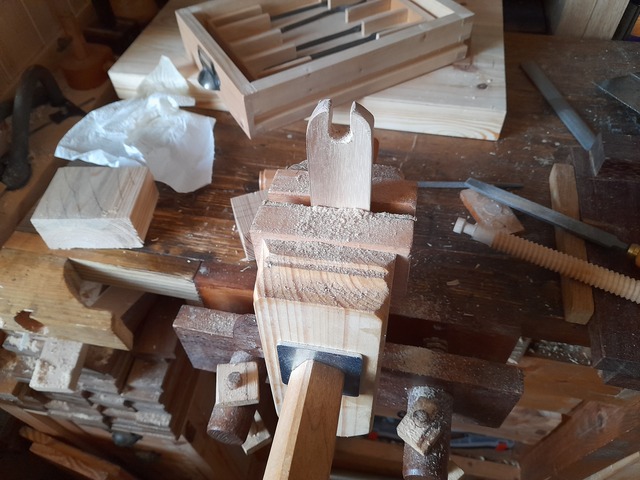
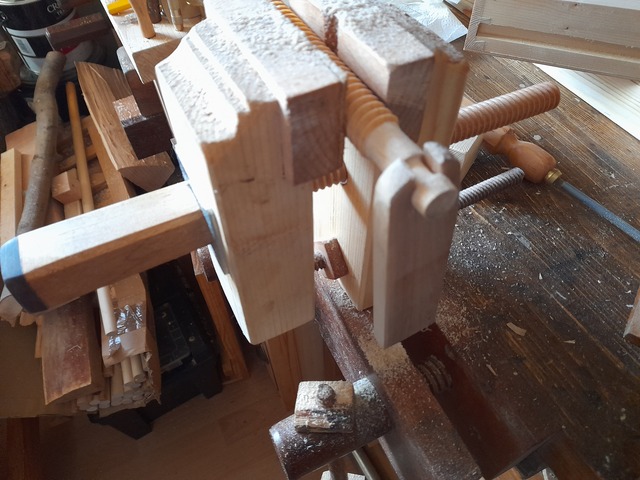
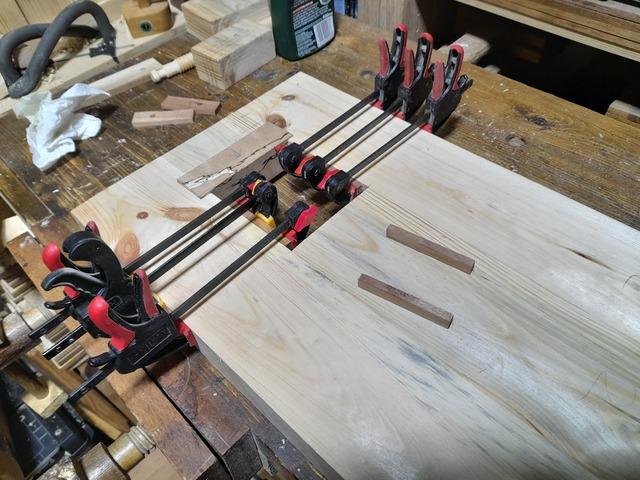
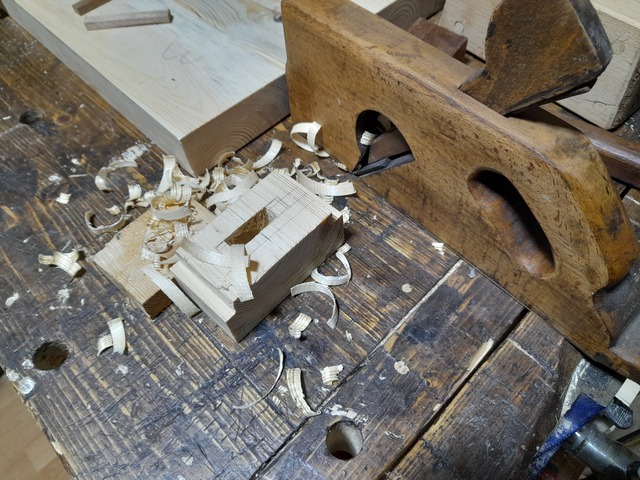
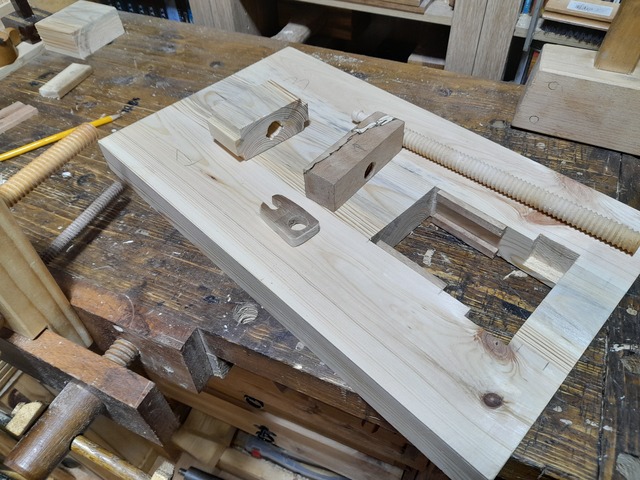
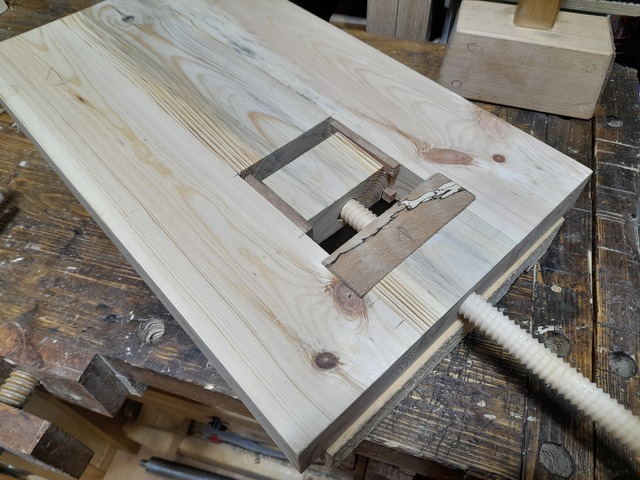
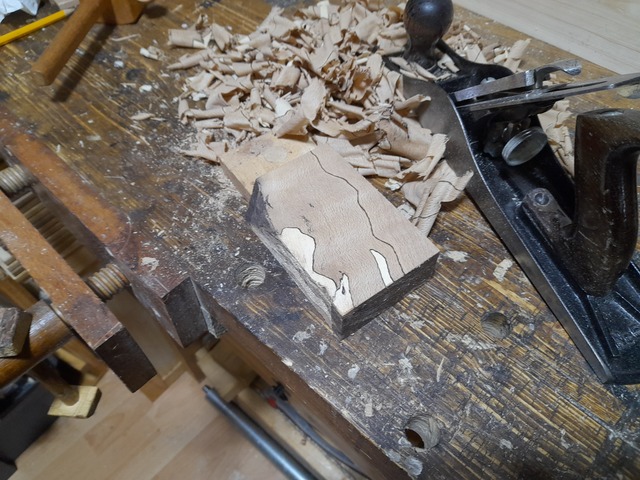
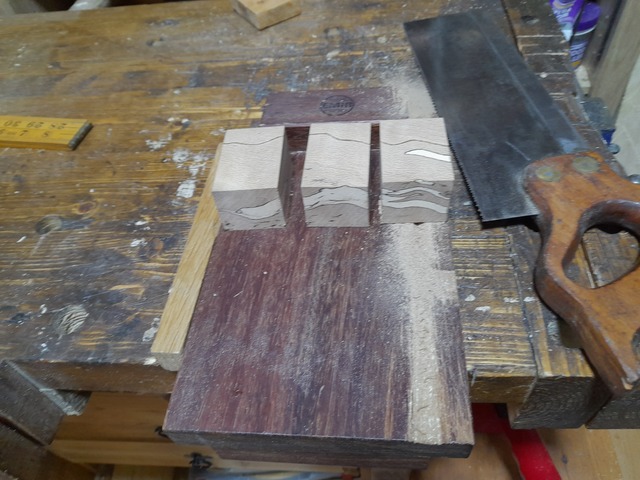
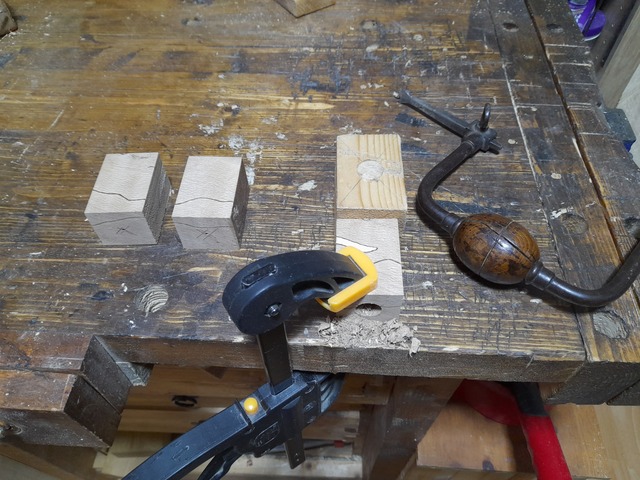
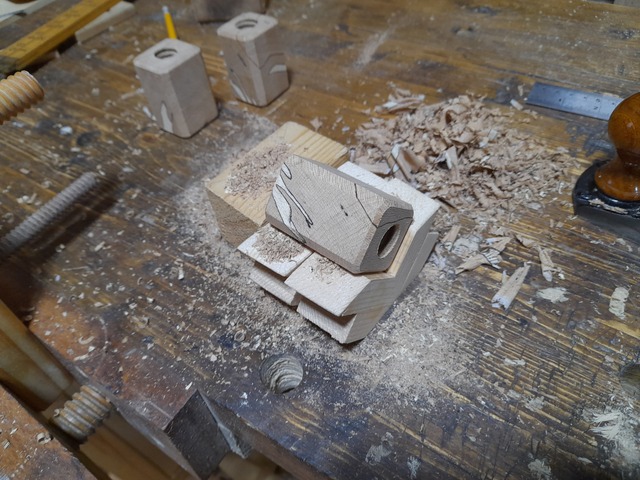
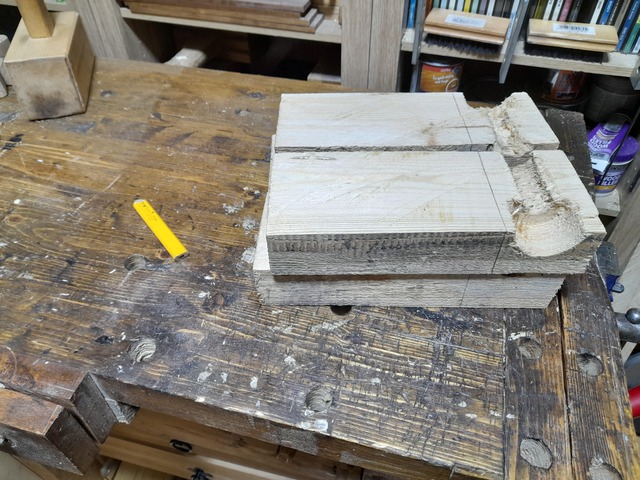
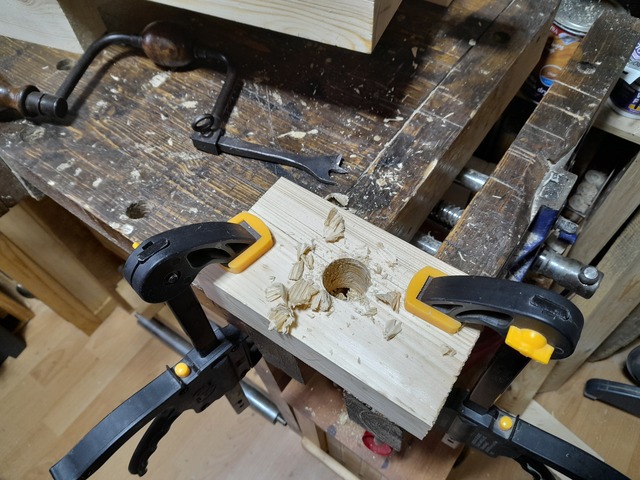
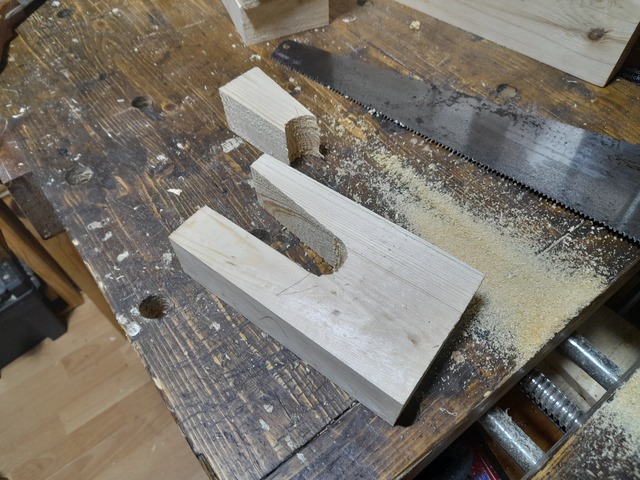
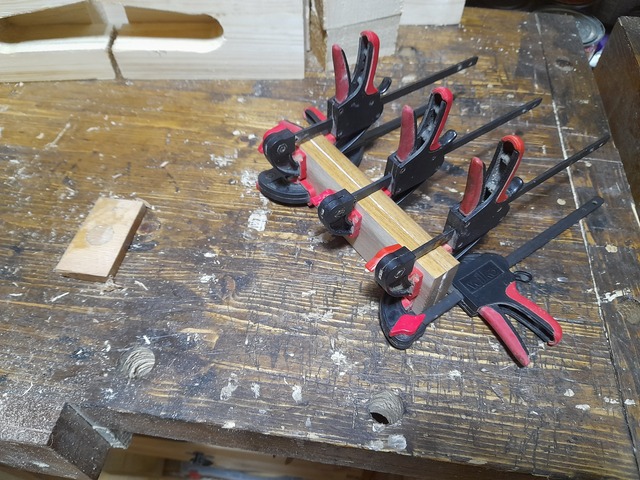
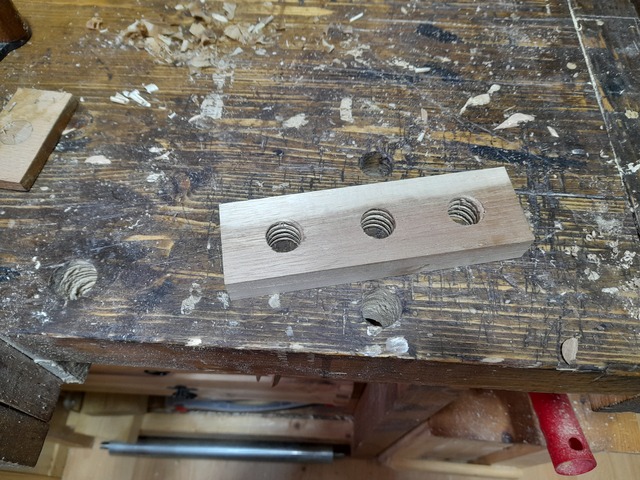
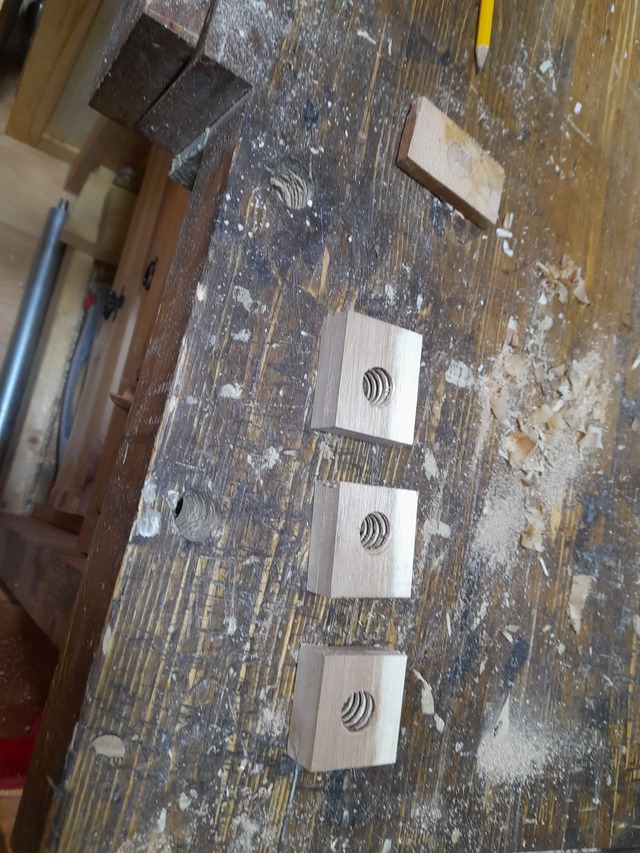
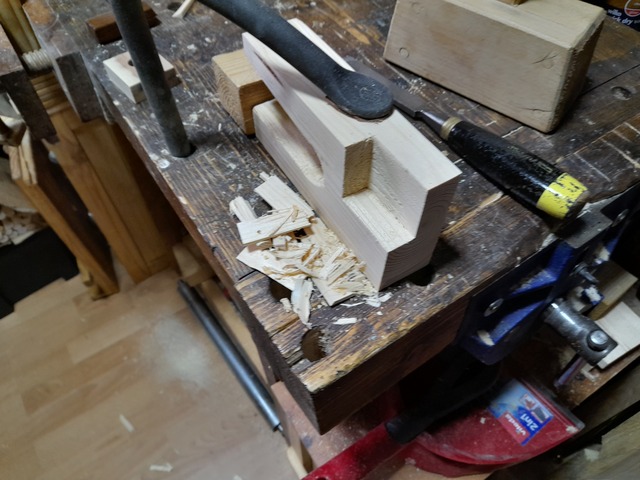
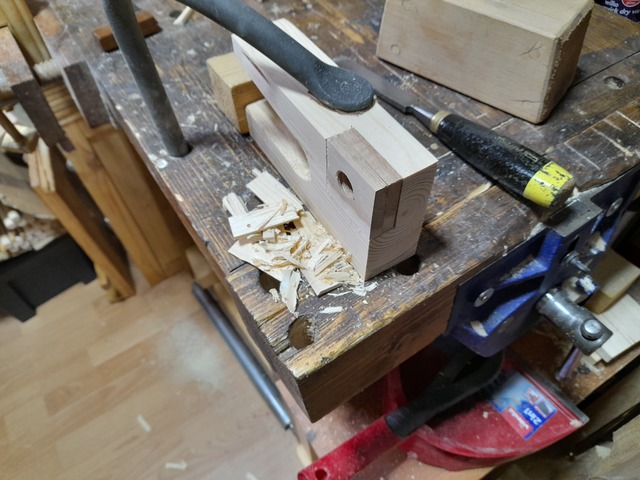
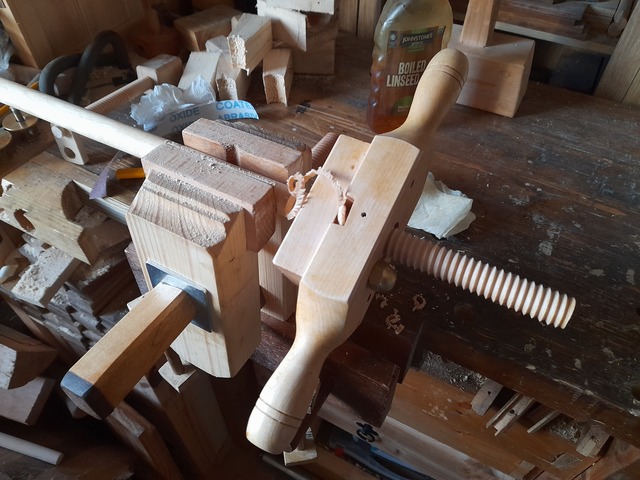
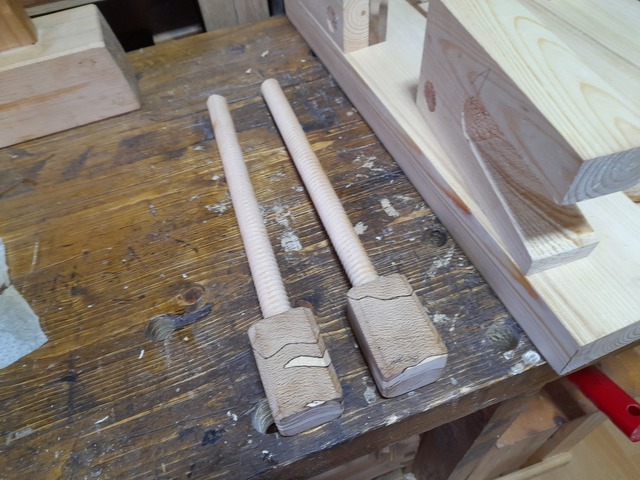
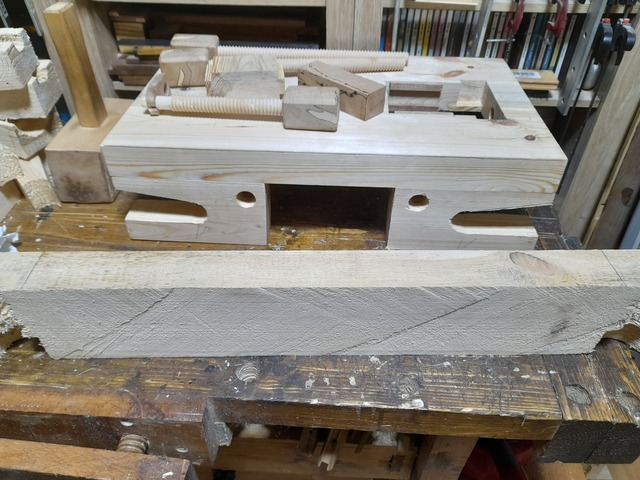
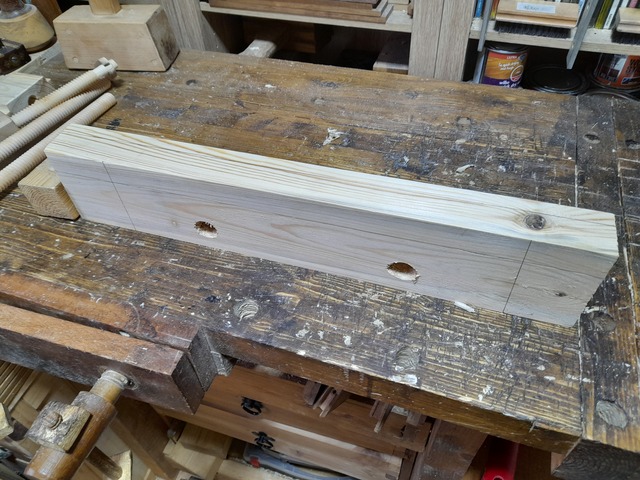
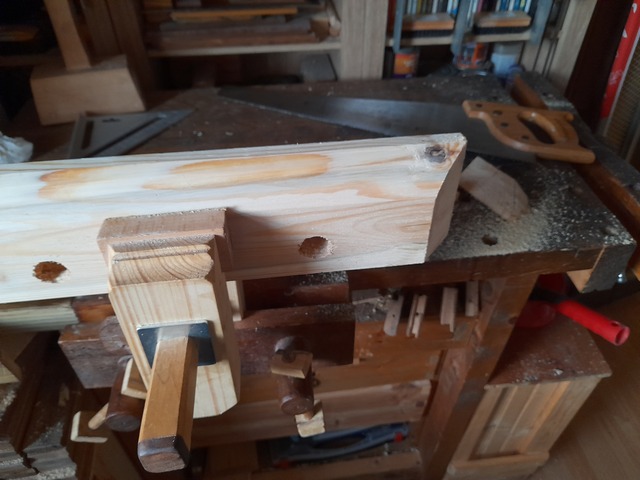
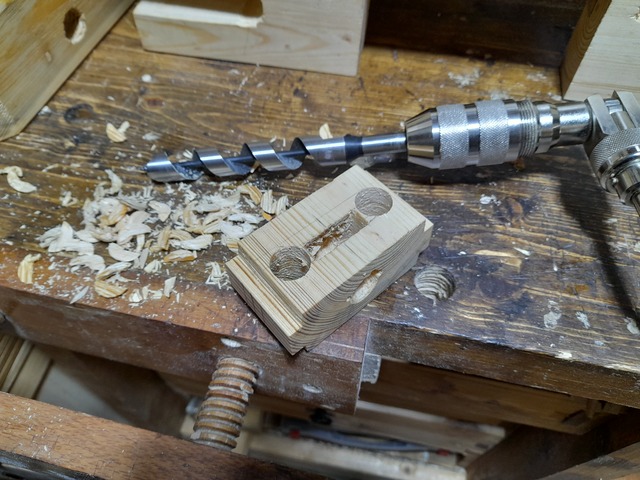
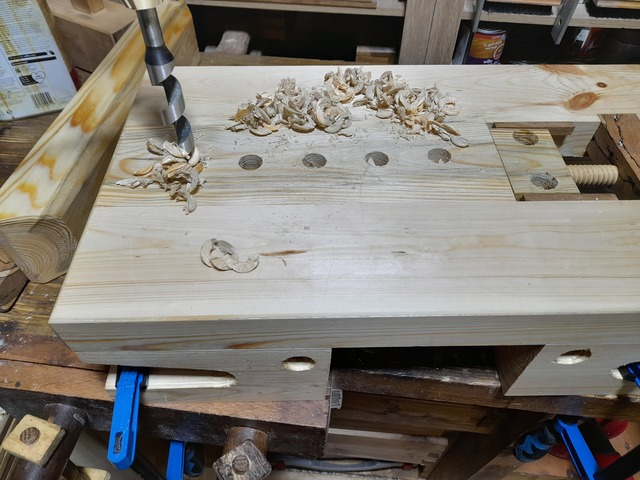
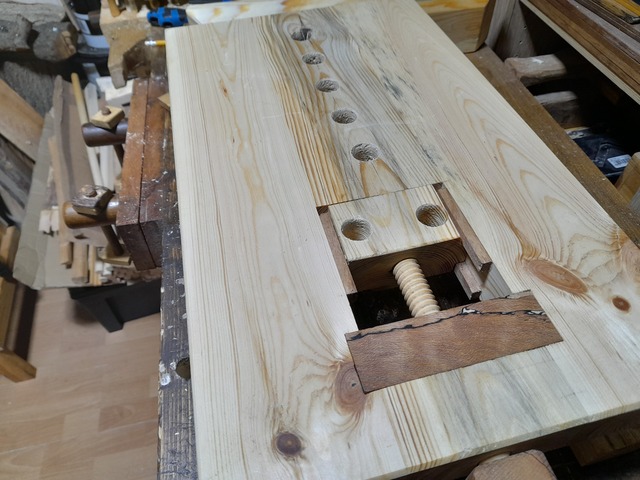
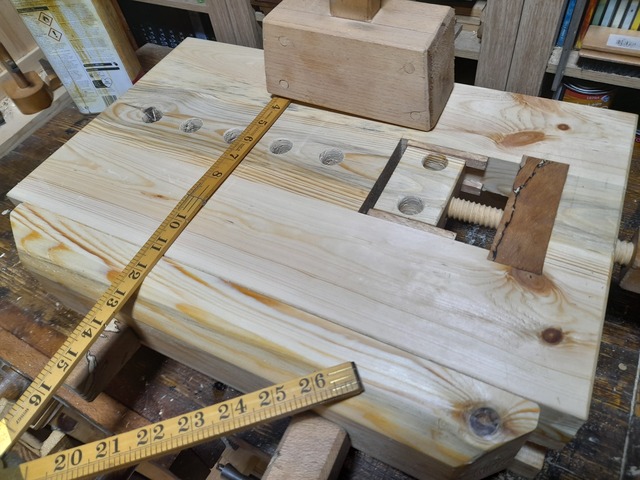
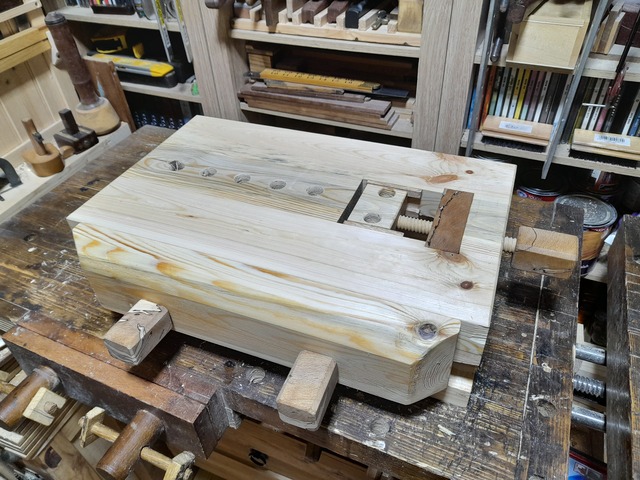
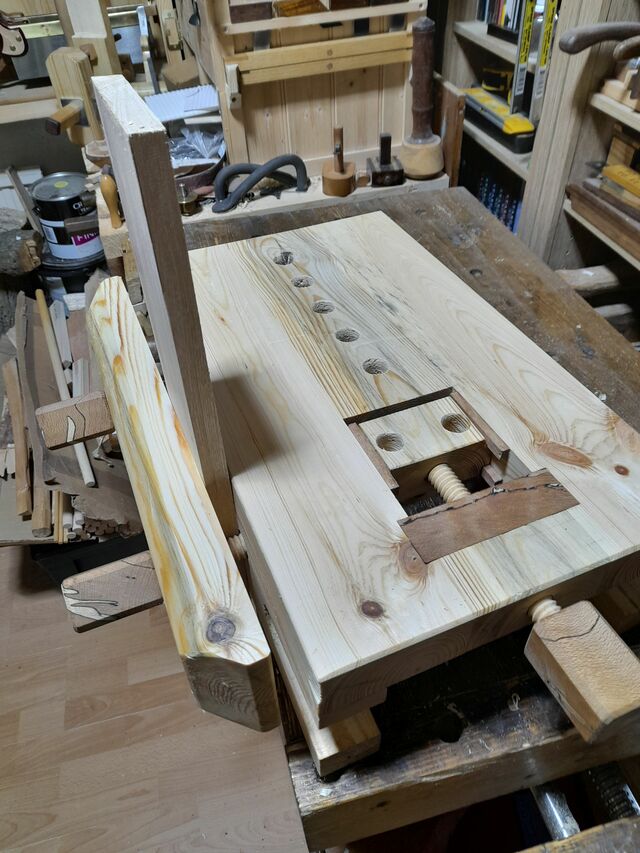
Cut out the flat bits between the holes for the main top. And dimension them up joint and flatten Then just square up the edges and call that the top I've just pegged them with dowels at this point so I can cut out a spot for the wagon vise easily. Just cut out the section And add a chunk of beech for the nut Drill the holes And thread the beech Just slots in so it can be taken apart later Make the thread with a cut out for the garter And just use the cutoff section to make the wagon Make the garter so it just clips on Glue on the guide strips And just freehand the rebates on the wagon to match. And that's the wagon vise, no glue so it can be taken apart and bits replaced as they get damaged. Another chunk of that beech for the handles Clean them up a bit into a beveled rectangle Onto the legs (or feet, are these long enough to class as legs?) These are just made out of the offcuts from the top. Drill and cut out the area used to clamp to the worktop Got some small bits of acacia cut offs that will do for the nuts, bit thin so I'll clamp two pieces together I only need 2, but it was big enough for 3 and I'll probably use it for something later. Just chop out the section and glue in the nut Well, drill the hole, then glue in the nut (Nearly messed this up) Make the vice screw and add on the handles Glue the legs on and use the last section of the 2x4 for the moxon face A bit of light shaping and it's done. Drill the dog holes in the wagon, should have made it a bit longer so I could have fit one in front, but I can do 2 to the side and make a double tailed dog to fit. Drill them in the top For anyone worried about dimensions, it's exactly, err 11 and a bit by nearly 19 and a half. And done, little portable bench with a moxon that just clamps onto a table.
Thanks Dave, there was definitely the facepalm when I realised I couldn't put a dog hole at the end of the wagon, thought I was going to have to rebuild that bit. And the bit when I realised the moxon screw was in the way of the wagon vice garter, bit of swearing there, but I just shortened the screw so the moxon only opens about 3 1/2" instead of 8". Other than that, went fine - who needs plans? 😅
Nice work Mike, this came out great. It'll come in handy when only needing one set of bench dogs. I try using the dogs on the front of my bench and the wide vise always wracks, then I need to go looking for wedges for the far side. Must have been pretty relaxing with all hand tools, old style never goes out of fashion.