


Share your craft projects
Make new craft buddies
Ask craft questions
Blog your craft journey

Don
654 posts
and
29 followers
in over 12 years
in over 12 years
Around the shop #4: Shop Made Router Table and Router Lift Restoration
This is
part 4
in a
4 part
series:
Around the shop
I made this router lift over ten years ago. It started out in an old Craftsman Table saw.

It then went into the top of the Grizzly cabinet saw
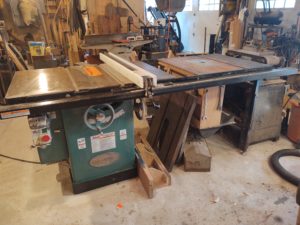
Now that I've had to downsize my shop and leave the cabinet saw behind, I thought I could do without a router table. Well.......that did not work for me at all, so today I decided to fix that issue. I got the router, table and lift. Now to figure out how to fit them into my small shop.
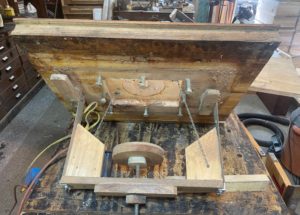
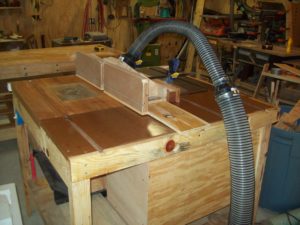
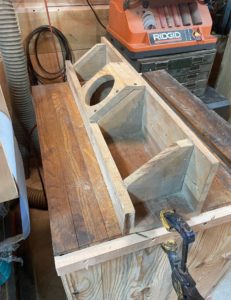
It's a fairly simple design. The four bolts in each corner under the plate helps level the plate and keep it flush with the top. I bolted two chains to the plexiglass plate and the supports to hold the plate down. Otherwise the top would just raise and lower with the router.
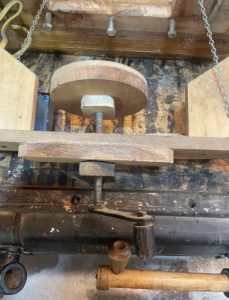
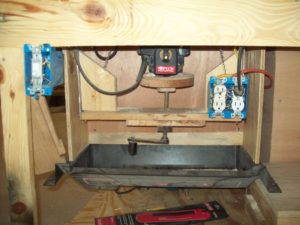
The lift mechanism is just a threaded rod with a handle. The bottom support is threaded and holds the pad the router sits on. To raise or lower just turn the crank.
I thought about making a portable table I could somehow clamp to my bench. In the end i decided i still needed a place to store it, and it would be heavy, and I'm getting older, and I wasn't sure how much space I would actually save. So with a little rearranging in the shop, I found a spot for a table. Move the sand blasting cabinet a little closer to the door, push the lathe and sander over a smidge and the router table will slide right in between the radial arm saw.
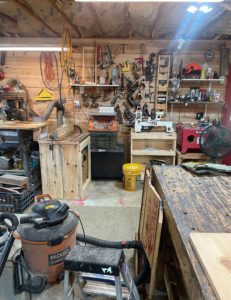
I've gotten pretty good at rolling the equipment around to gain the space needed for each operation. It's no longer production work for me so the extra time isn't much of a problem, and to be honest, it doesn't bother me nearly as much as I anticipated, so a rolling Router table it will be.
Off to the wood pile to grab some 1 x 10.
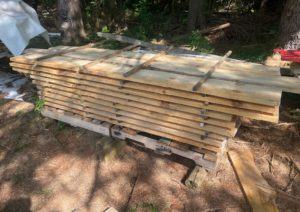
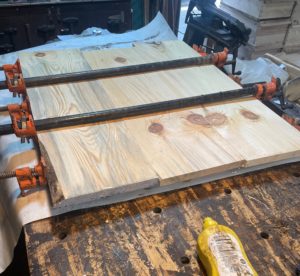
A little measuring and cutting and planing and I made myself a cabinet to hold the top and lift. Since it was mostly rough sawn pine, i cut everything to lengh with the radial arm saw before running it through the planer. Planing is easier with shorter pieces.
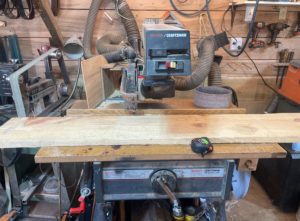
I then glued up the doors. The sides were not glued, they will just be fastened in place. The doors will need to wait for tomorrow. I don't think I have any hinges anyhow.
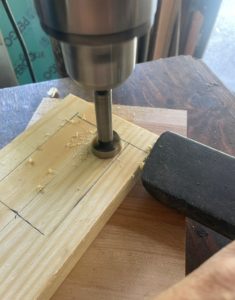
Now that I have the basic box built, I need to build the switch into the face frame.
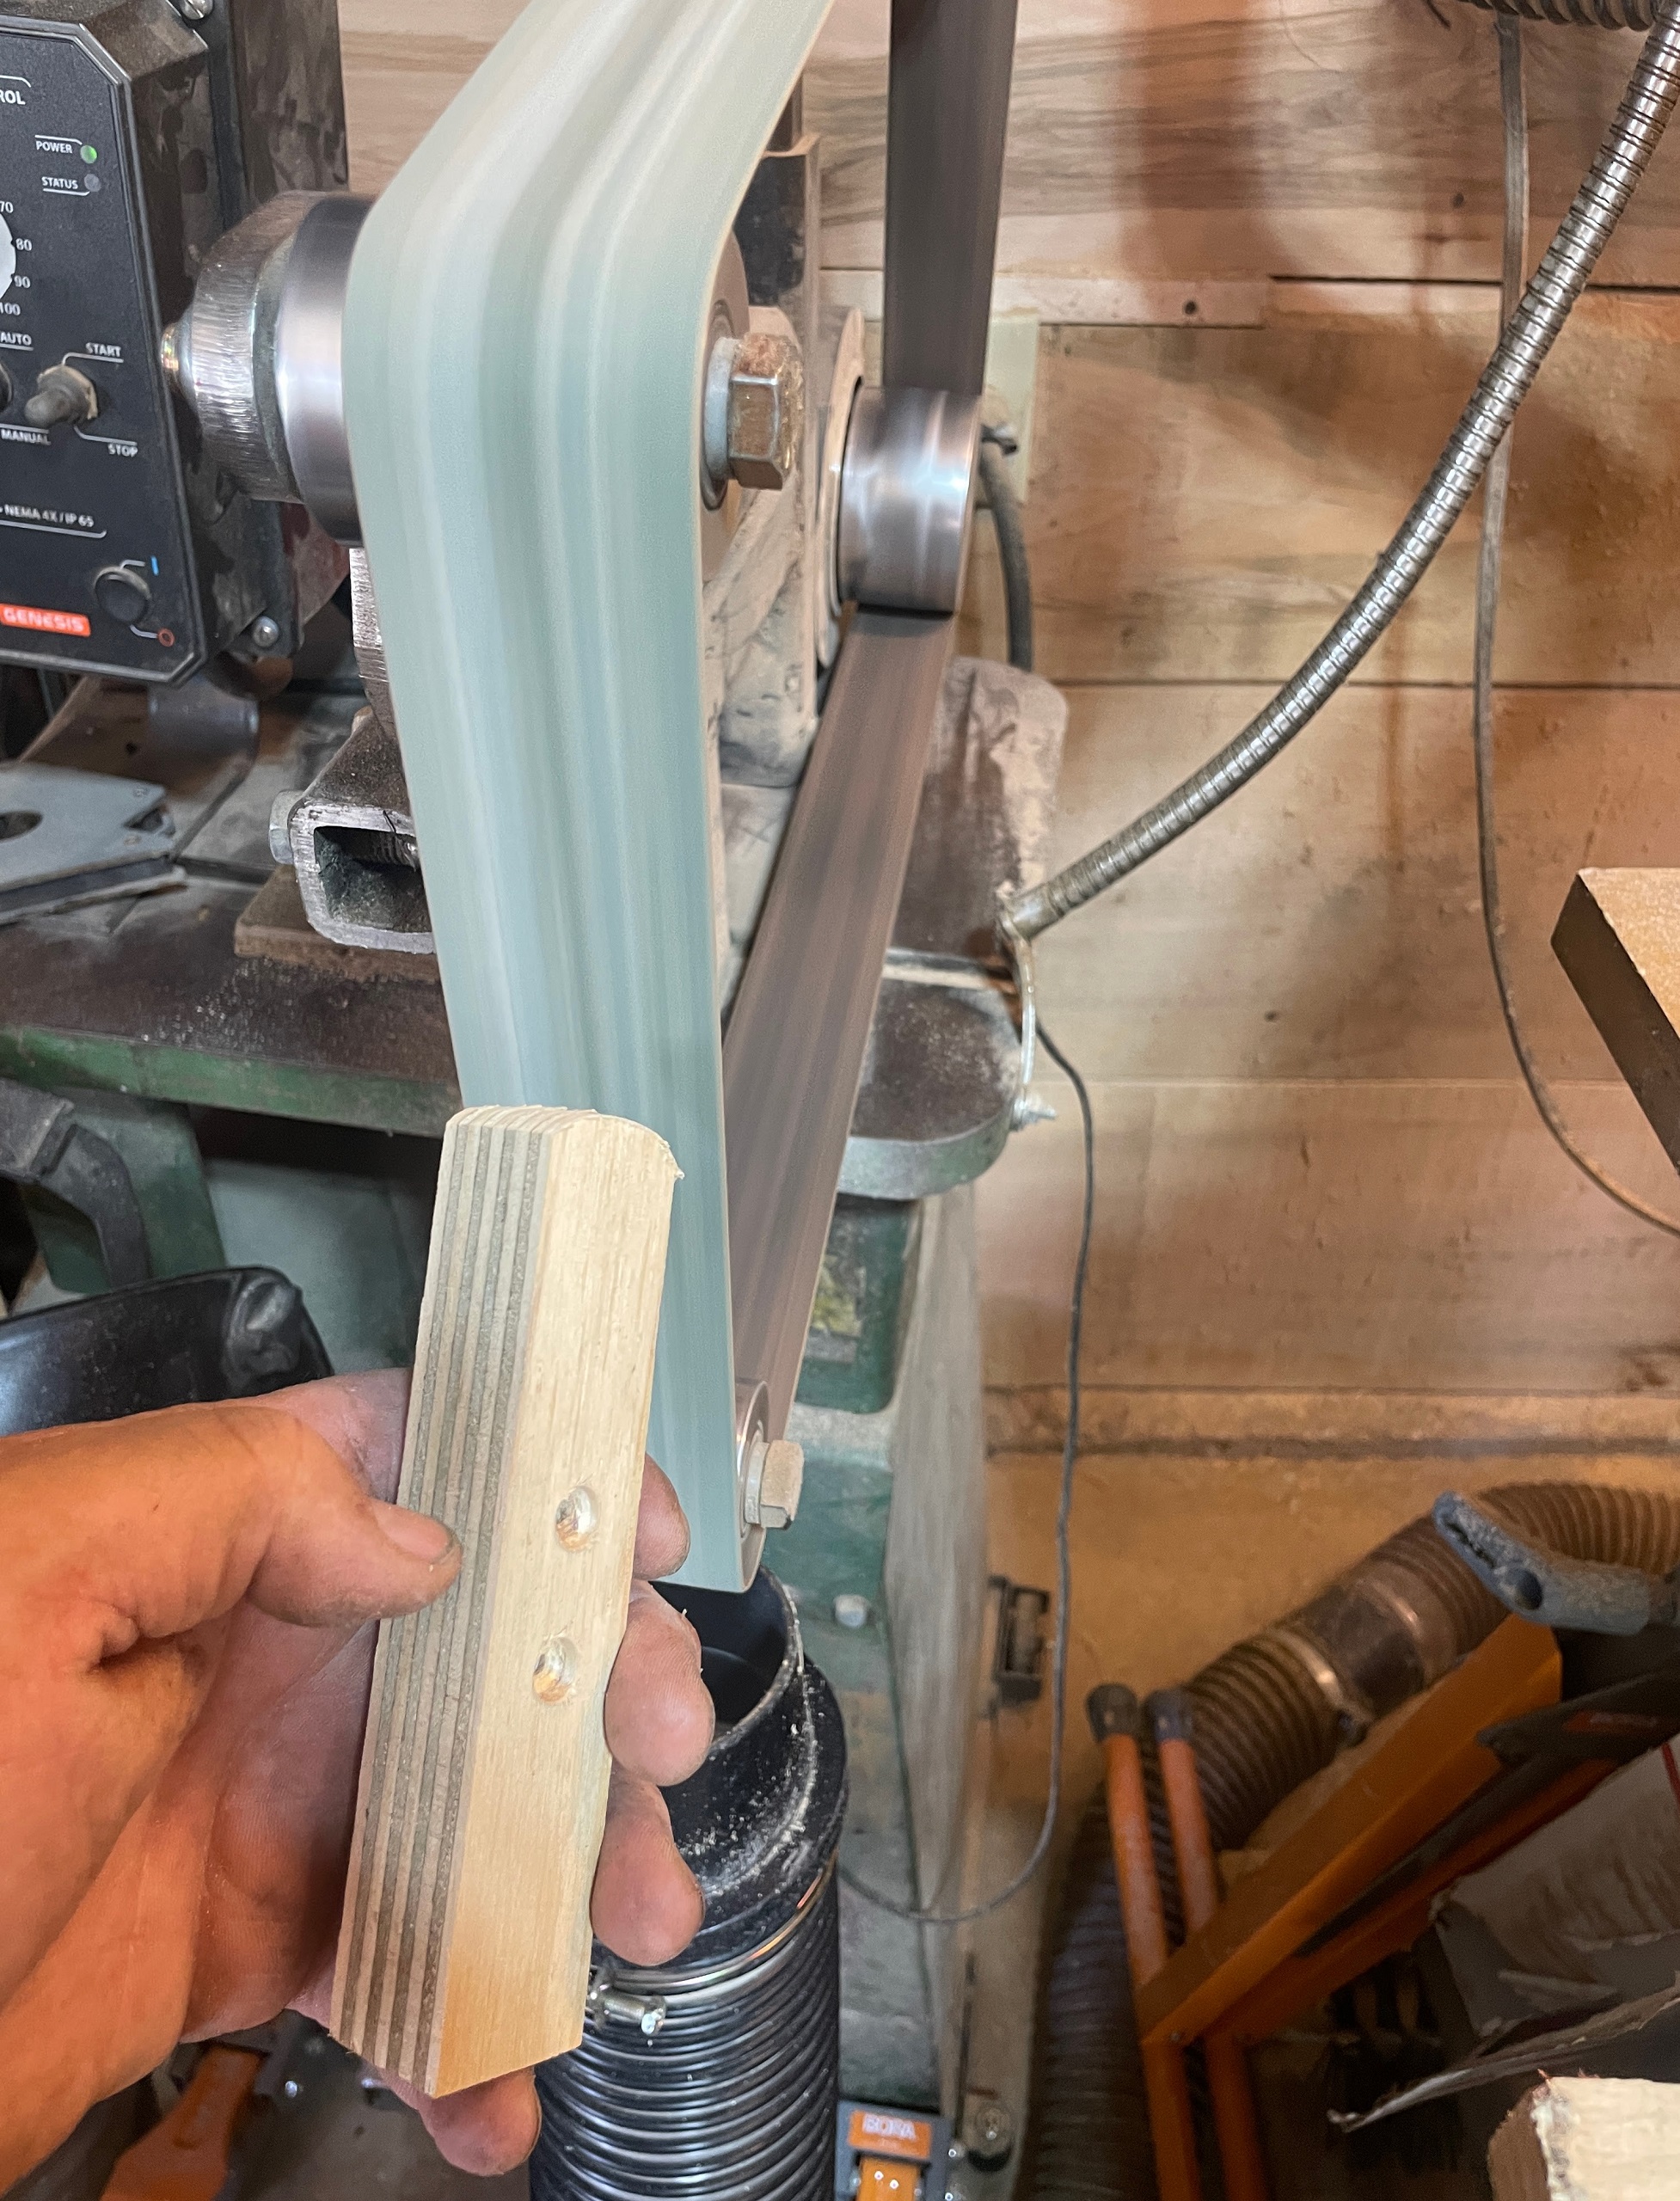
Once the face frame was nailed in place, I decided to add a little power cable management. It just required a couple pieces of scrap wood. I rounded the ends on the 2 x 72


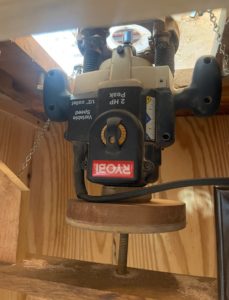
Now I reinstalled the router.
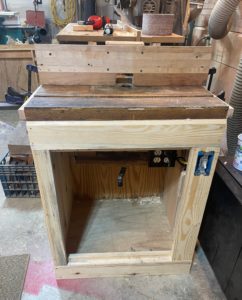
And here it is without doors or casters. I will need to order some lockable caster so I can roll it around the shop as needed.
I also modified the fence. It was made to clamp to the table saw fence. For now I will be clamping it as needed. I may do something a little more elaborate at some point.
As always, thanks for looking. I hope it helps and gives some inspiration.
reprint from https://www.diy.timetestedtools.net/shop-made-router-table-and-router-lift-restoration/
reprint from https://www.diy.timetestedtools.net/shop-made-router-table-and-router-lift-restoration/
-- There is nothing like the sound of a well tuned hand plane. - https://timetestedtools.net
2 Comments

Nice Don, packing things in a small shop certainly has its challenges.
Main Street to the Mountains

Very creative and thoughtful. Nice job!
Don't anthropomorphize your handplanes. They hate it when you do that. - OldTools Archive -