When I first came across RyanGi's bow sander here, I bookmarked it meaning to come back and build one for myself; a nifty bit of kit. As things go, didn't get to it before Ross Leidy published his design. Now, since I cannot be the only kid on the block without the latest toy, I decided to make a couple for myself post haste.
In doing the layout, I thought of a way to make Ross's elegant design with less effort. So this is more about process than product.
It occurred to me that the bow can be made with two pieces of 3/4" plywood, and the bridge milling and removal step Ross describes can be skipped entirely. All in all, after CNC milling, all that was left was a single glue up step and some light sanding. Here's how it goes.
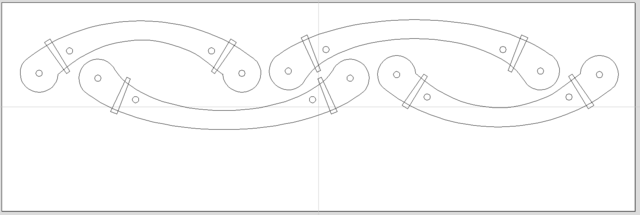
First, layout the parts (I used VCarve) in the computer. This screen shot shows parts for two complete bows, one 8" long and the other 10" long, intertwined to fit into a scrap bit of ply I had. The wedges are only cut 1/2" deep, allowing the bow to remain in one piece after CNC milling. The round thru holes are for aligning the two halves with 1/4" dowel inserts, and adding strength around the wedge pockets.
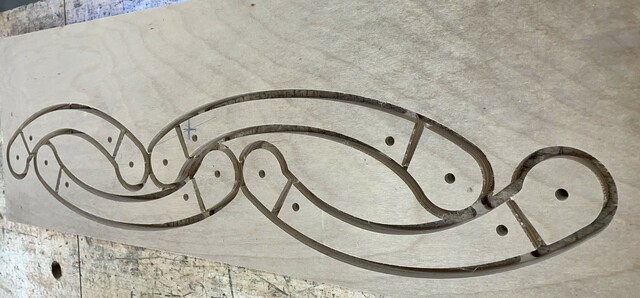
Here it is after milling:
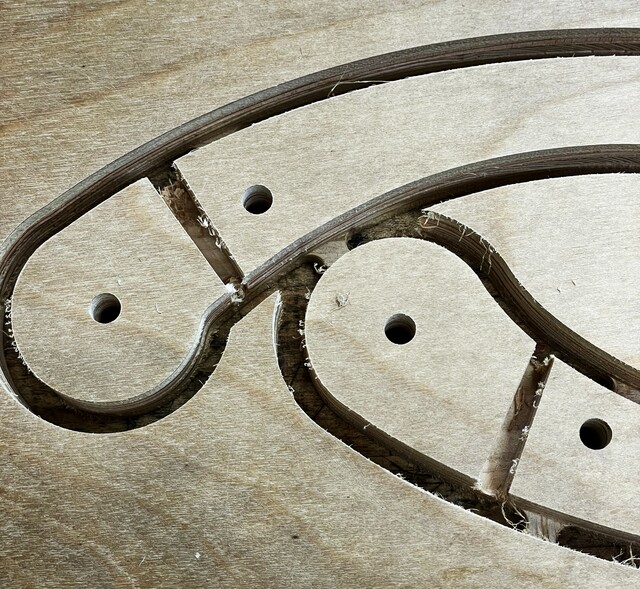
If you look closely at the wedge pockets you can see that they stop short of going all the way through.
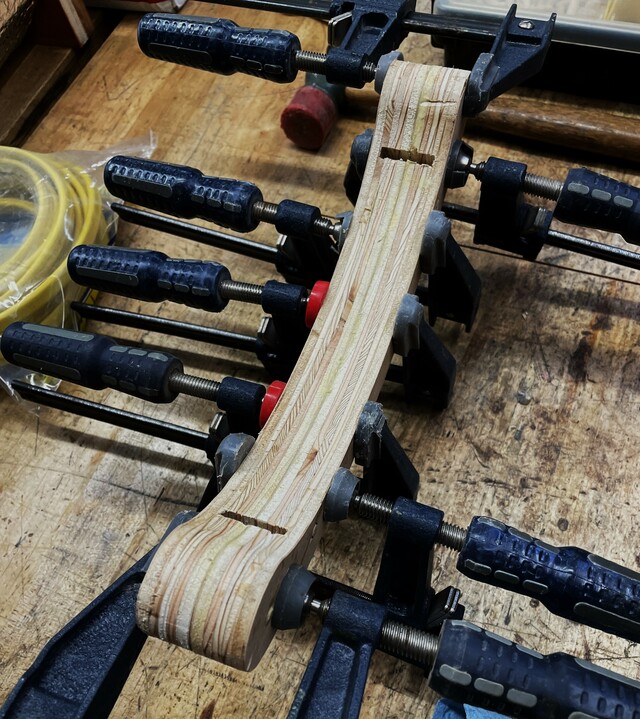
After freeing the parts and cleaning up the fuzzies, glue the corresponding halves face to face, forming an internal wedge slot.
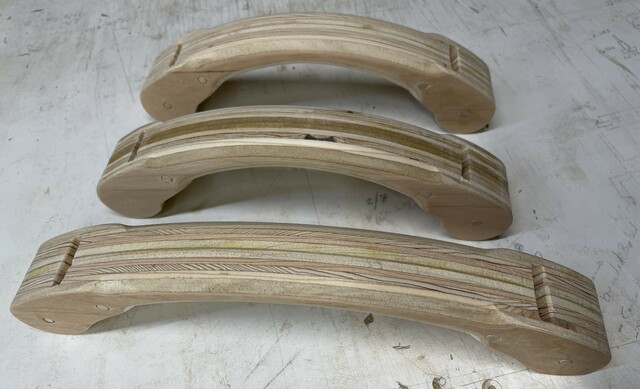
Clean up the glue joint and round over the handle on the router table (optional, for us with delicate skin). The middle one was a first trial.
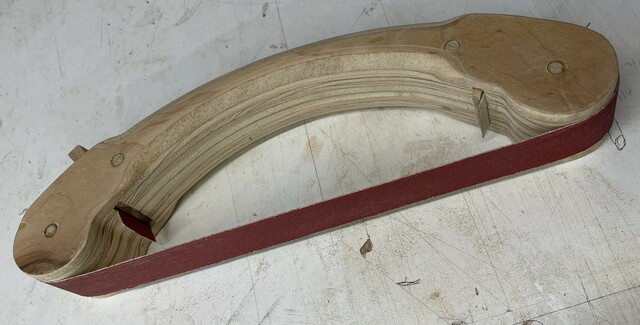
Add wedges and sandpaper. Done.
Happy to send the VCarve file free to anyone who wants it. Just direct message me here with a suitable email address.
Cheers
Huh? Whadaya mean it ain't "measure once cut twice"?
Still is something those of us, without a CNC could do with a Band Saw, and a bit of sanding.
As I look at your wonderfully detailed pics I can see where if you had a Domino, you could shoot in the hole, and using the corresponding Domino fill it to hold your paper still. I might be able to run off a few of these quicker than you can using your CNC.
Thanks for the great pics, it jogged my brain so I could see a build happening. Everyone can use a sanding bow. :-)
Nice design iteration, Mike. After using mine for a while, I feel like the outside arch could have done with some sculpted hand holds at the ends. And I did cut the thick end of the wedges as short as possible and round them over. Otherwise, they do dig into your hand.
Thanks Ross. I had a little trouble cutting the wedges just right so the would not stick out too much or fall though too much. Finally, it penetrated my thick skull that cutting the wedges really long but at the correct angle would make it easy. Test fit, mark to length, cut, and yes, by all means round over the tops. Agreed, the tops could use some sculpting for a better hand hold.
Huh? Whadaya mean it ain't "measure once cut twice"?