



Share your craft projects
Make new craft buddies
Ask craft questions
Blog your craft journey

Dave Polaschek
2195 posts
and
42 followers
in about 4 years
in about 4 years
Toy Race Cars #3: Body
This is
part 3
in a
6 part
series:
Toy Race Cars
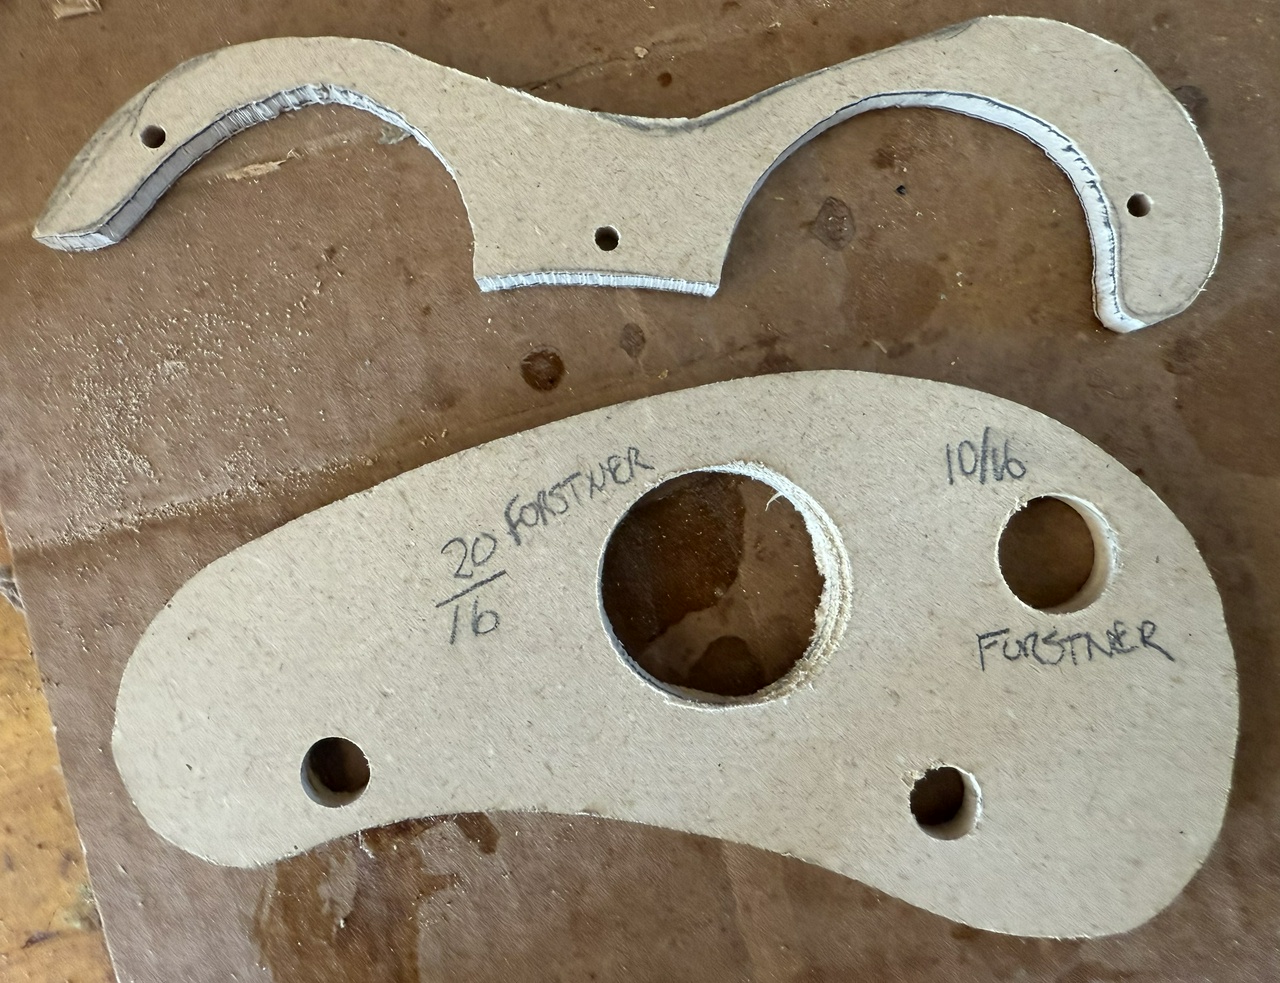
I tend to make my car bodies pretty close to the template shown. Use whatever wood you have available for car bodies. You can either leave the wood-grain showing with a clear finish, or you can paint the body. Up to you.
I make the bodies using boards that are at least 1” thick, but no thicker than about 1.5 inches (25-40mm). This design uses thick “fenders” and I don't want the car getting too thick.
I cut the outside on my bandsaw. Using a fine-tooth ¼” blade, I can get pretty good cuts right off the saw, but I've even cut out car bodies using a ¾” resaw blade. It'll take more cleanup to get a nice surface, but that goes pretty quick with a spokeshave and sandpaper.
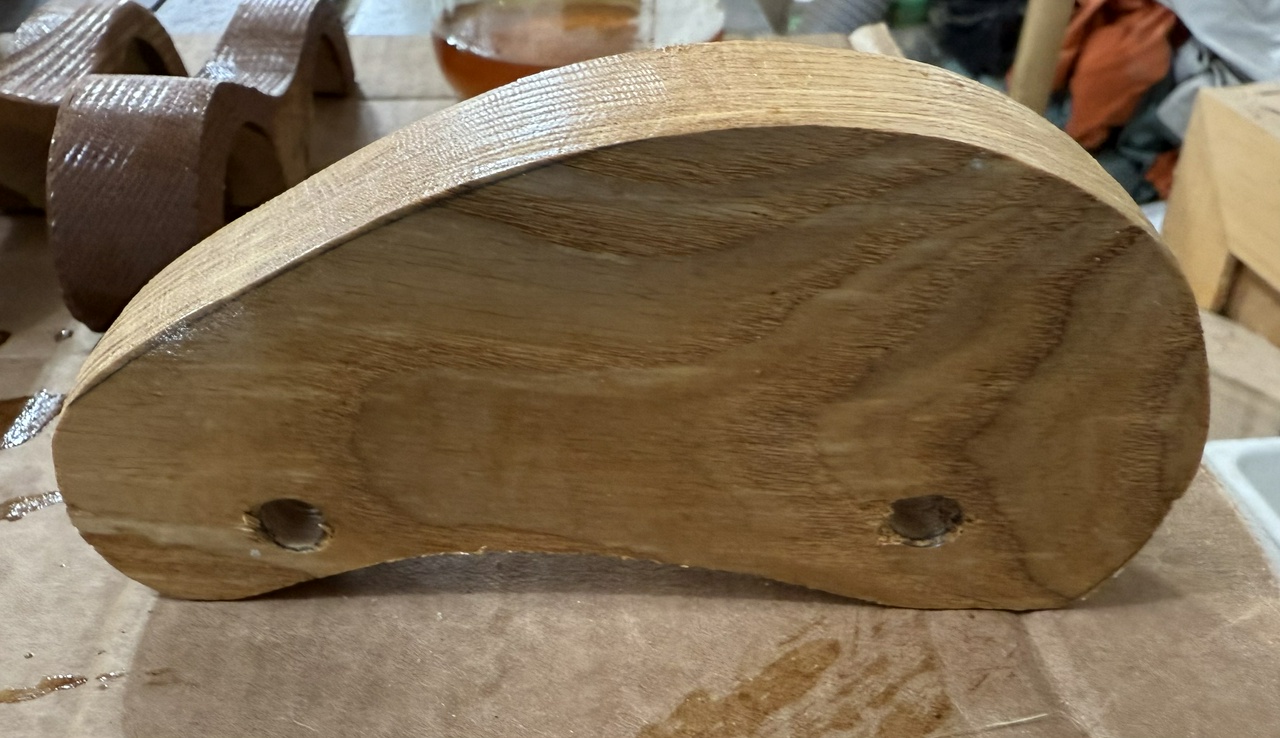
With the body cut out and smoothed, I will buzz the flat surfaces on the belt-sander. Then I drill the axle holes on my post-drill. A drill press will work fine if you're lazy. A hand-drill or bit and brace will work too, but if the holes aren't perpendicular to the sides of the body, the car won't roll straight, so however you drill them, try to get them straight.
There are holes in the template I showed, but I sometimes will move the axles forward or back a bit, which also means moving the alignment holes for the fenders, and probably will make the fender template useless. If you make very small (less than ¾ inch / 18mm) wheels, you'll need to move the axle hole closer to the bottom edge of the body so the wheel will reach the floor.
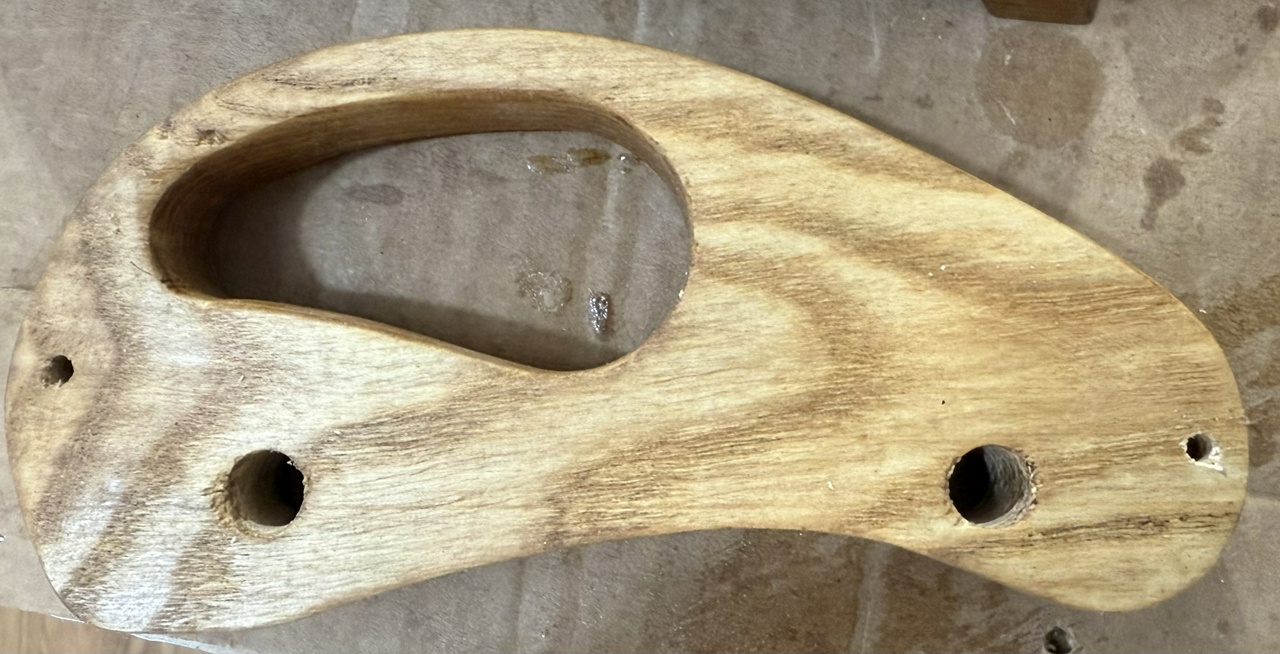
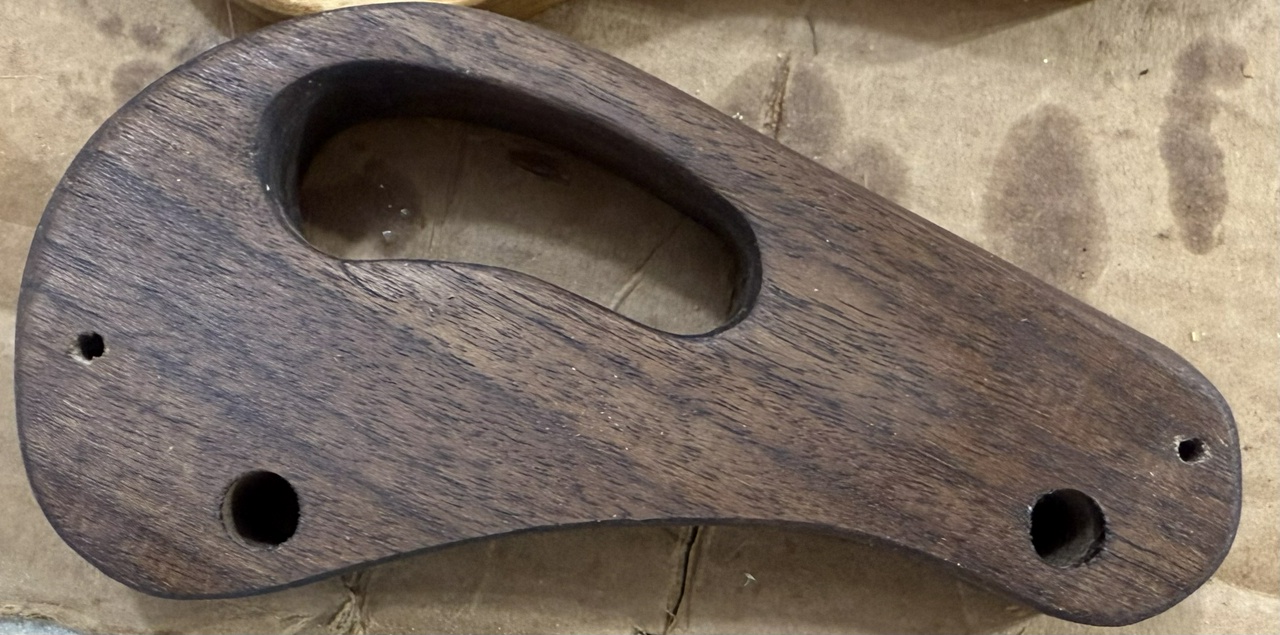
After the axle holes are drilled, I use forstner bits to make two holes for the “passenger compartment.” The template calls for a 20/16 (1-¼ inch or 32mm) hole and a 10/16 hole. Use what you have, and what looks good to you. With those two holes drilled, I head to the bench and cut out the waste between the holes using a coping saw, turning saw, or if you're fancy and like burning electrons, a jigsaw or scroll-saw will work, too. Smooth out the surfaces of the passenger compartment with a rasp or sandpaper. The rasp is a lot quicker.
Next, I will “show the fenders to the body” to check fit. This also lets me drill the alignment holes in the body to match any tweaks I made to the fenders. And I will lightly mark the edges of the fenders on the body, and put blue tape on most of the area that will get glued before finishing the body (though that's not shown in the pictures above).
I tend to keep any decoration on the body to the front, top and back surfaces. The sides mostly get covered by the fenders, but if you're going to add any decoration, do that now, and then finish the body with 3-5 thin coats of tung oil, buffed with 0000 steel wool between coats.
And that completes the body.
May you have the day you deserve!
3 Comments
Looking good so far. Have you ever tried making a convertible?
I haven’t yet. This is the first set of cars I’ve built.
May you have the day you deserve!