Share your craft projects
Make new craft buddies
Ask craft questions
Blog your craft journey

RyanGi
8979 posts
and
60 followers
in over 3 years
in over 3 years
More from RyanGi
Circle Jig
I wanted to do some creative turning after seeing some interesting bowls and spindles turned with laminates running through them. After being turned, they reveal cool sweeping patterns. One such layout requires indexed curved cuts through the rough stock, with laminates glued into place before gluing the stock back together as a whole. All this means I needed a circle cutting jig for my bandsaw. After looking at a couple of commercial jigs, I decided I'd make my own.
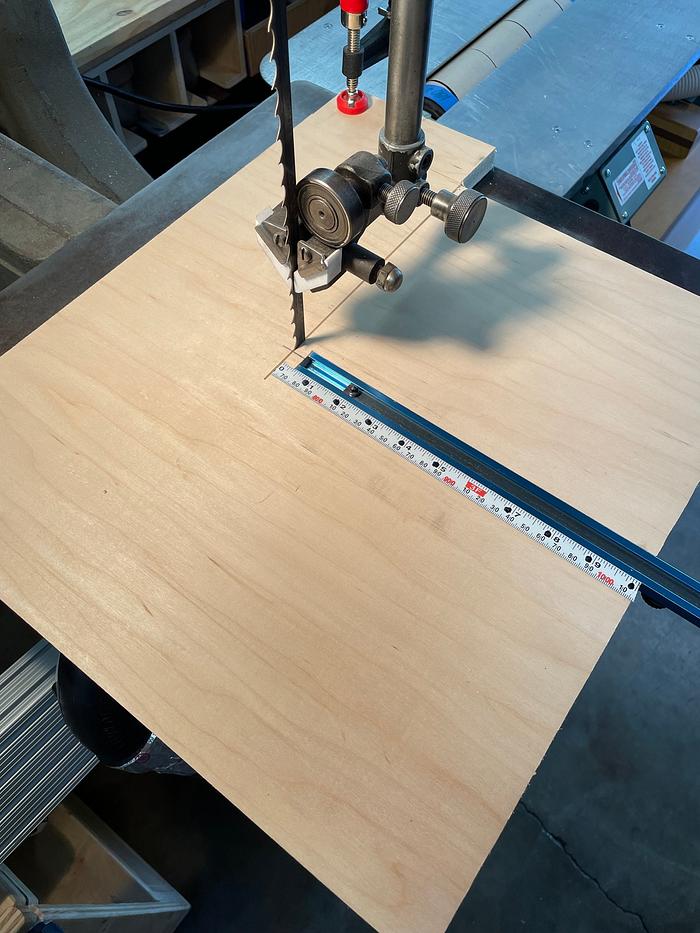
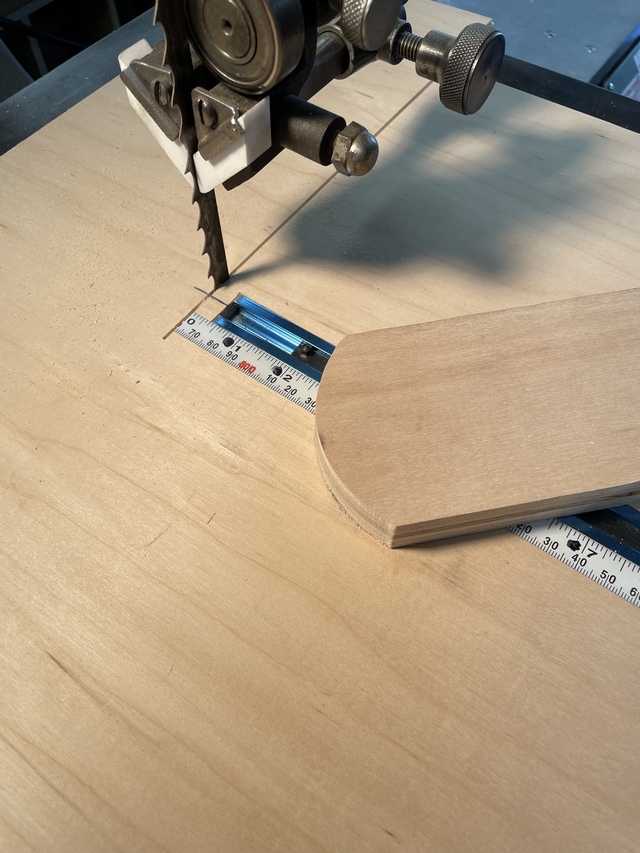
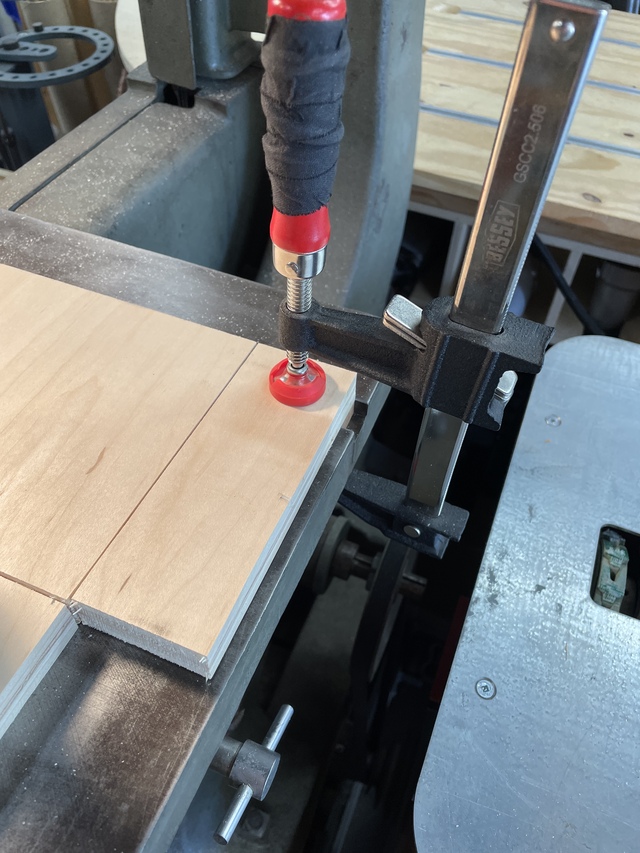
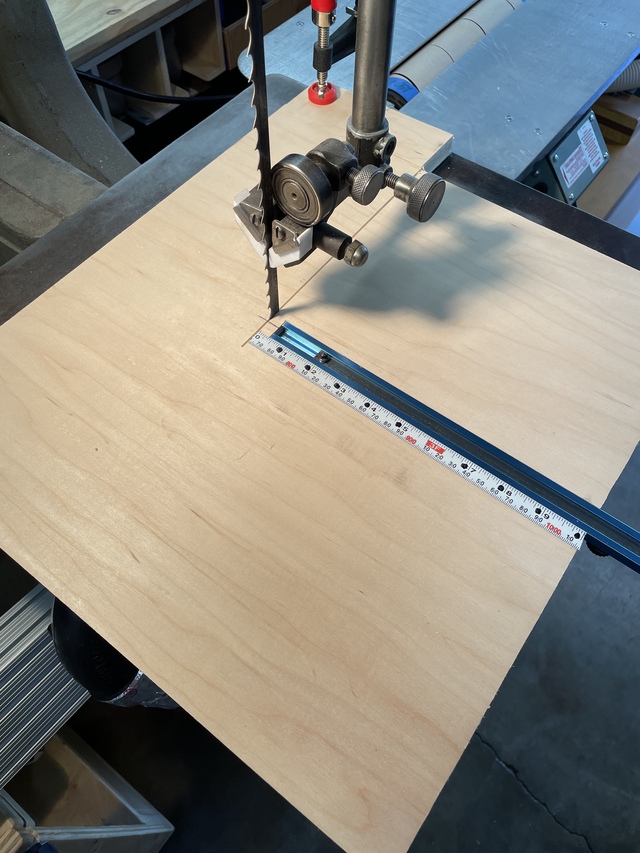
I started with a piece of 3/4" scrap ply that overlays the BS table. My saw has a miter slot on the left of the blade, so I mounted a snug fitting runner on the edge of the ply. After cutting a zero clearance slot, the jig provides a sled-like platform for a project to rest on while being cut, and allows odd sized work to be fed into the blade on the 'sled' before the circle cutting action starts. A cutoff piece is anchored near the rear of the table with a clamp to provide a stop for the jig as you slide the project into the blade. Because the whole jig slides on the runner, and the stop limits that movement, it's infinitely adjustable to insure the cutting tips of the blade are properly aligned with the sliding center pin. If the feeding action of the 'sled' isn't required, a clamp on the front end of the table anchors the jig in place.
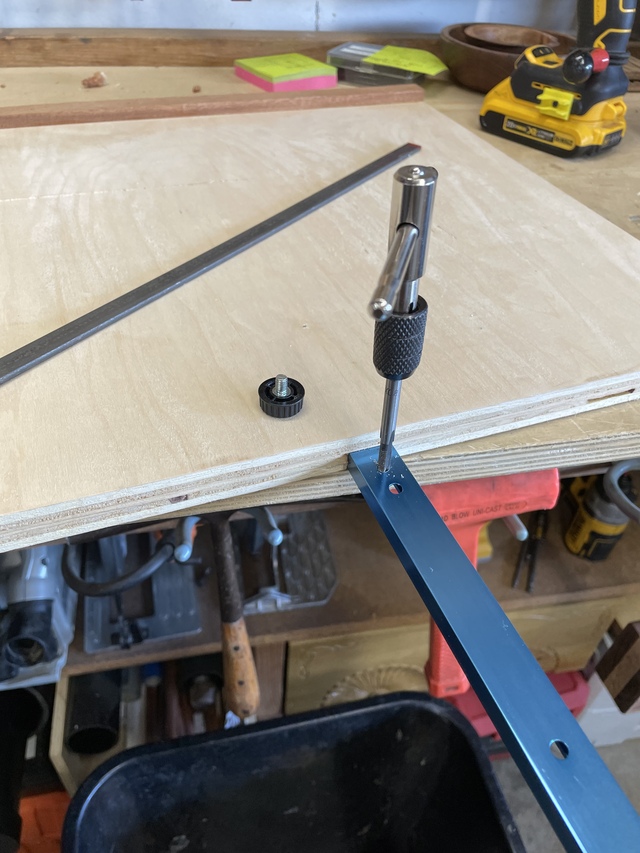
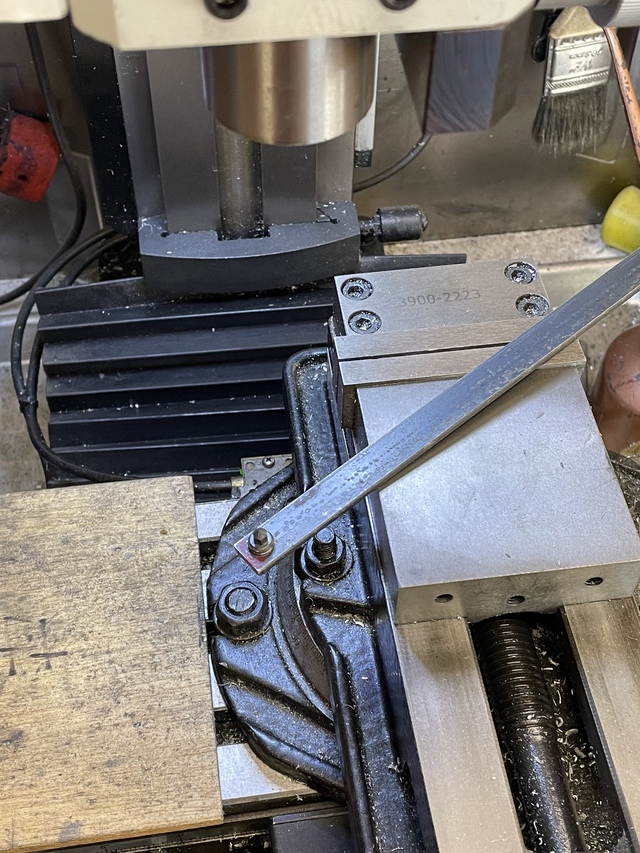
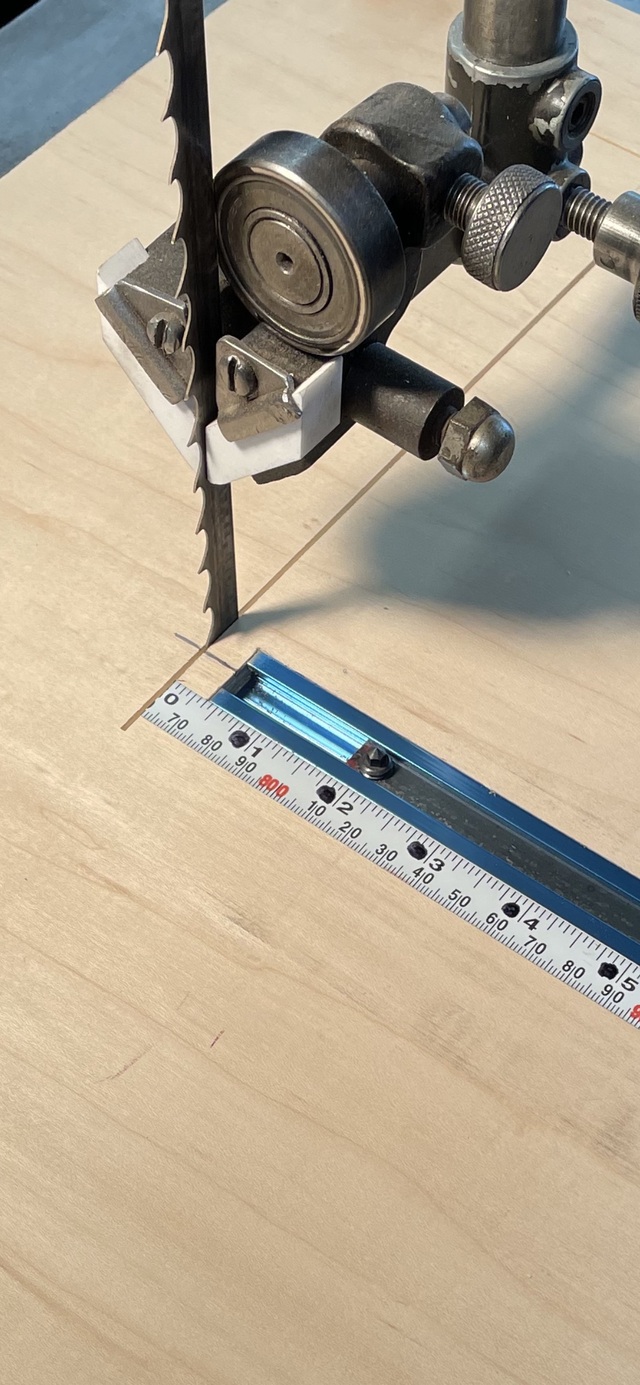
I cut a perpendicular dado and mounted a piece of T-track into it. A piece of 1/2" steel flat stock slips perfectly into the track making a sliding rail. Into that flat stock I drilled and tapped two holes, one on each end. A 5/16-18 or a 1/4-20 threaded hole transfer 'punch' can be threaded into one of the holes. The punches provide two different sized pins for work to be placed on and act as a pivot. The small pin produces a shallow indent for projects that don't require as much holding strength. The larger pin sets deeper and holds more fast. For larger (taller) projects, a piece of appropriately sized thread stock can be sharpened and placed in the slide to provide a deeper pin for even better holding power during the cut (maybe for tall bowl blanks and the such?). I placed a used up adhesive-backed steel rule from another project next to the t-track to measure radius from the blade. Once the slide is in the proper position along the rule, the pin/punch can be threaded down tight against the track to hold the slide in place. This is backed up by a small threaded knob that tightens from underneath. Combined, the slide is rock solid.
I've only done some preliminary cuts on it, but it sets up very fast, is very adjustable, very stable and works as expected! Now I'm looking forward to making some blanks with it.
All made from scrap or tools already on hand, so that's pretty cool. Just finished with paste wax.
Ryan/// ~sigh~ I blew up another bowl. Moke told me "I made the inside bigger than the outside".
2 Comments
Interesting Jig and looks to be well made.
Main Street to the Mountains
It works pretty well but, the be honest, you’ve got to pay a lot of attention to how much feed pressure you’re putting on it, as well as insuring the center doesn’t skip off the pivot. Like a lot of shop made jigs, it’s got quirks.
Ryan/// ~sigh~ I blew up another bowl. Moke told me "I made the inside bigger than the outside".


