Share your craft projects
Make new craft buddies
Ask craft questions
Blog your craft journey

fREW Schmidt
8 posts
and
5 followers
in about 3 years
in about 3 years
More from fREW Schmidt
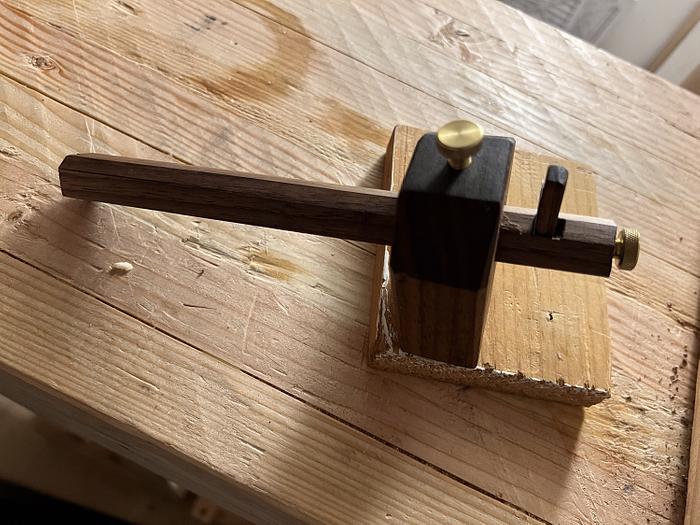
Marking Gauge
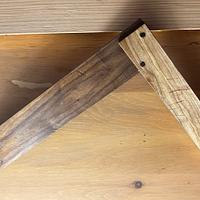
I was inspired when I saw this marking gauge design posted recently, so I made it!
Both mortises were chopped by hand and using hand pressure only. The tiny mortise may have been too fragile, but I chopped the bigger mortise that way just because I could do it late at night haha. I still need to do better at chopping mortises at a perfect 90 degrees. This was definitely wonky and needed to be cleaned up more afterwards.
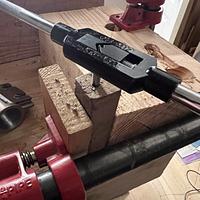
I used a metalworking tap and die for the thumbscrew spots and that worked surprisingly well. On top of that I used a hacksaw and a file to make one of the thumb screws a little shorter.
I wish I'd ordered the hardware and razors before I started the project, rather than after I finished it. It turns out the little mortise should have been a little bigger and while I have cut it a little bigger, there's not a lot of space left; I'll probably redo this whole thing again at some point.
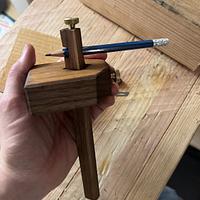
While it looks nice, the finish of paste wax is not great. Since you run the marking gauge along work that very well may be covered in sawdust, the piece gets messy and sorta gross. I may refinish the whole thing with a hardier finish some time. Also, I don't love the razor as much as I expected I would? The more traditional pin is much sturdier. I had wanted to be able to use a pencil gauge since seeing the idea, but I have yet to actually want to use a pencil gauge outside of just a regular marking gauge with a pencil line inside it.
7 Comments
Practical project in a nice, aesthetic looking package.
If your past wax makes things look messy You probably have not let it harden enough and buffed it enough. I prefer untreated marking guages for the same reason. If the scalpel blades gets annoying I can recomend using jig saw blades that are the perfect steel for the task. Just grind to a shape you like (with cooling!), polish and you have a great blade.
Did not know of Ed Sutton, thank you for pointing me to him!
"The good chair is a task one is never completely done with" Hans Wegner
Agree on the wax, but I generally use tung oil or linseed oil on my shop-made tools. If I do wax, it’s with a carnauba wax on the buffer, but I generally don’t wax things for my own desert shop, because the static electricity generated at the buffer means dust in the wax before it’s had a chance to harden.
I like the beam oriented that way! Thanks for pointing it out.
I like the beam oriented that way! Thanks for pointing it out.
May you have the day you deserve!
Nice fREW - I like the design.
Like the others, I just oil tools (Danish oil normally)
Like the others, I just oil tools (Danish oil normally)
A good design, and there is something about using a tool that you make in your own shop.
Main Street to the Mountains
A very useful tool!
I'm still on the fence if I like a blade, pin, or wheel for marking.
The blade leaves a narrow defined line, but it can get into following the grain a bit and veer off course. The pin is nice because it'll work both directions. Wheels too, but unless tightened up to the shaft just right they can wobble.
I like that you used some nice thumbscrews, great way to quickly adjust!
Nice gauge. You have to try cutters and see what performs the best. I like a sharp wheel screwed to the end of the shaft.
Cheers, Jim ........................ Variety is the spice of life...............Learn something new every day
Nicely done!
Ryan/// ~sigh~ I blew up another bowl. Moke told me "I made the inside bigger than the outside".


