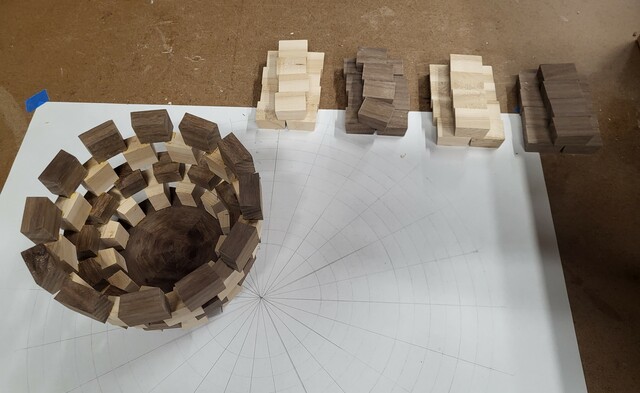
This was a project for a Swap, an Open Segment Bowl, Maple and Walnut, about 6" diameter and 6" tall. A difficult and fun turning, this is the first open segment that I attempted. (I forgot and used 15/16" stock, after figuring out the rings for 3/4" stock, so it ended up shorter than I had planed).
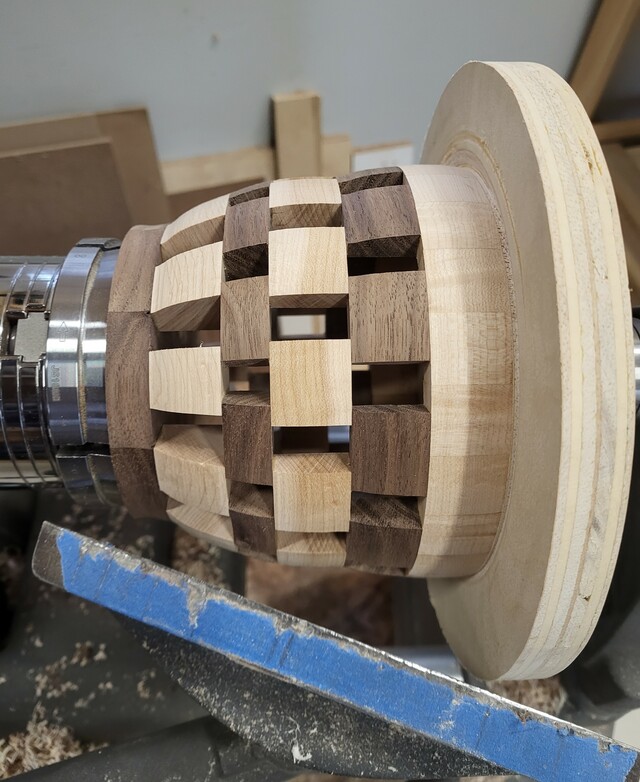
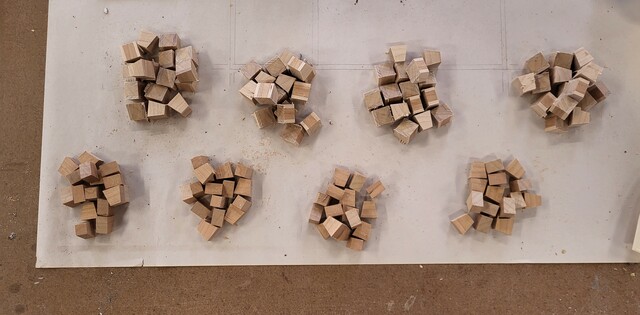
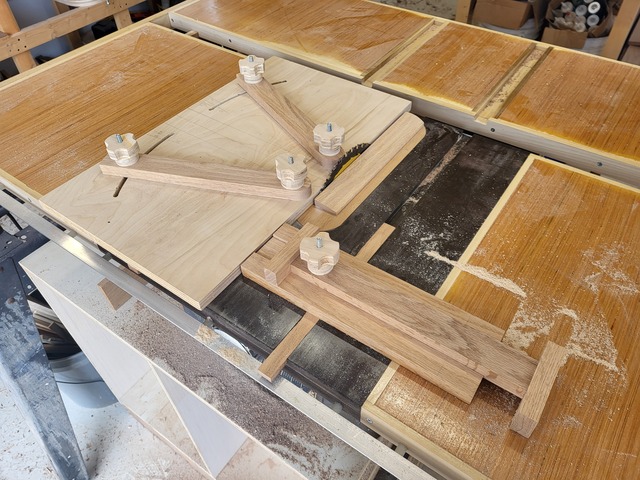
I started with a base, chucked up on the lathe and turned the tenon on the bottom. That worked out well, so I could chuck it up later after the rings were glued up. Then started to glue the rings on to the base, took a compass and marked the interior of the ring, then using a full scale drawing of circles divided off for 24 segments, (a few were off a bit). Then placed a gallon paint can on top for clamping pressure. (I need a real jig before I attempt the next one, have an idea for that). Before gluing the next level, I took a Xacto knife and cleaned up the excess glue from the joints, placed the blank in the chuck and sanded the surface flat, rinse and repeat to the top. Then glued on the top ring which was glued up using hose clamps. (The wedgie sled I build a while back worked like a charm)
After everything had set a bit, I chucked it up on the lathe, it was a little out of balance. I placed a piece of plywood on the tail stock (with a live center) to support the blank while turning the exterior. I bit scarry turning with the openings, very gentle touch. After the outside was turned down, off to the inside. Note: the balance was better now. I started at the edge of the bowl and worked my way in. Started getting a little rough turning, so I started going from the bottom to the lip. Nice thing about turning an open segment is the chips fall out and don't build up inside.
After I was happy with the shape inside and out, plus did not want to get to thin. (It turned out to be just over 1/4") Left in the chuck and using a fine file cleaned any remaining spots of glue from the segments. I finished this with Danish Oil (had to use a brush to ensure I sealed the end grain of the segments). Then placed it back on the lathe and buffed, with a few coats of Howard's Feed and Wax.
Overall, happy with the outcome, and will try this again down the road. Maybe with some patterns.
Thanks for looking and comments are always welcome and appreciated.
I was the recipient of this handsome piece. Really clean lines and edges, very clean sides within the open segments. It inspires me to try an open segmented piece!
Ryan/// ~sigh~ I blew up another bowl. Moke told me "I made the inside bigger than the outside".
Tony, thanks. Yep, slow and gentle, light passes and watch closely. The hardest part was the inside. I was lucky I had a long handle carbide tool that was gifted to me from a past swap.
Dave, thanks. Turning is fun, once the prep is done. After the blank is on the chuck spinning, the project goes fast. It is amazing to watch the shape come out of it.
Kenny, thanks. The work part is an understatement, the funny part is when you draw it up using 3/4" stock to get your ring diameter, then use 15/16" stock, throws the profile way out. Had to adjust fire on this one. Lesson learned.


 - Project by Eric - the \"Loft\"")