Share your craft projects
Make new craft buddies
Ask craft questions
Blog your craft journey

Fotodog
153 posts
and
8 followers
in almost 2 years
in almost 2 years
More from Fotodog
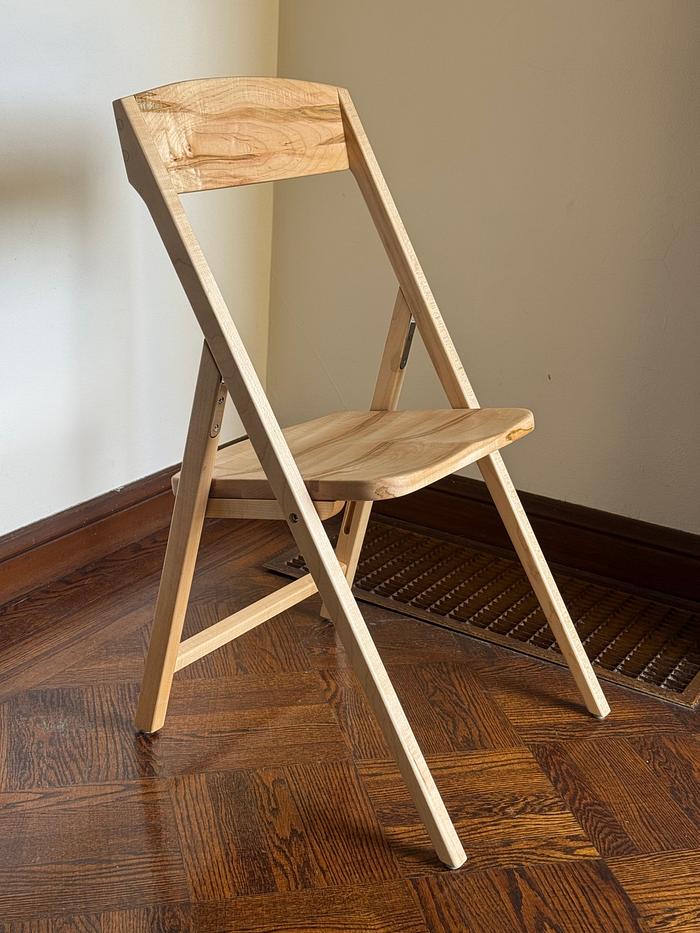
Folding Chair
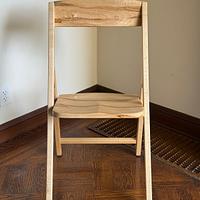
I built this folding chair for my wife to use for her pottery shows. I’ve never built a chair before, much less a folding one, so this seemed like a great opportunity to learn some new skills and see how often I could make some Royal screwups. I succeeded on doing both.
I started by looking at a lot of images to get a feel of what I liked, and doing some research to determine common angles, seat dimensions, seat height, etc. I decided to work with a design which starts where the long legs are attached to the short legs with a hinge, and a frame is built to connect the legs and attach the seat. I built a prototype out of scrap plywood to work out the angles and proportions of the legs, as well as the hinge placement and location of the groove in the short leg.
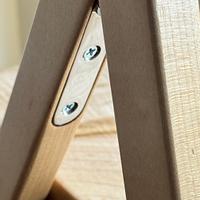
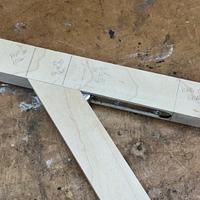
I started the actual build by milling some nice hard maple for the legs. The short legs were all cuts that could be made at the tablesaw. The long legs required a template to achieve the curves at the top, because who doesn’t like some curves at the top? The front legs were attached to the back legs using mortised hinges. I then built the frame, drilling the holes for bolts in the front and holes for the steel pins in the back which would ride in grooves in the short leg. I routed the groove using a router with an edge guide.
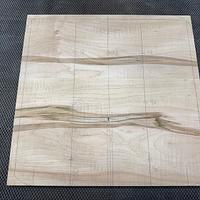
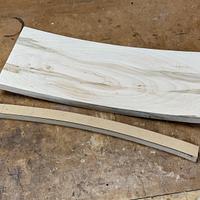
I found some beautiful spalted maple for the seat and back rest. I wanted a nice curve in the backrest, but my tabletop bandsaw maxes out at 5” depth for resawing. So I cut the backrest in half, roughed out the curve on both pieces, glued them back together and sanded smooth. I wanted the seat to have some nice contours so I roughed out the shape with a Kutzall disk on my grinder, finishing up with a belt sander and ROS. I used my go to finish, Osmo PolyX hard wax.
I learned a lot, the wife is happy, on to the next project.
14 Comments
This turned out great! Love the design
Turned out great!
Ryan/// ~sigh~ I blew up another bowl. Moke told me "I made the inside bigger than the outside".
Cool chair design that you can have your choice of woods!
I'd say you need to make a set, at least four!
I'd say you need to make a set, at least four!
Good looking and very well designed.
Ron
a simple design yet a lot of work involved. looks fantastic.
working with my hands is a joy,it gives me a sense of fulfillment,somthing so many seek and so few find.-SAM MALOOF.
Thanks everyone. It was a fun project but took longer than expected to make sure it was comfortable and functional. I rarely build prototypes but it was a necessity.
I love chair builds, and you've created a very attractive one. The lack of a stretcher at the low end of the front legs is beautiful simplification. It does look like a justified simplification given that upper stretcher, hinges, and pivots at the seat probably provide sufficient rigidity.
Also, I'd expect that the slanted seat to be more comfortable than the average folding chair where the seat is level.
A really nice job, more so for a first chair.
Also, I'd expect that the slanted seat to be more comfortable than the average folding chair where the seat is level.
A really nice job, more so for a first chair.
Thanks Ross, I can tell by your comments that you have a lot of experience with chairs. Given my lack of experience I did a lot of research before I touched a piece of lumber. It was always a question mark about the need for a front stretcher and I was hoping that it would not be necessary to provide more leg clearance. I probably assembled and disassembled the chair 20 times to test how things were working, and in the end I think it’s plenty stable without the stretcher.
I try to limit my nerdy references so I don't appear too, well, nerdy, but there's a software development decision-making and prioritization strategy called The Last Responsible Moment. Critical decisions are deferred as long as possible to both narrow the options and reduce the risk of making a poor choice early. I've found (and it sounds like you have found) that the principle applies equally well to woodworking projects.
I can't claim that I have a lot of experience with chairs, but since my first chair build 6 years ago, they have been some of my favorite builds.
I can't claim that I have a lot of experience with chairs, but since my first chair build 6 years ago, they have been some of my favorite builds.
ross i agree totally. the krenov chest on stand im doing is exactly like your talking about. im designing as i go so im waiting on a lot of decisions until the last possible minute. thats just the way i do a project. plans are rarely done if ever ! i just find it more exciting. but with that goes................mistakes !!! price you pay for the pleasure. i just find plans with a cut list, totally boring !!!-
working with my hands is a joy,it gives me a sense of fulfillment,somthing so many seek and so few find.-SAM MALOOF.
Thanks for that reference Ross, I find those thoughts interesting, not nerdy.
You did a great job on a very challenging project!
Real nice folding chair. Very simple and useful!
Cheers, Jim ........................ Variety is the spice of life...............Learn something new every day
Great chair. I like that it is simple and straight forward in its apperance - and then, when you look, it is not so simple after all. I have bult some chairs and they can be challenging to get right, especially as the has to look great from all angles. Good work!
"The good chair is a task one is never completely done with" Hans Wegner


