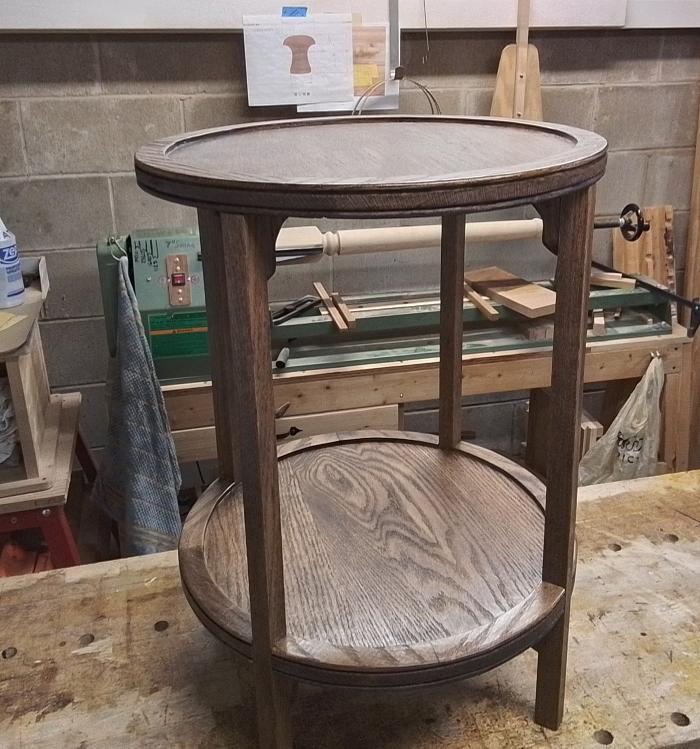
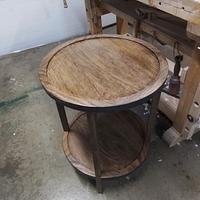
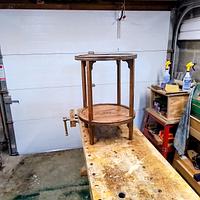
I made this accessory table for my daughter-in-law, per her required: dimensions, wood - red oak, dye - TransTint dark walnut, and semi-gloss poly.
Minimal hand tools were used like my usual, bandsawed the shelves, cut the legs, decorated the edges by router. After cutting out components, smooth plane removed rough edges, smoothed the shelf surfaces, and the edges. The alcohol spritz bottle wet and softened the end grains, didn't swell the fibers, and dried quickly.
Next, create the quarter inch thick lips, cut to have as much long grain as possible. That turned out to be one fourth of the circumstance, and gave a pleasing appearance. Cutting these at a quarter of a inch, I first cut kerfs all around for bandsaw guides.
Glued the lip pieces with small overhang for trimming flush, then routed the beads on the edges.
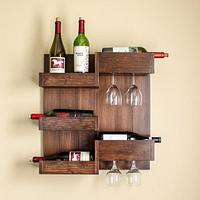
The table photo I was given had 90 degree angle brackets, didn't appeal so I made wooden brackets. These brackets were first given a half inch square spline on the short grain arm for strength, and a hollowed groove to accommodate the metal brackets on the lower shelf. Top shelf has M & T fittings into the top as well as the wood brackets.
Finish is per first paragraph - TransTint, oil poly.
That's about it. Thanks for viewing & happy woodworking.