


Share your craft projects
Make new craft buddies
Ask craft questions
Blog your craft journey
Oldtool
1413 posts
and
19 followers
in almost 4 years
in almost 4 years
More from Oldtool
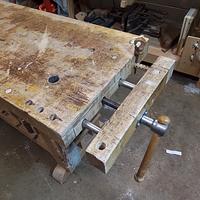
Art work display frame for my granddaughter
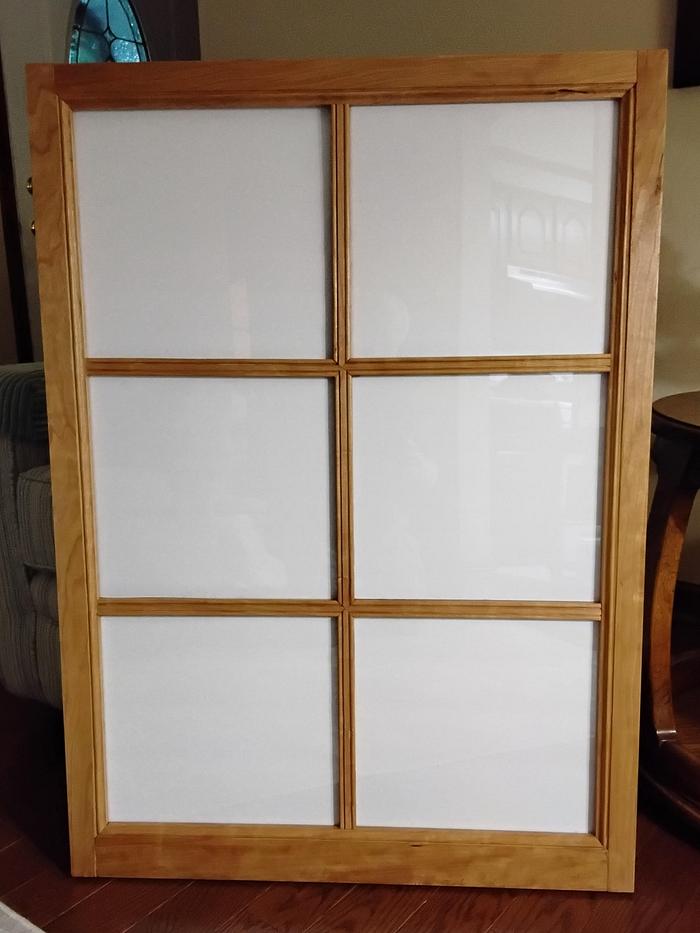
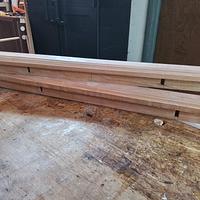
This project is for my granddaughter who loves to create art and drawings. As a sophomore majoring in teaching, she can use this to display her drawings, one in each of the 6 panes.
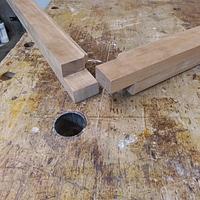
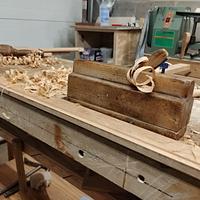
Starting with the frame, which is supposed to be 1 ½” thick, I needed to laminate two ¾” pieces together because my stock excess from a prior project was already dimensioned as such. This turned out to be beneficial for multiple reasons; permitted using two different width components to create the inset for plexiglass panel mounting, allowed chopping the muntin mortises on the side of the rear portion, and with different lengths it created the corner lap joints - easier than making mortise & tenons. Once these lap joints were glued, I used two screws in each for strength. I also needed to extend the inset another quarter inch, easily accomplished with a fillister plane as shown. Creating the decorative profile on 4 sides was accomplished with a molding plane. Why the toothpick attachment?, because this plane has a spring angle scribed on the front, and from behind, keeping the toothpick vertical yields a consistent profile.
Making the muntins:
Initially I intended to make the muntins a one piece part using one of three muntin molding planes I have, but this didn't work out as I explain later. I made the muntins from two separate pieces, as I saw in 2004 Fine Woodworking article by Steve Latta. The back vertical portion is quarter inch by ¾”, with a half inch tenon each end. Where they meet in the middle each has quarter inch cutout either top or bottom, for lap joints.
The front portions were created with a beading plane, and a ¼” groove down the back center for mounting. Each then mitered At the center meeting of 4 pieces. Finally I set a 12” X 12” piece of plexiglass in each opening, and glued a ¼” X ¾” strip into the four sides to secure it. To hold drawings in the panes, I cut foam filled poster board that shows in the first photo above.


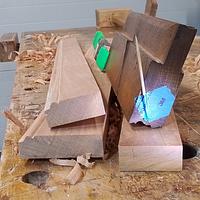
As for the dedicated muntin molding planes, stock needs to be 1¼” thick to achieve the correct profile. The examples I show here were made from thicker material. The photo with the paper drawing is the thinner material I had, as 2 parallel lines ¾” apart, and tracings of the molding planes. There is a loss of the center part of each muntin out front.


Thanks for viewing. I'll be glad to answer any questions if my descriptions lack sufficient explanation.
7 Comments

excellent work. thats a lot of hand tool work. she's gonna love that.
working with my hands is a joy,it gives me a sense of fulfillment,somthing so many seek and so few find.-SAM MALOOF.

Great to see all the hand planes in actual use. They did a great job, well you did great also. Well done.
Ron

Love your attention to the details, great writeup showing how one can enjoy the quiet times in the shop and still knock out great creations 👍

That's a nice idea, and great execution. I'm sure she'll love it.
.................. John D....................

Nice work, Tom. I sure have a lot of respect for details like that done with hand tooling and not a router! That is an art that not many woodworkers do these days!!!!!!!!!!!Hence the name OLDTOOL !!!!!!!!!!!!!
Cheers, Jim ........................ Variety is the spice of life...............Learn something new every day

That's an impressive build - and a good write up too!

Nice frame, Tom!
May you have the day you deserve!
More from Oldtool
