Debbie Tasa
in almost 11 years
More from Debbie Tasa
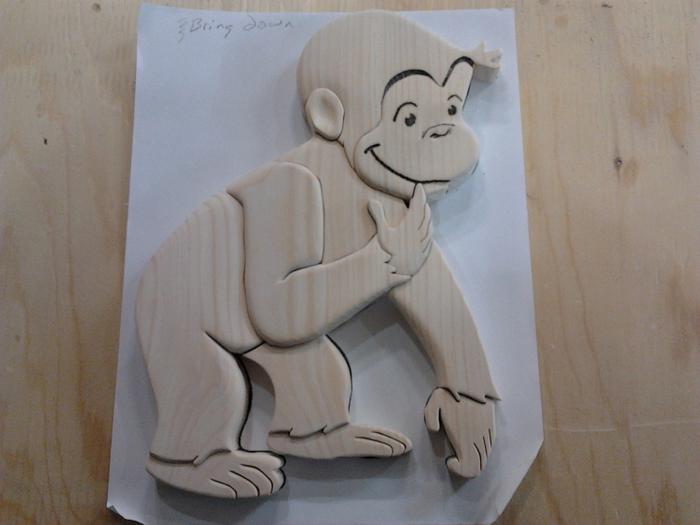
Curious George Intarsia
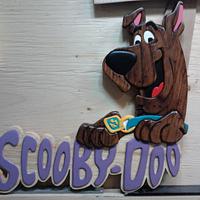
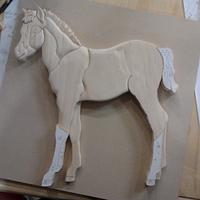
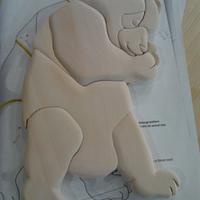
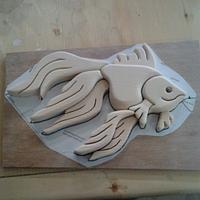
My third intarsia, this one was not from a book; but from a photo off the internet. It was a lot of fun to do. I have to apologize for not mentioning the proper tools used on my other 2 intarsia’s, that I’ve shared earlier. Scroll saw, sand paper and the dremel tool were used for the previous intarsia’s.
6 Comments
I remember this little guy:)
Very well done.
Abbas, Castro Valley, CA
Very nice!
-- Michal, http://WoodworkingWeb.com
Lol so cool. I remember watching him on Saturday mornings. But i also remember howdy duty too. So i just dated myself. Lol
so how difficult is this type of work? Ive been intimidated by this so ive never tried it.
Jeff Vandenberg aka "Woodsconsin"
Thank you all for the interest. Hi Jeff, to tell you the truth I was a little intimidated by it at first; but it’s really not hard at all. I think the hardest part is choosing the project / picture that you want to do. The reason why I ended up doing Curious George was for a little one year old girl that loved him. All you need to do it print out the picture that interests you, “something simple first” so you can get use to the Scroll saw (that’s what I had to do anyways) ;) They also sell the books of course and I have quite a few, but I really like the thought of being creative and finding something that isn’t in a book. Anyways, once you have your picture and your plank of wood, you use a rubber cement spay glue and spray it on the back of your picture. Then very carefully lay it on the plank smoothing it out as much as possible. Let it dry for 5 or 10 mins. then it ready to cut out. Once that’s all done it just a matter of shaping your pieces and putting the puzzle back together again. Also each piece that I wanted stained a different color I did separately, but making sure not to get much on the sides you want to glue together. I also used a type of model glue that is supper strong. Hope this helps.
You intarsia is always well done Debbie ,fun and cool.
woodworking classes, custom furniture maker


