Jeff Vandenberg
in about 11 years
More from Jeff Vandenberg
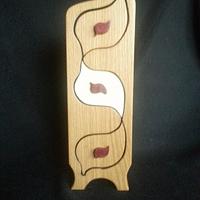
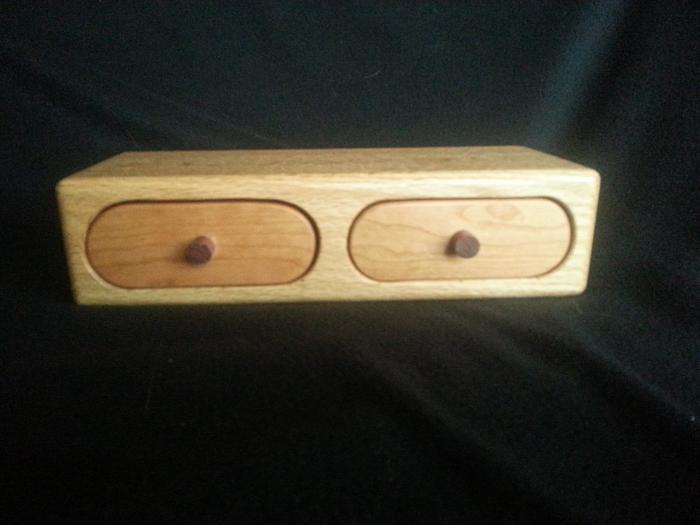
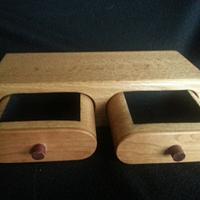
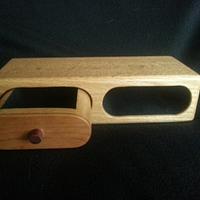
Two Drawer Bandsaw Box
This is a Red Oak two drawer with thin cherry fronts over red oak front. Purple heart pull knobs.
Flocked the inside of the drawers and the inside of the box.
Jeff Vandenberg aka "Woodsconsin"
8 Comments
Elegant, I like it.
CHRIS, Charlottetown PEI Canada. Anytime you can repurpose, reuse, or recycle, everyone wins!
You do really nice work. those are beautiful pieces
Wheaties
great
jim
Beautiful – how do you start the cut without breaking the surface of the exterior – newbie here, but those look like a fun challenge to take on.
Kevin
MaggiesDad. The first thing is to get the box to the size you want plus an 1/8" in depth. Thats because you’re cutting off the back. Then later regluing on. Figure out the shape of your drawers. And how much surrounding wood you want left & then draw it on. I use a 1/8" raker hook 14 TPI . First thing is cut off the back and set aside. Mark the top of both.The thing is you want to enter in the drawer cuts where you dont look . Mainly the bottom but, cut in on a grain line. That way when you glue it back up you dont see the cut. Also never cut in on curves hard to clamp it up after cutting. Then cut out drawers. I always mark each drawer on the bottom front and back and drawer position. Then cut the back and front off the drawers then cut out the inside of the drawers. Then glue the front and back back on. Then glue the back back on your box. If you need to do any sanding get it done before you glue up. But do not sand the surface of where the front and back get glue back on. Because the saw marks will realign. And dont do any shaping to the outside of the drawers till they been reglued.
Jeff Vandenberg aka "Woodsconsin"
Cool. Nice!!!
Steve Tow
Far better than the average band saw box,nice work.
woodworking classes, custom furniture maker
Thanks again
Jeff Vandenberg aka "Woodsconsin"


