Let's talk measuring and marking tools. Shop made or store bought. Whatcha got?
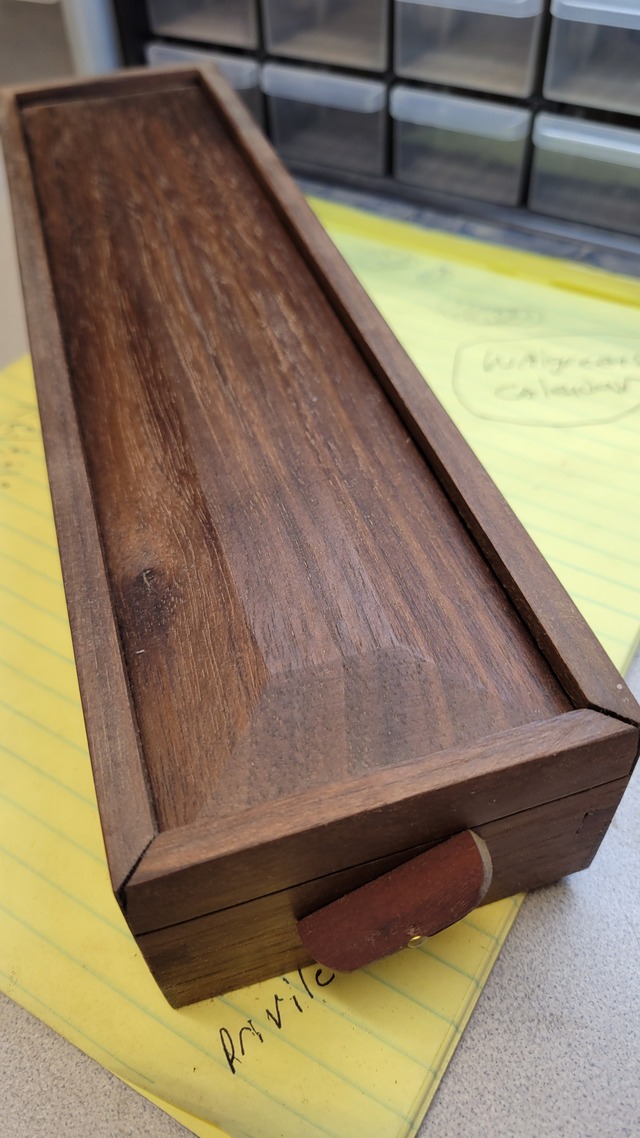
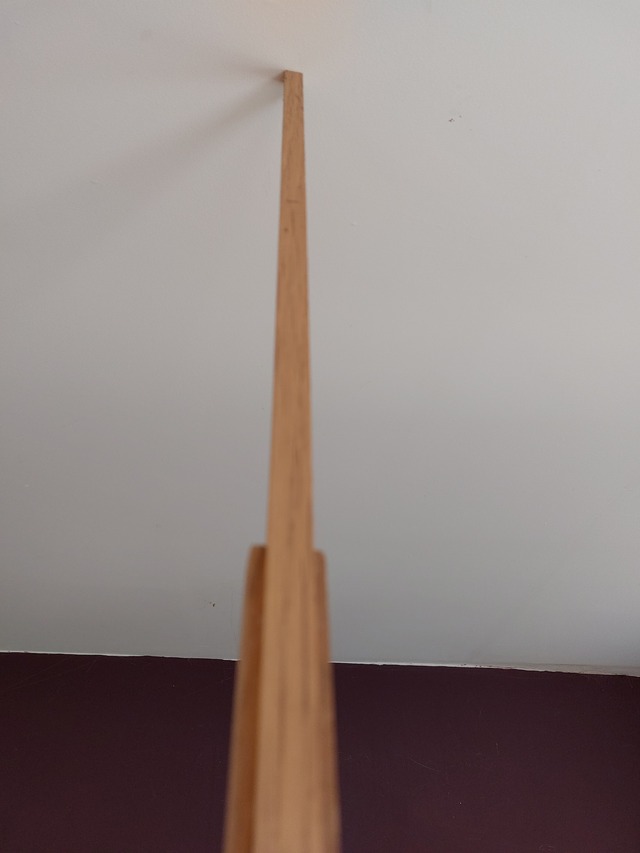
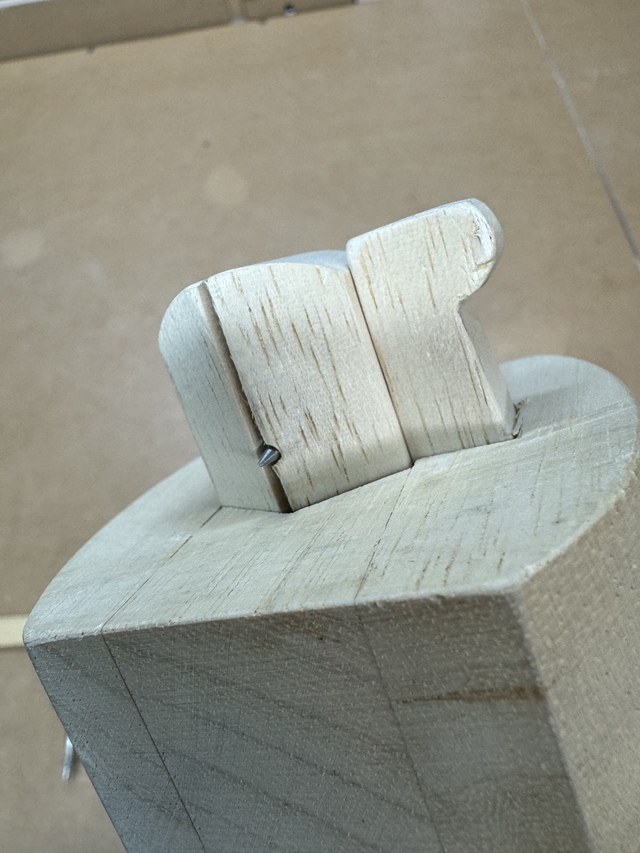
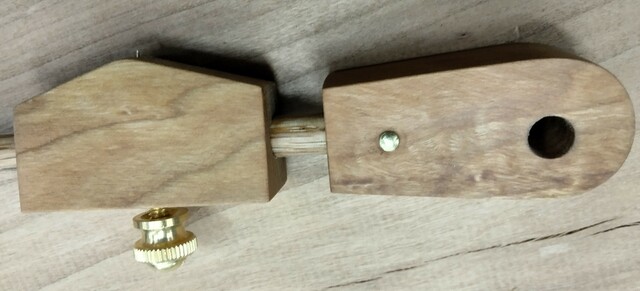
Back a few years ago, I made several marking and cutting gauges. This gauge was one of the first I put together. It was more practice than anything. Don't even know the species of wood I used. All I know about it is it is very light wood, soft and smells when worked. You can see that I did a glue up of the head. The results of some wood movement can now be felt at the glue joints but it is still pretty solid. The dark spot you can see in the photo is a knot.
I will try to take a family photo of the marking gauges that I have but not tonight, it is winter out there.
Drop out of warp and prepare to be boarded. Mike southwest CO
Even if my right foot/leg was game I'm staying in. With the wind chill, it's brutal out, plus it rained ALLL day long yesterday, so the air is wet/frozen/sucky.
Sounds like a cool thread. Some day I need to round up planes, tool boxes, and now marking tools to get some pics.
I like this kind of thread. Some may say it's a marking do dad, but for another guy it may end up being "the perfect making do dad" and change things in the shop for them. That is a good thing.
My first swap over on lumberjocks was a marking tool swap. It was a fun one. This was my first foray into working metal.
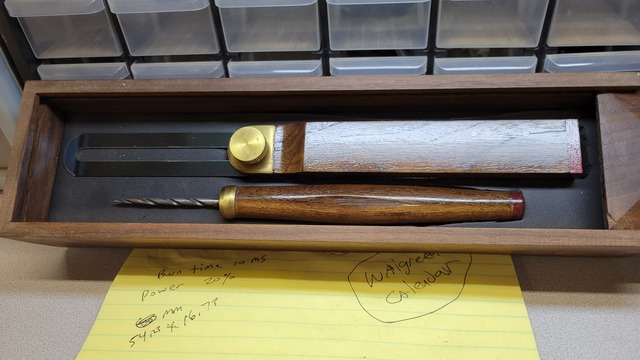
I made an awl and a marking knife.
The knife can be removed from the handle in case the handle gets in the way and can also be reversed in the handle for storage to prevent damage or cuts if you put it in your pocket. The ferrule on the awl was made out of copper pipe that I heat treated to get a red patina. The ferrule on the knife handle is a brass fitting that I shaped on a belt sander.
And for a bonus, I added some hickory and walnut squares.
I received a really nice marking knife and marking gauge in the swap.
--Nathan, TX. Hire the lazy man. He may not do as much work but that's because he will find a better way.
Nathan's posted swap tools made me think a few of my often used marking, and layout tools were living on the computer, via pics from swaps.
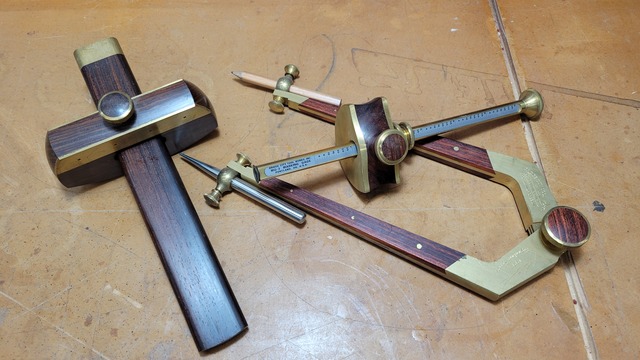
Eric (where is that guy anymore?) had me in a tool swapper a while back, and went heavy on some marking/layout tools. I find myself grabbing them often. A cross between well made, and a memory from the swap I think.
Most are shown here. The across the room shot is needed to get the 48" Circle jig shown at the bottom.
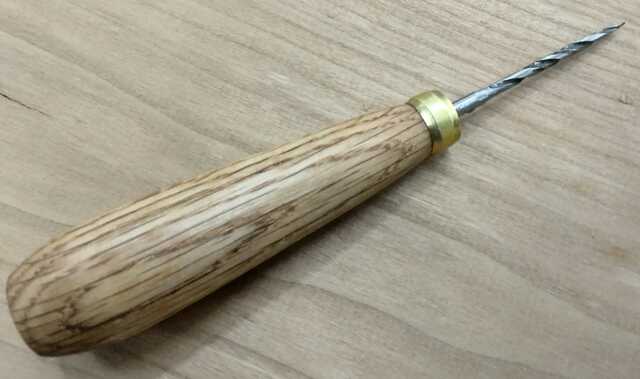
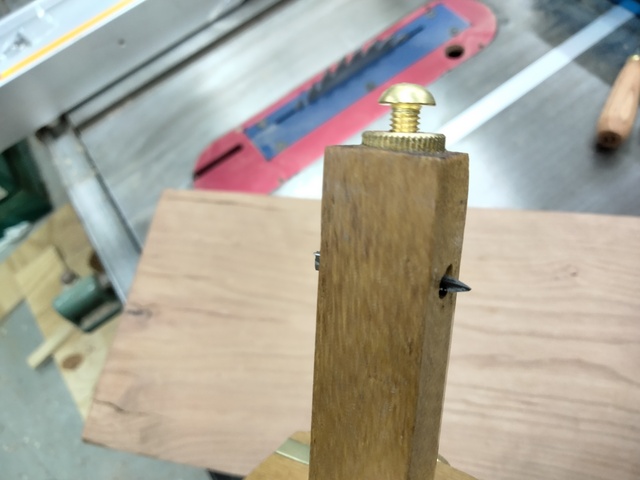
Closer shots of That Awesome Awl. Made from a ground drill bit, to a micro point. My use is primarily marking, spotting placements of holes to drill out. I use awls and marking knifes instead of pencils on layout, and having a registration mark instead of just a line, that following my line with cutting tools is easier, much much easier if using hand tools. Plus fraying, and splintering is reduced due to cutting of the wood fibers, prior to actually cutting them. It's like a mini scoring knife on every tool, but attached to your hand.
The head and base of the circle jig. I have an assortment of dowel, and aluminum rods it will fit onto, so size, and rigidity can be adjusted.
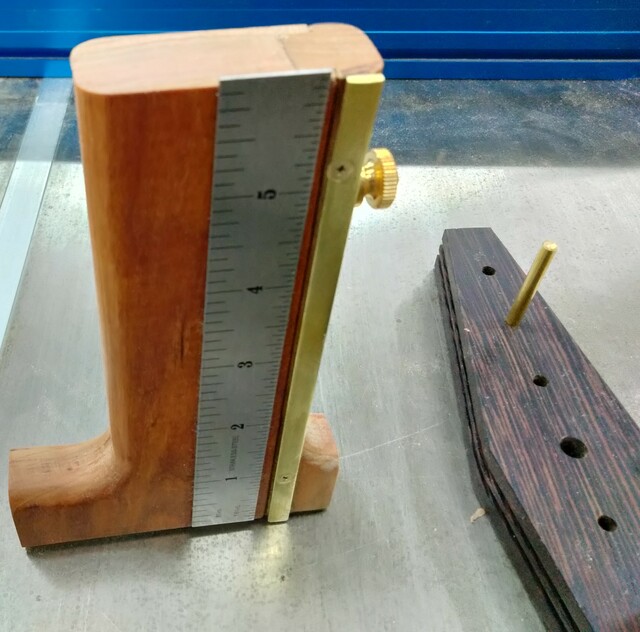
A handy depth, and height gauge, and a center finder.
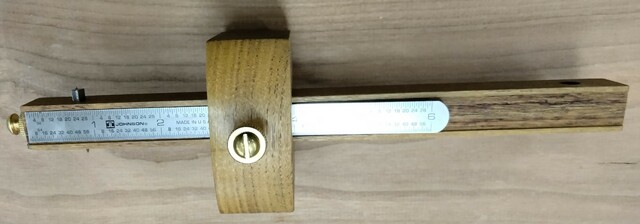
Also included was a nice marking gauge, with quite a bit of adjustability, and an accurate scale.
I often am saying Thanks Eric when I am using these.
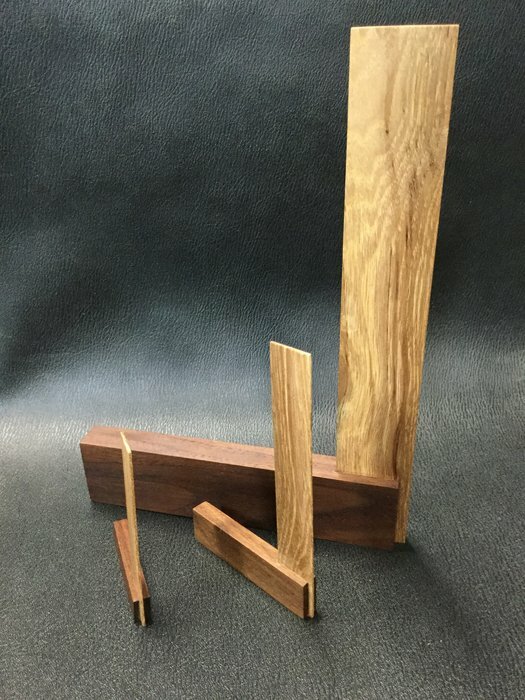
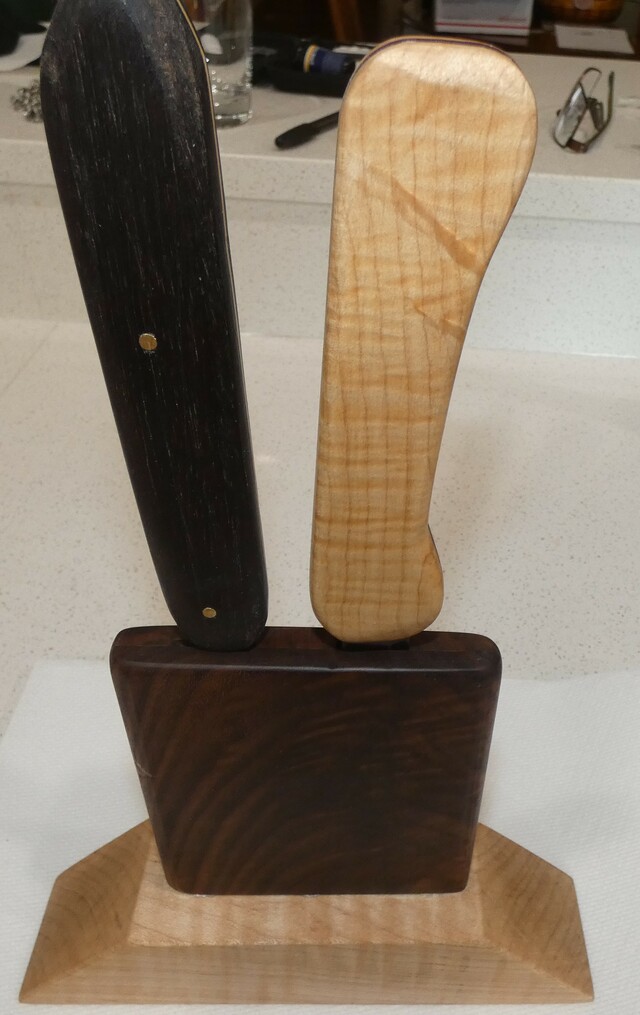
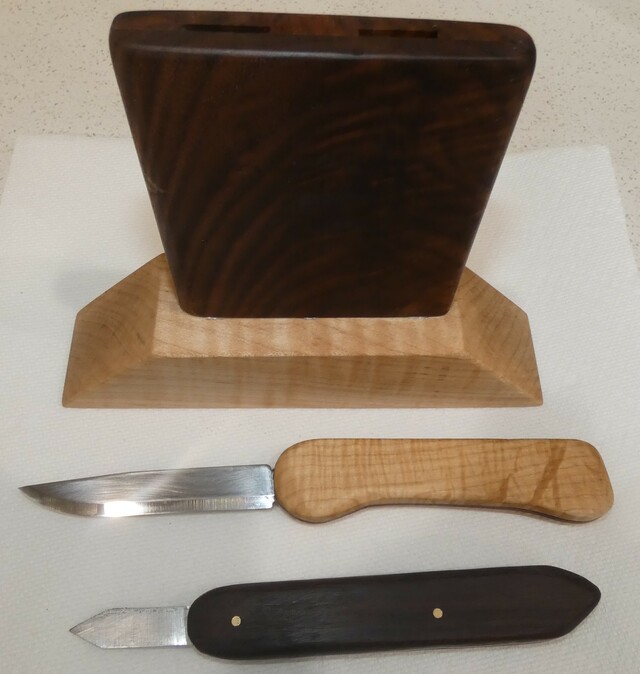
Another swap I sent out both a Morakniv shop knife, and a marking knife both housed in a base to give them a home to return to, so the edges don't get beaten up. I am at a total loss as to who I sent this to. Memory, they say it's the first thing to go.....Walnut and Curly Maple
No swap here, just marking and layout tools I could live without, but life would be a lot harder.
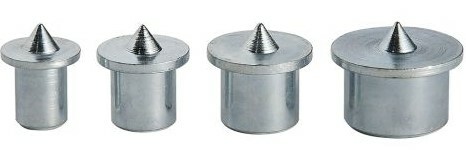
Nothing beats the transfer of one spot to another, even if you aren't using a dowel. Dowel centers, make a hole on one side that you want to correspond to another side. Pop in a center, press the 2 pieces together, and drill out the opposite hole at the dot the center makes. Easy Peasy. Often times these marks are done blind, or into a blind area. Later you can dowel plug, of use a face grain plug to hide the hole. If it's in a place you cannot see, because it was part of your joinery, does it exsist if you plug it or leave it open?
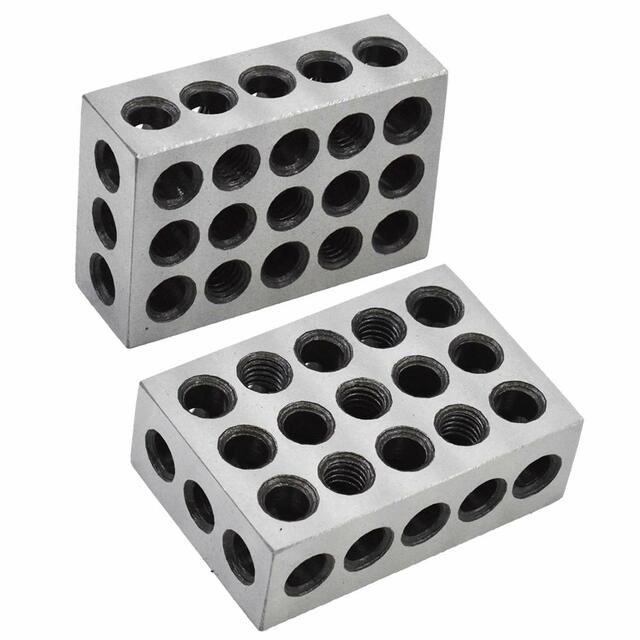
Probably all of us started out with a set of Whiteside set up blocks, or a Rockler, or other equivalent. Awesome for setting router depth, and distance from the fence. What we are learning is adding to this very basic set is that measurements come in a lot of other flavors (sizes)
Enter the iGaging 15 piece set up blocks, and add the the 1 2 3 blocks, and on measurement and saw fence set ups of up to several inches, you can be much more accurate, faster, and easier, by simply stacking these precision blocks atop of each other, and pitch that tape measure. Especially on really off fractions.
Transposition errors (An accounting term, with global application) For woodworking they may be. Errors made by misreading a tape, and or failing to take a good measurement and use it to lay out correctly that number onto your stock, or the set up of your machine. Or simply reading a number, and applying it incorrectly, are the #1 reason for miscuts, and errors in assembly because your parts aren't the correct size. IOW measuring mistakes.
I own a set of the iGuaging blocks, and also added to them a set of 15 off brand Chiwanese blocks to use as a comparison to the more expensive iGaging, and have found they offer a very value friendly option. I keep the off set with my router table, so I don't need to walk all over for them. I split the iGaging between the TS, and drill press. I find on every tool set up I use them, errors have fallen away to nothing.
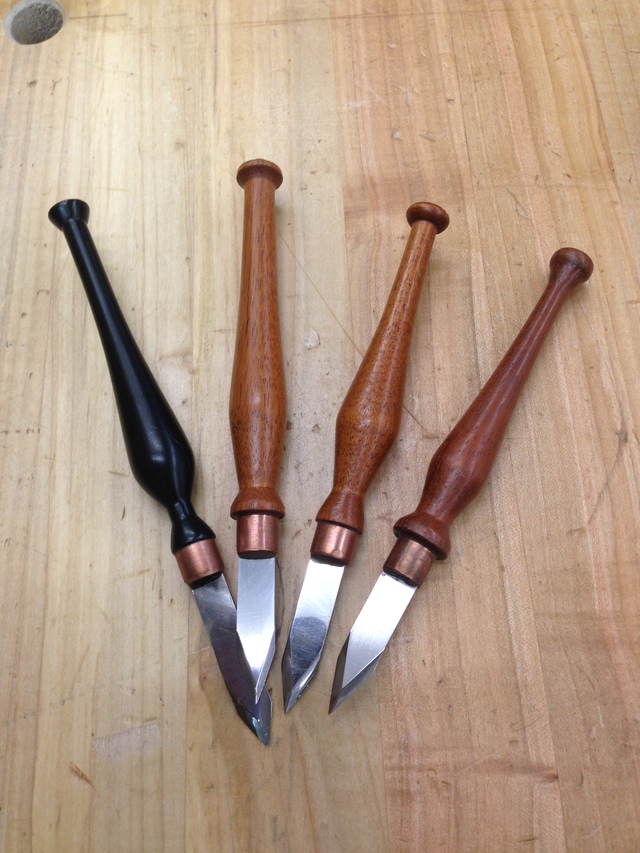
For marking knives I experimented with variations in style. The one with the longer blade and ebony handle is used for dovetails.
While the above performed admirably, I settled on this one made with a round handled surgeon's scalpel. The round handle is difficult to find, but here is one on Amazon. I prefer the number 25 blade.
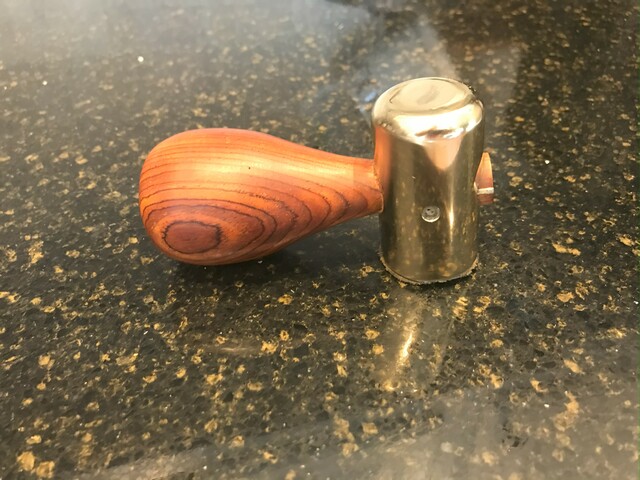
A LJ buddy, August, supplied the brass mallet head for my chisel hammer (not sure if that is the right name or not.) I made the handle with some left over cocobolo and it fits my hand perfect.
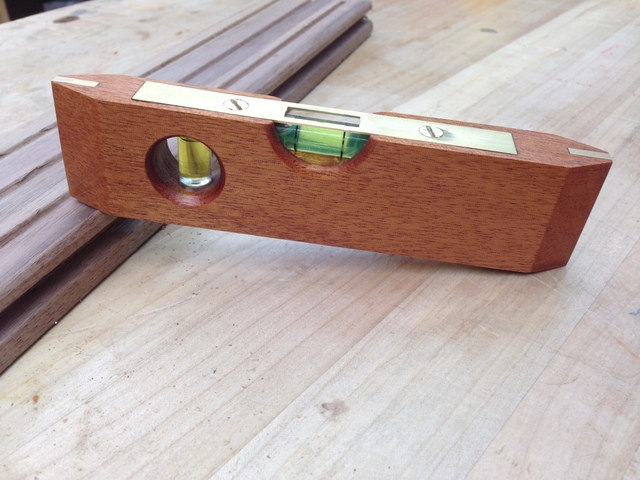
A rarely used pocket level I made when I was restoring an old Stanley level.
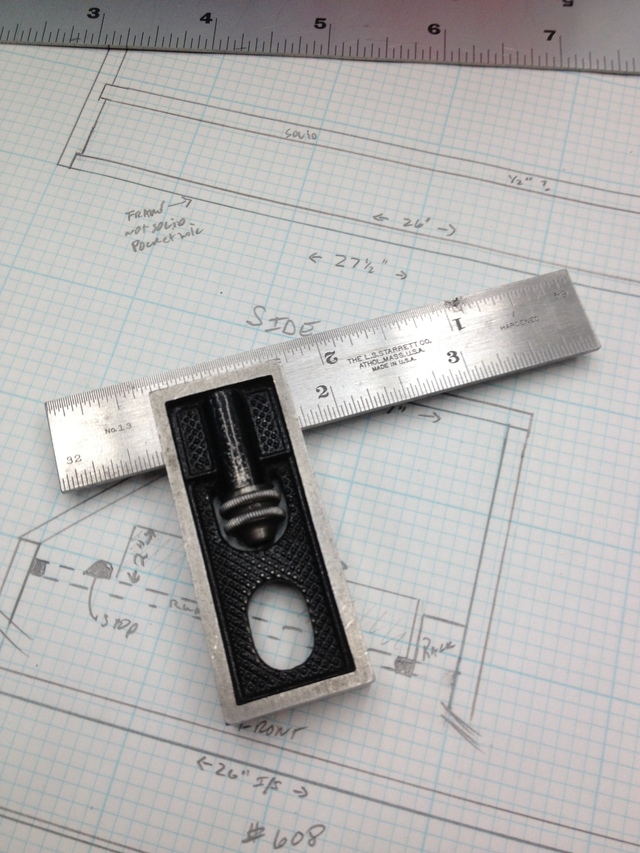
But the most used M&M tool is an old 4" Starrett double square.
I'm seeing lots of folks that are really good at making their own tools. Impressive.
George, I'm also admiring your parking stand for your marking knives. I hadn't thought of that but maybe I should do something similar. Good safe way to keep the knives handy on the bench.
Drop out of warp and prepare to be boarded. Mike southwest CO
I was scratching my head about my inability to make a sheath, and kept wondering how to house them, and I flashed on a Kitchen knife block, the rest was just scaling it down to 2 pieces. :-)
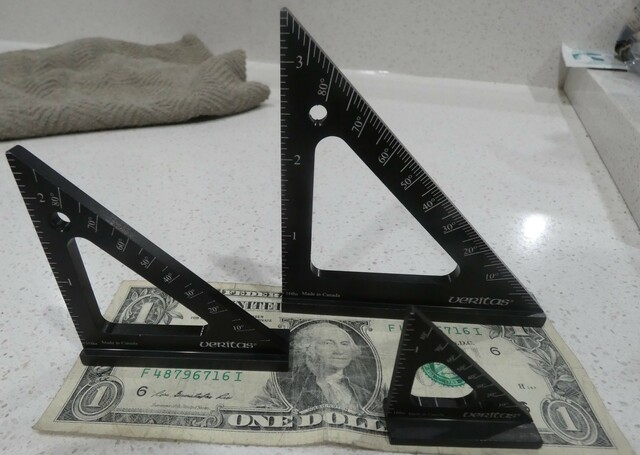
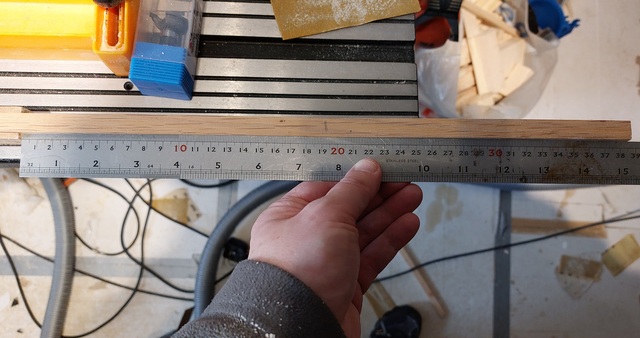
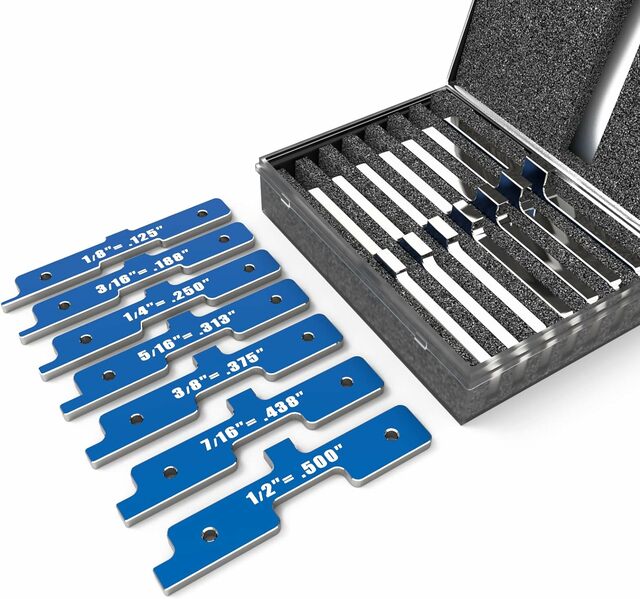
95% of what I do, I consider "flat work" so usually 90's and 45's make up most of what I need to mark lines for. Of late most of that work is also a lot smaller than the houses I use to do, and I find sometimes accuracy comes down to the size of the marking tool. So I find these squares for layout very helpful to actually fit into some small boxes, drawers, and whatnot that I find myself working on. These LV squares get used a lot more than I thought they might. They also have Metric for people that live on the other side....
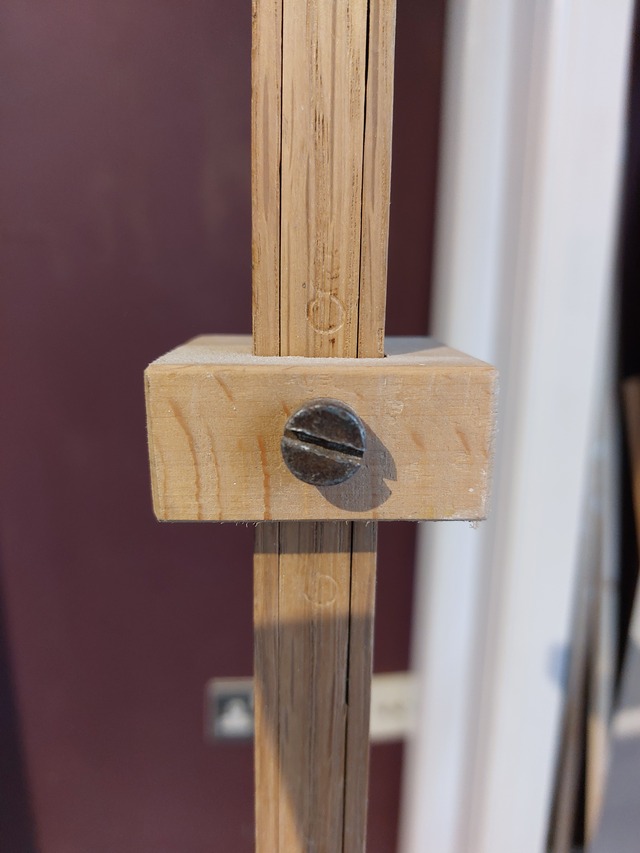
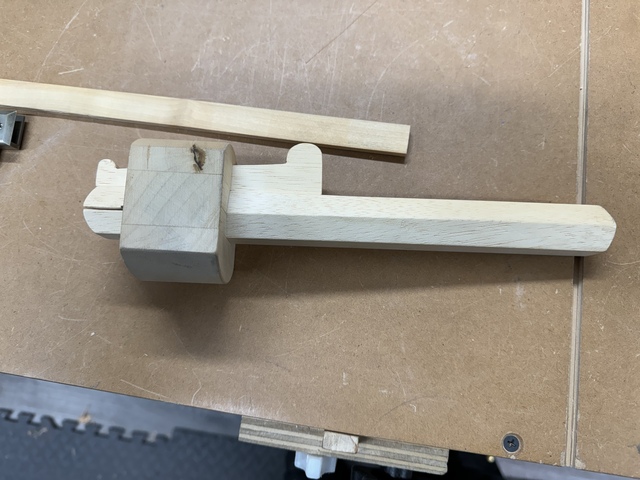
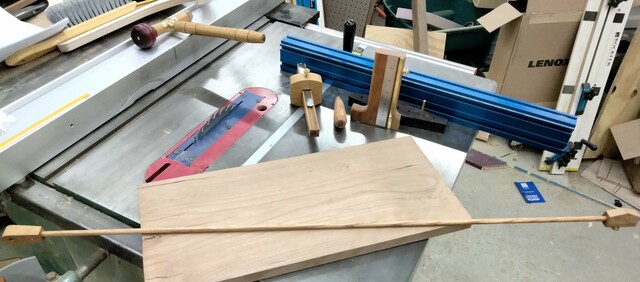
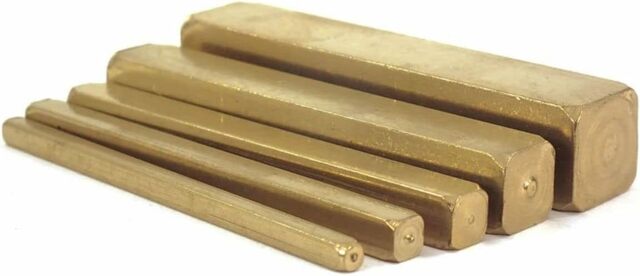
I must have a dozen pinch rods of varied lengths, and materials. Most have a variety of ends to fit into corners, around sides, and so forth. Possibly one of the most accurate ways to measure for square from the inside, or distance from anywhere, especially inside measures. Easy to make your own, and there are a number of "clamp" features to buy, and or make.
Lee Valley sells a nice one if you prefer to just buy items. A hint, you can buy square brass, or metal stock from 3/4 x 3/4 and larger from the Borgs, and places like McMaster Carr. Drill and tap for a set screw, and cut hardwood arms to your desired lengths. Cut an angle, or make a wedged end, and go forth and check measurements.


.jpg)