


Share your craft projects
Make new craft buddies
Ask craft questions
Blog your craft journey
Bo Peep
156 posts
and
7 followers
in over 10 years
in over 10 years
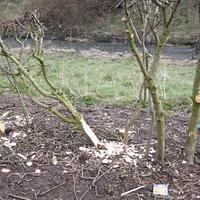
Project #8: Rustic Signs (Part 2)
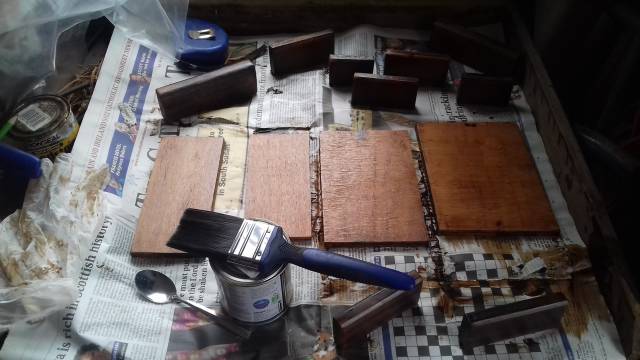
I am now utterly convinced that the longer you watch paint dry the more tacky it gets. Luckily I found other things to do while I waited for all of the paint to dry. I have given all of the wood as coat of teak wood stain to act as a base and then added a couple of coats of some acrylic gloss paint I have in my craft box.
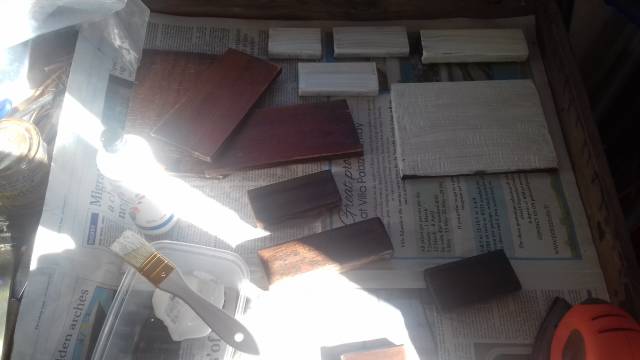
When the paint had finally dried I added the finer details to the plaques and started sanding them down.

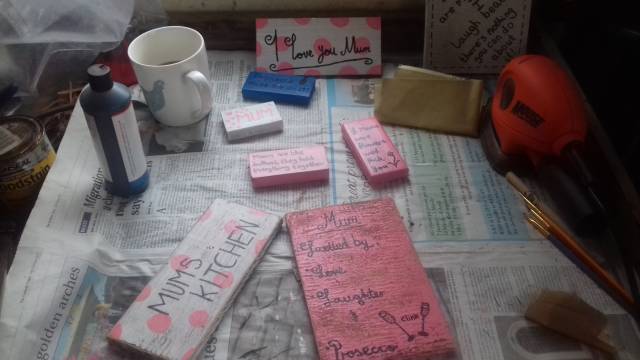
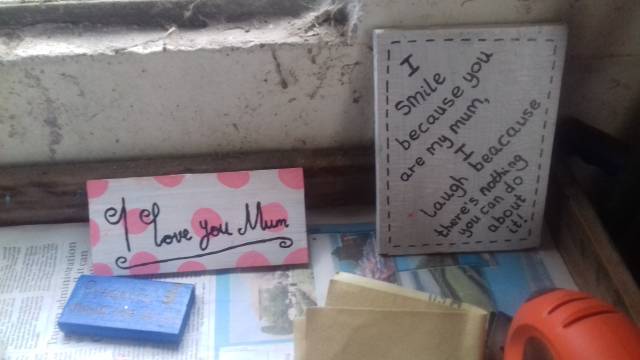
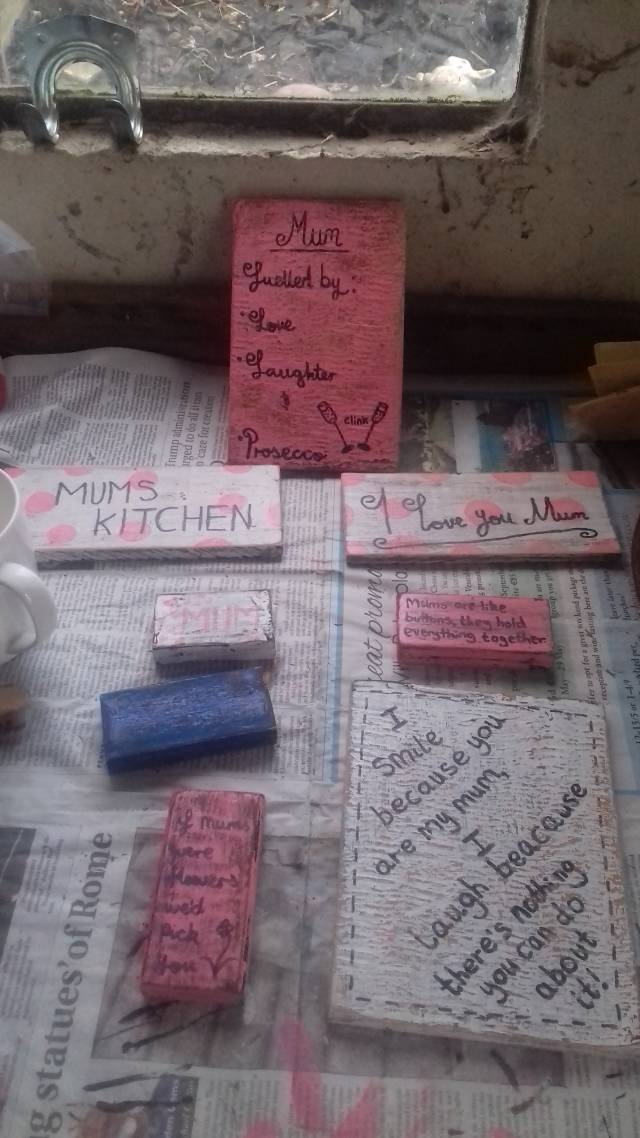
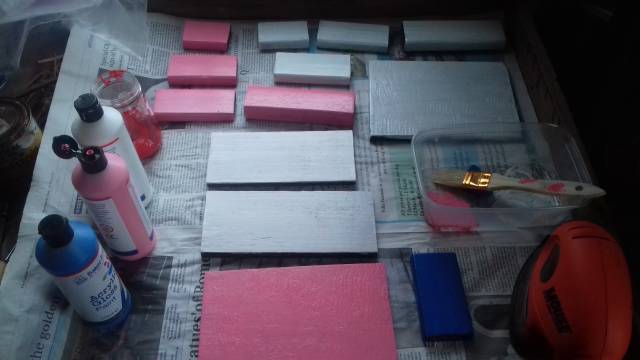
I’m pleased with hown everything has turned out so far and I think there is a massive improvement to my first attempt. Now all that’s left to do is add some rustic handles, finish sanding and add some final details. I have learnt a lot from this process including what colours I do and don’t like as a background. I think pastel and white colours work best as a background
?
9 Comments

Looking good well done.
woodworking classes, custom furniture maker
Thank you
?

Take it easy will will have your Mum in tears!!
Nice work just the same!
Regards Rob
Haha these are for my Etsy shop for the mother’s day collection, I forgot to mention it in the post
?
OK then.
Here is my effort on my wife’s kitchen sign
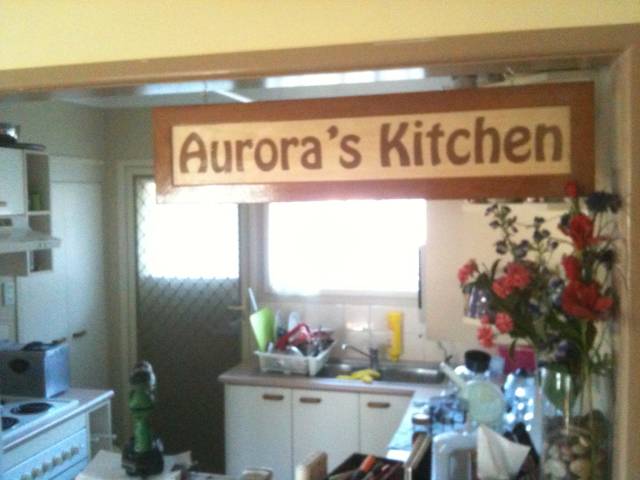
Regards Rob
I hope I didn’t offend you; my apologies if I did.
That it is a really good effort. I like how smooth and crisp it is
?

Those signs will mean a lot to the folks who use them. Good job!

Great work Bo Peep, she will LOVE them.
Jack
Thanks guys, really appreciate the feedback. I feel like I’ve come a long way since I started out on this crazy woodworking journey
?