Hey Guys, I just love boxes, all sorts and sizes, and how awesome it is that so much creativity can be expressed, all just to hold a trinket or something, but isn't the real mystery in wondering what is in the box when you see one? I see so many cool boxes in the old shops and can't wait to bring some home to tinker with.
Boxes come with a few different kinds of lid styles, while some are hinged, others just set into a spot, or even those with a 'pencil box' sliding lid type.
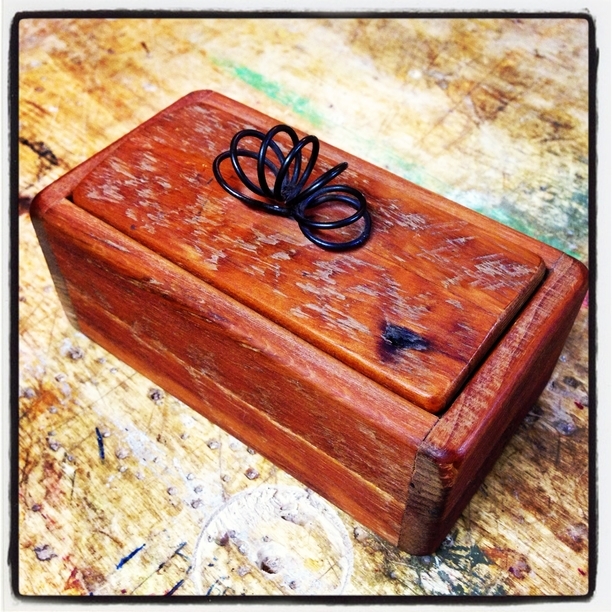
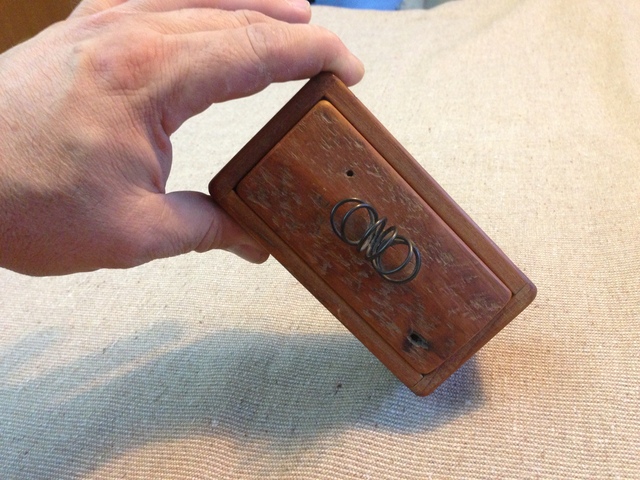
This old box was found in an antique store and besides the old weathered look, I was also drawn to how a spring (though I think it is just wire) was used as a clever lid handle.
Being that this lid was a 'set on' type, the mechanism needed to reflect that nature.
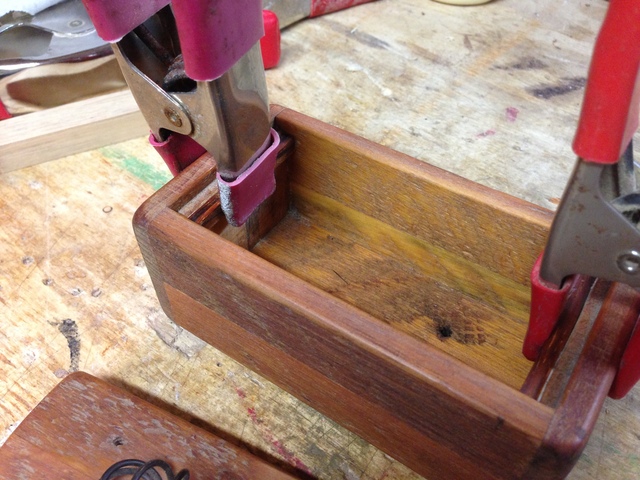
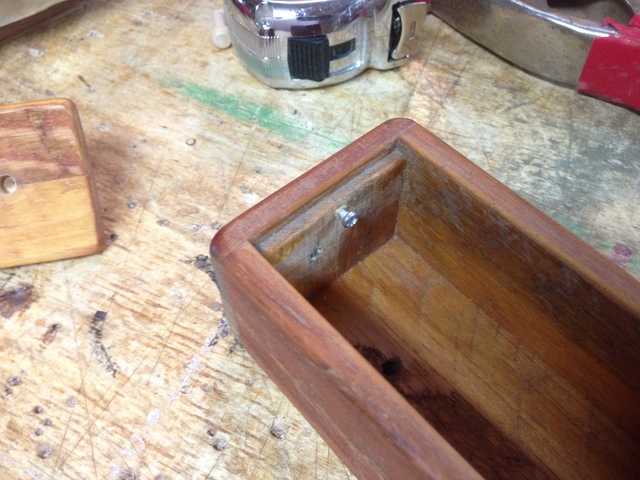
The first thing I had to do was give the locking system and lid something to 'hold onto'. While the ends of the box was rabbeted for the lid to seat into, it wasn't enough to do much with. In the picture below you can see that I glued in one small cleat. It looks like two, but further on I removed the other one. They were likely about 3/16" square and fit the width of the box. These are referred to as 'end tab.' going forward.
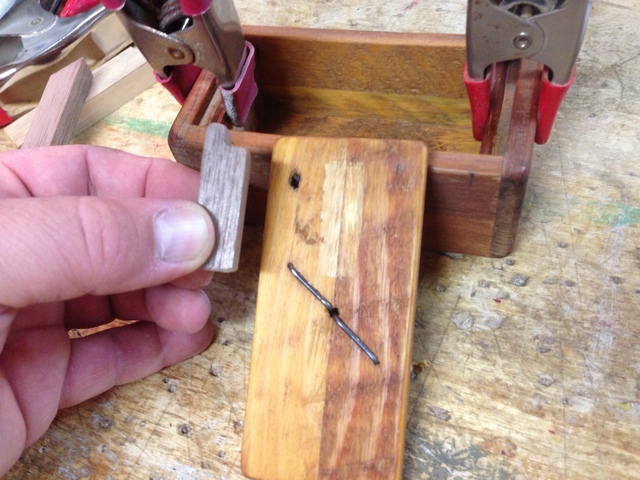
Next, I made a notched piece of wood that would fit around the one end tab. The shortest side of the notched piece seen below and the underside of the notch is just slightly greater than the 3/16" end tab. If you look really close, you will notice that the notch end tip is at a slight angle so that it will tuck under the end tab as it is being closed. Much of this can be felt out as you build, sanding just a bit more and more until the fit is just right.
I scraped off the varnish on the underside of the lid where I was planning on attaching the notched piece. Careful measurements will help ensure that the notched piece doesn't get glue on to close or too far from the inside end of the box. The great thing here is that glue typically has a 5 min window where you can hand press a part into place for 15 seconds and then try the lid. If the lid fits perfectly without binding, AND, when you lift that end of the lid you will have the lid rise just a hair or two but not too sloppy. The right fit helps with the whole sensory experience as a solver.
If I were building this box from scratch, I would leave off the bottom until you are sure it all works as expected. So much easier to see how a part is performing before final glue up. If you are 100% happy with how the part fits/works then remove and add a clamp for another 5-10 min.
After that end is complete we can move to the locking end. I begin with adding a pin/screw to the center of the other end. It was here that I noticed that I only needed the one end tab and so I popped it back off. The top side edge of the screw or pin must not rise above the rabbbeted seat for the lid. Drilling and inserting a 1/8" brass pin would be just as good here.
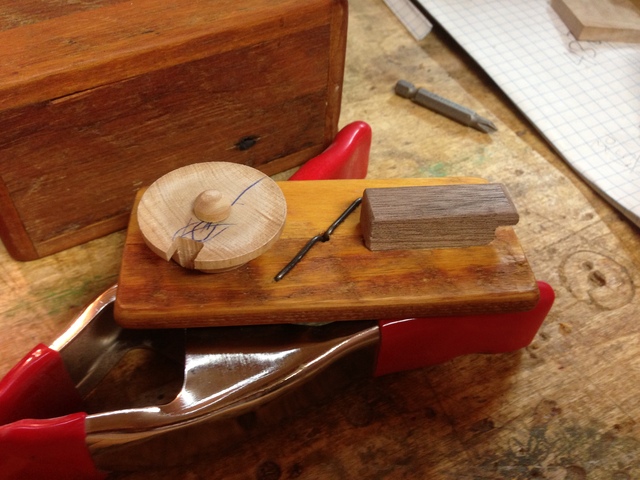
It is important to take precise measurements of the thickness of the pin/screw you are using. In the picture below you can see that I am gluing a 1/4" wood disc to an 1 1/2" wood disc. The center wood disc needs to be just those few hairs thicker then the pin/screw head so the lid has matching amount of play when closed.
Here you can see I drilled out a 1/4" hole and I filled it with a lead fishing lure, now this side of the dial will consistently be heavier on this side.
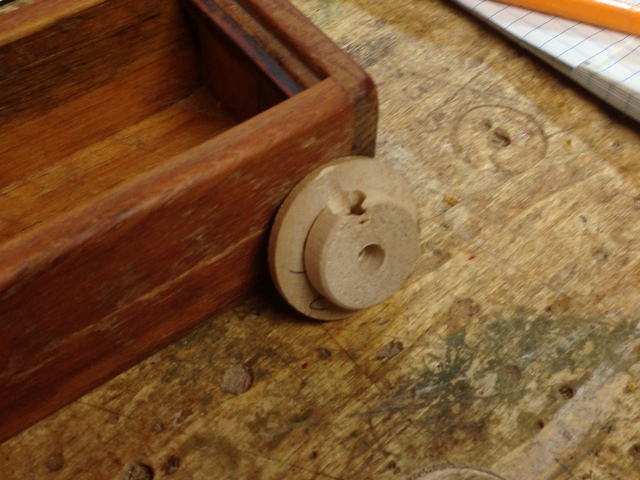
Take some careful measurements and place your dial on the underside of the lid. I used a common craft store wood axle as a mounting pin for the dial. When the dial is attached, you don't want to have the edges of the dial touch the sides of the box as it will impede its performance and may even get stuck.
Depending on where you cut your notch in the dial in relation to where the weight is, the solver will have to hold the box at a certain angle in order for the notch to be aligned with the screw/pin. This is why this kind of mechanism is referred to as Geo-Positional in nature.
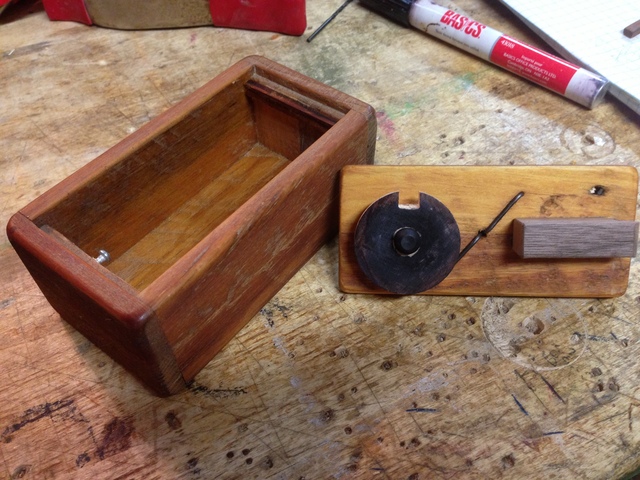
After that, I painted the dial black for no real reason. All in all it was a fun simple project that anyone can do and I think that it is the random way in which we can create a non-traditional locking system that is so much fun, and why most find challenges in opening them!
A picture from the solution showing that you just needed to hold the box at 45 degrees and the dial becomes aligned with the screw/pin!
Now, if you hide chocolate in there, your wife might think you are a genius, but only if she can solve it, lol!
Have fun with this guys, and I hope to see the version you make.
That is a tiny little box, interesting lock devise, so the wheel spins freely and uses the weight to line up the release. Cool little gift idea for the grandkids.