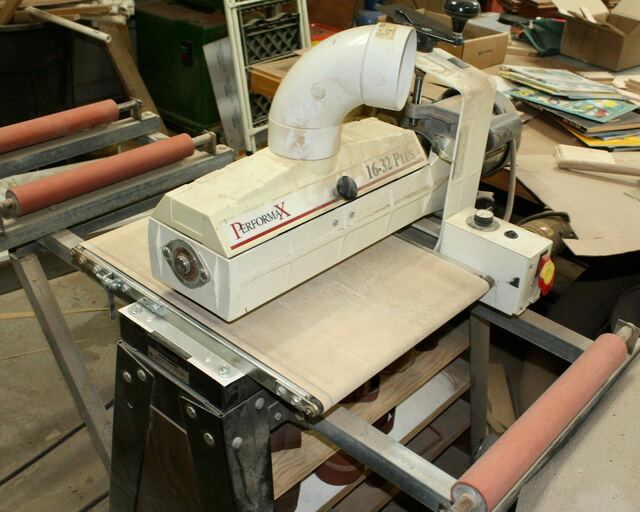
This is my baby, most used tool in the shop behind the table saw.
When I first started using it, I was undewhelmed with what it could do. Lots of burning and snipe. Eventually we became one and I have figured it all out.
It has been berry berry good to me aside from a few issues that cropped up over the years. First to go was the push button circuit breaker in the motor. Overloading and frequent stalls when first learning caused this to pop many times, eventually weakening to the point of nuisance trips.
Easy repair with a replacement breaker.
Then came the melting socket on the back of the controller that the motor plugs into. Also a quick fix. Next up was the conveyor speed occasionally pulsating, a new TRIAC and a few rectifiers on the glorified light dimmer electronics fixed that.
Soon after the speed control dial (with the built in conveyor "off" switch broke). I didn't have one with the switch handy so I just used a switchless version and installed a remote switch instead (black spot next to the speed dial in the above photo).
The Jack Screw
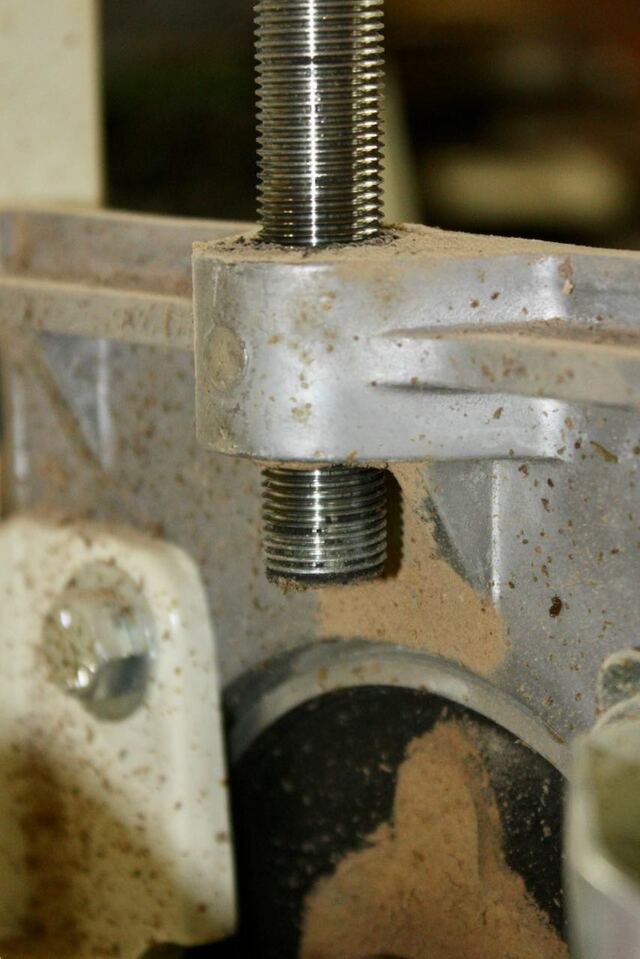
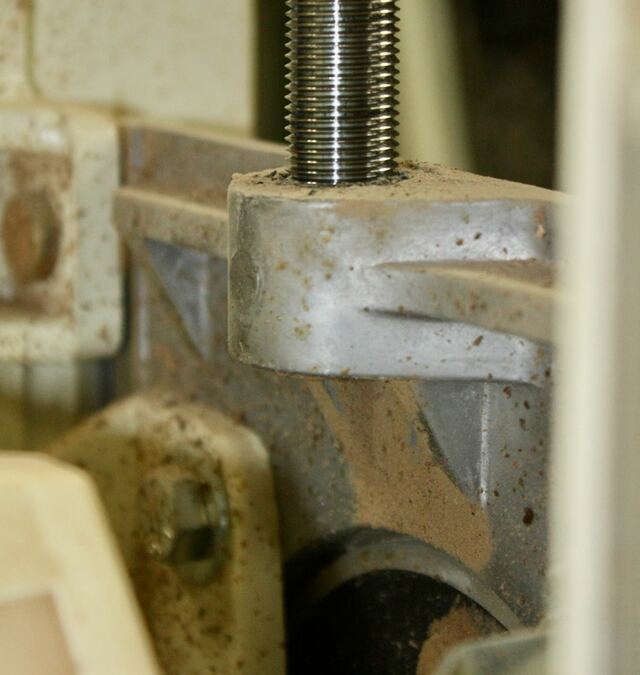
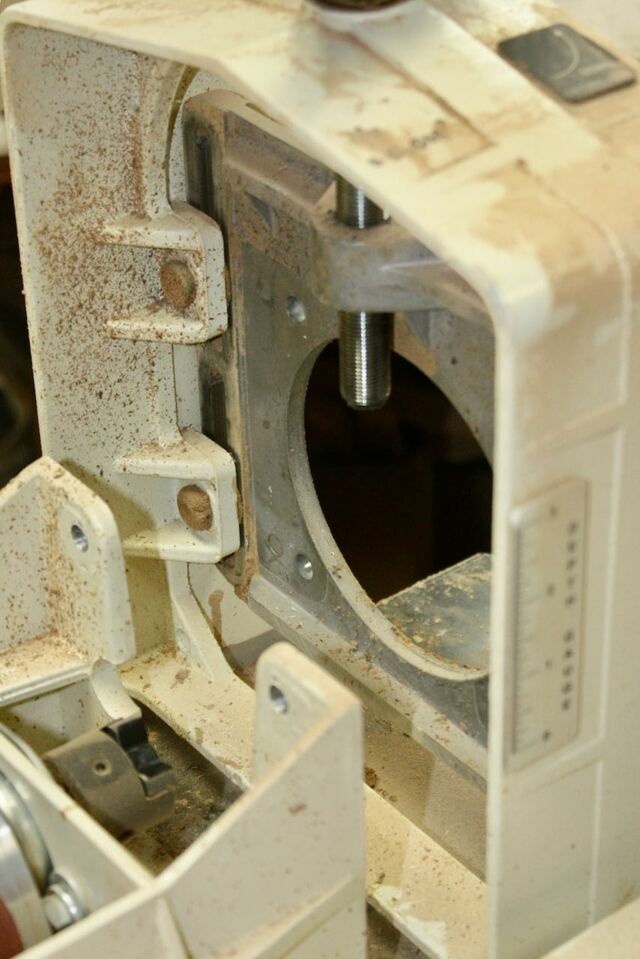
This has been nagging me for a few years. The motor/drum is raised/lowered by a screw running through a cast aluminum plate. Years of ups and downs appeared to have been wearing away the threads. I noticed that at the lower position, the effort to crank it suddenly became suspiciously "easier" and there seemed to be much more backlash.
I believe this came from two sources. One being that this is the height where I do 95% of my sanding (<1") and also that the screw is only partially engaged into the plate at this lower position.
Steel screw into soft aluminum, not that brilliant.
UP
DOWN
This was something I should attend to before it totally fails. I knew what needed to be done. Two options, first was to ream out the threaded hole in the plate from 5/8" to 3/4" and install a "rod end" bushing like used on race car suspensions. This would provide a proper steel-on-steel interface with the jack screw.
Just enough material on the plate to make this work.
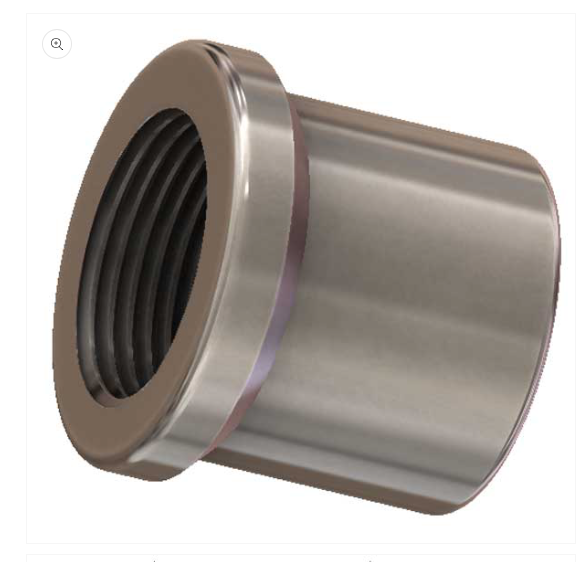
I chickened out however and saw this as a last-ditch type fix, a better solution was a Helicoil.
Thread is 5/8"-18, not the easiest to find for a reasonable price.
A Helicoil kit consists of a drill bit, special tap, coil insert, and a "tool" to thread the insert in. Most kits were nearing $100 so I decided to just see if I could find the parts individually.
Found the tap (new) on fleaBay for $35 and a 10 pack of the inserts for $13.
The 41/64" drill bit was an Amazon special for about $12.
Time for the tear down
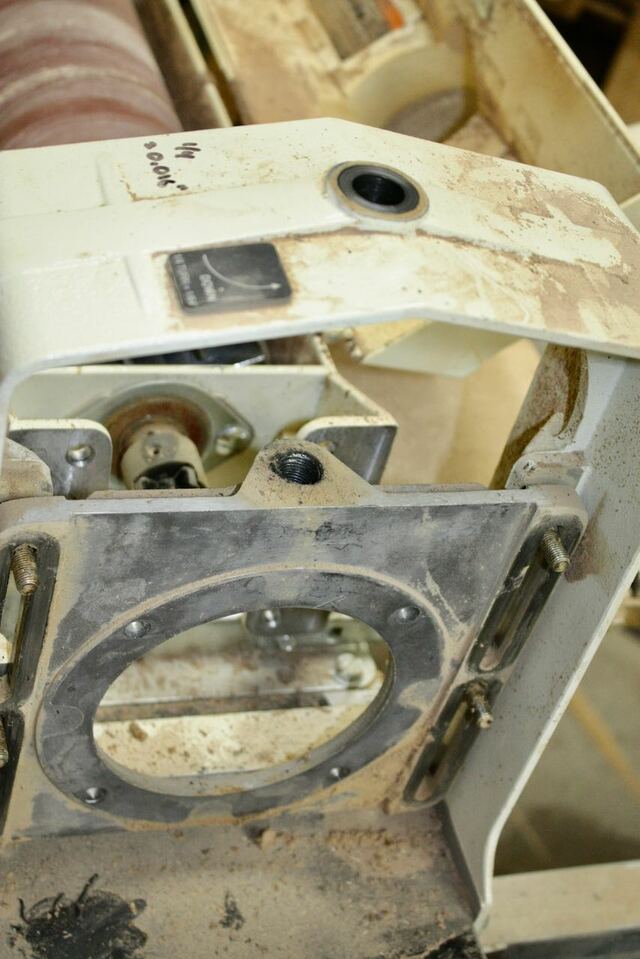
Separate the motor and drum Four bolts to separate the motor from the drum
Lower two bolts came out first so the motor would still be well supported. The motor is heavy so I braced it with some wood blocks while I removed the upper bolts. No issues! Motor and drum are connected together with an isolation coupler that simply slides apart.
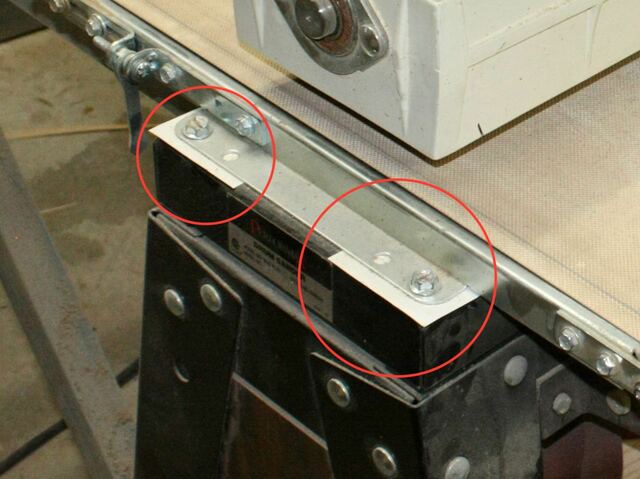
You can see the four lock nuts that make up the sliding mechanism.
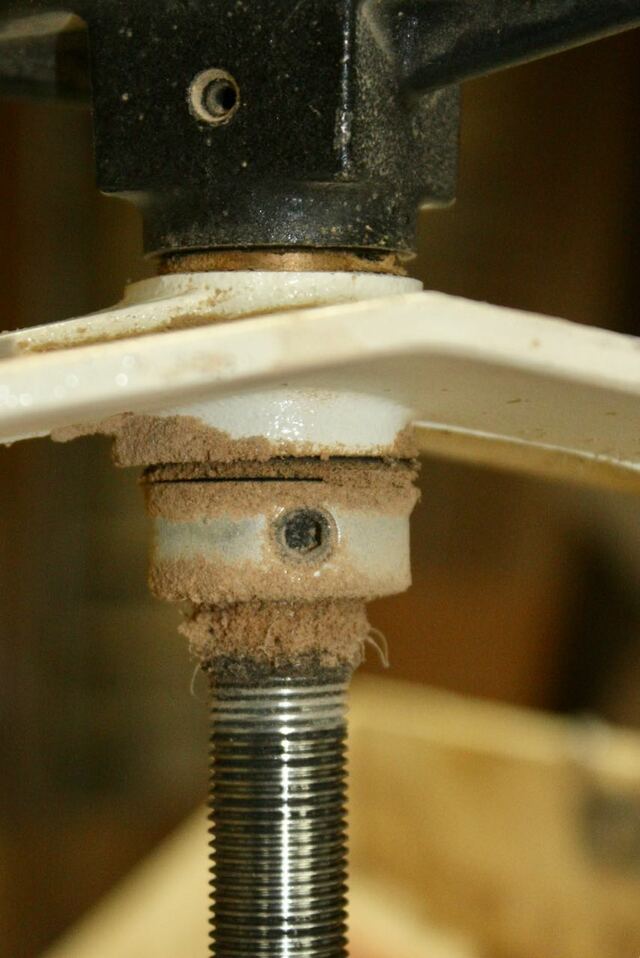
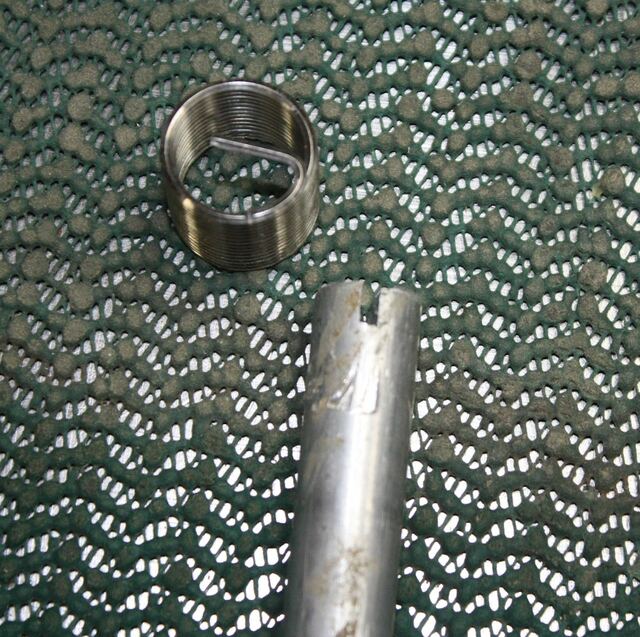
Remove the jack screw
Held in place with a collar and two set screws Loosen the set screws and slide it down, Unscrew the jack from the plate and pull it out through the top. Don't lose the collar and plastic thrust washer.
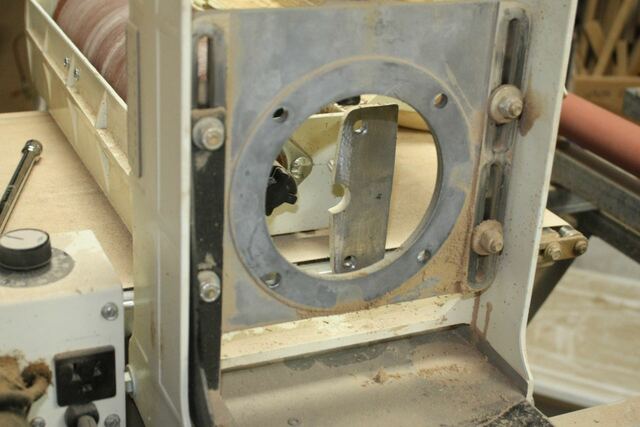
Remove the jack plate
Four lock nuts and tilt bracket removed.
There are steel washers on top of copper bushing washers with copper washers behind the plate.
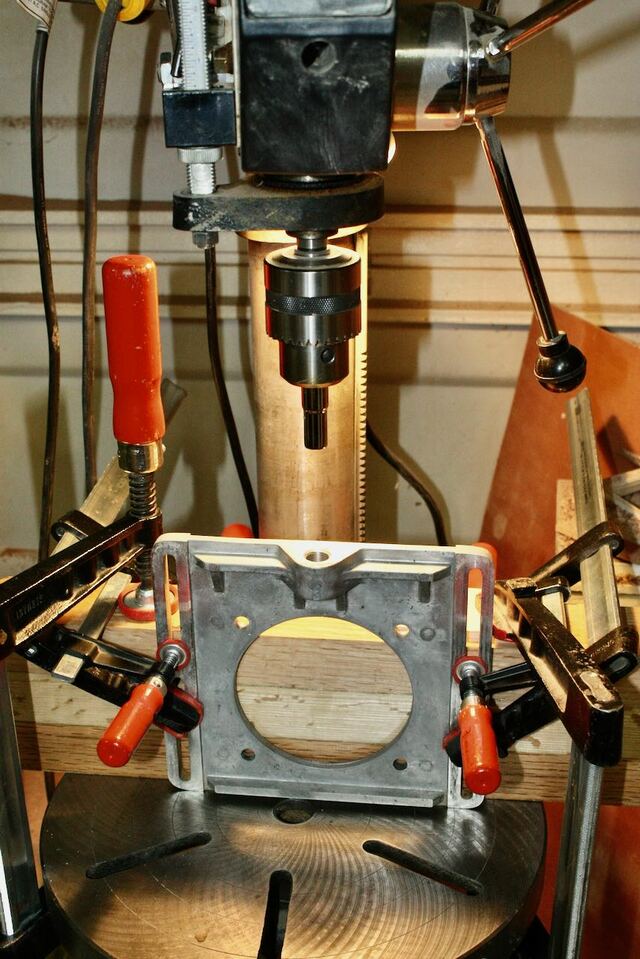
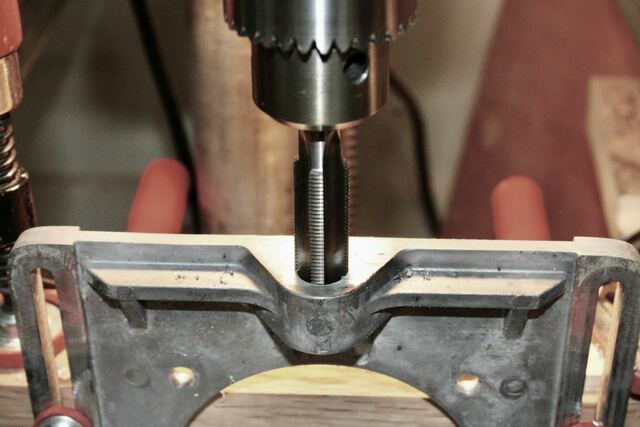
Time to ream out the hole
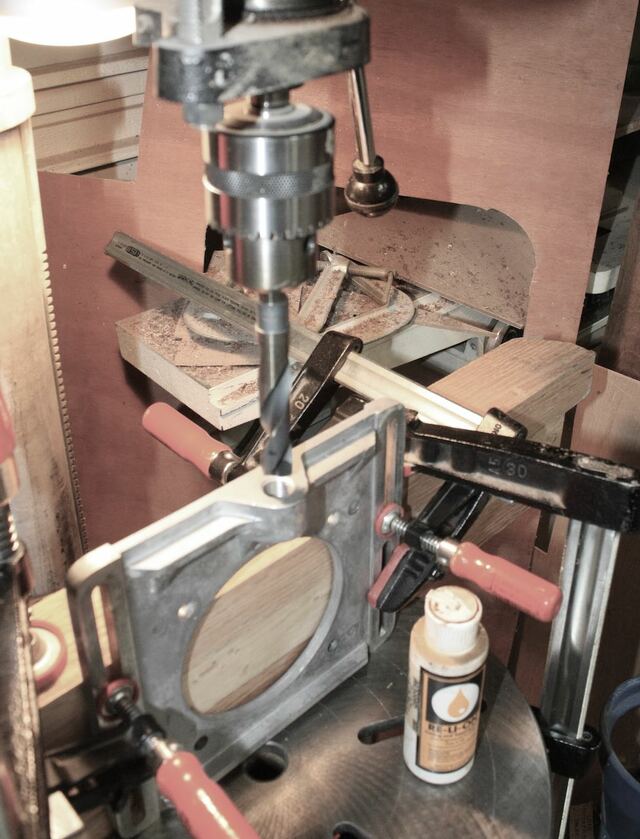
Fortunately the plate is easy to set up in the drill press. It needs to be square with the bit and in alignment. A rather janky stack of cauls and clamps gets me a stable setup.
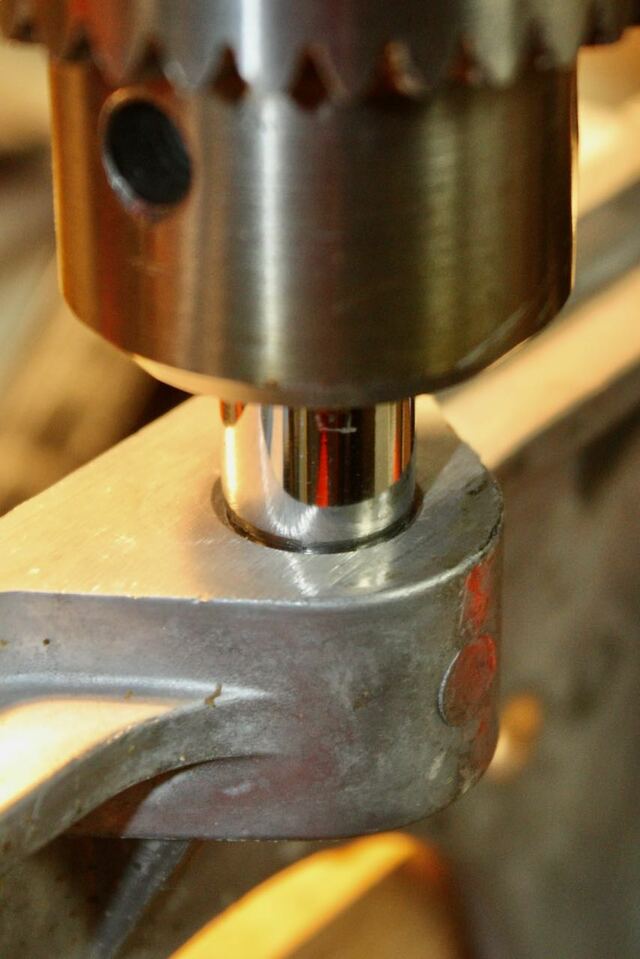
Foutunately a 3/8" deep socket fits the threaded hole perfectly and lets me zero in the alignment with the chuck as I square it all up.
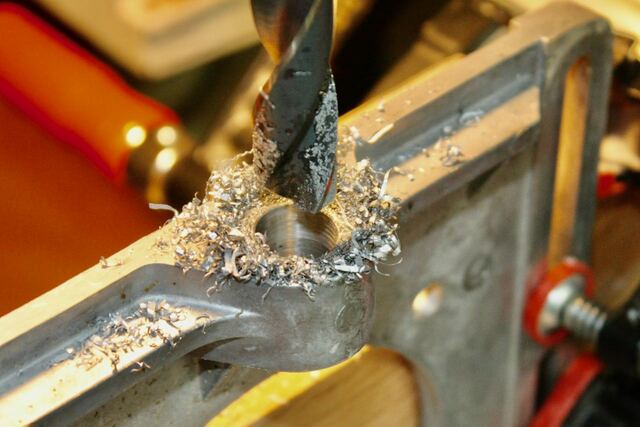
Drill...
...and tap
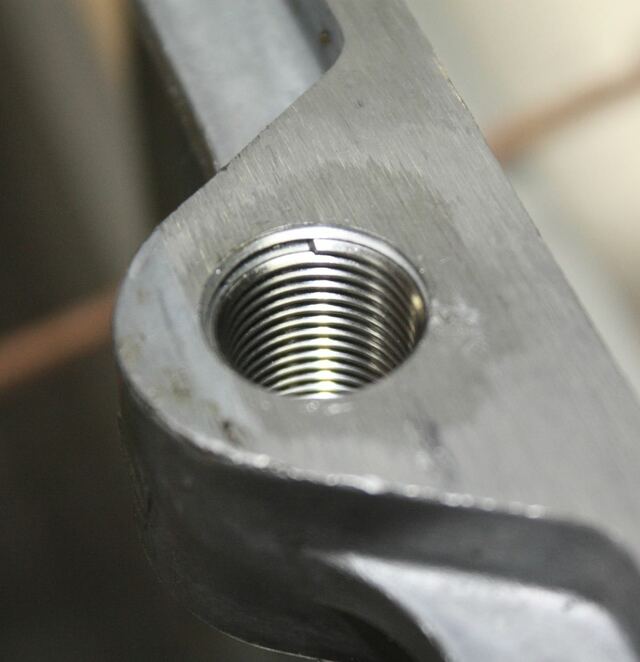
Made my own installation tool from a scrap of aluminum rod, notched on the bandsaw. It engages with the "L" in the insert to help thread it in. The "L" snaps off when done.
Done!
Cleaned and greased all the moving bits with MdS, a few drops of light oil on the screw. The jack plate slider nuts are very sensitive to getting just right. Too loose and there will be slop, too tight and it won't slide easily.
All parts back in place, ready to re-level the drum.
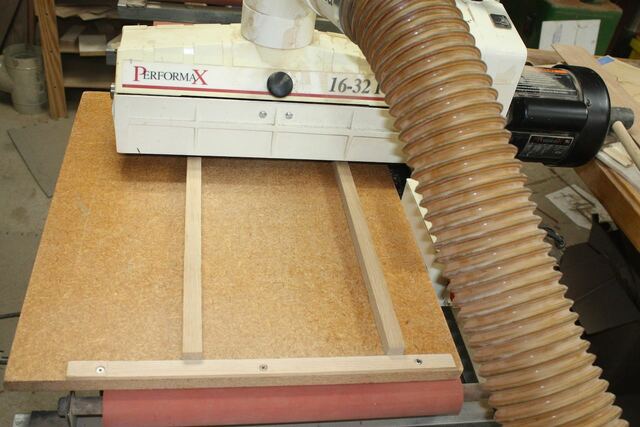
Re-level the drum
Two strips of wood being run through on my sled. Difference was about 0.004" so I changed my shims under the conveyor (outboard end) by the same amount. Pure luck that the geometry made it such that the error and shim thickness needed were the same. I used some plain copy paper.
Left and right boards are now within 0.001" of each other. The machine has a knob on the back to adjust this, loosen the four hoop to base bolts, adjust the knob, then tighten back up. Problem is that everything shifts when re-tightening the hoop bolts. Very frustrating! The shimming is easy, simple, and accurate.
Took about 3 hours with the usual time looking for tools and the drill press setup.
ive got the jet which is basically identical to the performax. ive had mine for several years now and it's been used quit a bit. im happy to say ive had zero issue like what youve had to deal with. the one difference which probably helped with the breaker and switch issues is mine has the sand smart feature that automatically adjusts the motor under load. heck ive never even had to adjust the belt tracking after the initial setting. id buy this sander again without hesitation.
working with my hands is a joy,it gives me a sense of fulfillment,somthing so many seek and so few find.-SAM MALOOF.
Jet bought them out I believe and just carried the design forward. The smart sand was a nice idea. I thought it just changed the conveyor speed and not the drum motor? I think it monitors the motor load (current) and varied the feed rate?
People seem to have the most issues with the belt tracking. I also was able to get mine set 'n' forget right off. I did switch the abrasive belt for the poly belt I now have since the abrasive belt seems to leave a small dip in the wood due to the seam being slightly higher. When new, it was nice and sticky so no slipping. Someday I'll scrub it down to get that sticky feeling back, but with my sled it never slips with having full contact.
I find satisfaction when I fix something and it actually works 🤠 Second is knowing that if I get a new one, the old unit will sell for more than just the sum of the parts.
Of course I now see Jet is selling some smaller oscillating versions. Post drum sanding always requires me to ROS away the linear marks and an oscillator would really help.
Great write up Splinter... I reckon they all come off the same production line and re-badged... I have the 22 Jet and touch wood, have not had any major issues, yet. However, it's nice to know in case of emergencies.
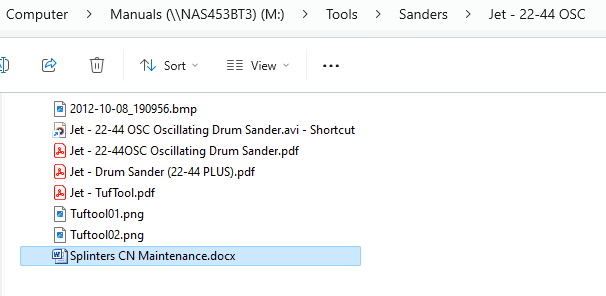
I have saved this URL in my manuals directory as, I'm hoping that there'll be many years before I may need to reference this... but then... I can...
Hint for others to find that missing post in years to come.
If your first cut is too short... Take the second cut from the longer end... LBD
I saved a lot of BMs for stuff over on the old site that vaporized. Should have kept them as web docs.
Being that I use a computer all day, my files are as organized as my shop.🤠 When the big day comes and I'm free from the man, I'll have to prioritize getting all the years of info into order.
I've used my sander for over 20 years up/down adnauseam.
Jim. no lock, just the possible backlash against the screw upwards where it goes through the upper side of the hoop. I have that set tight and the motor+drum weight keeps it all down.
I could have made a 90 degree wood angle, which looking back would be something I'd use often since the table on my DP is a pain to tilt and a pain to re-zero when level. Drilling was easy since it was just a reaming, but if I ever go for the bushing, I'd like to get the rigidity of a mill.