We were shopping for gifts last month and my wife found some earrings. The jeweler offered some boxes to go with them. I had just seen the Mini Box project from 987Ron so I offered to make some.
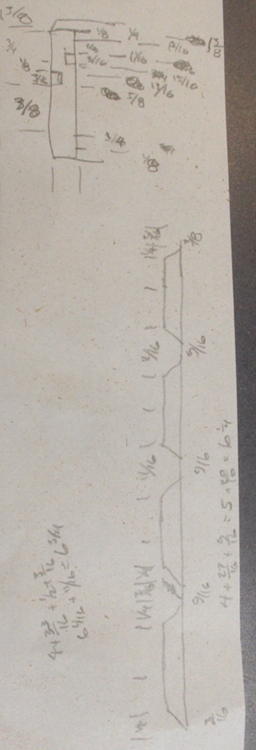
When I got home I found a strip of lacewood and worked up a quick plan. The idea is to make a mitered box with reliefs to eventually let the top slip over the base. The top will be walnut and the bottom will be a piece of 1/8” plywood. The lacewood strip is long enough for 2 boxes plus enough to allow a safe way to hold the strip while cutting the sides free. The bottom half of the drawing is where I made sure my strip of wood was going to be long enough.
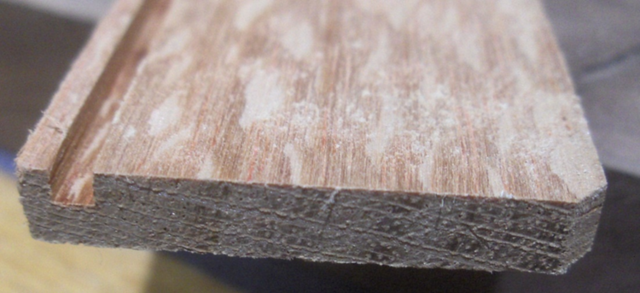
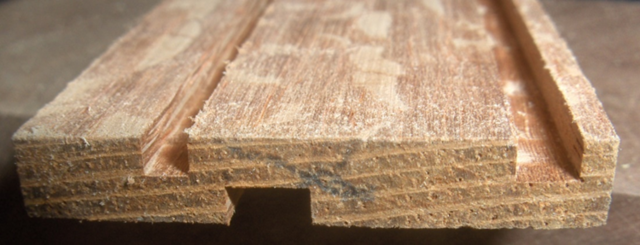
After the lacewood was cut to a thickness of 3/16” I could start the cuts. The first cut was for the plywood bottom.
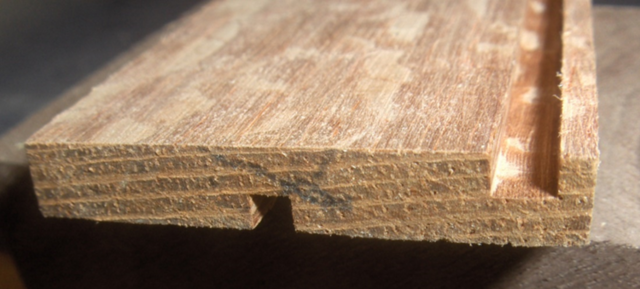
Then I started on the groove to create the lip on the bottom. This groove is 3/16” wide and took 2 passes. The depth of the groove is slightly less than ½ the thickness of the 3/16” strip of lacewood. The will allow some adjustment to get a tight fit for the top.
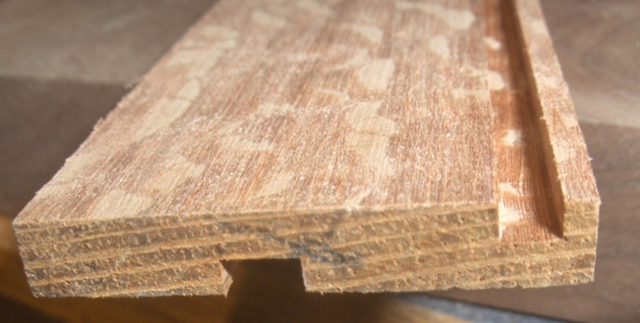
Then the lip for the top is next. A 1/8” space between the 2 grooves is for the cut to separate the top. It also preserves the strength of the wood strip during assembly. No pic of the second pass on this one.
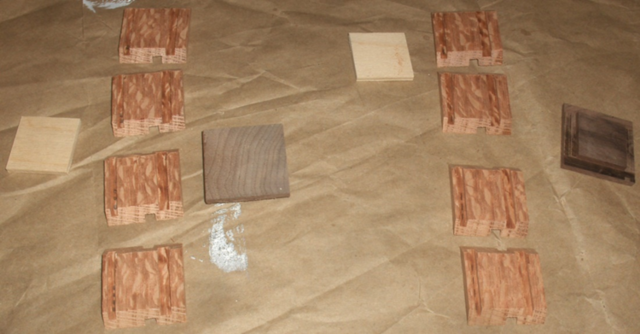
Next the sides are cut free. The plywood bottoms and walnut caps are cut for a snug fit.
Several test fits are required to make sure everything is the right size.
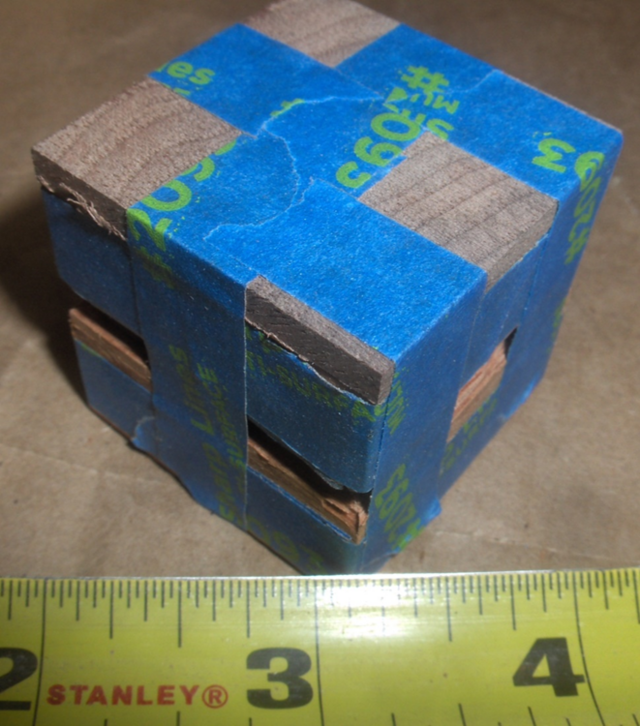
The sides are laid out on strips of tape prior to the glue up.
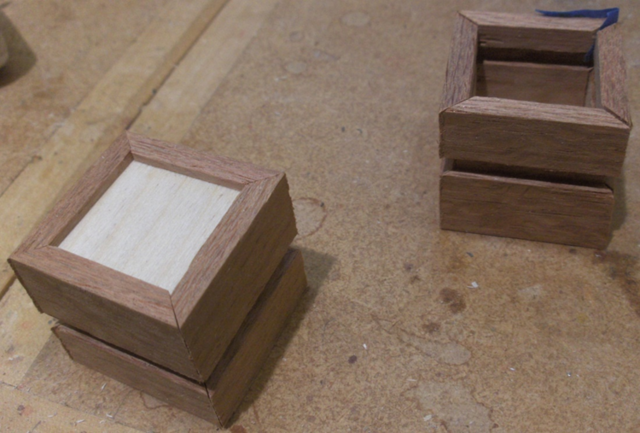
The sides and bottom are glued up. Then the top is glued on.
Clamping is done with tape.
Once the glue set up, the tape is removed and the walnut lid is sanded flush to the sides with the disc sander.
I sanded a chamfer on the top.
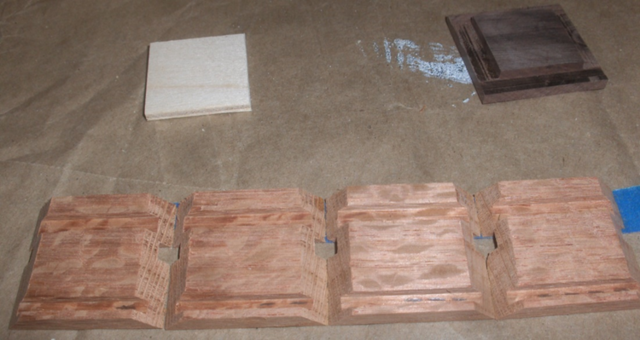
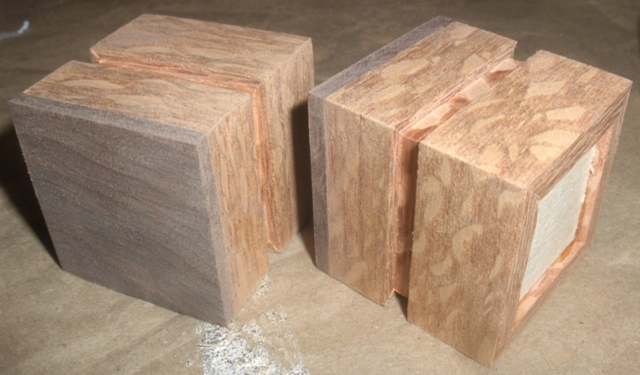
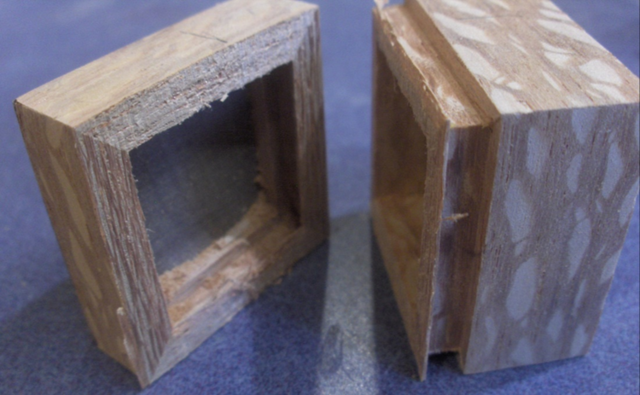
Next up is the fun part. I cut the tops off with the bandsaw. The kerf was less than the 1/8” I allowed so there is a bit to clean up on each half.
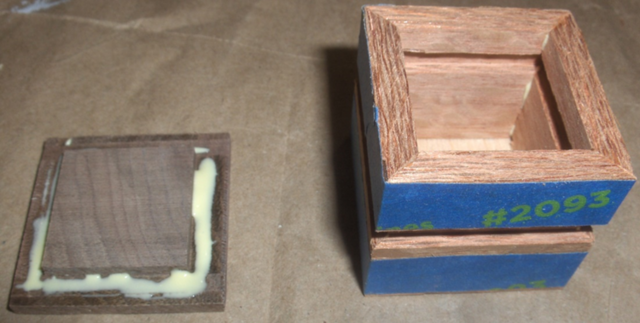
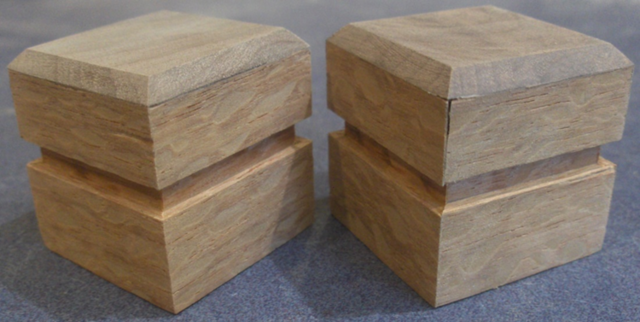
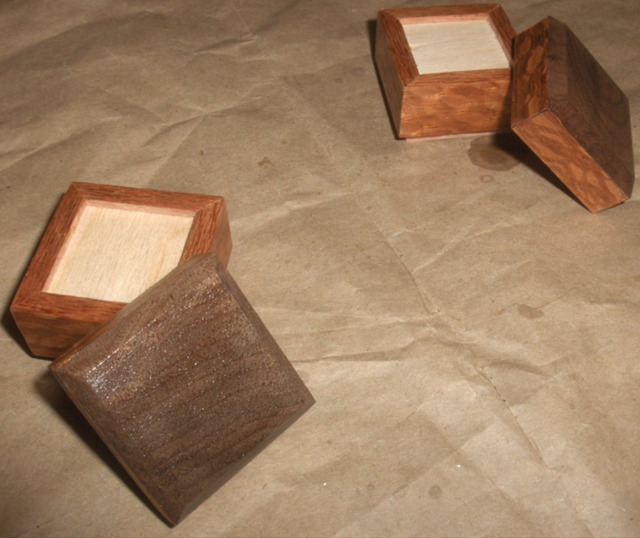
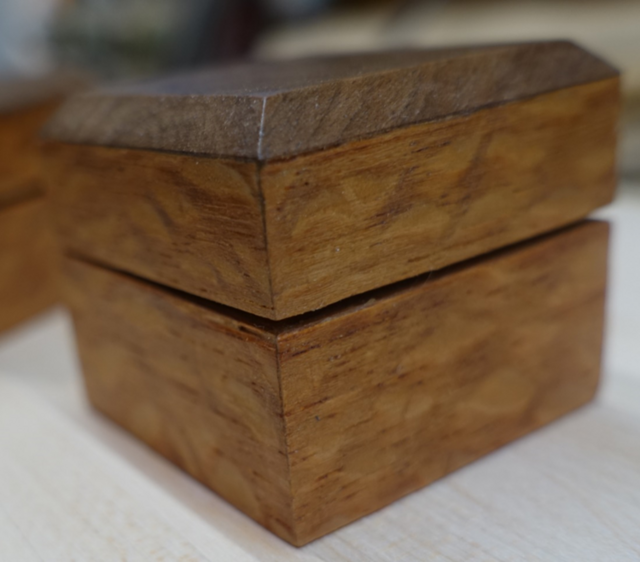
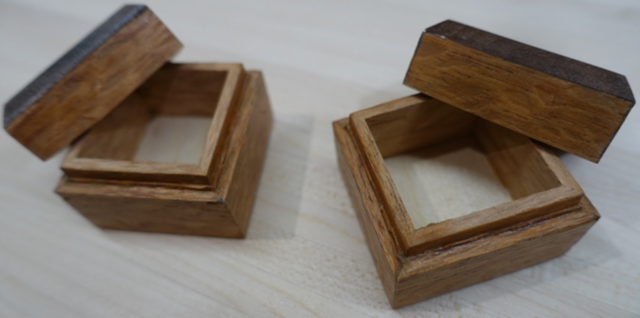
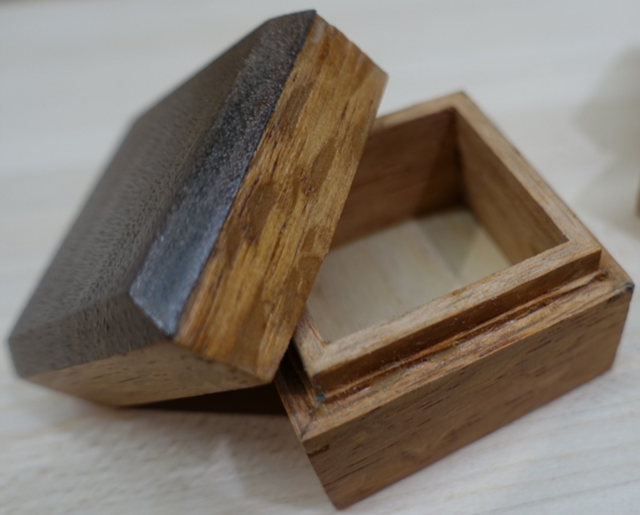
I trimmed the lip on the bottom until I had a snug fit for the top. The final step was finish.
The boxes measure 1 3/8”x1 3/8” and are 1 ¼” tall. I left a small step when I trimmed the bottom lip. This created the gap.
While the earrings were the focus of the gift the boxes were also much appreciated. Thanks to 987Ron for the idea!
Jim - It works quite well but it does have a tendency to chip out a bit at the end of a cut. Backing blocks are recommended. It does look a lot like QSWO but the figure is more regular and had a bit of an orange tint.
Do you saw your miters or sand them? I usually saw some off and then finish with the disc sander, less chance of splintering. If you knife a line on the outsides to mark the length of your sides, you can then sand the mitre until the last little bit falls off. It falls off because as you have reached the bottom of the knife cut.
Hi Madburg, I have done both, although I haven't used the knife - that's a really good suggestion. I have used the knife when running veneered plywood through the table saw.
On this project I just used the saw and got a few split out fibers. I think the knife would have mitigated that.


 - Project by Steve Rasmussen")

 - Project by Steve Rasmussen")