This is a table my wife wanted for the new sun room. It is 36" diameter, 29" high and a 31" base circle.
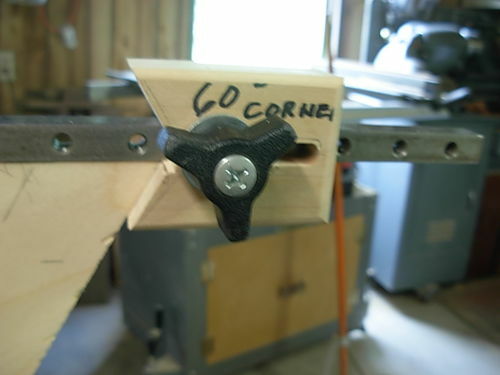
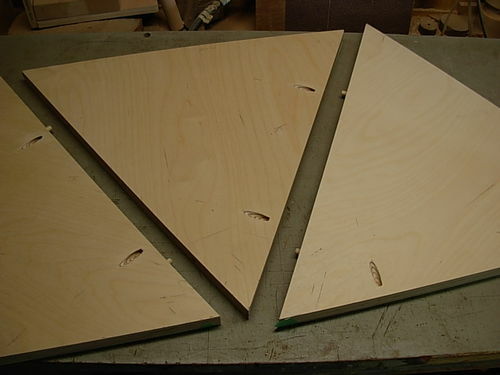
I planned on 6 segments but it meant some pretty wide pieces. I did not want to laminate boards to get the width as that would be additional seams so I went with 1" Baltic Birch plywood supplied by my buddy , LJ Doug Scott. Thanks Doug!! The segments are doweled and pocket screwed and glued together. I used dowels instead of biscuits because I want them to come right together and not have any "slide" during the gluing process. The corners had to be right on.
The column is an octagon made from 3/4" maple plywood. I made it 8 sided so I could have a 4 legged base instead of 3 on a hexagon. The octagon apron is made from 1" Baltic Birch with gussets for reinforcements. I made it an octagon because originally the 4 column supports that fasten it to the top were going to be screwed into the apron as well but I did not see any advantage so I shortened them. I design on the fly as you can tell!! Sometimes I cannot visualize the product until I have full size pieces made
The legs and the column supports are made from solid maple. I had tapped 1/4-20 holes in the bottom of the legs for levelers but decided to go with rectangular Delrin (4th photo) so it could be easily slid around on the carpet. They also cannot turn when moving the table. I could have adjusted the leg height with the glides but it came out flat right out of the chute so no need for adjustment.
The last photo is in the white wood stage with the dovetail slots in the column to accept the legs . I did the legs on the router table and the column in the milling machine. My rabbet sled was modified to hold the legs vertical for dovetailing No photos of that. The top was finished in that shot and ready for stain.
The table is stained with Zar 120 ( Teak Natural) stain and finished with polyurethane. The top surface has 11 coats- 5 brushed on in the shop and 6 wiped on in the laundry room. The dust in the shop was giving me fits and took some heavy sanding between coats. I guess I should have shot it with lacquer. It would have been done 2 weeks earlier!!
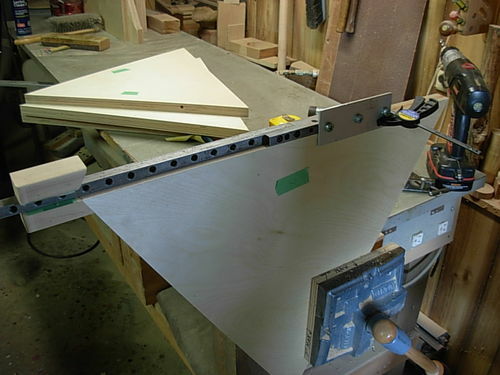
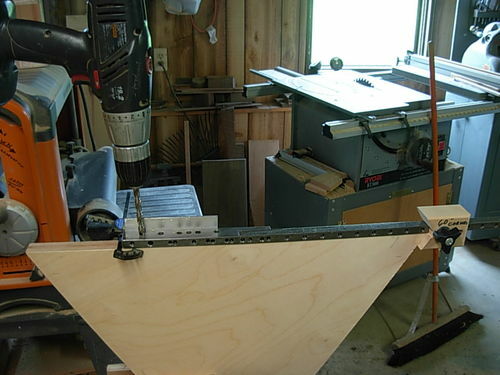
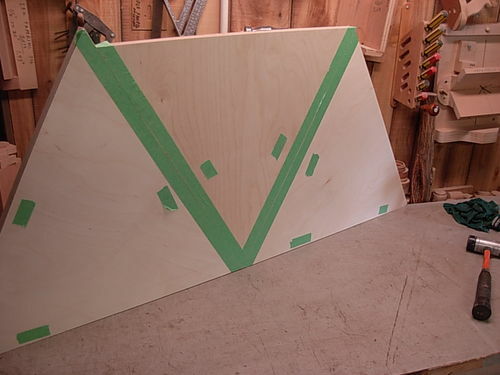
Here are some process shots: The wedges were too big to fit any of my saws and I contemplated making a great big sled but settled for using a straight edge with a protractor and a Skil saw and then ran them through the jointer
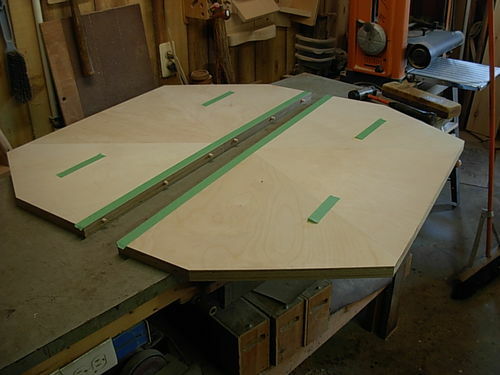
I used my doweling fixture and made a special end gauge to insure the location from the pointed corner.
I had to make a long extension for the fixture to put the 6 dowels in the halves!
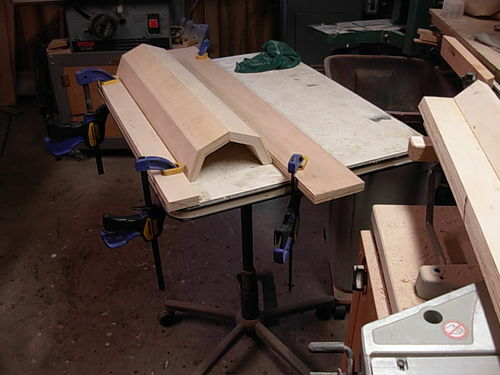
The column was glued using crude but accurate methods . Here are some process shots:
Cheers, Jim
Cheers, Jim ........................ Variety is the spice of life...............Learn something new every day
Jim Jakosh. Hi Jim, Excellent Table . The Starburst effect looks great. I like the nice big size of the Table. Plenty of room for having coffee and sitting there talking. Great progres pictures too. Regards......Cliff.
Thank you all for the nice comments. We use that table all the time. My wife does her jigsaw puzzles on it in the sun room. I could not take more photos as I am in Arizona now, but I have 6 magnets mounted under the table with 6 coasters that have a steel disc embedded in them. They just stick up under there until needed.
Cheers, Jim
Cheers, Jim ........................ Variety is the spice of life...............Learn something new every day
That's one heck of a design Jim. That would look great in our family room. The slides are perfect for moving things around. I've been adding them to a lot of our furniture.
Very nice work as usual, Jim! You gave me a couple things to think about when I get around to redoing the top for our (convertible poker/dining surface) dining room table. It’s got a hex base, but my sweetie wants a round top (I agree with her), so I’m planning to put stops and/or magnets on the bottom of the top to help align it with the base. Also have a stack of veneer for the top, and experiments with that are ongoing.