Share your craft projects
Make new craft buddies
Ask craft questions
Blog your craft journey

Carey Mitchell
170 posts
and
11 followers
in almost 3 years
in almost 3 years
More from Carey Mitchell
Cellarette
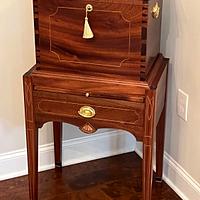
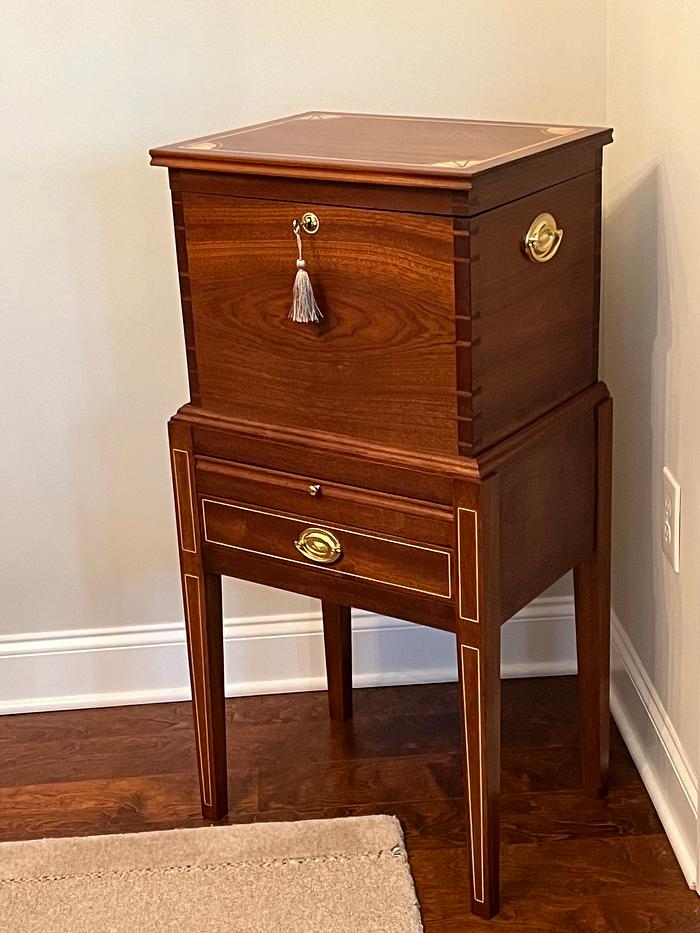
Yet another cellarette. This is the third and another is in the works; I have come to truly enjoy building them.
I designed this one to be a little more delicate than its southern style predecessors. I increased the height by 3" so the legs would appear more slender with the taper, as well as to accommodate a pullout shelf. The next one will have even longer legs.
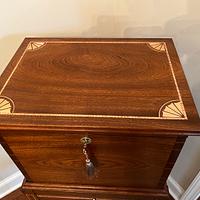
This was my first attempt at stringing and I found it to be easier than expected. Likewise the fan inlays. I did have to buy a new Dremel, as the old one dated to about 1985, and added the router base. Found the Dremel router base to be a little underengineered and wobbly, but workable with great caution - need to find something better.
The dimensions are 38" x 18" x 14." The wood is sapele.
The finish involved sanding at 150, 220, 320 grits; then Bartley's dark grain filler, sanded, then a light application of Arti light mahogany dye to move the color toward red. Then 4 coats of satin varnish, wet sanded with 400, 600, 800 and 1000 grit between coats. Then 0000 steel wool and wax applied with steel wool and then polished w/ steel wool, then buffed. And, amazingly enough, I only had to finish it one time, which is unusual for me! Where the stain got on the stringing, I made a tiny scraper from drill rod and scraped the surface prior to varnish application. A neighbor asked how many steps, and I counted 17!
One thing I did to prevent the dye from darkening the maple stringing and inlays, was coating them with a coat of varnish prior to the grain filler - applying that with a tiny brush - two coats - was a challenge, but it worked ..... well, mostly.
One issue was finding the hardware. Most vendors had pulls that were 2 1/2" on center, but I needed a matching pull that was 2" on center for the drawer, and nobody had both. My original plan was to use antiqued brass and finally assembled all the necessary pieces; large and small pulls, extruded brass hinges, small keyhole cover, from different vendors, that matched - all except the little knob for the shelf. Therefore, back to bright brass, simply because I could find everything that matched. Now, I like it better.
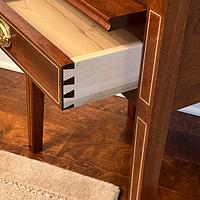
Hide glue, naturally. Cut nails for the bottom, top, runners and kickers, like the originals.
The next one will go toward the Federal style, with the lid flush, no overhang. I would have done it on this one, but for the issue of hiding the cut nails that attach the top to the cutoff part of the case. Eliminating the overhang would have forced me to move the banding too near the edge to look right, in order to hide the nails. The answer; hide 4 nails under the fans, and use 2 bands, one 3/32" wide near the edge and another 1/32" wide, maybe 1" or 1 1/2" from the edge, with the fans in the corners. I think that will do it and look good. I will also add arcs to the stringing to reduce the boxy appearance. Maybe an inverted fan on the lower rail.
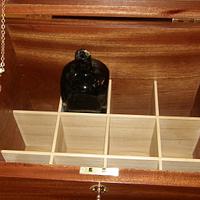
The bottle is a 200 year old Dutch gin bottle, which was what these cellarettes were originally designed to hold, this bottle is ca. 1790 -1800; I found it on eBay !
Carey Mitchell
9 Comments
Very nicely done!
Ryan/// ~sigh~ I blew up another bowl. Moke told me "I made the inside bigger than the outside".
ahhhh, there it is just as i remember seeing it for the first time ! wow, carey ill never get tiered seeing this again !
working with my hands is a joy,it gives me a sense of fulfillment,somthing so many seek and so few find.-SAM MALOOF.
Beautiful craftsmanship, attention to details is what makes the project. Well done.
Main Street to the Mountains
Well, I see that as another "Holy Moly!" So beautiful!
Great looking piece of fine furniture
Wow! I really like this one. The string work is excellent!
Carey,
Glad you found us. Love that Cellarette!
Glad you found us. Love that Cellarette!
Petey
Impressive. The stringing and inlays look perfect. Nicely done. An overall winner.
Ron
Great piece - my sort of traditional style. Some find detail and well crafted.. Love the stringing, which reminds me of the writing desk I made.


