Share your craft projects
Make new craft buddies
Ask craft questions
Blog your craft journey

Norman Pirollo
156 posts
and
18 followers
in over 5 years
in over 5 years
More from Norman Pirollo
Scie a Recaler (Miter Jack Saw)
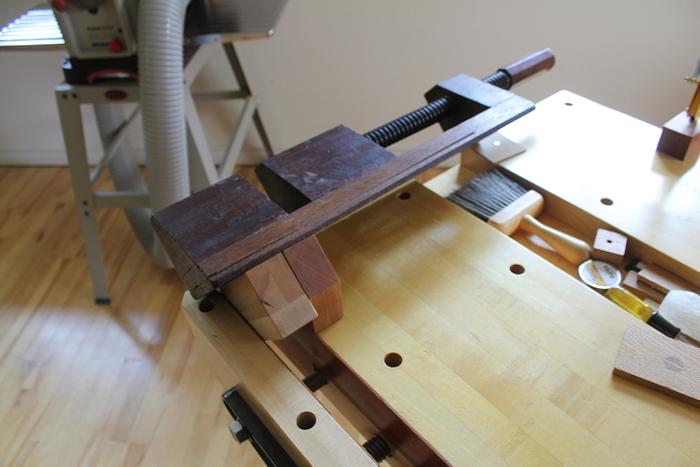
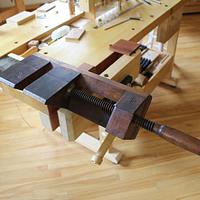
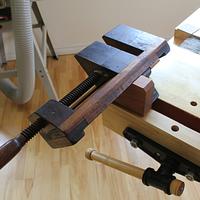
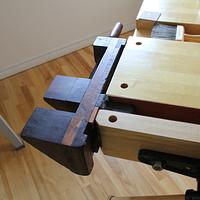
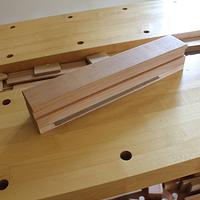
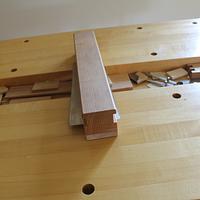
I purchased a couple of antique Miter Jack vises at a local tool event 3 weeks ago. The Miter Jacks or "Boites a Recaler" had seen better days and were approximately 150 yrs. old each with origins in the US or the UK. Hardly any markings on them aside from the owner provenance. With some restoration, careful to maintain the patina, and replace a few screws with newer, longer versions. I simply ensured they were completely functional. I added a "keel" and plug-in stabilizer blocks to mount it to either a face vise or end vise. Aside from the learning curve of how to effectively use them, I created an accompanying "Scie a Recaler" that works in conjunction with a Miter Jack. The Miter Jack Saw raises the baseline (7/16 in.) for a saw cut above the 45d ramped or 90d faces of the Miter Jack. This works exceptionally well when creating shoulders for tenons. All four sides are then at the same height or level. The stabilizer blocks orient the Miter Jack to be able to use either the ramped at 45d or 90d faces. If you notice, the slightly larger Miter Jack sports an Acme-threaded wood screw.
There is versatility in this setup and it can be used to saw either shoulders or any baseline that needs to be similar on several faces of a small board. The Miter Jack Saw incorporates a Ryoba blade so I can pivot the blade within the saw to use either cross cut or rip teeth. The video link below elaborates further on how it works and how it is put together. The Miter Jack Saw or "Scie a Recaler" is on its 2nd iteration. I trimmed the first version, made it narrower and deepened the grooves on the sides for a better grip and less strain on the hand. It can be used in both left-handed or right-handed orientation, simply remove the bolts and flip the Ryoba blade over.
There is a previous video at my YouTube channel on how to create beveled case miters on the Miter Jacks using any form of low angle plane. I chose a low angle block plane and a Miter Plane to do this. Care needs to be exercised when creating the bevels to not slice into the faces of the Miter Jack. I set a very shallow cut and perform judicious strokes. You develop a feel for when to stop after a while. A very enjoyable experience overall! The video describes the sequence of creating angled and square tenons and re-orienting the blade in the Miter Jack Saw.
Norman Pirollo
4 Comments
Norm,
This is awesome work! I hope you pass this knowledge on to the future.
This is awesome work! I hope you pass this knowledge on to the future.
Petey
Great video! Thanks for sharing it!
Ryan/// ~sigh~ I blew up another bowl. Moke told me "I made the inside bigger than the outside".
Wasn't sure how it worked with all the sawdust and clutter in you shop 🤠
The video was the ah-ha moment, really neat device!
The video was the ah-ha moment, really neat device!
Wasn't sure how it worked with all the sawdust and clutter in you shop 🤠
Thanks. Yes, I tried to clean the shop as best I could... lol
Norman Pirollo


