Dave Polaschek
in over 3 years
More from Dave Polaschek
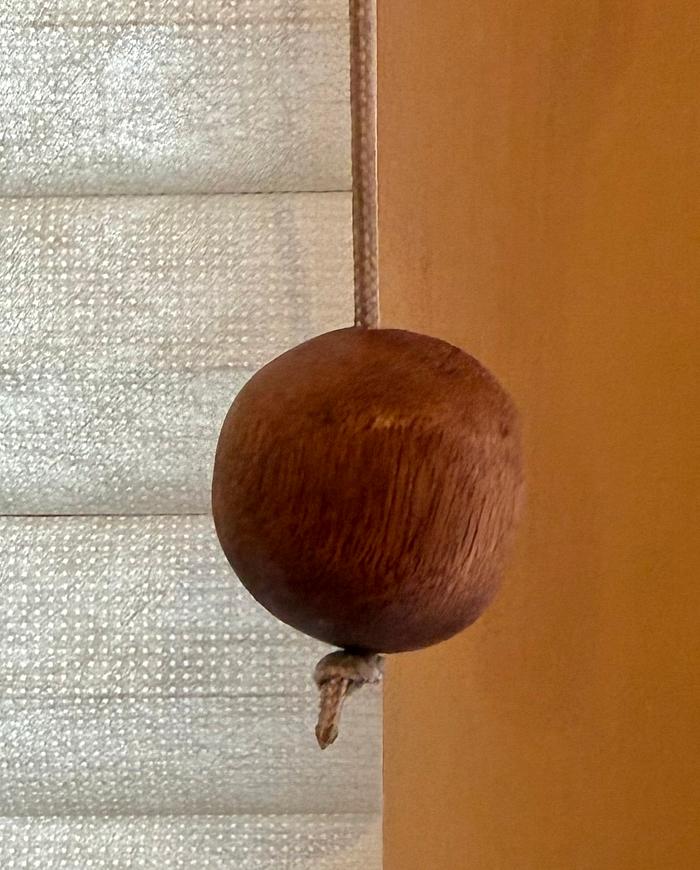
Quick dingle-ball for shade cord
Yesterday, I opened the shade in the bedroom to let some light and heat in, and when the shade is fully open, the end of the cord lays on the floor. When it was time to close the shade, I trod upon the little plastic piece at the end of the cord, and broke it.
So this morning, I looked for a piece of round wood. I found a short length about ½ inch in diameter, and cut off a little more than a half inch. Popped it into a cup I have for the lathe, which with an open tailstock, lets me turn little balls.
A few minutes later, it was close enough to grab some sandpaper to finish it off. 60, 120, then 180 grit, followed by a coat of Birchwood Casey Tru-Oil (it wasn’t yet put away after finishing the cane I made last). A 3/32” hole through the ball, and I was done in the shop. A few minutes later, it was on the cord in the bedroom, and my sweetie told me, “nice balls!”
May you have the day you deserve!
17 Comments
Last week for me was a new turlet flush lever.
Nice fix Dave, saves using a dingle berry or other object and you get the hero award from you SO!
"Duck and Bob would be out doin some farming with funny hats on." chrisstef
Cheers, Jim ........................ Variety is the spice of life...............Learn something new every day
working with my hands is a joy,it gives me a sense of fulfillment,somthing so many seek and so few find.-SAM MALOOF.
I will say that I am interested in your comment: Popped it into a cup I have for the lathe, às I am not familiar with such a lathe accessory, and I'll look it up to see if I can benefit from one.
working with my hands is a joy,it gives me a sense of fulfillment,somthing so many seek and so few find.-SAM MALOOF.
Jeff
I’ll take a picture tomorrow.
May you have the day you deserve!
working with my hands is a joy,it gives me a sense of fulfillment,somthing so many seek and so few find.-SAM MALOOF.
Enhancements are: a second banjo (using Grizzly parts) so I can put one on either side of my steady-rest when I’m using that. I already had the rests from Teknatool which come with either 5/8 or 1 inch posts, after I got tired of having to dress the HF tool rest, which is pretty soft and gets dings every time I use it. And I rebuilt the Reeves drive after one of the pulleys stopped moving due to a build-up of sawdust inside there. Nearly added a VFD at the same time, but with the Reeves Drive functioning correctly, the only thing I want is to go a little slower when starting a big unbalanced bowl blank.
May you have the day you deserve!
I've enhanced it too, with a solid wood base to keep it ridgid. Securely affixed to the 2X4 and plywood base it manages to refrain from jumping around.
In all seriousness, I wasn't looking for a lathe at the time, but for $89.00 I figured I wouldn't be out much if it sucked like a shop vac, and the 40" size would be good for turning table legs.
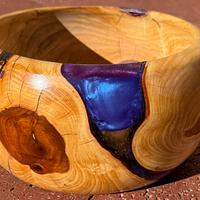
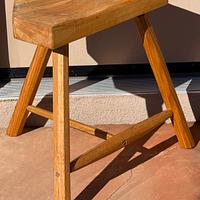
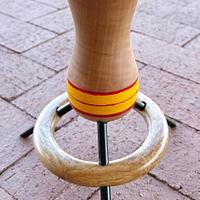
Turned out to be correct, I've made several tables for the family. Here's a few pics:


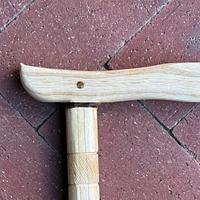
PS: I've already needed to replace the Off-On switch, and added a wooden handle on the steady rest for better torque.
First, the lathe. Near it is the small air compressor for blowing crap out of the inside of a bowl. Behind the lathe is the DC, bandsaw, and planer, all of which share the 4” DC hose. Note the two banjos on the lathe.

Next is a photo of the “cup” and a cup life-center holding a scrap which I could make round.

And finally, a face-on view of the cup, showing that it’s just a jam-chuck (made from rock maple) with a shallow depression in the end. That’s a little scorched from whatever I was working on slipping at times.

Most of “making balls” is done either with a scraper or a carbide turning tool. Fewer catches makes for a happier turner.
May you have the day you deserve!
- Start with a rod of approximately the diameter you want for the finished ball, plus a bit.
- Turn a bead on the rod. You’re aiming for a sphere, so make it as wide as it is round, or maybe a bit wider. You can do this with a skew if you want, but other tools might be less scary.
- Part the bead off.
- Set up the cup and cup live center with the bead between them, the largest diameter facing you.
- Using a scraper, turn (mostly) air until the bead becomes round, and you just start making contact all the way around.
- Remount the bead with a different axis, again, trying to put the largest diameter facing you so it’s easy to turn it down to round.
- Lather, rinse, repeat until you’ve got something roughly spherical.
The quicker you can stop after getting to round in step 5, the less wood you’ll lose and the easier everything will be, but if you’re not comfortable turning air, practice that first.
May you have the day you deserve!
Thanks for the description of the chuck too!


