



Share your craft projects
Make new craft buddies
Ask craft questions
Blog your craft journey

Fotodog
189 posts
and
10 followers
in over 2 years
in over 2 years
More from Fotodog
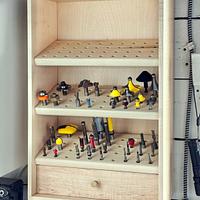
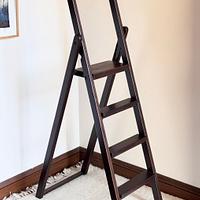
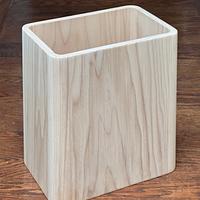
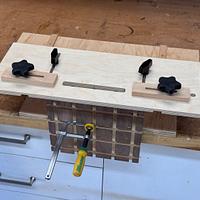
Japanese lantern with Kumiko panels
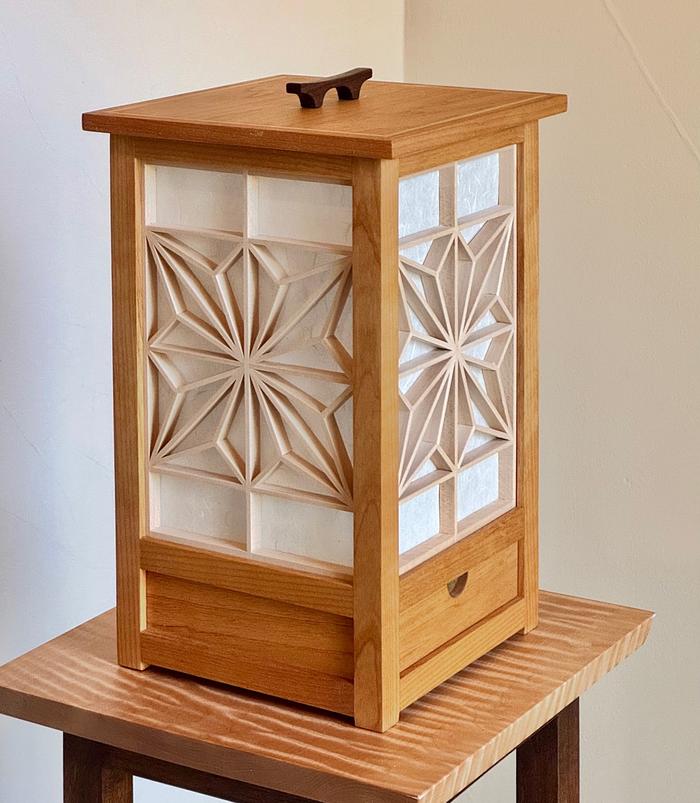
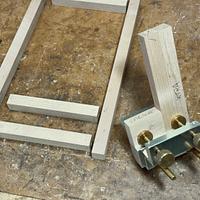
I have been intrigued by the Japanese technique of Kumiko, and decided to give it a try. It involves cutting small pieces of wood to exact lengths and angles to produce a desired result, in this case the Asa-No-Ha pattern. It’s often incorporated into Japanese lanterns, which was the project that I chose.
I began by building the frame out of Alder, which pairs nicely with light wood species like the Basswood used for the panels. It was relatively straightforward but involved many joints in small pieces. I used my Dowelmax with several joint specific spacers to insure proper alignment. Rabbets were added which created an inset to house the Kumiko panels.
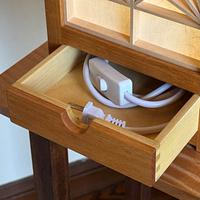
I also decided to make use of modern technology to allow both cordless and corded operation. The lamp holds a standard lamp base with a cord which is stored in the drawer, out of the way until needed. I also bought a rechargeable long lasting LED bulb with a remote control which has an adapter to fit snugly into the lamp base when it’s not plugged in. It works perfectly.
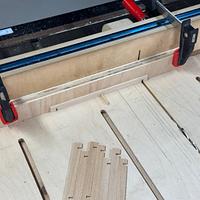
The Kumiko panels are all about precision, which starts with the horizontal and vertical pieces using half lap joints. The Kumiko pieces are milled to the exact thickness of a 1/8” flat tooth blade. I made a quick jig based on the same principle as a box joint jig with a reference pin. This produces dead-on precise cuts by starting with the center cut, then making an outer cut and flipping the piece for the next cut for perfect symmetry.
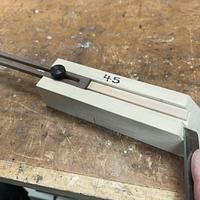
The inner pieces require 3 different angles on the ends, which are achieved by building jigs with the face cut at the desired angle to allow a chisel to fine tune the cut. There are numerous YouTube videos on making these jigs so I won’t go into detail unless requested. I finished by attaching rice paper to the panels.
I used Sample 73 hardwax oil finish on the frame only. This project was time consuming but I enjoyed the process and my wife is happy with the result. Cheers!
3 Comments
Looks awesome! How did you secure the panel to the rice paper?
Ryan/// ~sigh~ I blew up another bowl. Moke told me "I made the inside bigger than the outside".
That's quite nice! I've been considering replacing the ginger jar lamp at my bedside; maybe I'll do one like this when I make the kumiko panels for the armoire I'm building.
The Other Steven
Thanks guys. I just used double sided tape cut in very thin strips to attach the rice paper to the panels. I wanted to be able to replace it later if needed. The panels are not permanently attached, they are just held in place with a light friction fit.
More from Fotodog
