MJCD
in almost 12 years
More from MJCD
DVD Holder
DVD Holder
6 years ago my daughter asked me to build a DVD Holder for her. At that time, I had a design in mind, and she liked its execution – I posted this around Sept. 2014.
Move the clock forward, and we are in the age of Netflix and Prime Video, and several other movie streaming services. However, as a family we purchase movies that we like.
The original DVD Holder design stores about 110 dvd ‘boxes’, and some number larger than that of the box-less variety. She’s run-out of space, and asked for a second holder.
Having just finished a Hard Maple & Rhodesian Teak chair, I had sufficient shop cut-offs to make this piece.
Design
It seems that ever since I met Hal Taylor (of rocking chair fame), I’ve moved completely away from traditional casework. Other than working through his detailed rocking chair process, the DVD Holder (2014) was one of my first contemporary designs.
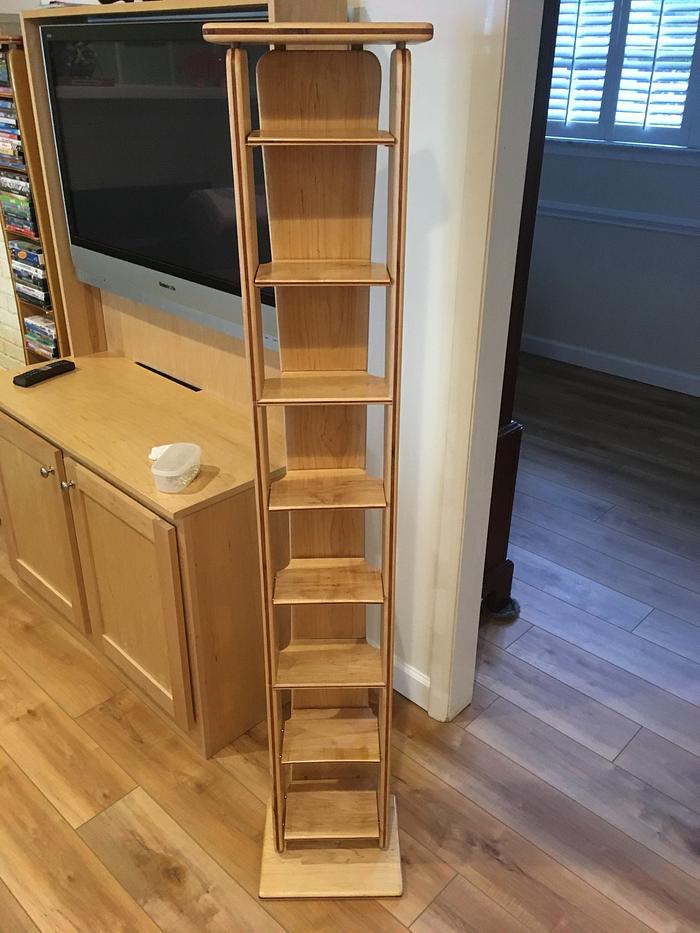
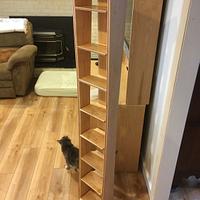
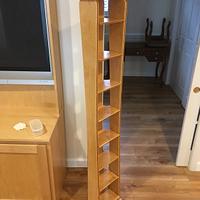
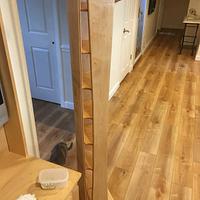
The Holder is dominated by three main parts (2 identical sides and the back), with a common arc (0.75” over 64”), a top and bottom cap (these share a common width, with the bottom having a deeper depth; and a Top and Bottom cap – these are held separate from the 3 sides by 6 tenons, each… an attempt to create a ‘floating’ appearance. The matching arcs tend to soften the visual weight – the intend is to draw the eye and the mind’s-eye to the negative space (between the maple pieces). The dark wood inlay, in both the shelves and main pieces, is an attempt to provide a subtle counterpoint to the blond maple.
Brass pins and clips serve to hold 6 of the 8 shelves, with the remaining 2 shelves glued into both the sides and back dados – the back of these 2 shelves is M&T’d in two places into the back piece to add racking strength, and ensure that the back piece (64” x 8” x 0.375”) doesn’t warp along the way.
Things that add flavor to the build…
This piece requires attention to sequence… that is, with all of the arcs, you quickly lose square reference surfaces: precise alignment across 3 pieces of the shelf holes (clips and pins) and the 2 fixed shelf dados requires equally precise layout and execution.
The tenons and dados need to be protected from applied finish, for subsequent glue-up. I apply both Zinnser Sealcoat (via cloth) and Deft Waterborne Acrylic (3 coats, via HVLP spray) to all surfaces. The tenons, their mortises, and dado surfaces need to be taped prior to finishing.
Making inlay troughs – I centered the wood on my table saw blade, and cut a 1.0” deep trough in each of the 3 side pieces and Top & Bottom caps; and cut a 0.25” trough in the shelving billet (a long piece, not yet cut into individual shelves). The right & left sides, as 2 Caps are 0.75” material, and I endeavored to cut a 0.25” width trough – I couldn’t use my router table to get the 1.0” depth.
Making the inlay material was a Pain! I purged my drum sander – a 1st generation Performax – last year, and this is the first time I could have used it. I purged the machine, as it wa frustrating to keep in alignment, and it kept burning one half of work, and missing the other half. I opted to use a Gripper to push material against my Jet disk sander.
Final Thoughts
My schedule pulls me in many directions – this is one project where you want to get in the shop, focus, finish, and move-on. Continuity is important.
I’m gaining confidence in my spray finishing – the Deft and Fuji spray finishing process seems to be working well.
I look forward to your questions and comments. Please feel free to borrow any design ideas…
MJCD
4 Comments
Very cool looking. Could be a little tippy toppy when full.
—Madts.
Tor and Odin are the greatest of gods.
Very nice work
woodworking classes, custom furniture maker
Thanks Madts & A1jim.
This is an interesting project to revisit. I had cleared the shop for my annual maintenance… something I try to do each year, but am not wholly successful in doing. Making this piece morphed into taking on the Window Frame commission.
I’ve decided to transition to a zero-kerf bandsaw blade… something like a Lenox Tri-master. I find the normal blade-set yields too raged a cut; as little of my work requires tight radii. Also, resawing is becoming a larger part of my bandsaw work… mostly thicknessing x/4 stock to something I can then take to the planer for near-final dimensioning.
Have a great holiday… I’m sure everyone has earned some quiet along Life’s busy road.
MJCD
In this instance, the piece utilizes both 4/4 (sides & end-caps) and 2/4 (back) stock from 6/4 rough lumber. With a good blade and proper tensioning, I can shade the 4/4 cut to yield sufficient thickness for the 2/4, then plane to a clean final thickness. The current blade set requires too much sanding.
Very nice design , excellent work
Wheaties


