


Share your craft projects
Make new craft buddies
Ask craft questions
Blog your craft journey

kdc68
373 posts
and
22 followers
in over 12 years
in over 12 years
More from kdc68


Outfeed Table/Workbench With Storage


Taking features that I liked from workbenches I’ve seen, I incorporated them into an outfeed table. Plenty of storage with the three drawers and the open space below the top. Having that open space, I have the option of sometime replacing the laminate top for a solid wood top and would have clearance for bench dogs and bench vices. I added additional storage by incorporating 1/4 Pegboard in the back. There is ample room between the table saw and outfeed table. I thought this would be perfect for hanging things out of the way, yet accessible when I need something. The height of this outfeed table is about 7/16” lower than the tablesaw, so no miter slots were needed. I have been using it this way for quite some time and have no issues with height difference. The finish is my concoction of satin wipe on poly.
v
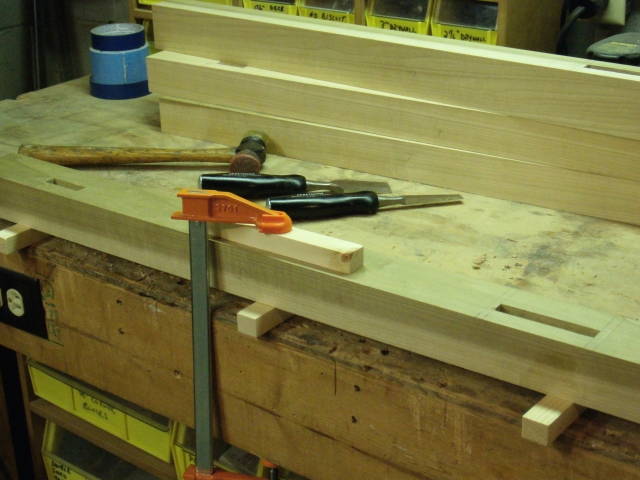
In the photo below are the legs getting their mortises tuned at the bench. The mortises were roughed out at the drill press using a forstner bit drilling overlapping holes removing most of the waste. Chisel work at the bench took care of the rest
v
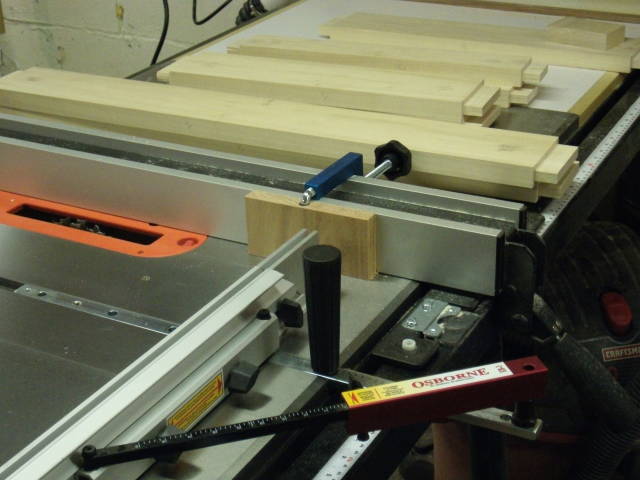
In the photo below are the rails getting their tenons cut. Dado blade set up at the table saw with an Osborne miter gage and fence with a stop block. Each tenon was cut slightly oversized (fat) and fitted individually to their corresponding mortise using a shoulder plane.
v
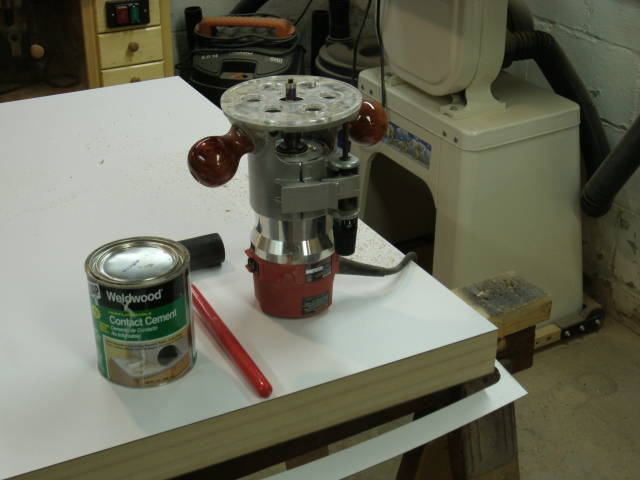
In the photo below is the top in progress. Three layers of 3/4” MDF with HPL laminated to both faces. The router set up in the photo is a flush trim bit. Next pass with the router I used a chamfer bit and slightly eased the laminate edge before applying the poplar edging.
v
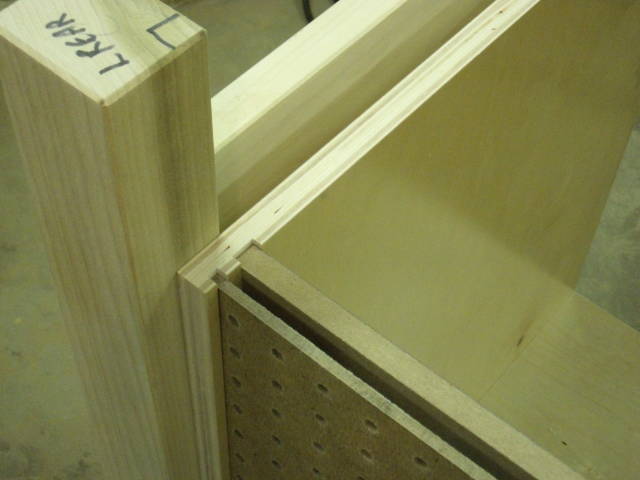
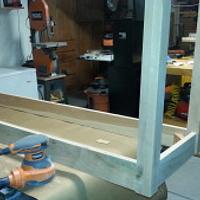
In the photo below is a dry fit of the cabinet case without the cabinet top (for this photo). Double back panel, one 1/2” MDF and one 1/4” pegboard. I have 3/8” between the two to allow clearance for the pegboards hooks. I chose to do a double back using the 1/2 MDF for rigidity.
v
In the photo below is the completed dry fit of the inset drawers with applied (or false) fronts. The three drawers are recessed 1/4” from the front edge of the cabinet case. Doing the dry fit, I used shims to keep an even 3/32” reveal around the perimeter and in between the drawers.
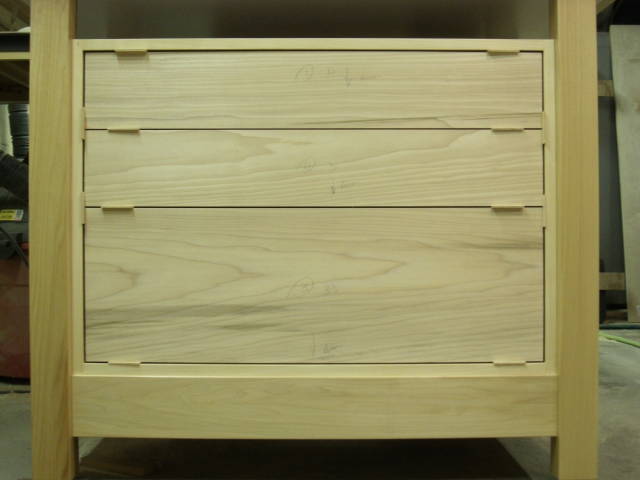
v
Materials
8/4, 6/4, and 4/4 poplar
3/4 Prefinished birch plywood
1/2 and 3/4 MDF
1/4 Pegboard
White HPL (High Pressure Laminate)
Birch Shaker Style Knobs
100 lb. Full Extension Drawer Slides
Heavy Duty Levelers from Rockler’s
Work Bench Castors from Peachtree Woodworking
Figure 8 fasteners
Measure "at least" twice and cut once
11 Comments
Super job!
Thanks Cutworm !
Measure "at least" twice and cut once
great outfeed table,i hope someday to be able to build one like this.

Looks great
Ferdinand and Son Construction
Thanks for the compliments !
Measure "at least" twice and cut once
Definitely professional grade! I like your idea to space the drawer fronts – classy!
Thanks craigdoesthat !
Measure "at least" twice and cut once
Awesome job!!
Vettekidd97 thanks for the compliment !
Measure "at least" twice and cut once

Looks like nice furniture not just an outfeed table.
woodworking classes, custom furniture maker
Well thanks Jim. When I first started getting started years ago I cobbled things together just so I could have something functional. Many transformations have occurred in my workshop since then and now I try to make all my shop “furniture” built well……
Measure "at least" twice and cut once
More from kdc68