


Share your craft projects
Make new craft buddies
Ask craft questions
Blog your craft journey
MontyJ
226 posts
and
11 followers
in almost 12 years
in almost 12 years
First project, a sewing box #4: Coming together, and cantilevers
This is
part 4
in a
5 part
series:
First project, a sewing box
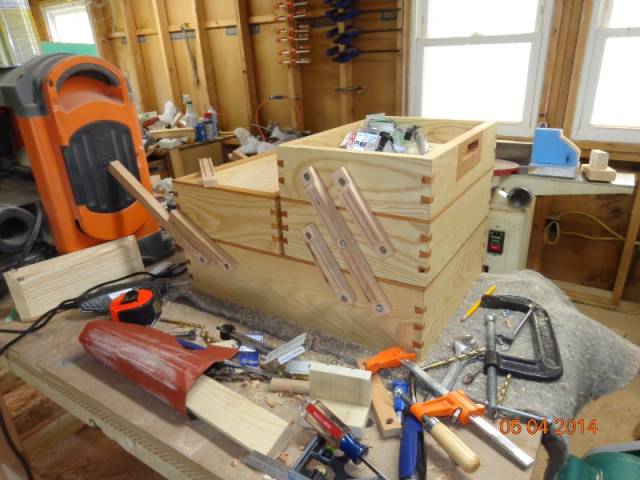
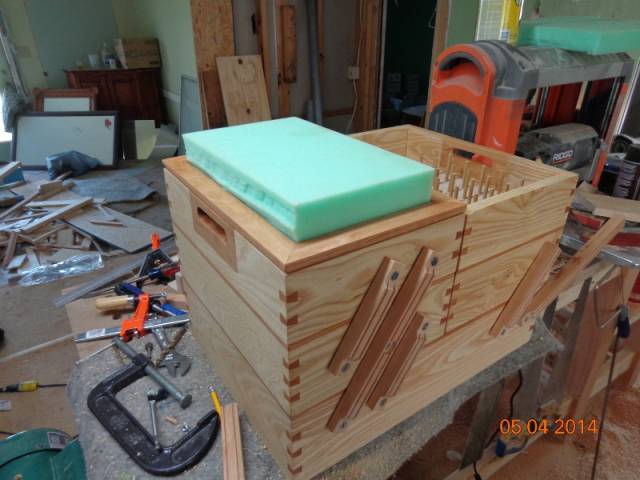
I put one coat of Minwax Natural stain on the boxes and lid frames. It highlighted the grain perfectly so I’m stopping there. I really like the way it made the dovetail keys stand out.
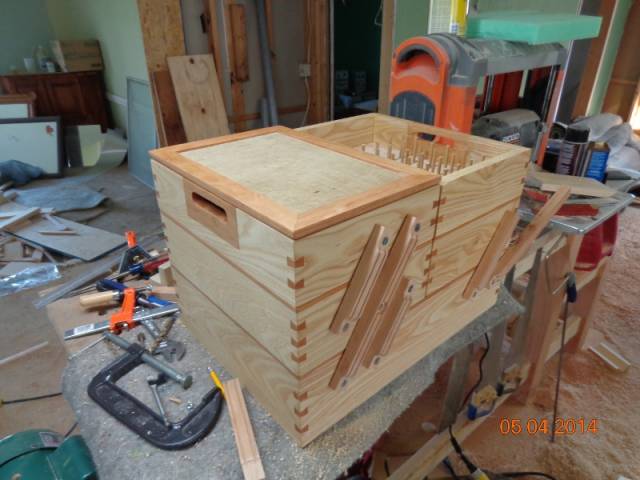
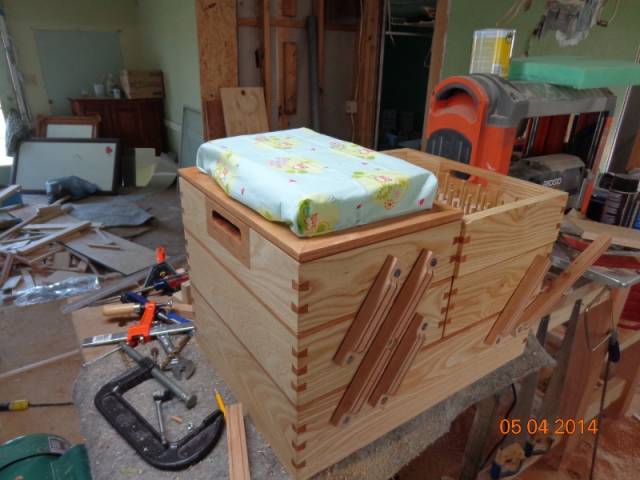
I also have the frames finished and have the foam and material to put them together. I still have to trim the foam to the shape I want. Basically, it will be a dome shape covered with the material the wife wants me to use. The lids are going to double as pin cushions. There will be a knob of some sort in the center of each lid. They will be removable.
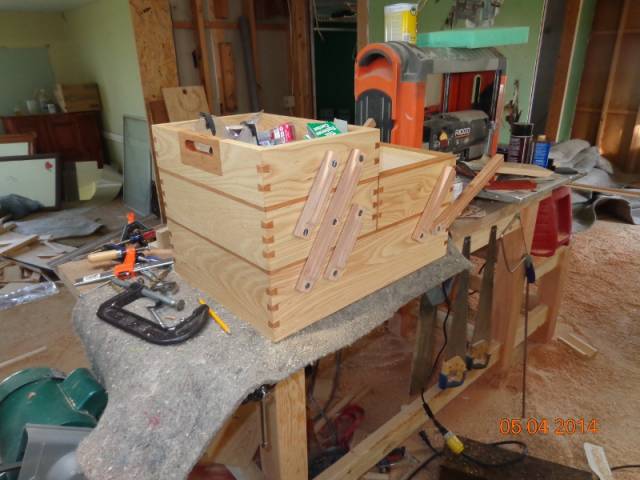
And finally, the cantilever hinges. I have to take them back off and do some more trimming, sanding and dressing up, but they do work.
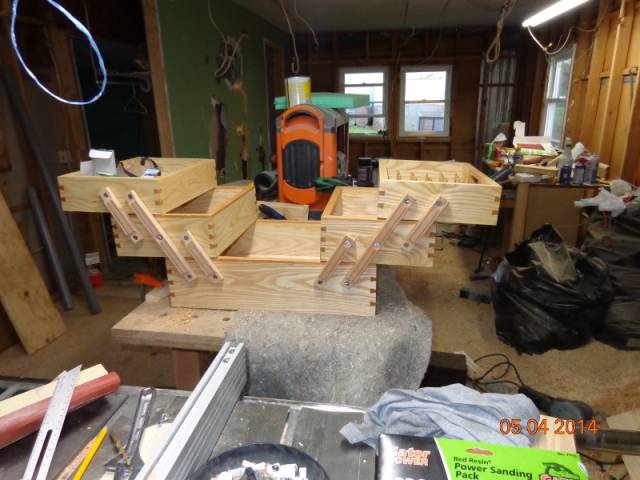

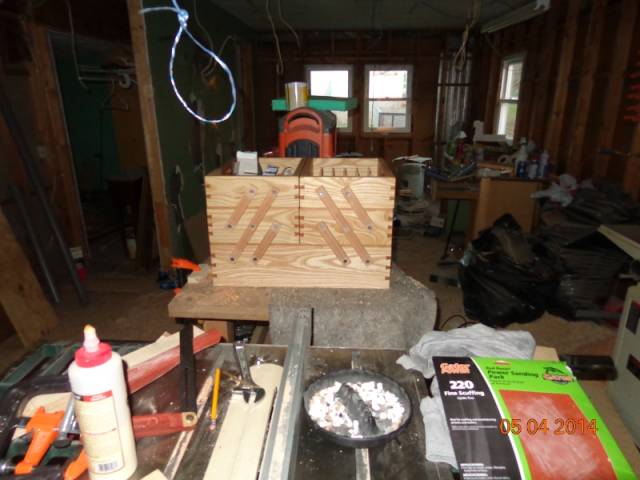
The top boxes are not opening dead flush with the boxes below. I’m not sure why. I’m going to blame my measuring skills. Simply replacing the hinges won’t fix it. I would have to build new top boxes. I may do that in the future, but the wife is happy with it so far, so that’s good enough for me. I’m beginning to think I should have taken on something a little less challenging as a first project, but what fun would that be?
While it’s together, I’ll fit the handle uprights (I’m sure they have a technical woodworking name, but I don’t know what it is).
Where are the band-aids?---Pro Libertate!
2 Comments
Wow, is that nice. My grandmother had a sewing box like that. It is going to be beautiful. :)
Sheila
Thanks Sheila. It’s all disassembled now. Everything is sanded and stained. Weather permitting, I’ll get some shellac on it tomorrow.
Where are the band-aids?---Pro Libertate!