


Share your craft projects
Make new craft buddies
Ask craft questions
Blog your craft journey
Justsimplywood
63 posts
and
3 followers
in over 10 years
in over 10 years
Wooden Spoon Challenge #2 #1: How to make a wooden spoon
This is
part 1
in a
1 part
series:
Wooden Spoon Challenge #2
-
How to make a wooden spoon
- How to make a wooden spoon
First off…
I’m not a creative writer, I’m just going to put that out there.
Debbie has asked me to put together a tutorial on how I create a wooden spoon. (There are many ways, lots on YouTube etc, this is just how it works best for me, better or worse, it’s how I do it.
I started a new spoon creation this morning, a large “Serving Spoon”
I’m just taking pictures along the way and will explain the steps as I go.
Step 1

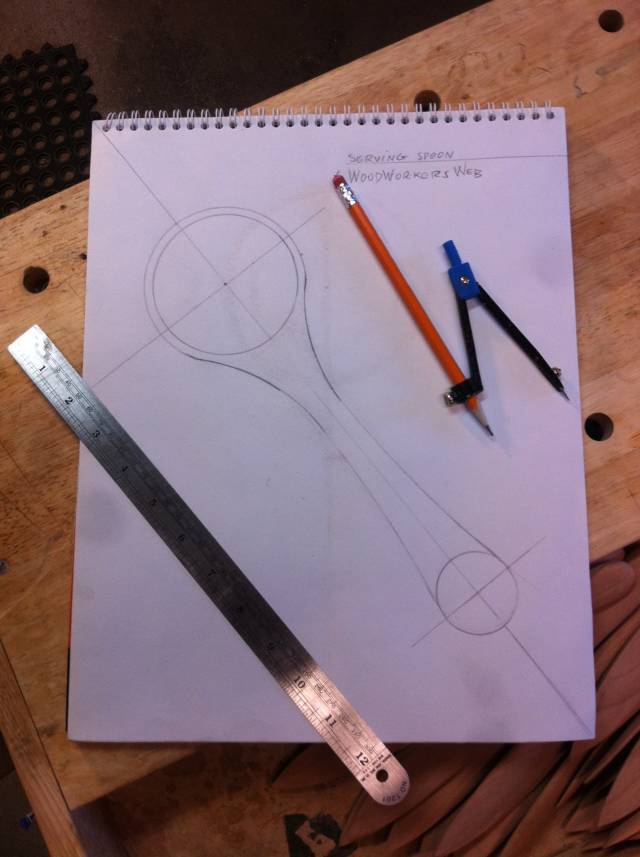
I finished drawing it up, I normally just use a compass, ruler and drawing bow (Lee Valley). I use center lines on the handle and cross lines on the bowls, so if you make your template with cardboard you can fold it down the center to keep it symmetrical when you cut it out. I photocopied it, cut it out and spray glued it to a scrap piece of underlay and shaped it for a new template. (if you only plan on making one, just use a cardboard cereal box (Cornflakes or Captain Crunch work the best)
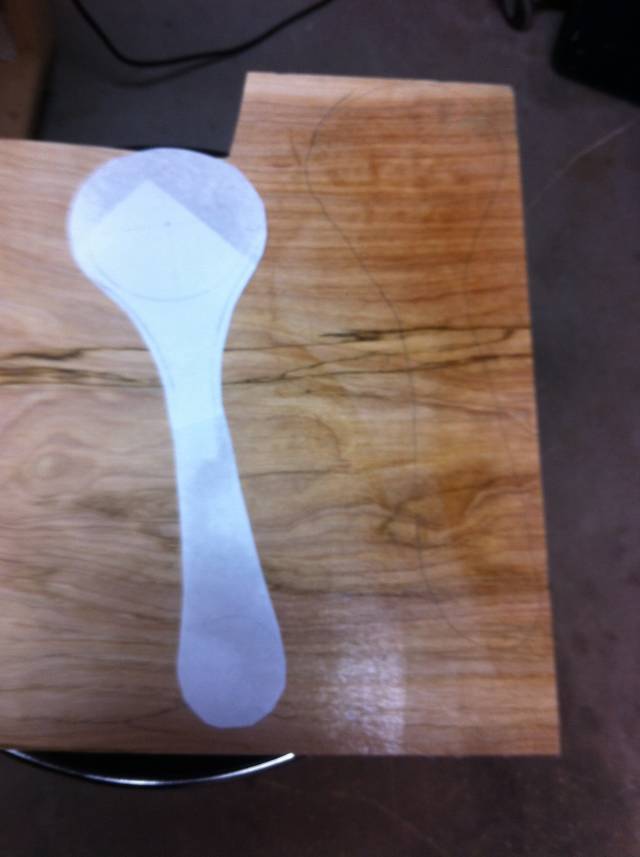
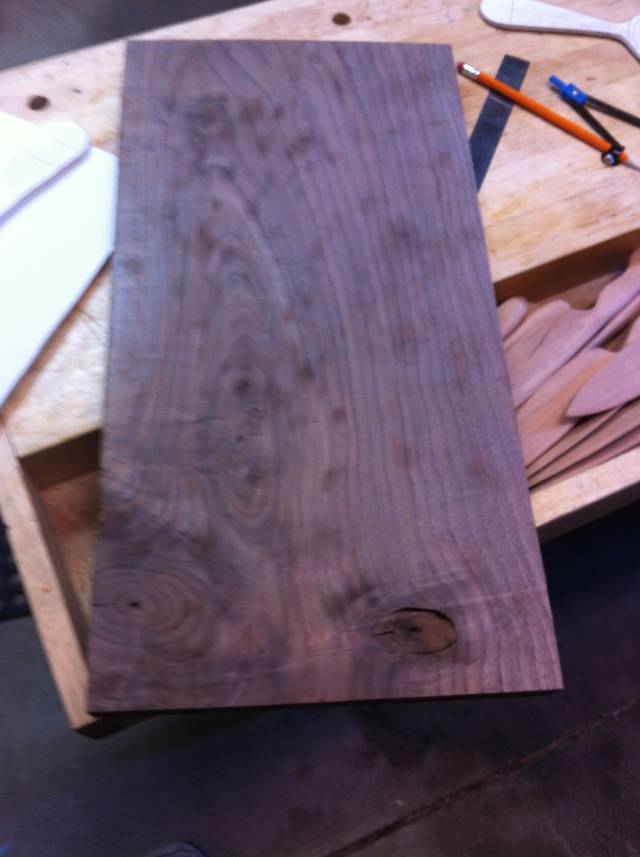
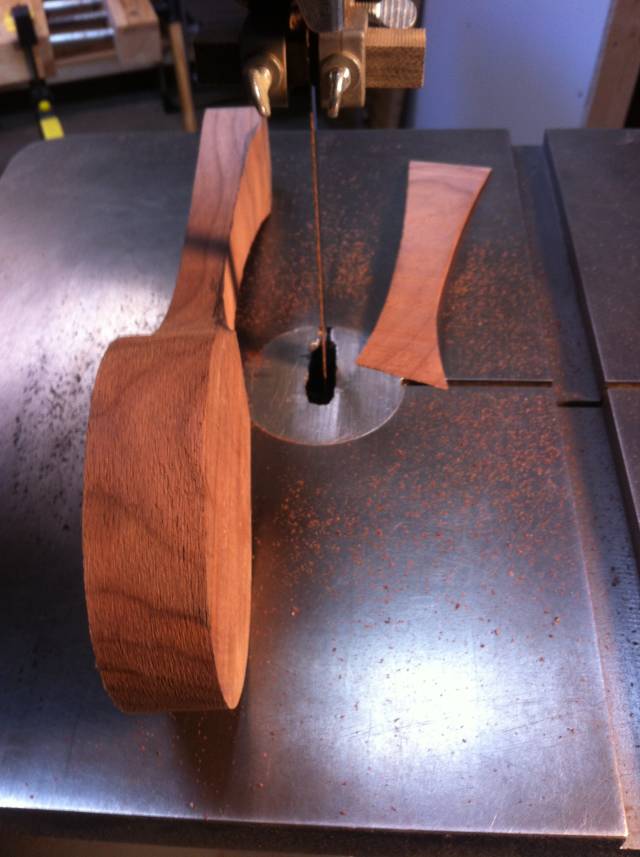
Step 2
I grabbed a small piece of walnut, about an inch thick (had some real nice grain)
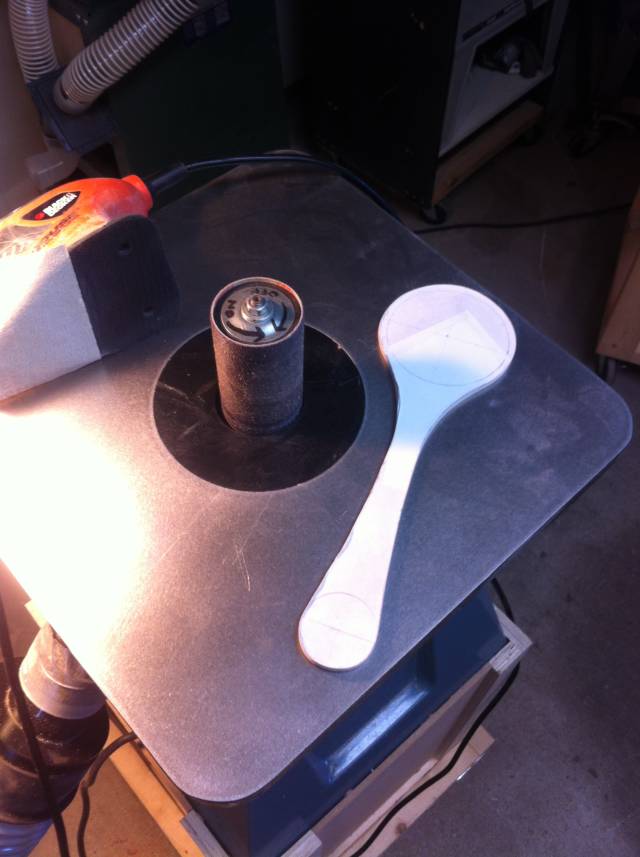
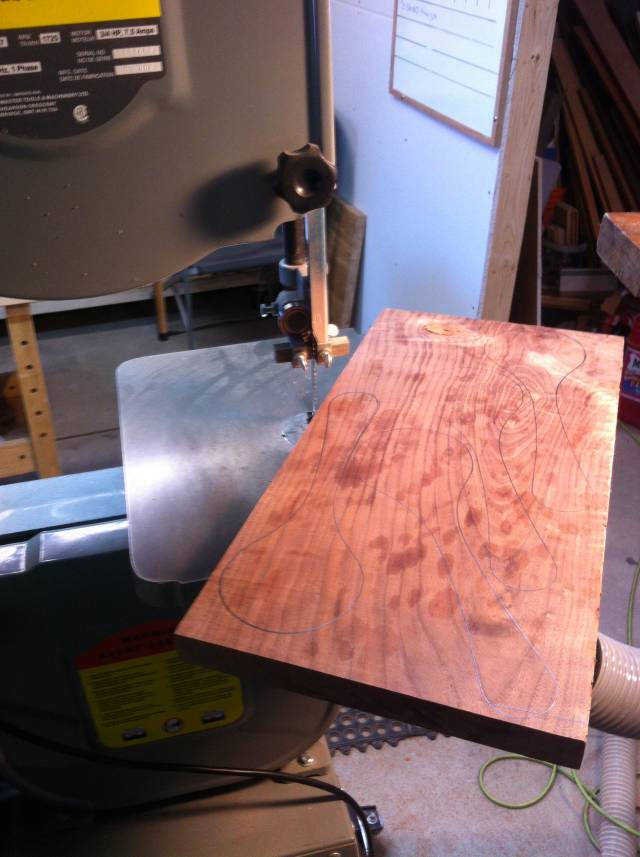
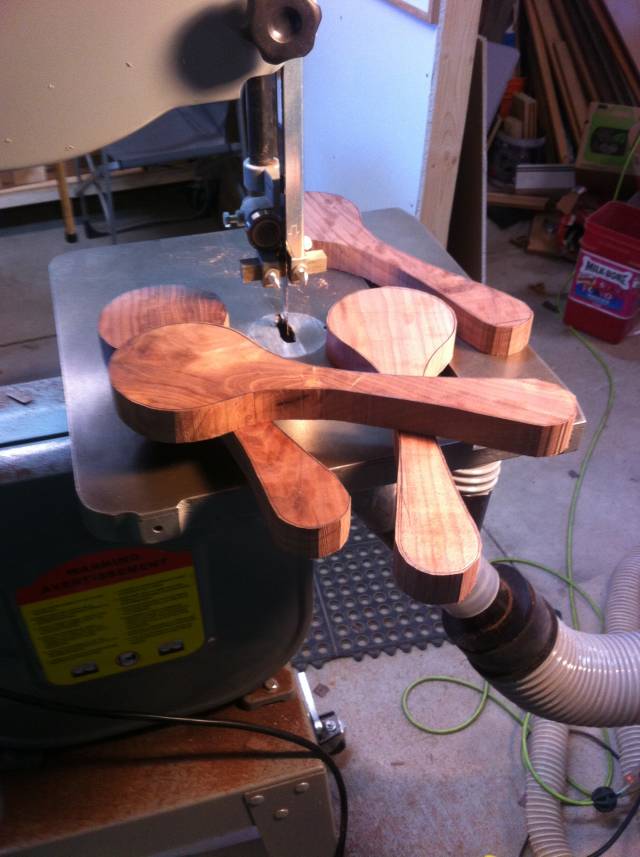
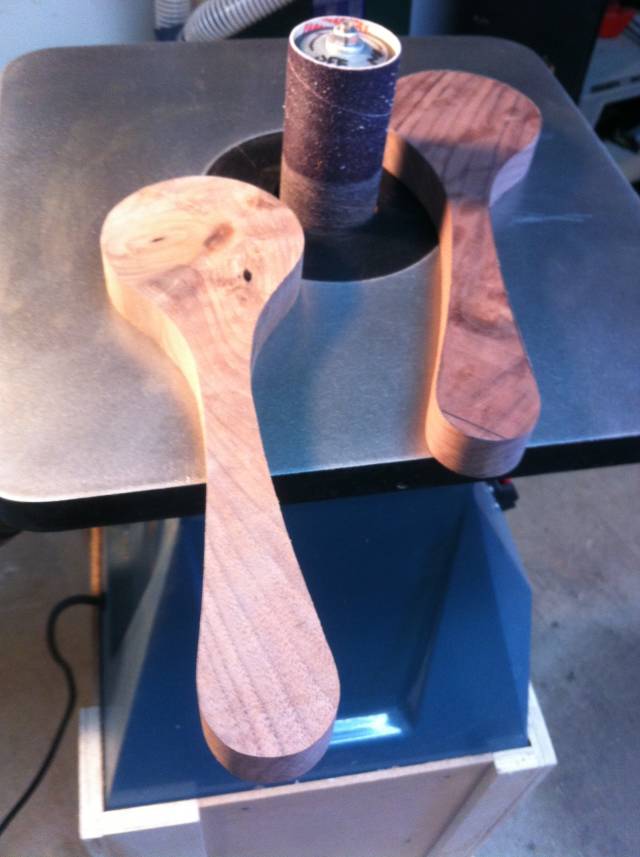
I traced out 4 spoons onto the board trying to get craziest grain around the bowl area, ran them through the band saw (jigsaw will work or handsaw if you have time to kill) and then shaped them on the spindle sander.
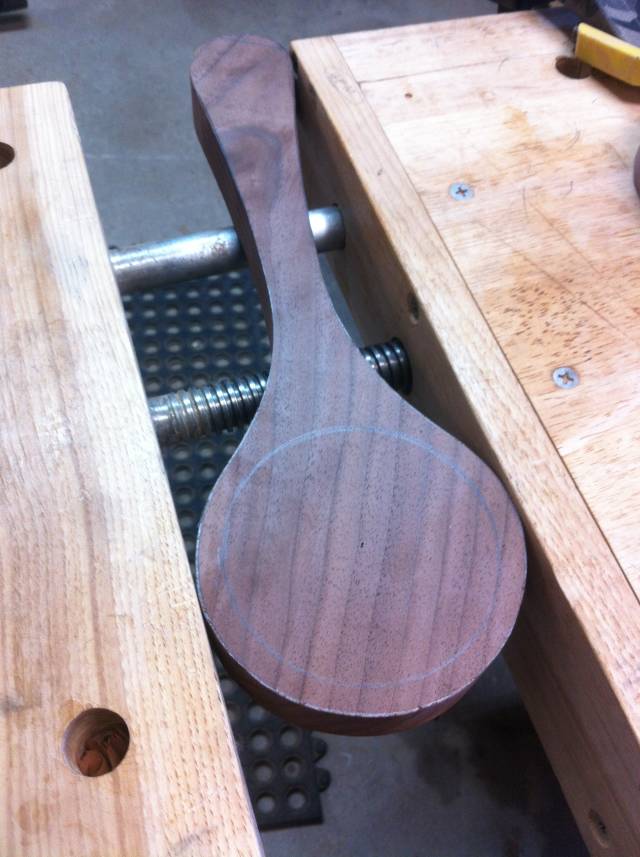
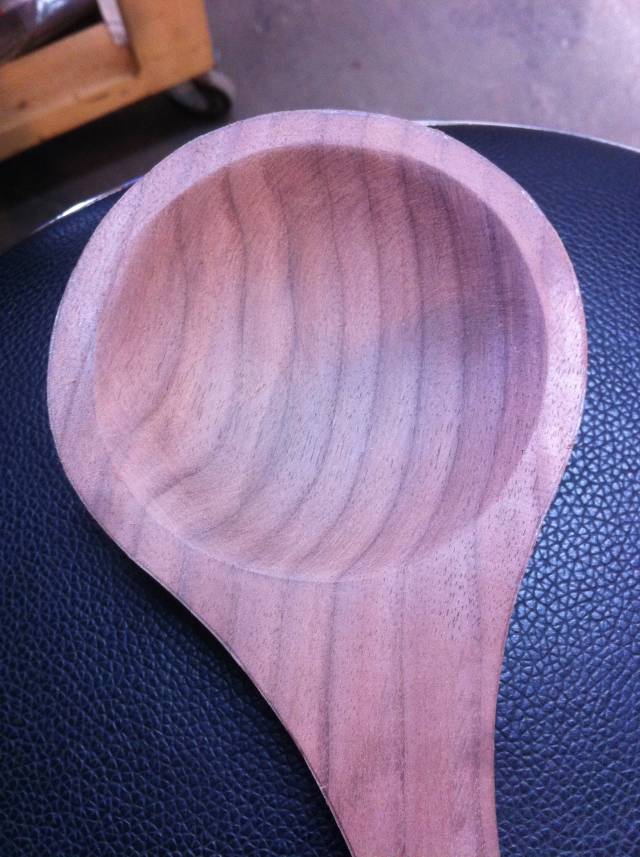
Step 3
I draw the outline of the bowl leaving about a 1/4" from the edge, because this is a new design and I’m really not sure where I’m going to go with it, I like leave a bit of room for adjustments (mistakes)
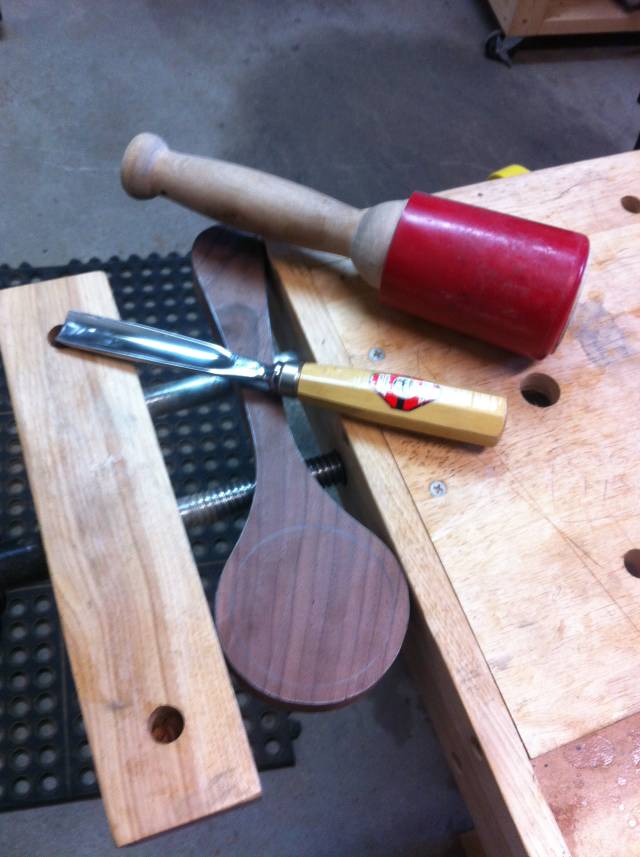
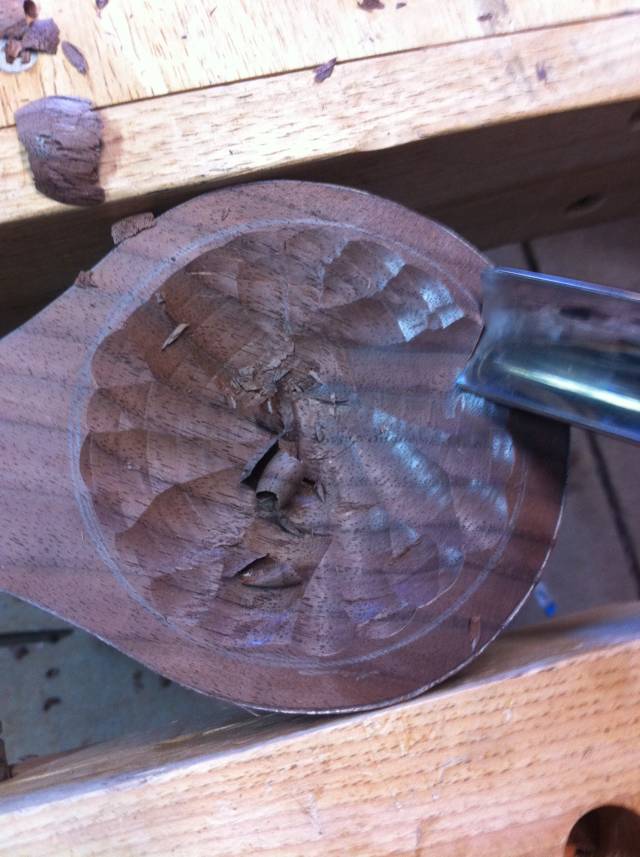
Hollowing out the bowl,
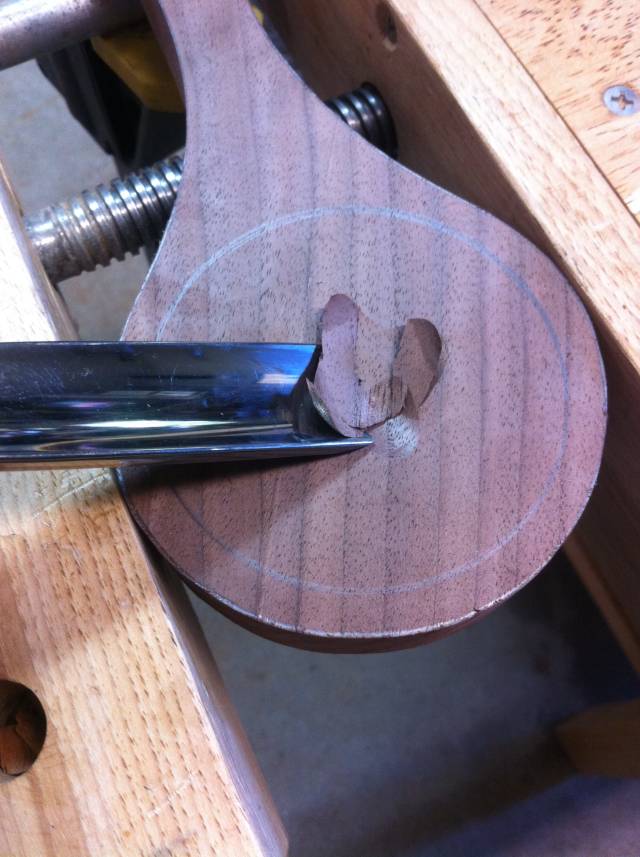
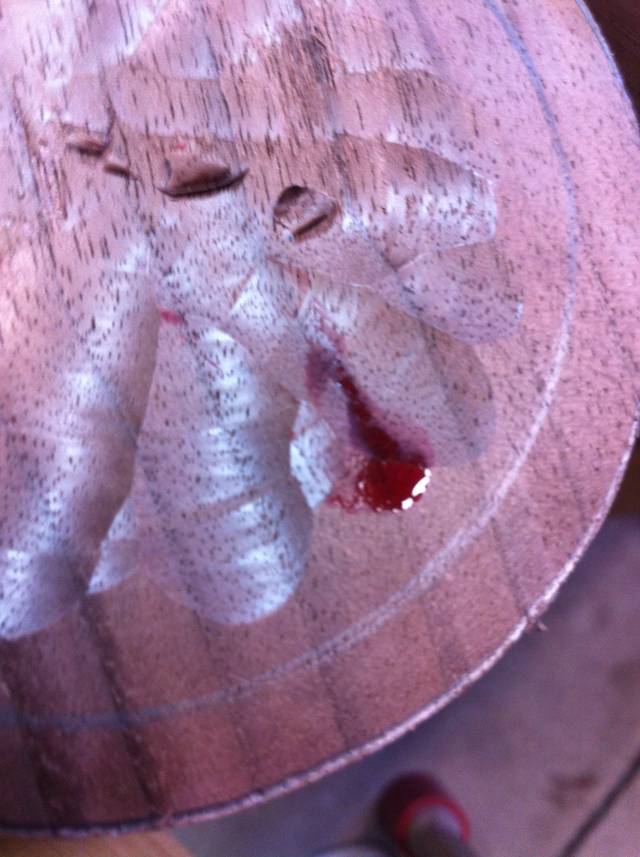
I use a Hirsch #7 and a mallet, start from the centre and slowly work my way out close to my line.
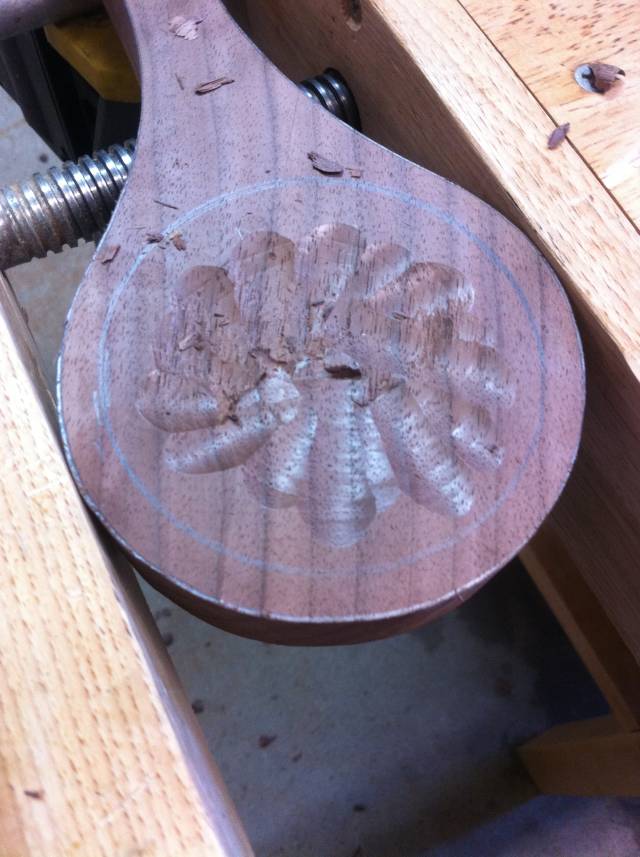
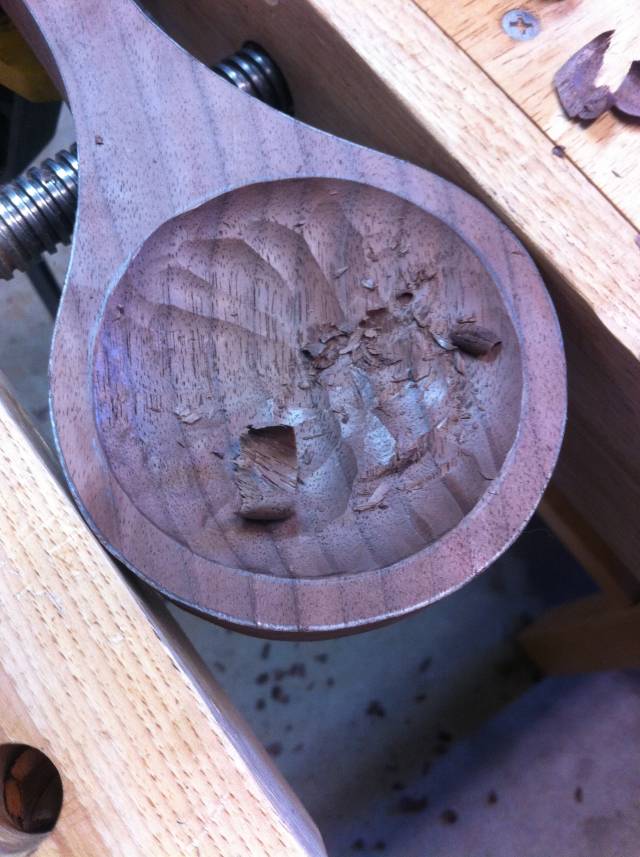
I then take the chisel and remove material along the line running counter clockwise. (that works best for me) Once done I keep hollowing out the bowl until i get the desired depth.
And then there was blood (a sacrifice to the woodworking gods)
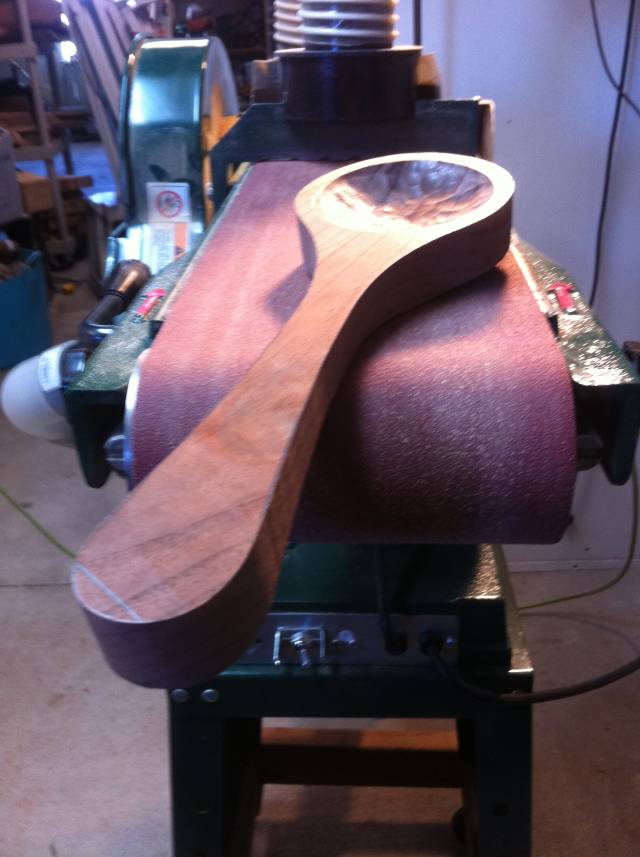
Step 4
And now for a little shaping…
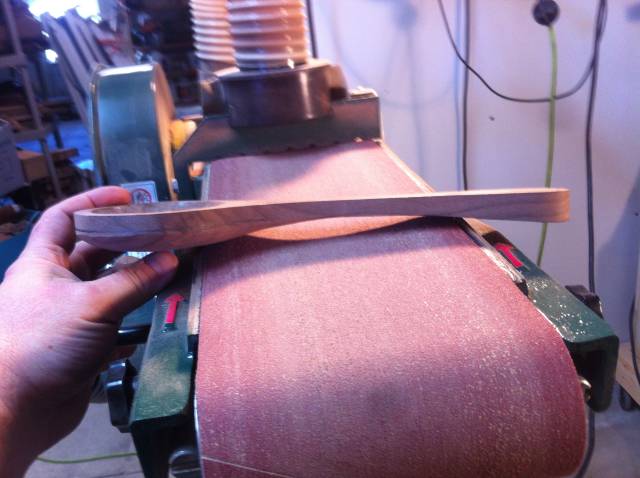
A quick run through the band saw to remove a bit off the handle.
And a bit of time on the belt sander, I tend to mark the edges and sneak up on them (again as I’m not quite sure I know exactly what its supposed to look like yet)
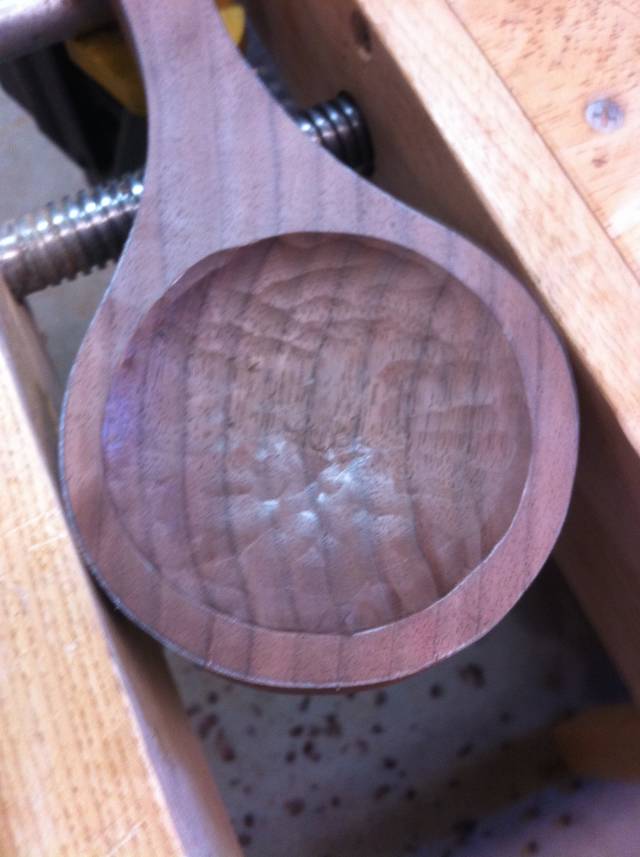
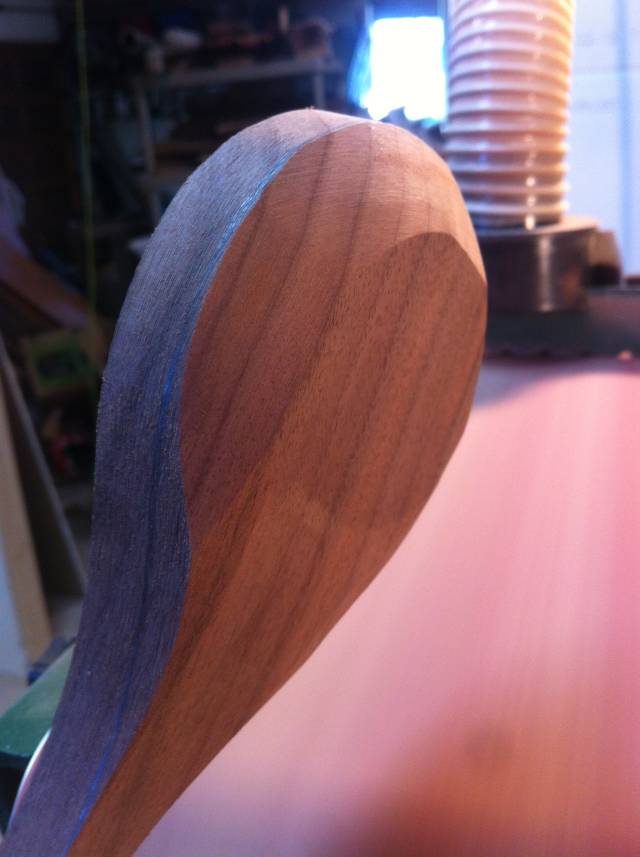
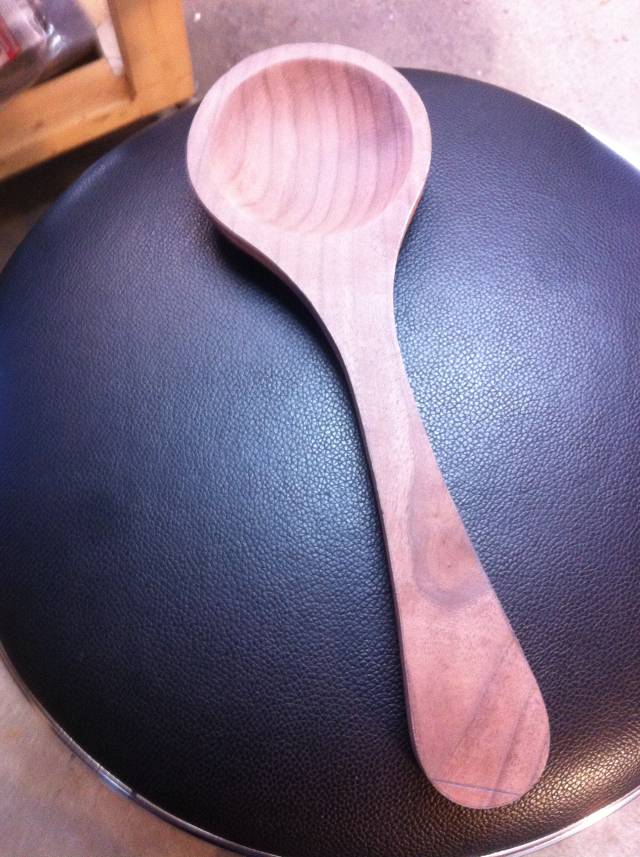
Step 5
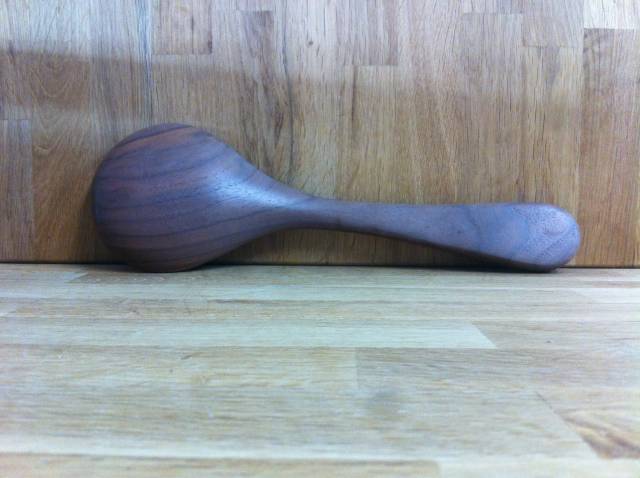
Cleaned the bowl up a bit and smoothed out the back of the spoon.
That’s it for today, check back tomorrow
Thanks
T.
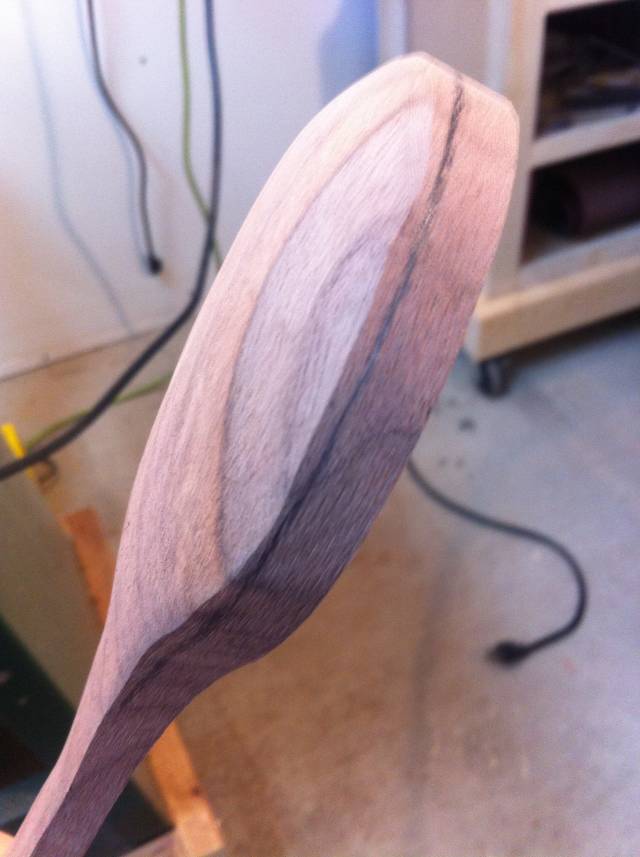
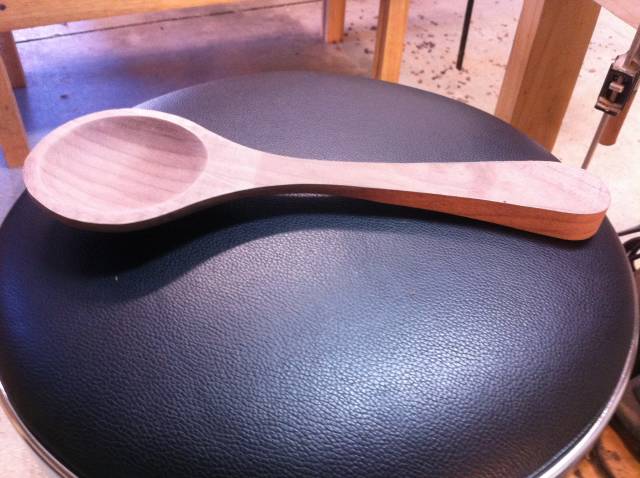
It’s a new day
Back to more shaping and sanding, trying to get to the finished look.
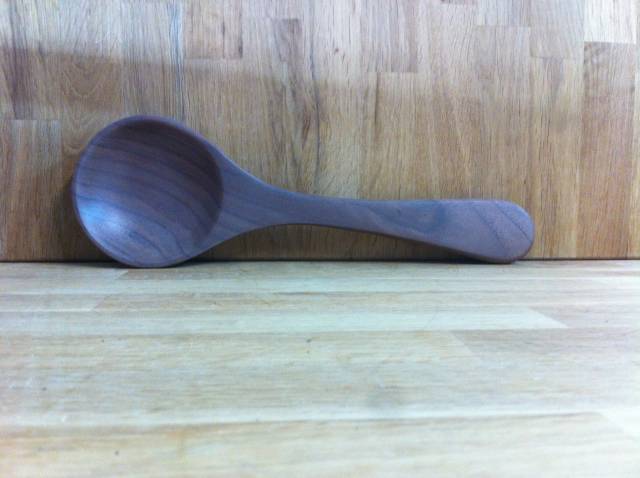
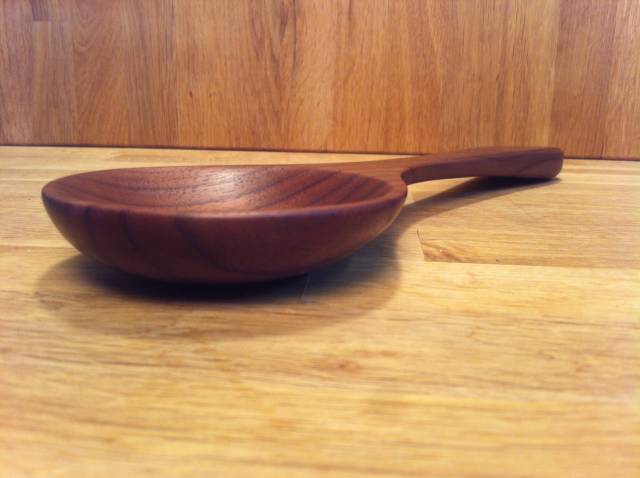
Ok, I got it to the final look, sanded it up to 180g, I chalk the rim of the bowl and shape it to about 3/8 and then finally at about an 1/8.
So after all that sanding I rinsed the spoon in hot water and let it dry before I sand it out again (soaking it raises the grain, sanding off the raised grain will give you a better final product.
That’s it for today,
T.
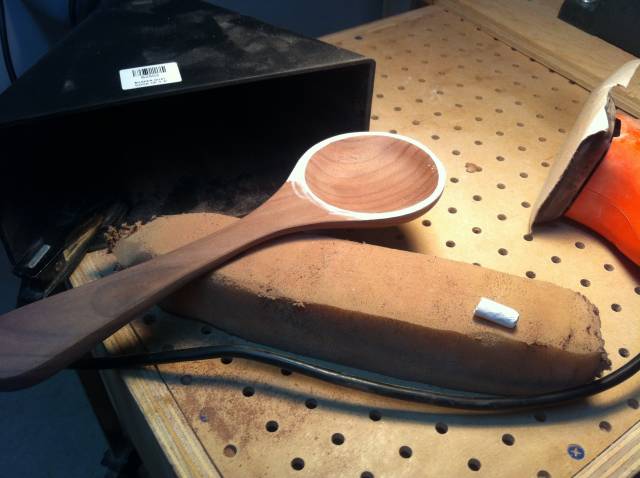
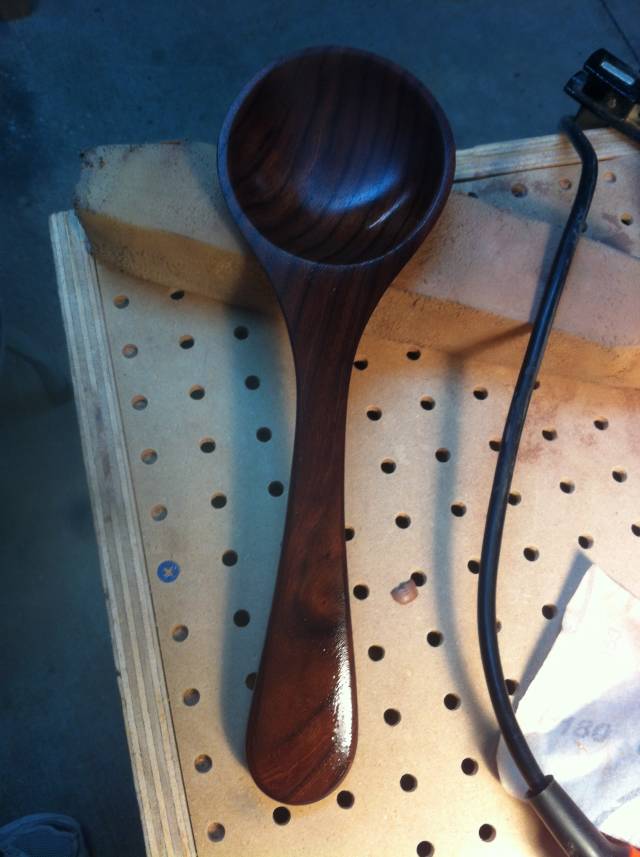
OK, its the last day and time to get this thing finished…
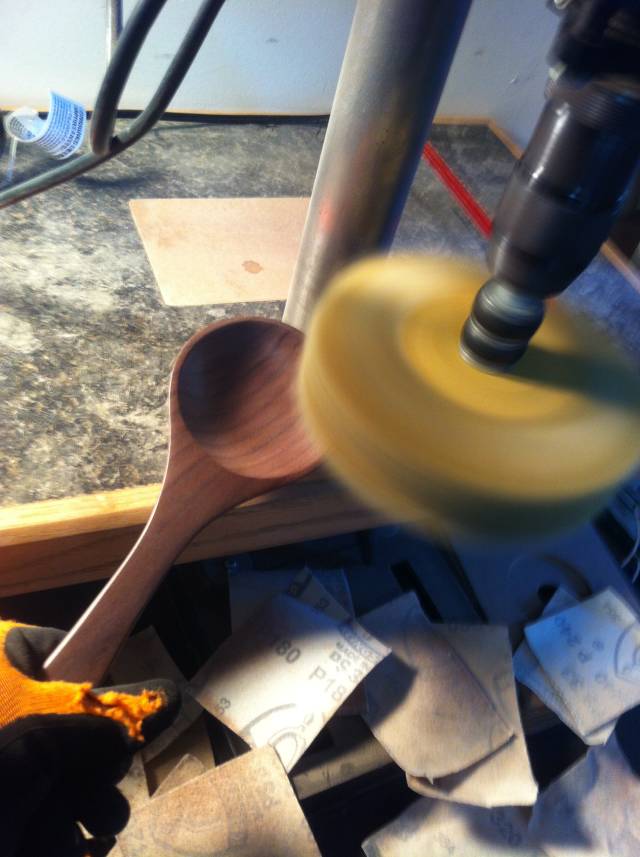
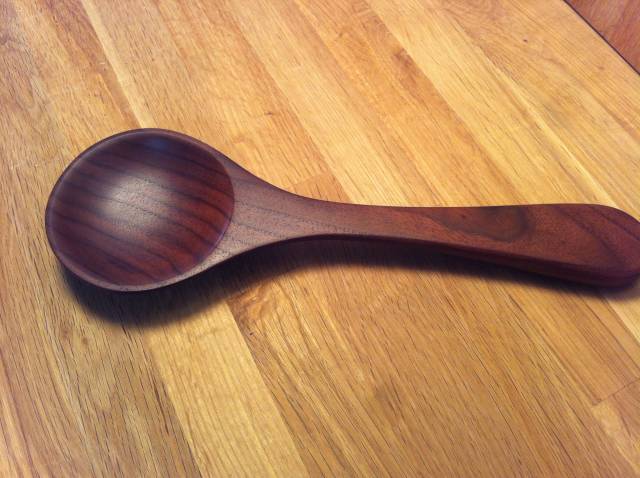
Sanded up to 240g and then took the sanding mop to polish it up to show any imperfections I might have missed.
Sanded up to 320g then 400g and 600g
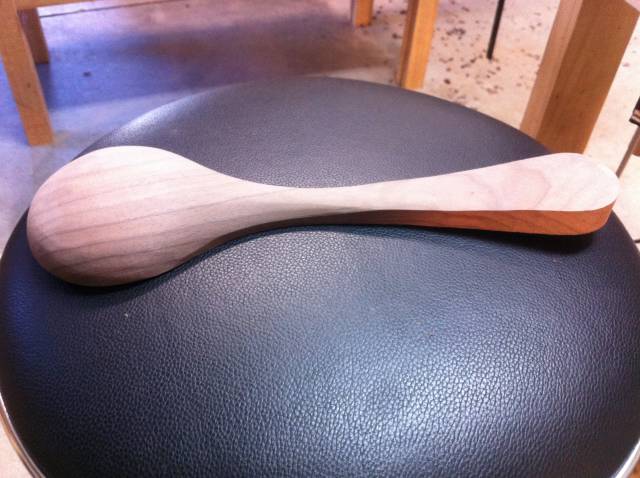
Step 6
Final sanding at 600g
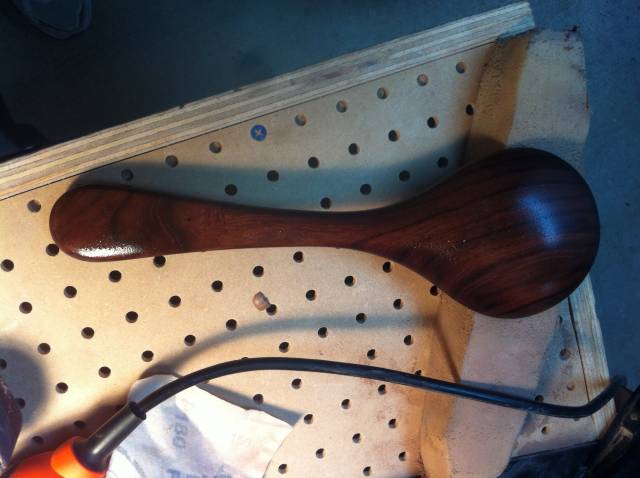
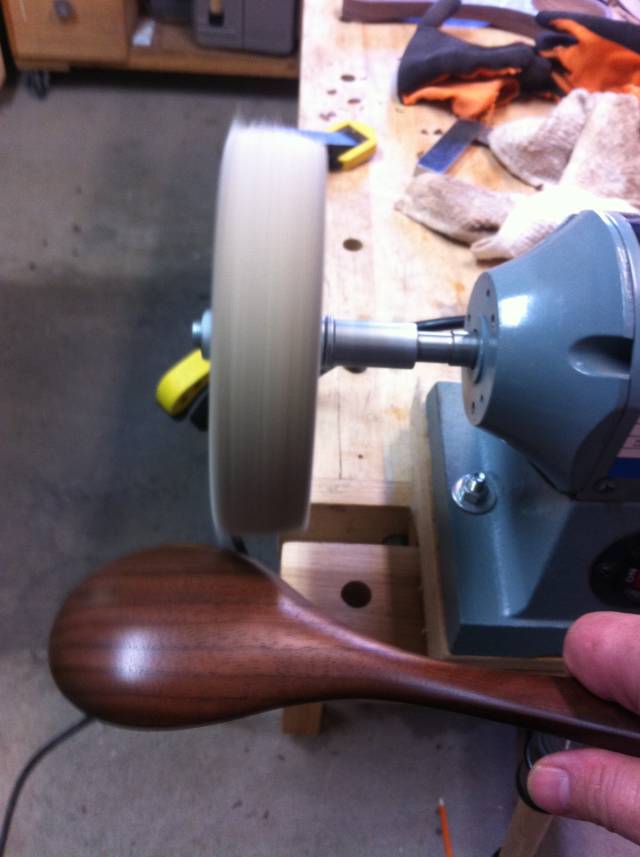
Seasoned the spoon with a combination of walnut oil and bees wax
Final buffing and polishing.
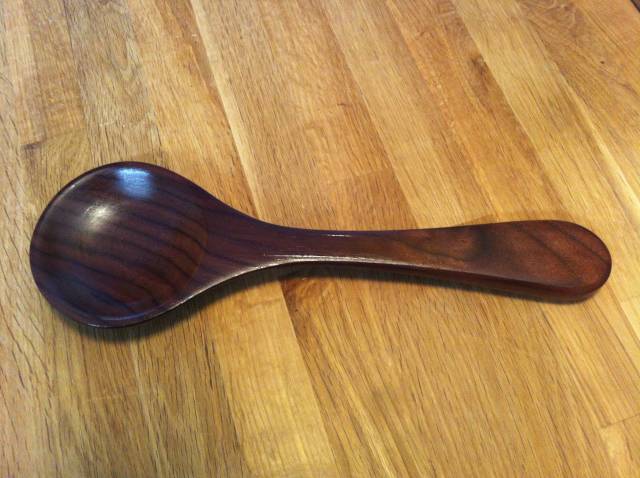
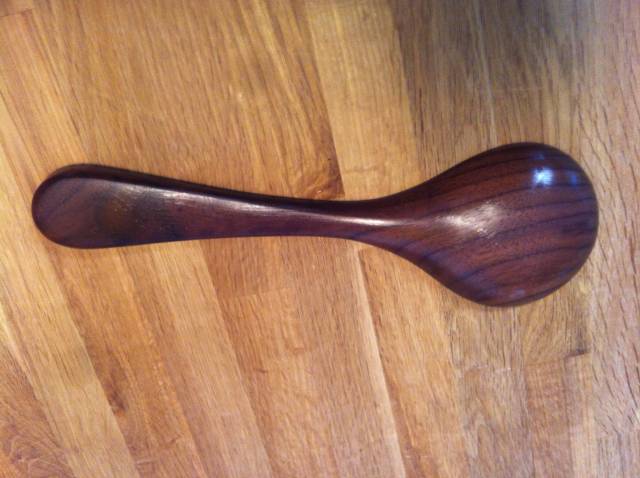
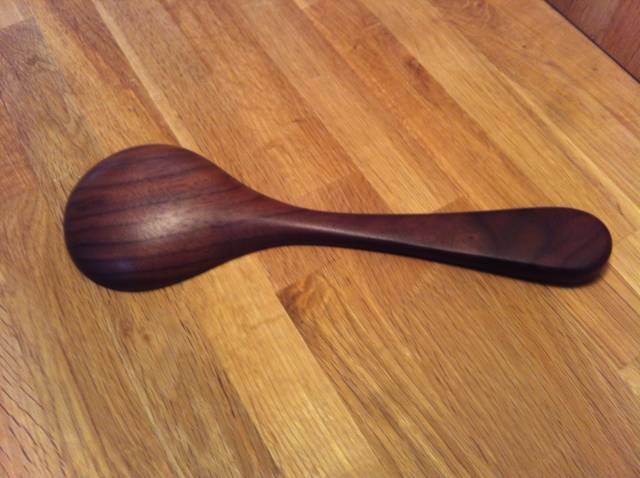

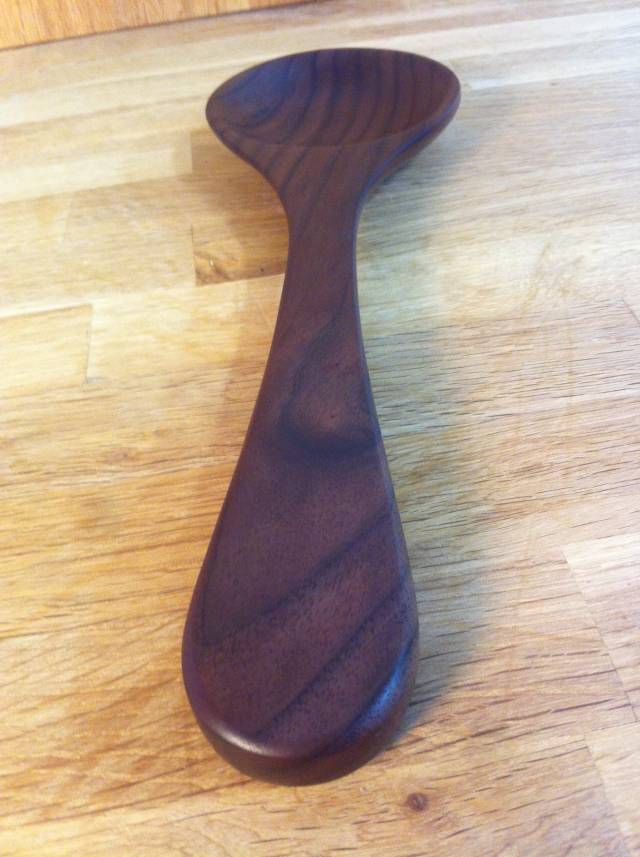
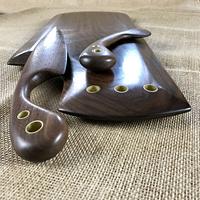
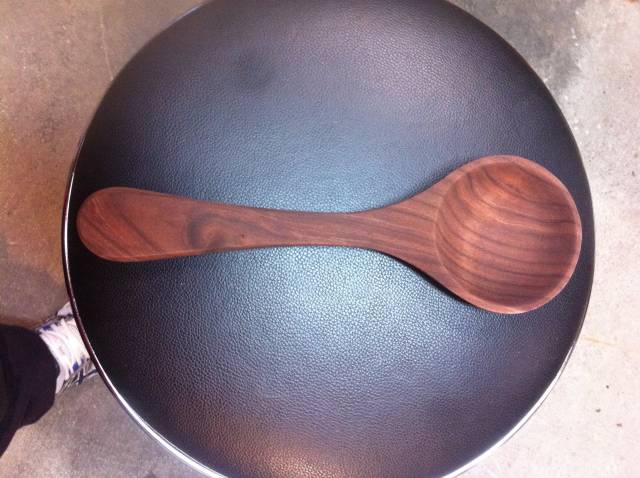
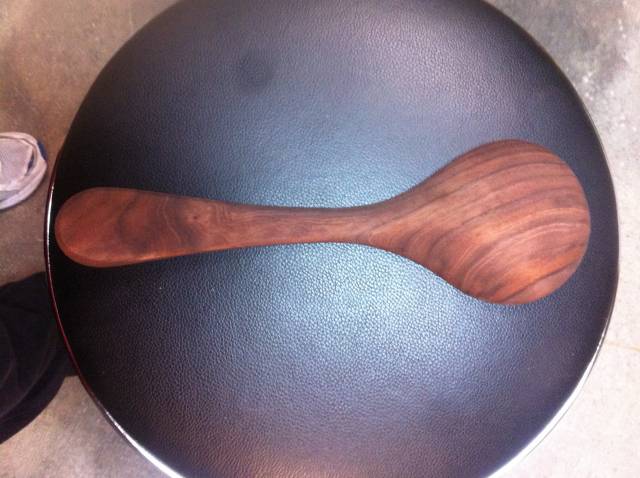
And… Done
The pictures just don’t do it justice, so if anyone out there can help me with that it would be great.
I hope you enjoyed it,
Thomas
I do not have attention deficit disor.................hey look, it's a bunny!
5 Comments

I thought you used blood woo for a second:)
Thanks for explaining this part of the process.
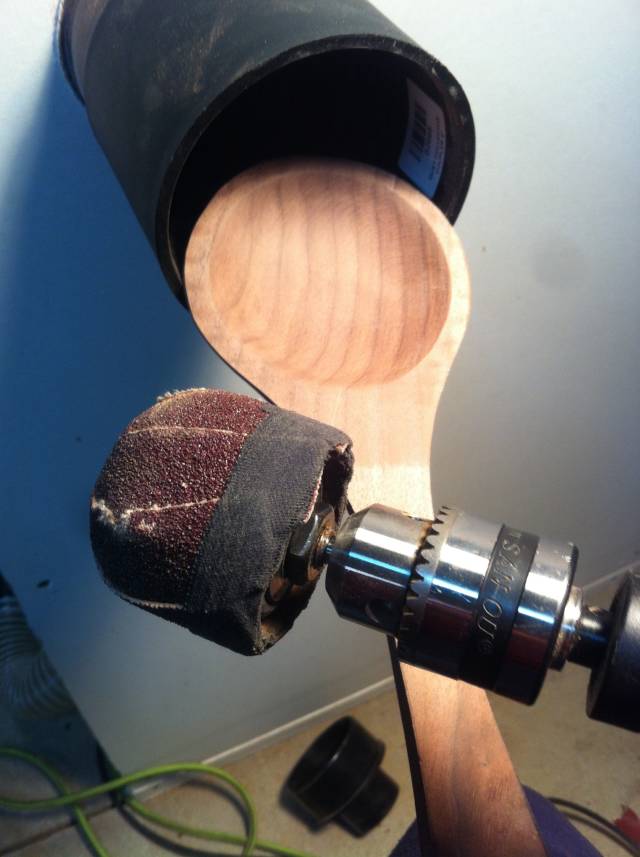
How did you sand the bowl?
Any big problem using a smaller gouge?
Abbas, Castro Valley, CA
Ian
I sanded the bowl with a Kirjes inflatable ball sander. (I forgot to take a picture of it yesterday, I will do that today. When first started I used a curved card scraper to smooth out my bowls.
And no problem using a smaller gouge
T.
I do not have attention deficit disor.................hey look, it's a bunny!
Thanks Thomas!
Abbas, Castro Valley, CA
Thanks for sharing this. You did a great job.
Thanks MYB, it was fun to do
I do not have attention deficit disor.................hey look, it's a bunny!