Share your craft projects
Make new craft buddies
Ask craft questions
Blog your craft journey

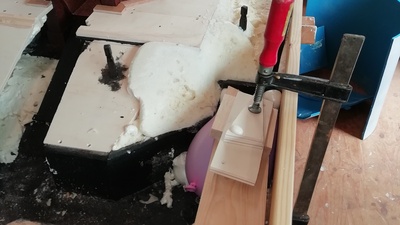
After finishing “the box” containing the windmill and the ditches I added the landscape using insulation foam. (PUR)[IMG_20210730_142921.jpg]
Th...
On the drawing there is a small bit showing how the mill is situated
[Image]
So i will try to recreated that. First by laying it out on a sheet o...
To prevent debris from getting into the screw, there is a weed and trash screen in front of the screw.
[Image]
There's also some sheet pile to pr...
Last part was a very simple part. Now lets make the most difficult and challenging part of this mill: the "schroef" or "vijzel". A Archimedes screw...
This time a simple part: the main spindle of the mill
[Image]
Just a square piece of oak
[Image]
Adding some stopped chamfers
[Image]
Using a...
Next on my worklist is the "schroefbak". It's the part where the screw is placed in.
On the drawing this is made of concrete.
[Image]
The mill is...
Next i'm going to make the gear for the screw
[Image]
the main part is made of elm, the arms are made of oak and the teeth are made of holm oak (...
The screw's main baring is what's next on the to-do list.
[Image]
In the real world the main baring is usually made of stone, But occasionally it...
The lower part of this mill is cladded in wood. I want the cladding to be removable so i can access the inner works and also to be able to show wha...
[Image]
To prevent the mill from blowing over it is anchored to the concrete foundations. In my model i'm not using any concrete and this windmil...
The "Stoelbalk" and the "wervel" are the parts on which the main spindle rests. The wervel is made so it can be moved to fine tune the running of t...
The Water that is pumped by the mill has a exit called "waterloop". It houses a door to keep the water on the high side of the mill out (like a hor...


