This is my project write up for the 2022 Screwdriver/Marking Tool Swap originally submitted over on another site. The project is basically in three parts: the screwdrivers, the marking tools, and the storage box. All Claro Walnut with brass details.
The screwdrivers shafts are a bit of a story. My grandfather started a company doing electrical in north San Diego in the 50s when the housing boom was on there post WWII. Many years later, when he passed, I inherited boxes of his old tools. Among those were dozens of old screwdrivers. Nothing terribly special in and of themselves, just beat up plastic handle screwdrivers, but in a ton of sizes. I thought this would be a fitting way to keep in use those tools that built his family, and wired hundreds of houses still standing today! I pulled out two sizes and a stubby of both slot and Phillips styles, cut off the handles and cleaned up the shanks. From there I turned the handles.
A short diversion to talk about the wood used in this project…
The entire project was cut from a single slab of claro walnut. The slab came from a local walnut orchard here in NorCal. A mentor of mine in school ran this family orchard his whole life. When I started getting into wood working years ago, he gifted me a couple slabs of claro from a tree that he'd pulled. He's since passed, and this wood came from the last slab of claro I had from him. I thought it was fitting to gift it away as part of a project, since it was gifted to me!
I turned the matching tool handles and detailed them with brass inserts. I cut flats on the handles in hopes they won't roll away. The decorative inserts on the ends are marked with either a - or a + to denote the head of the tool. I had visions of detailing these inserts using my Shaper Origin. While the theory was sound, my work holding was lacking. After several iterations, I changed my mind and used a small triangular file to cut marks in the inserts! I built a quick jig to drill out the insert locations, which I should have done while still on the lathe but didn't, and going back to the lathe might have damaged the wood (which I'd already started the finishing process on). The results are the inserts are not perfectly centered, which was a disappointment, but not a fatal flaw. Not as perfect as it was in my mind, but finished ok and blended into the handles well. Oh well, live and learn. I'm still pretty new to the lathe and the order of operations is a challenge for my inexperience! The handles were sanded and polished to 12k, then glazed with a homemade friction polish. Since they're going to be handled, I ended up also spraying them out with lacquer. To spray them I chucked each one up in a hand drill by the shank and sprayed while they spun! I feel like it helped keep the finish really smooth. Lastly, some renaissance wax spun on.
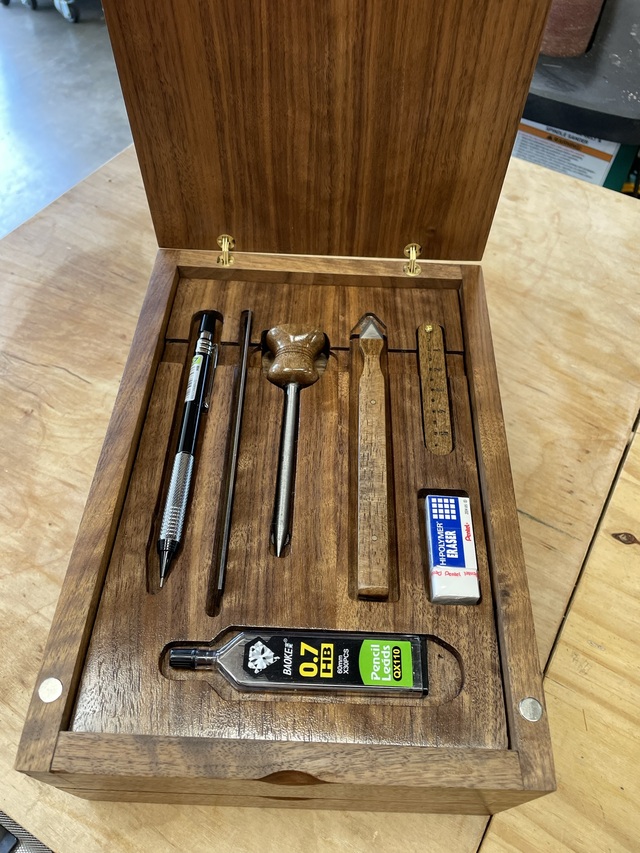
The marking tools are a hodge podge of items, some shop made, some not, that I figured were 'daily users'. There's a scratch awl/marking punch that I made of thread stock turned down on the metal lathe. I kept the threads atop the shank to help firmly anchor it into the turned handle with epoxy. Since it figured it was going to be struck, I wanted a totally solid mount. After the epoxy set, I drilled out the top of the handle for its own brass insert. That insert runs all the way to the shank, creating a solid metal shaft from top to bottom to transfer the mallet tap. I also built a marking knife. It's a single sided chisel tip knife blank, with claro scales, anchored with brass rods for detail. Next is a mini fixed-distance compass. Cut entirely on the Shaper Origin, the marking holes are accurately placed, and drilled to tightly match the 0.7mm lead of the inclosed pencil. The center anchor point is a small brass wood screw, keeping up the brass detail. Also included is a precision steel rule, and extra lead for the pencil and a block eraser. All the wood portions of the tools are sanded high, then finished with the same friction polish and finally sprayed with lacquer and waxed.
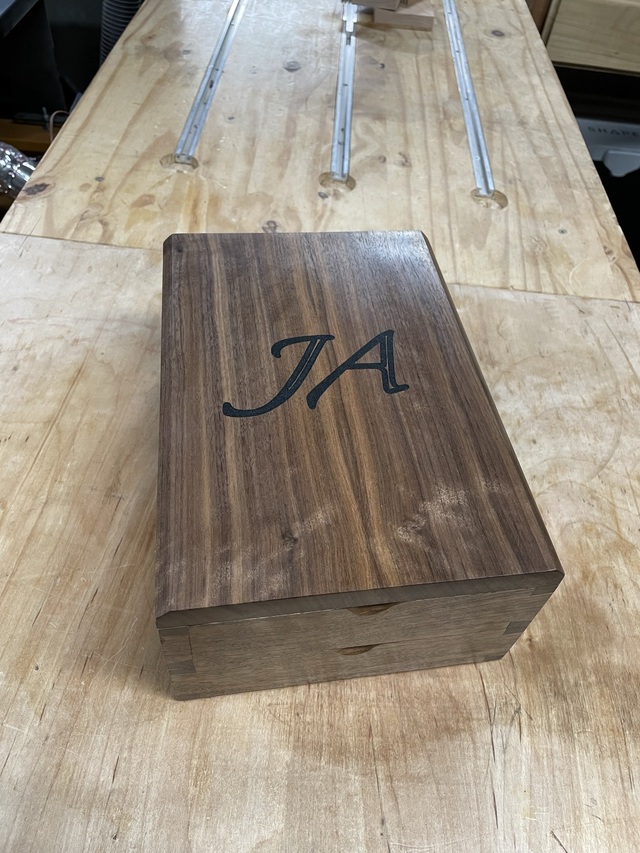
Last is the storage box for all this. I laid out several options for this. Wanting at the same time to keep it compact, but also needing to hold a heavy handful of tools. I also wanted the walls thin enough to be proportional. I settled on a two 'layer' jewelry box. The sides were dovetailed together, and I used the Origin to precisely align and drill out the holes for the soss barrel hinges. This was a bit more of a challenge than I expected just based on the layout needs and relatively thin wall thickness of the box, I also milled aligned holes for magnets to keep the box closed, I think I should have mounted them further towards the hinges, as the box is a bit tough to open! Powerful magnets to be sure!
To build the insert for the marking tools, I traced their outlines onto paper, then colored in the areas to be milled. I took a pic of it, then converted the file to an .svg and imported it to the Origin. From there I milled out the recesses for the tools on a claro panel. It really is that easy. Since the insert is solid wood, and I wanted tight visible tolerances inside the box, I cut back the edges of the insert at an angle to combat seasonal expansion while keeping the tight tolerance where it's visible. I had nightmares of the insert blowing out the sides of the box. The marking tool insert is just held in place with a brass screw from underneath, so it could be removed and changed if the owner so wishes. All the tool inserts also feature magnets to hold the tools in place. For those non metal tools, I milled their insert area shallow so they should be held in place by the lid when it's closed. This is an issue because the box, being two layers, means one half may be open while the other is closed…and that could allow for tool shift. It worked out well. The lid has an epoxy inlay of Jeff's initials, also cut with the Origin, then sanded back. I chamfered the edges to give it some depth and dimension.
I had to assemble and disassemble the box components several times for fit and finish. I really wanted the box sides to align perfectly and, given there are actually two boxes and a lid all working together, that was a challenge…but nothing a hand plane and some sanding can't handle! These smaller barrel hinges were a nice precise, tight fit which became a bit of an issue as I assembled and disassembled the layers for fit and then pre-finish, I ended up tearing out once of them, but it came together in the end. The box interior was pre finished, then the outside was sanded high and finished with friction polish and wax. I opted not to lacquer the box components, as I really like the soft look for this without the lacquer…and it's not going to be handled as much as the tools. I finished the interior with some red felt for contrast.
Ryan/// ~sigh~ I blew up another bowl. Moke told me "I made the inside bigger than the outside".
Thanks Andy. It was a fun project, especially as I've never done a double decker box like that before! The mechanics of it brought some interesting challenges...
Ryan/// ~sigh~ I blew up another bowl. Moke told me "I made the inside bigger than the outside".