The first installment concluded with a bank of three large store cabinets at Dad's shop, with normal moisture content, ready for use 'somewhere.' The multi-drawer unit, however, had other plans. The bottom support structure of the carcase was rotten; I had it sitting on 2x4 'skids' to keep it upright the last 18+ months or so. While the cabinets acclimated to the shop climate, COVID hit. And Dad (it's his shop space) was diagnosed with pancreatic cancer just after completing treatments for lung cancer. I went over there every week, usually on Tuesdays, and worked on the rebuild of a 100+ year old display counter in the space. Dad helped where he could, kept his distance and his mask on mostly, but we enjoyed the time working together on something again. We finished the counter and then I peeled away to complete a gut job of our kitchen at home the summer of 2021. Warm weather for 2022, the house got a coat of paint. Dad and I never did get to turn our collective attentions to these cabinets. He passed away last August at the age of 89, but not before telling me many times, "Put them where you want them, it's your space." And so it is, and that's what I'm doing...
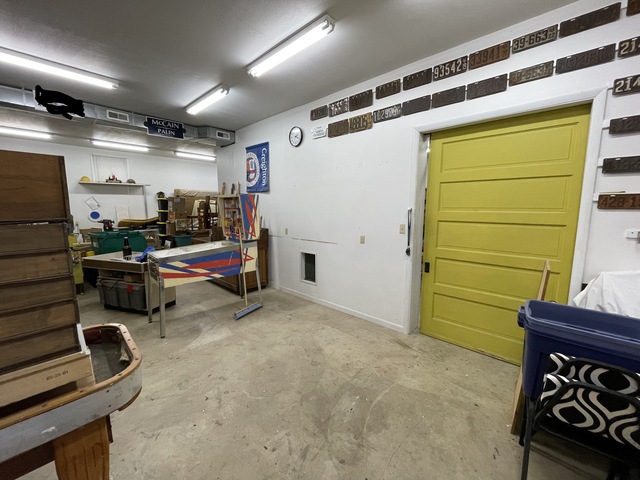
Anyway, I got my #2 son to help me place the crippled cabinet on horses, for repair. And with some donor 3/4" material I did just that, with a series of T&G cuts and dados to interlock everything as originally constructed. Sorry, no pictures... didn't think I'd blog it. Cleared a wall in the shop space to begin sliding cabinets in place.
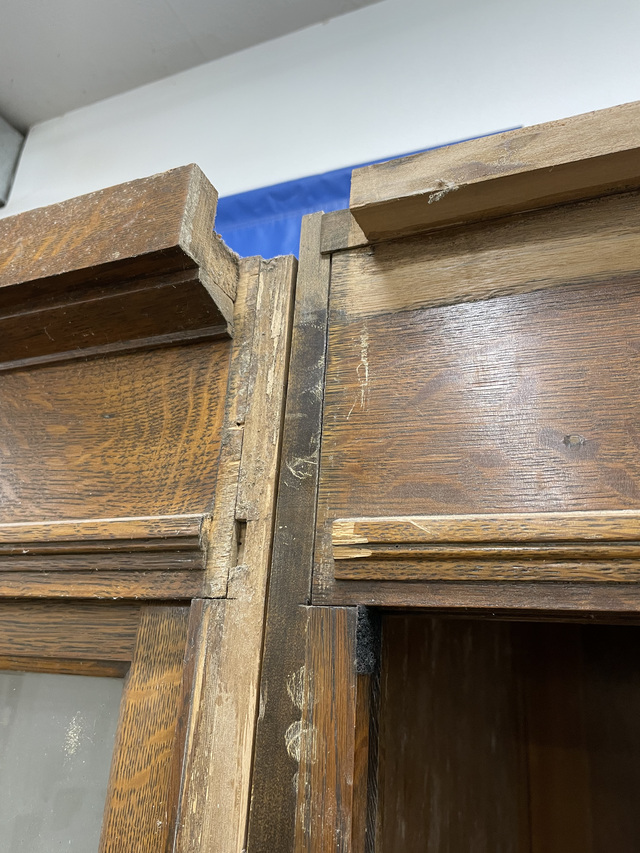
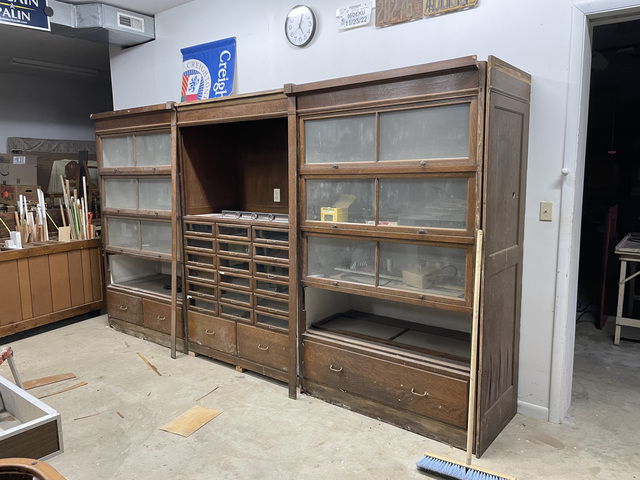
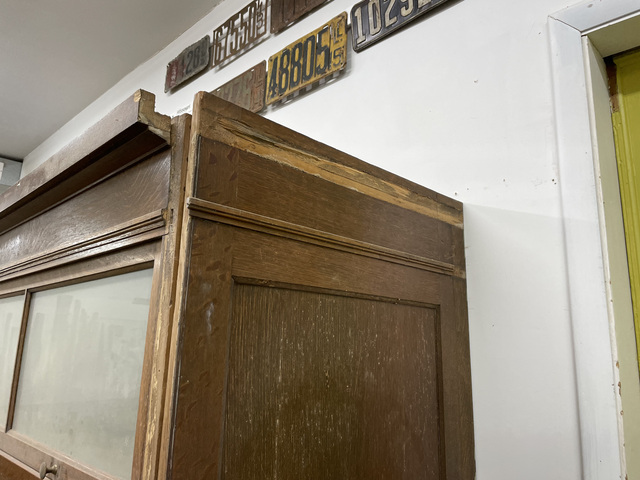
First one put in place without a hitch. Second one, the 'fixed' one, gave me issues. A couple of pictures to explain. These cabinets go side by side, and elevation matters. The face mouldings need to line up like so:
...because an oak strip like this goes over the joint, hiding it.
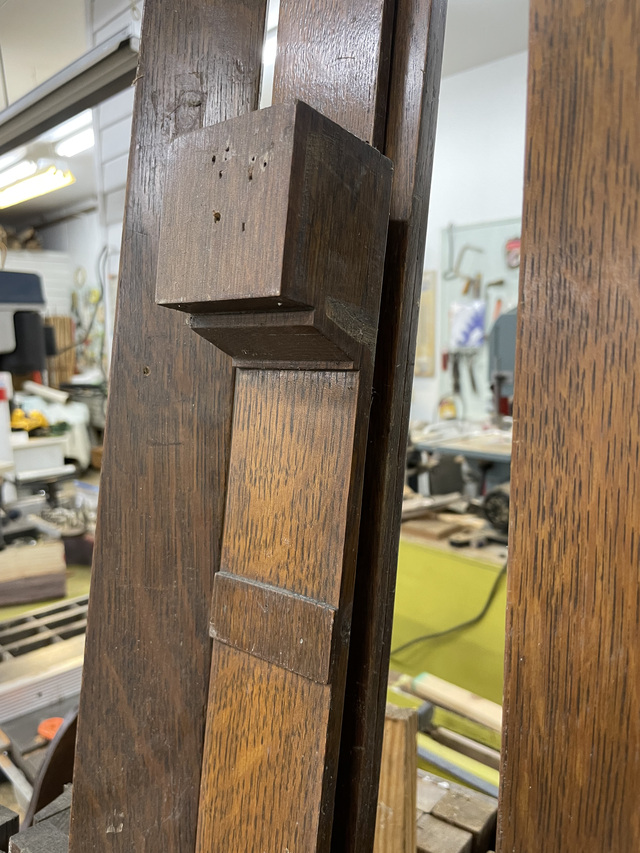
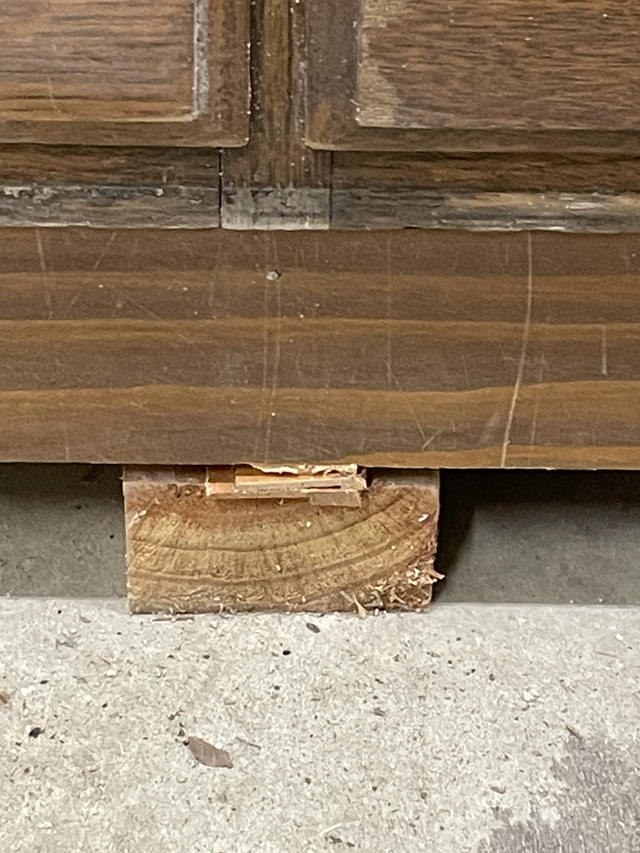
Well, the "fixed" cabinet's base was too short. By about 1 5/8". So I made some custom shims to bring it up...
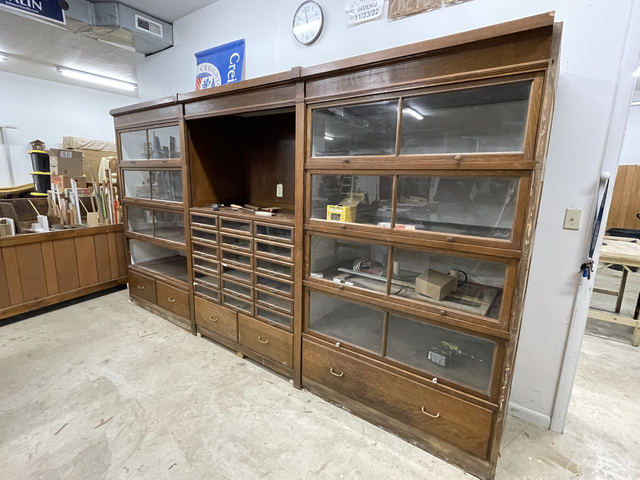
...cut the backs with the multitool to regain access to wall outlets, then leveled everything left to right, and moved on to the third and final cabinet.
You can see in that pic I've started working the face trim. Salvaged quite a bit of it 'just in case.'
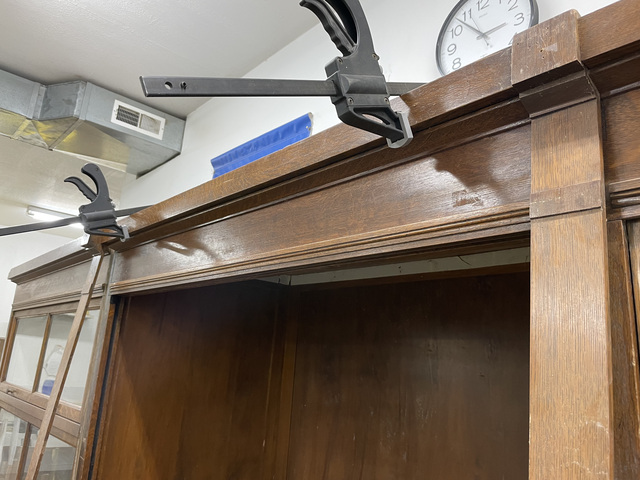
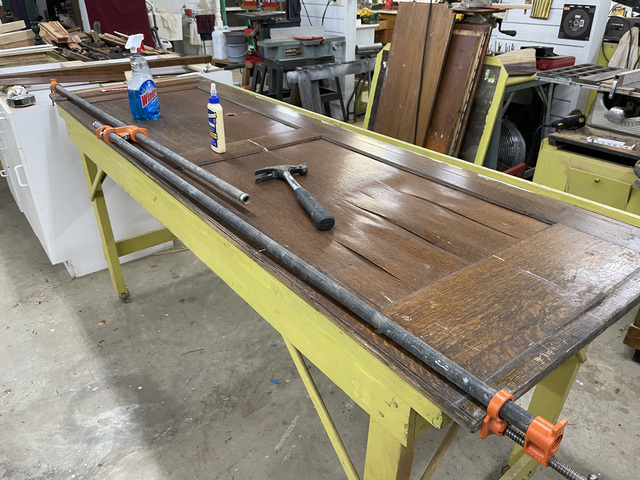
Had to re-apply the crown piece to the middle cabinet, too. I also have one end cap to rehab, another to build. The right side of the assy in the pic above has a 2'x6' oak panel leaning in place; that is put there to hide the guts of the carcase. I need to build a replica for the left side. Here's the one I have, getting some attention.
I have extra crown to apply to each side panel when the time comes. Gave the whole thing and initial clean today, and this is where things stand.
I need to repair one of the glass sliders, apply the side panel and face strips, and fab a kick plate, but it's mostly there.
One more to come, I guess. And as always, thanks for looking.
Don't anthropomorphize your handplanes. They hate it when you do that. - OldTools Archive -
I had some very similar cabinets I took out of a Mens clothing store in Williamstown MA. I sold most of them. This was in my living room for about 25 years. I wish my new shop had the space to keep it. It's still in the old shop waiting for a salvage solution.
Wow, very similar indeed! Thanks for sharing that pic! Did the upper have sliding glass, or ? I mine has track nd roller strips, but no doors… might make something, might not.
Don't anthropomorphize your handplanes. They hate it when you do that. - OldTools Archive -
if i remember correctly, the top section had a rod, and coats hung in it. Nothing had sliding glass, and the only doors were like the bottom section in the picture.