Share your craft projects
Make new craft buddies
Ask craft questions
Blog your craft journey

Ron Stewart
953 posts
and
24 followers
in over 3 years
in over 3 years
Giraffe Bookcase #6: Head Details
This is
part 6
in a
9 part
series:
Giraffe Bookcase
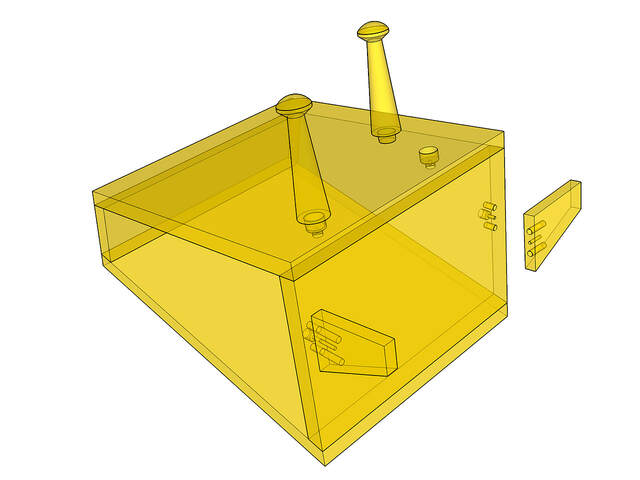
The giraffe's head is one of the more complex parts of the bookcase because both it and its horns and ears are removable (the former for transport, the latter for reparability). These parts are attached with #7 1-1/4" pocket screws, and the screw holes are counterbored to hide the screw heads. Each ear is also stabilized and aligned with a pair of 1/4" dowels. (I didn't model the dowels, but you can see where they go.)
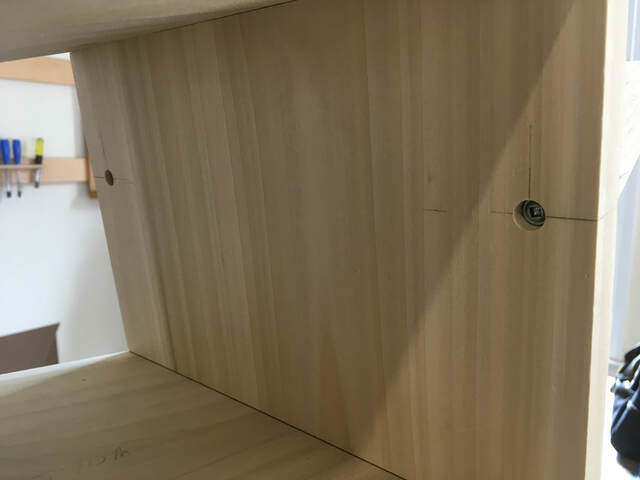
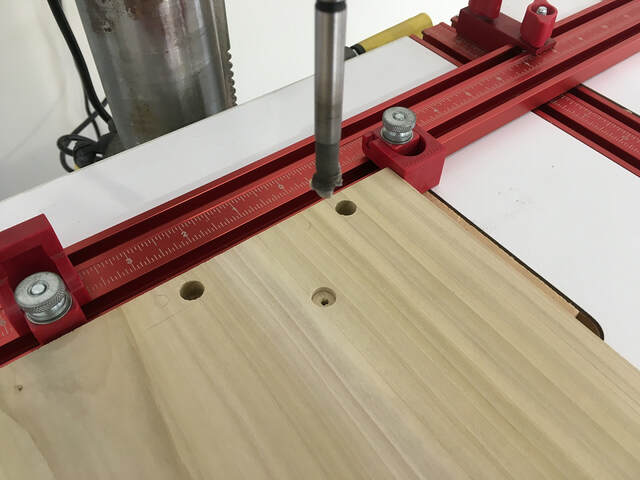
I drilled four counterbores under the top of the neck. When I drilled the matching pilot holes in the bottom of the head, I took care not to drill all the way through.
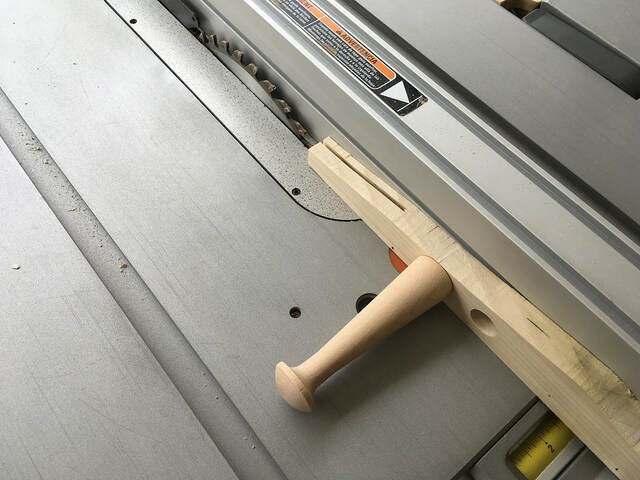
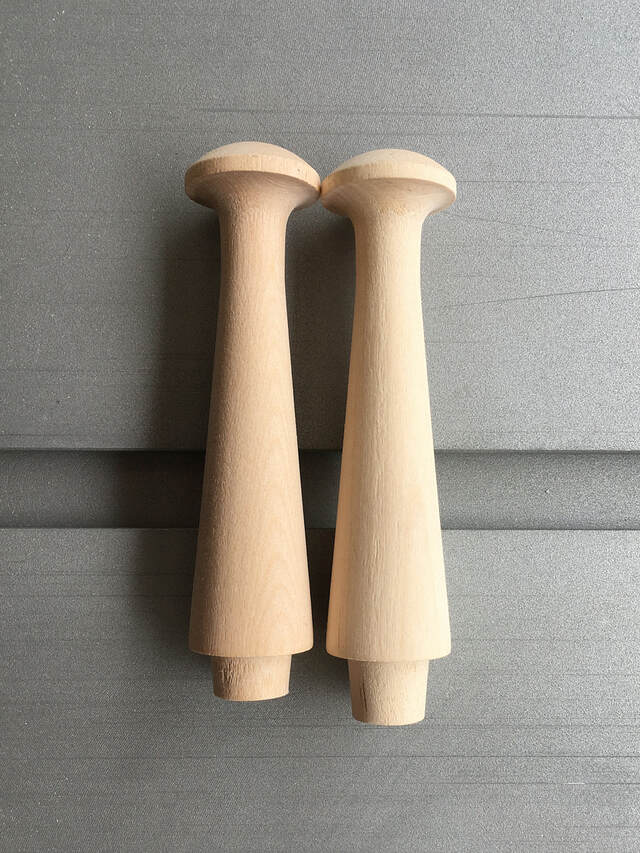
For the horns, I used jumbo-sized Shaker pegs from Lee Valley. They are 5-1/8" tall, 1-1/4" diameter at the base, and have 3/4" diameter, 5/8" long tapered tenons for mounting. They were nearly perfect for this application, but their tenons were too long. The top of the head is 3/4" thick, and I needed to drill counterbores for tenons. I also wanted to drill 1/8" deep counterbores on the opposite side to recess the heads of the screws that would hold the pegs in place. I couldn't drill both 5/8" and 1/8" deep tenons in 3/4" thick stock. I had to shorten the tenons.
To shorten the tenons, I created a simple jig from a piece of scrap. I drilled a 3/4" hole through the jig, pushed the tenon into it, and sawed a kerf into the scrap. That trimmed the tenon easily and safely.
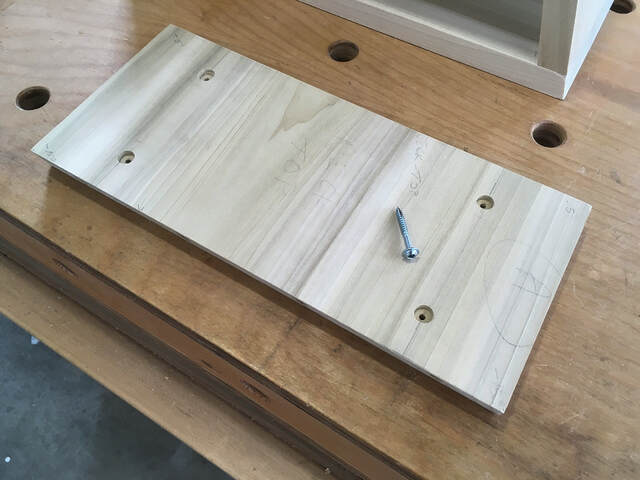
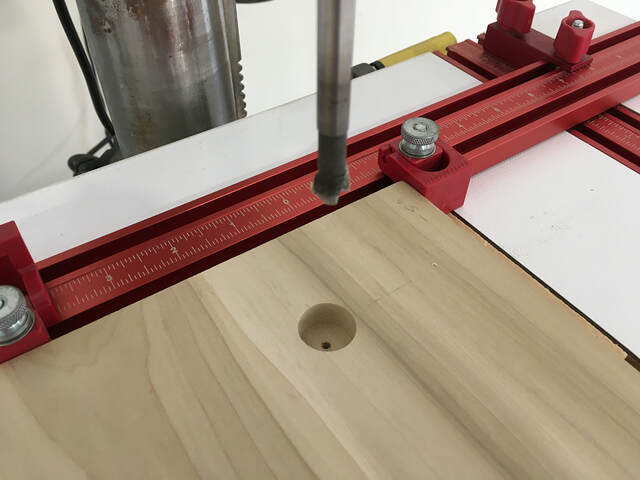
I drilled 3/4" diameter counterbores on the top of the head for the tenons, and shallow 3/8" diameter counterbores on the underside of the head to hide the screw heads.
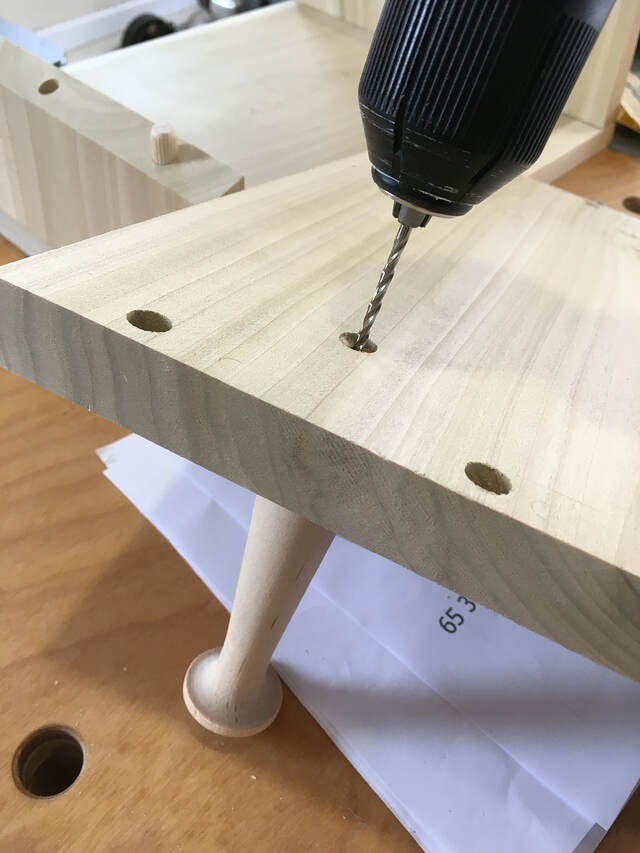
I dry-fit the pegs and drilled pilot holes into the bottoms of the tenons for the screws that hold the horns in place. With that done, the horn work was finished, and I could move on to the ears.
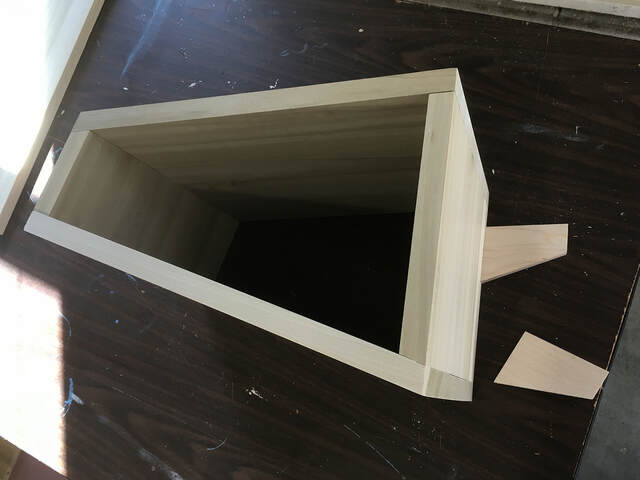
Cutting the ears was simple with my new taper jig.
Each ear is attached to the back of the giraffe's head with a single pocket screw. The screw head is recessed 3/8" deep. To keep the ears from rotating, each also has two 1/4" alignment dowels (unglued), one on either side of the screw. I didn't take any photos of the drilled ears, but you can see how they look in the rendering at the top of this post.