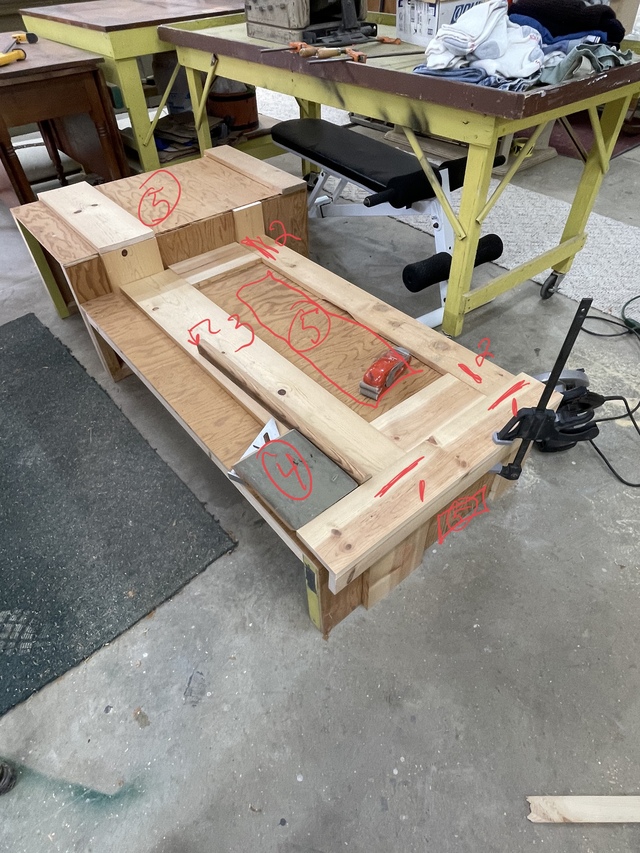
A study of the inspiration piece tells me more than a few things about the layout of the recessed panels in this build. Specifically:
1) These rail reveals should be about equal 2) These stile reveals should be about equal 3) This more-than-half-round piece of millwork needs to be fabricated, AND is flush mounted (not recessed / isn't below the lower rail)
4) This baseboard, or kick plate, needs to sit more than 3/4" proud of the plywood carcase to be right 5) There is a TON of trim to install in each of the recesses (three pieces each for top, bottom, and sides of each recess, each mitred and fitted all custom-like...
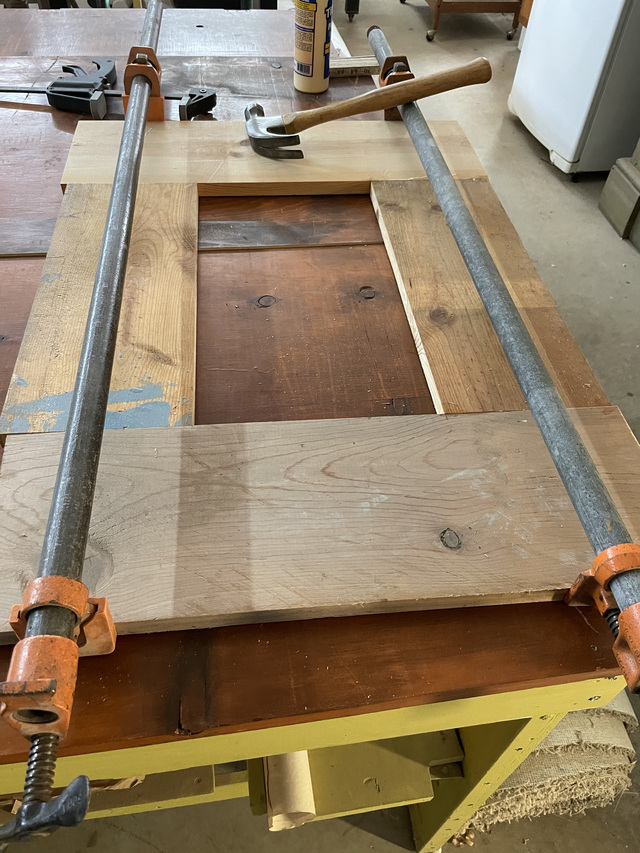
All the 3/4" rail and stile material was attached to the plywood carcase via screws from the inside of the box. This was MUCH SIMPLER than the build method used on the inspiration piece. I'd also venture to say this is a stronger, yet lighter, build method as well.
I did glue up the frame-out for the pedastal portion before mounting it to the carcase. And as a matter of course, I kept the glue bottle handy and hit up a bead on just about everything during rough assy.
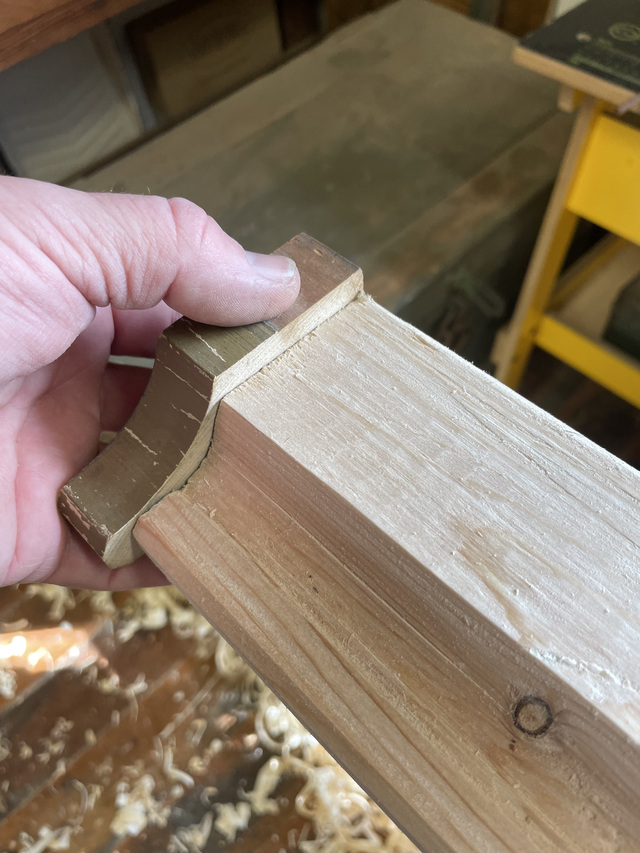
Had to fabricate this piece of the handrail support trim... I used a 2x4 so it was not an exact copy. Also, my rounds weren't wide enough across to prevent some digging in at the edges of the tool. But I'm okay with how it turned out.
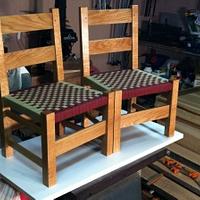
So, here's how we look after Day 2:
More to come, thanks for looking!
Don't anthropomorphize your handplanes. They hate it when you do that. - OldTools Archive -