One of the things I really like about the Sea-N-Sea clamp is that its clamping pad pushes against the work instead of the cam so there's no tendency for the clamping action to rotate the work. To retain that characteristic and also move the anchoring knob inboard of the cam (expanding the maximum workpiece size), I swapped the clamping pad for a plunger.
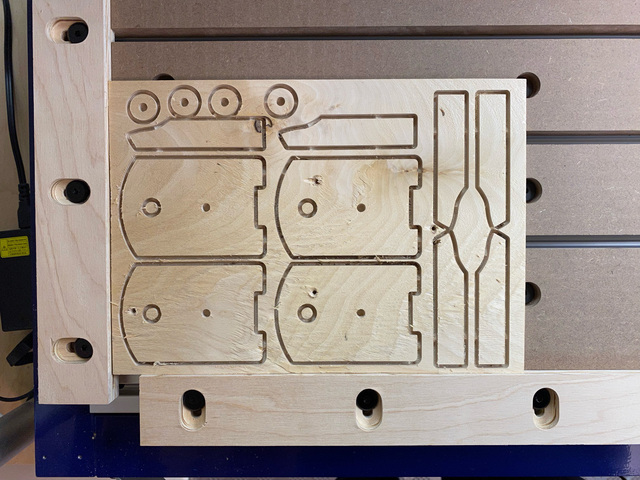
I'm still using as much scrap wood pieces as possible for these experiments. Here I'm using some pretty beat-up 1/4" plywood (old screw holes, etc.) for the body. I used some reclaimed ash for the cam and plunger.
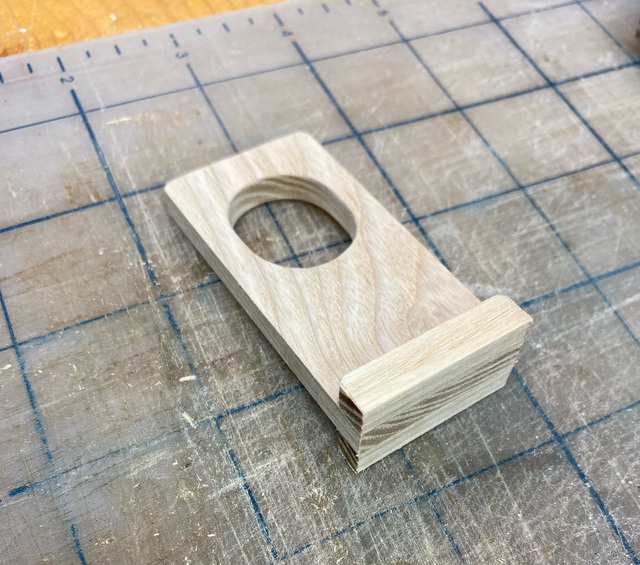
The plunger slides between the two built-up edges and around the spacer disc. Both the cam lever an plunger are slightly thinner than the plywood so they don't bind when the knob is tightened down.
With the built-in stops for the cam, the plunger can travel roughly 3/32".
The plunger gets built-up on the business end with cross-grain ash strips.
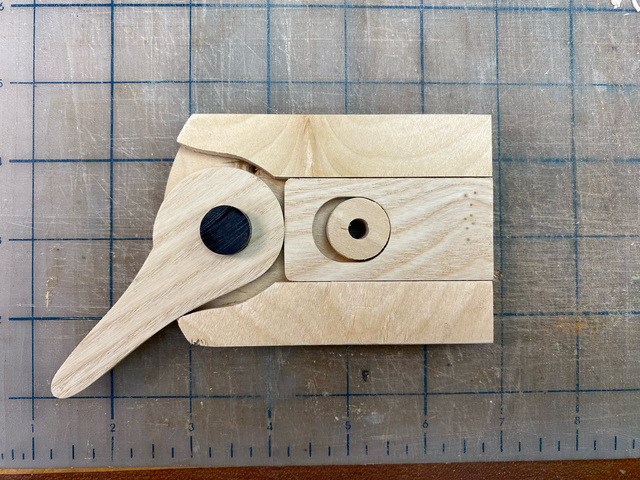
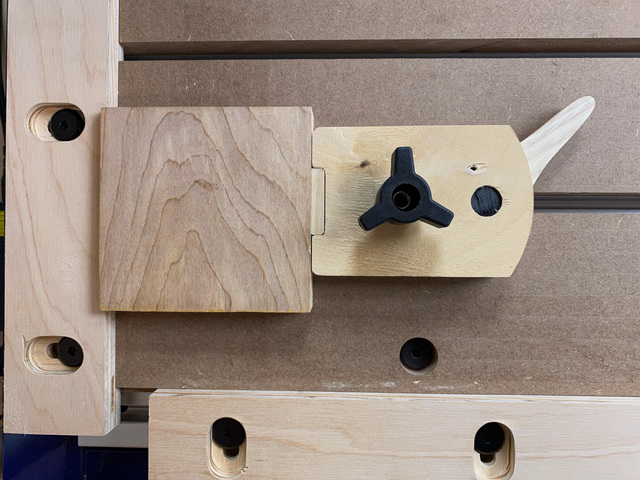
With the body pieces all glued together, the cam, plunger and floating disc can be installed. The cam pivots on a 1/2" section of copolymer rod that's just press-fit into place.
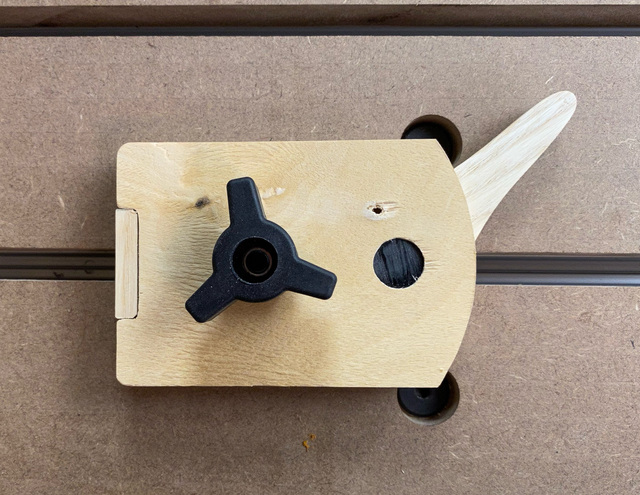
Plunger retracted:
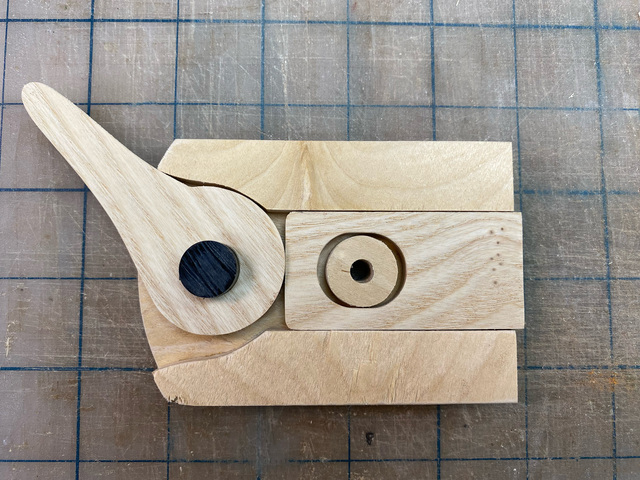
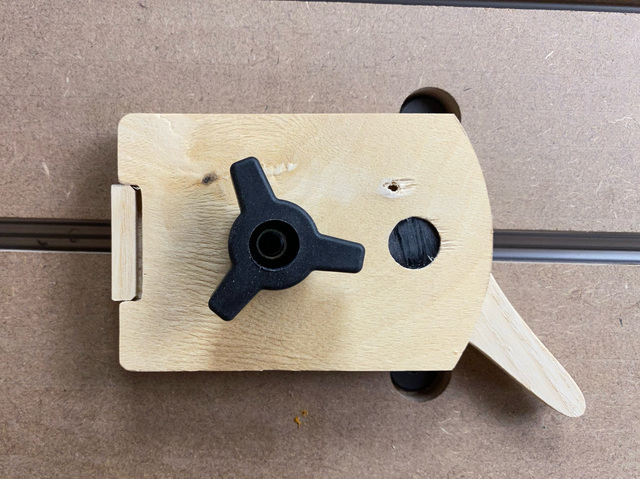
Plunger extended:
Rotating the lever half-way gives plenty of clamping pressure.
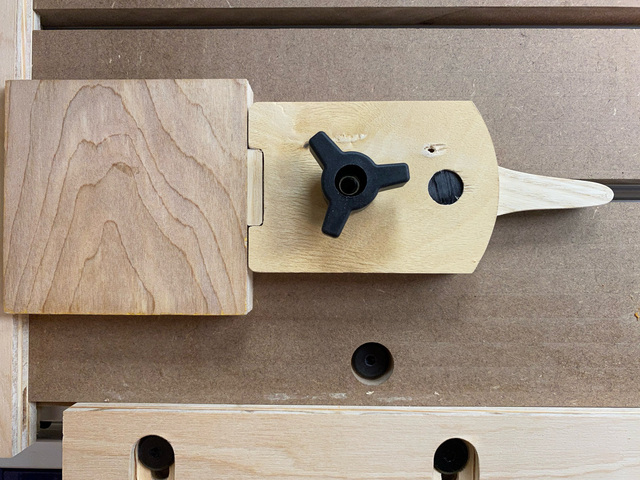
I'd no sooner finished the prototype when I thought, "does this thing need to be so wide?" I think not.
Ross, that is a slick clamp idea, and in most cases your don't need excess pressure to clamp things together. I need to think about these and copy. (borrow the idea).
Eric - you’re right, you don’t need a huge amount of pressure to hold things in place. Even the 3/32” plunger travel with these clamps is way more than what’s required. I’m glad you like the concept. But don’t copy these. Wait for the next revision. I made the prototype this evening, and will post tomorrow.