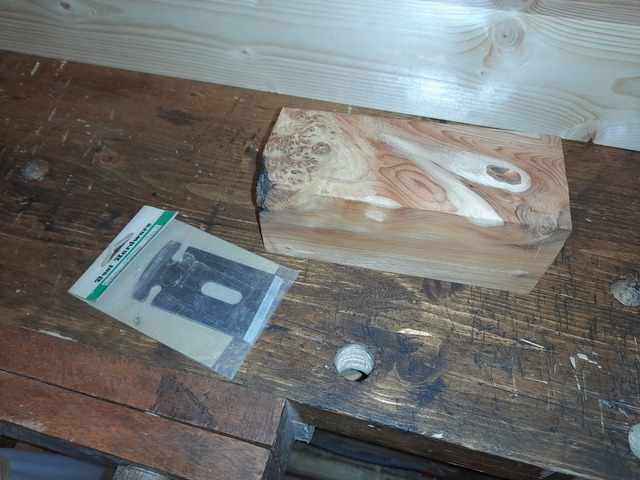
So, I need a 1 1/4 inch rod for a vice screw, so make a rounding plane for it.
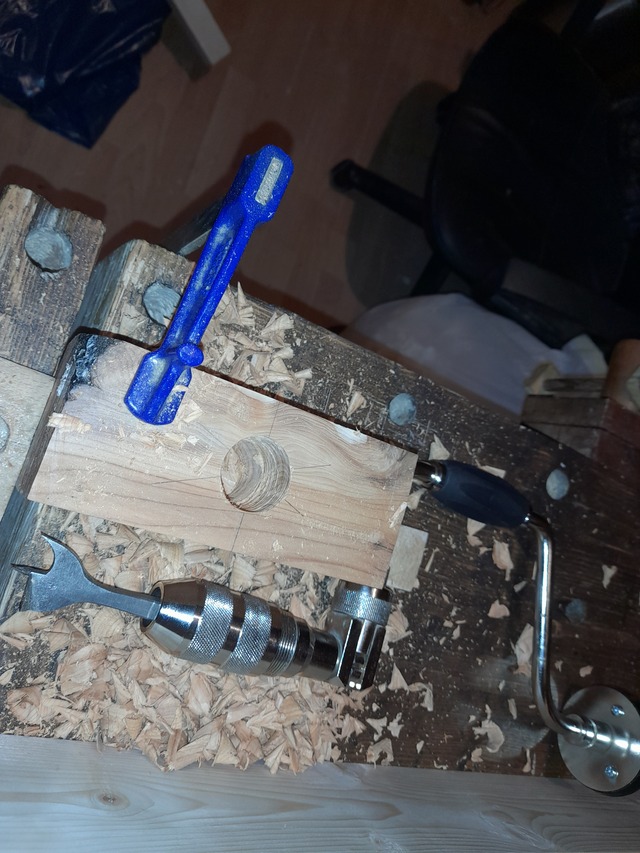
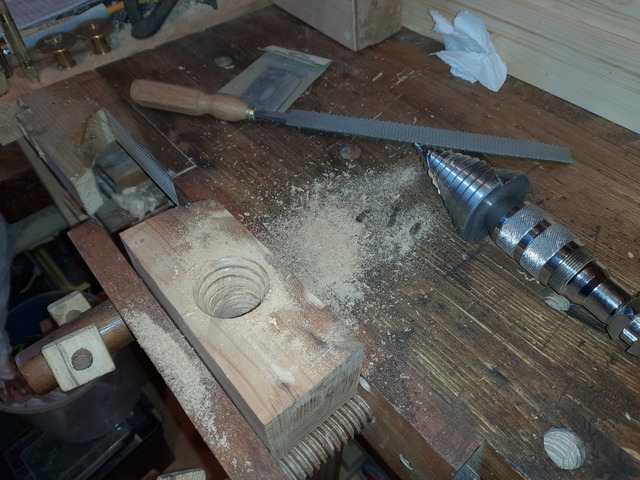
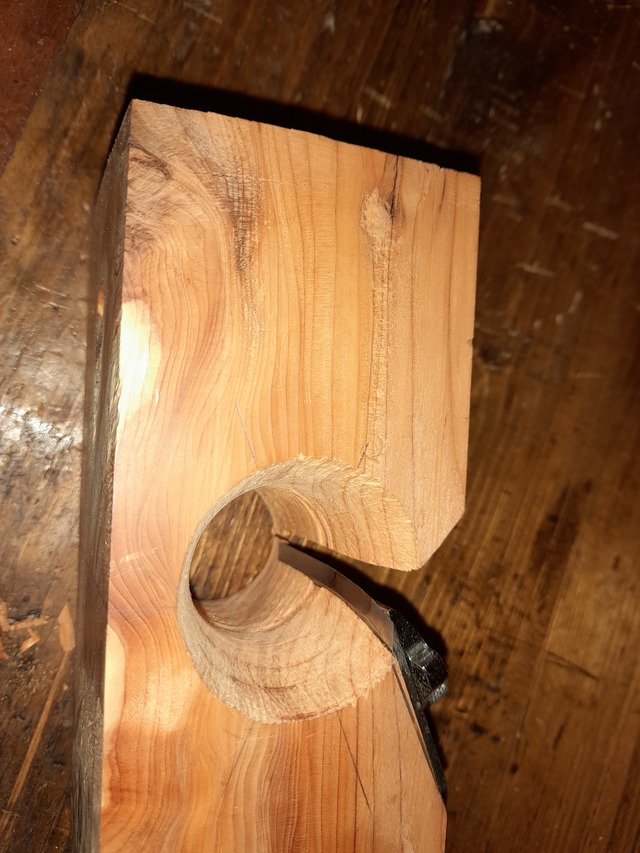
Get a likely looking block of wood about the right size (Yew in this case) and bore a 1 ¼ inch hole though it.
Last time I did this I said I’d get a tapered reamer for the next time I did it. Well, I got one, but it’s too small for this so I’m using a step bit and rasp again.
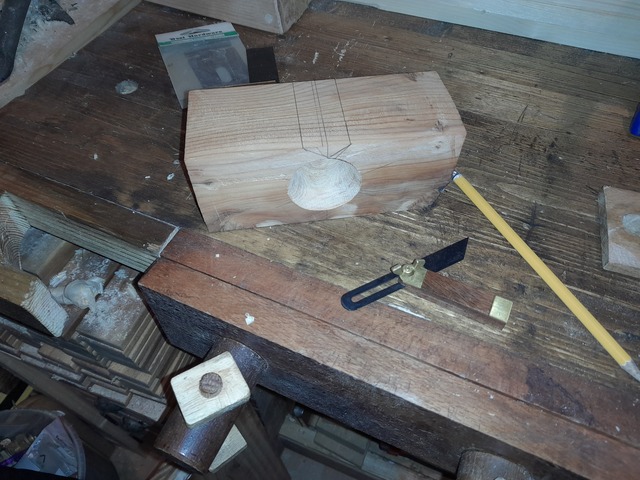
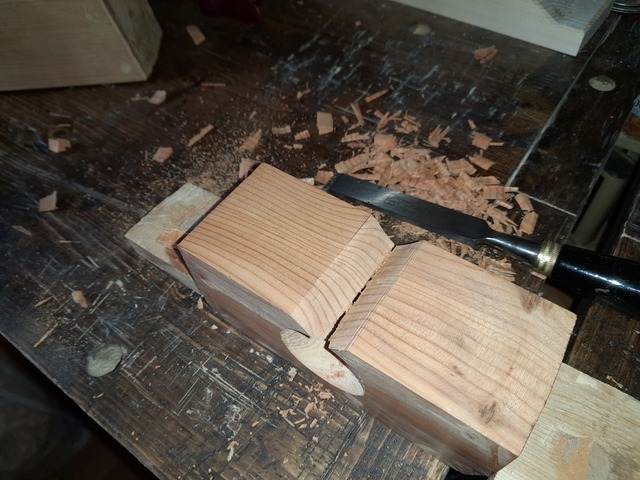
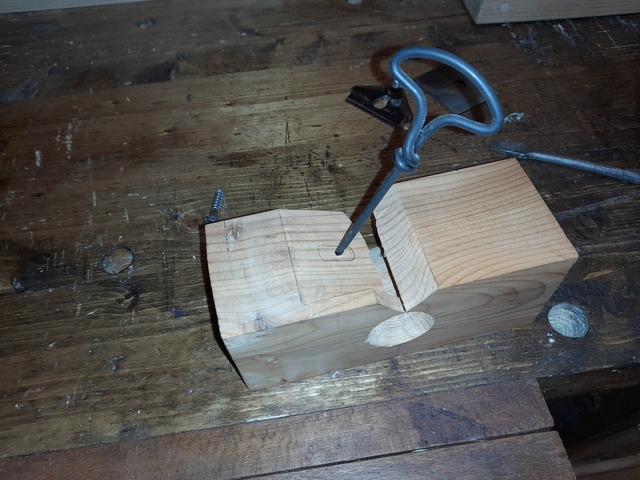
Mark up where the escapement/mouth are going to be.
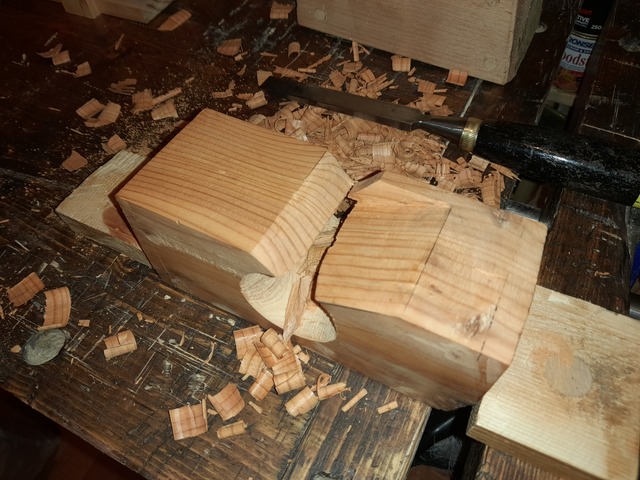
And chisel them out.
Then just chisel back to about the right angle for the iron (about 20 degrees)
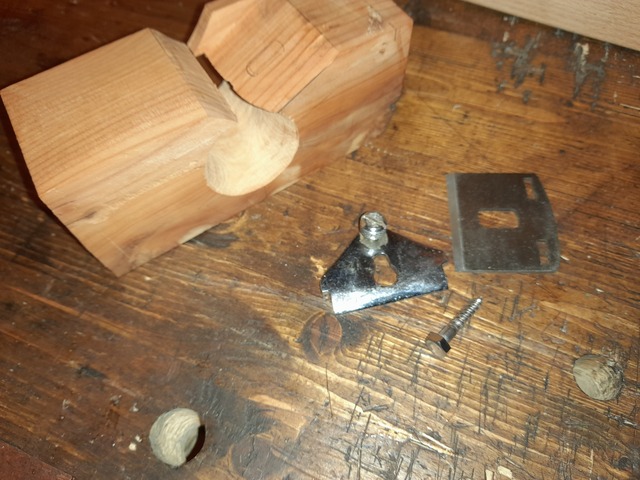
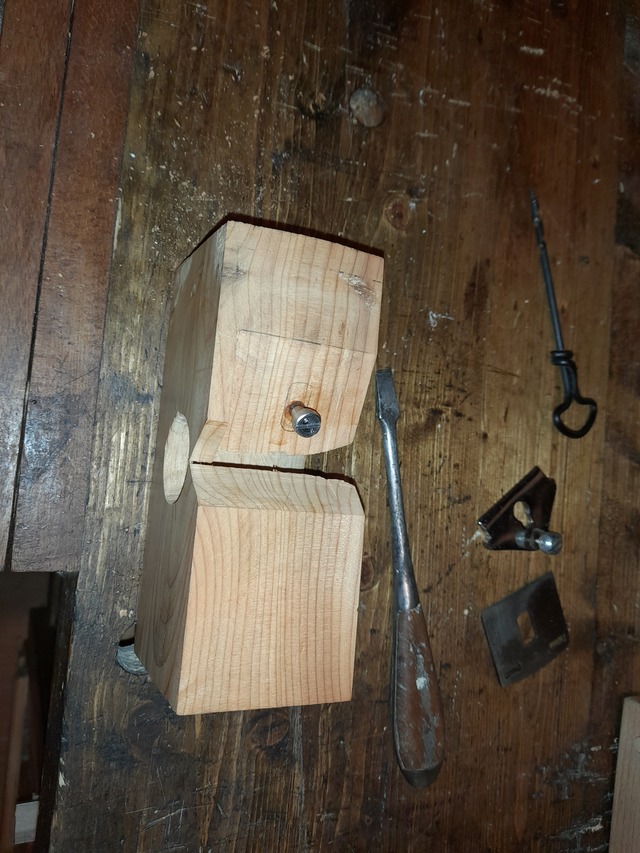
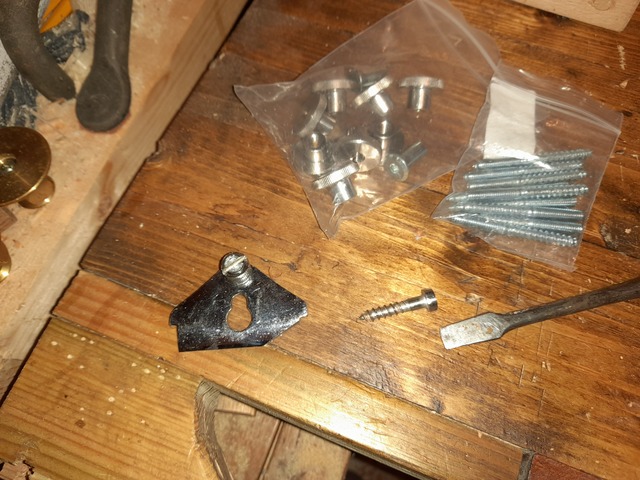
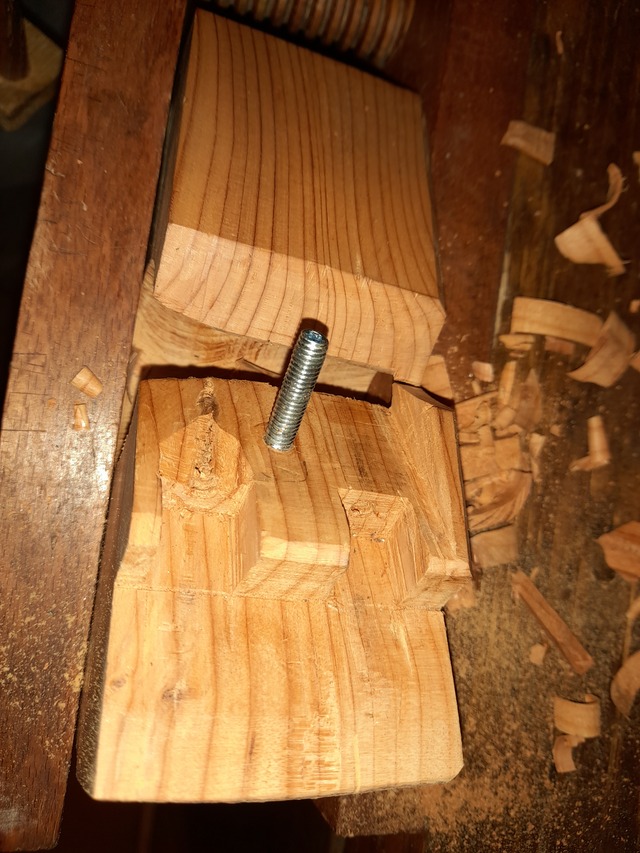
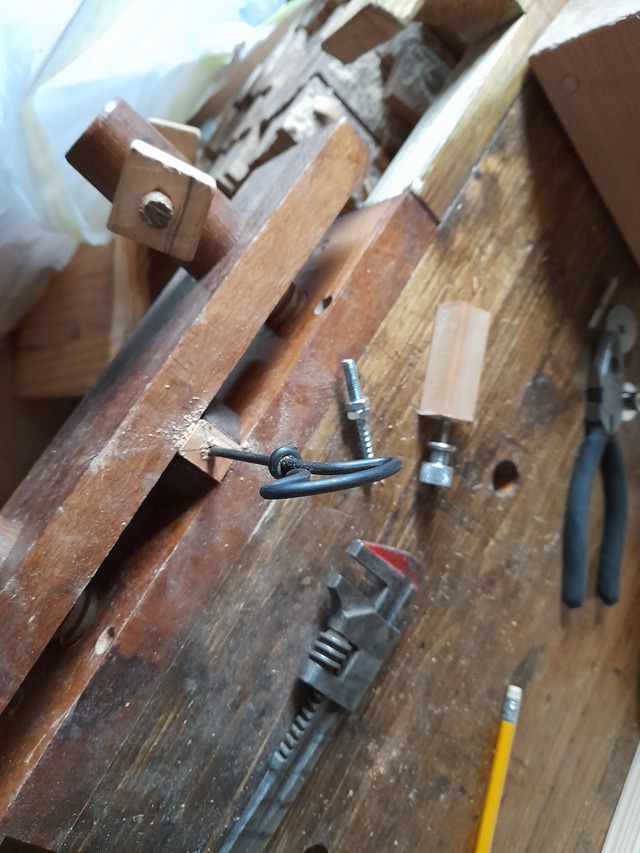
I was going to use an old SB3 iron, but it’s way too long, so I’m going with a spokeshave iron instead. Round of a lag bolt and cut a slot for a screw to make a cap screw
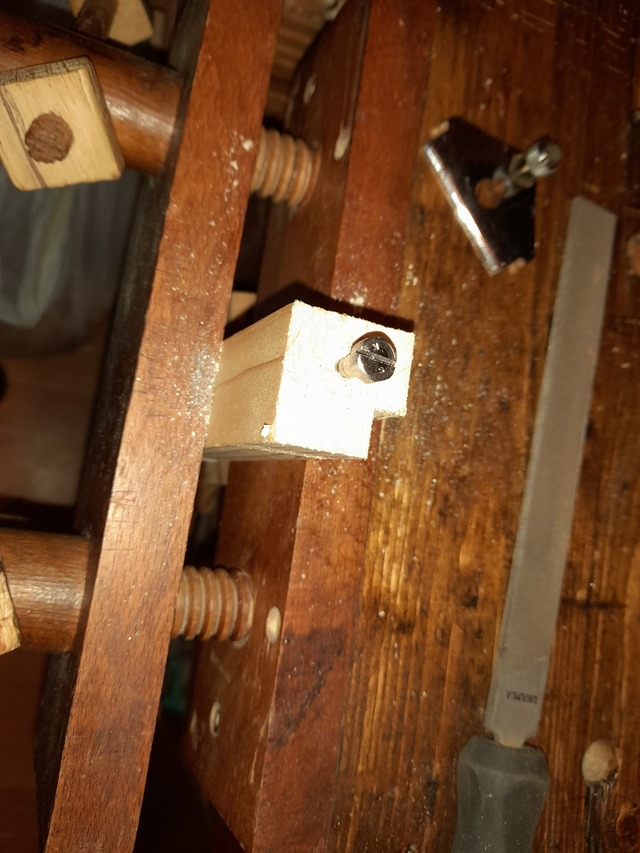
Drill the pilot hole for the cap screw.
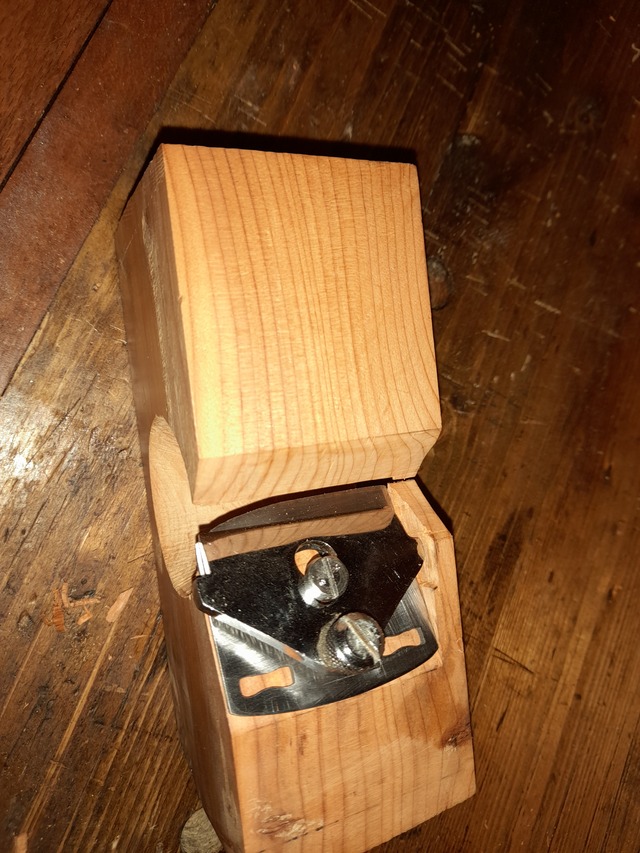
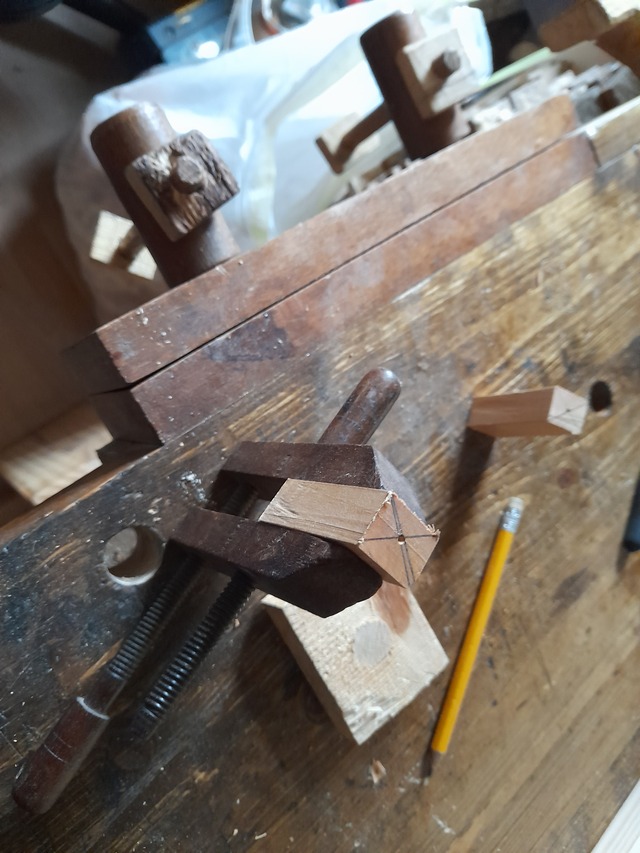
And that looks about right. I’ll need to shape the iron next, so mark up where it needs to be reshaped. It needs to follow the taper on the entrance hole and remove the corner on the exit.
And just file then sharpen it.
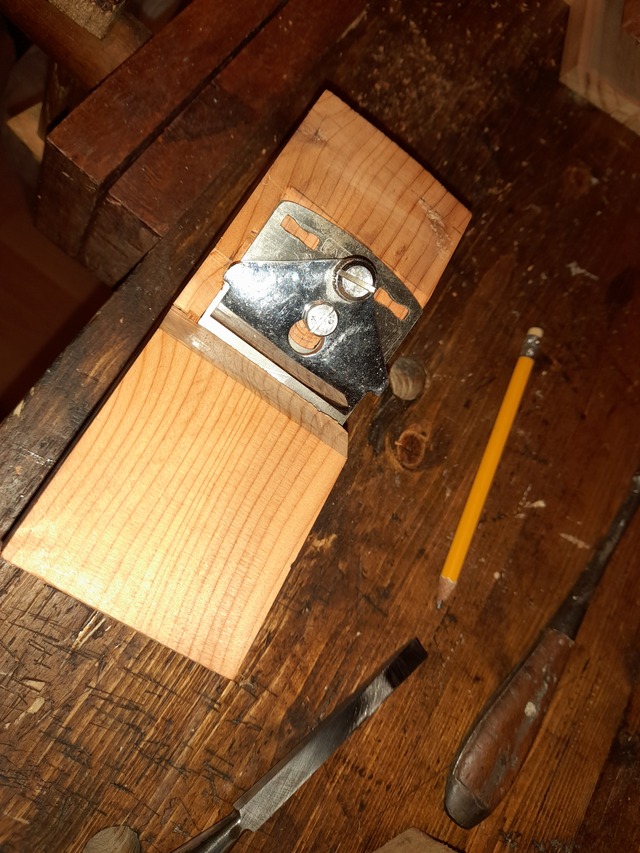
Test fit -and the cap iron is too long on the left, so I’ll have to cut some off.
Test if it cuts – it does but the iron keeps slipping, so back to the drawing board.
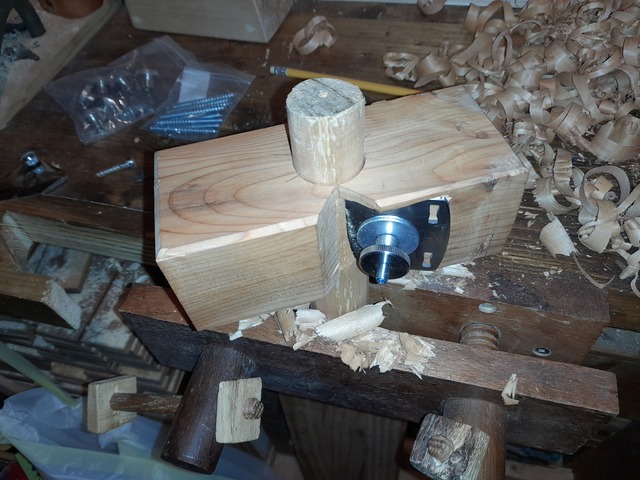
I’ll try a hangar bolt and knurled knob instead.
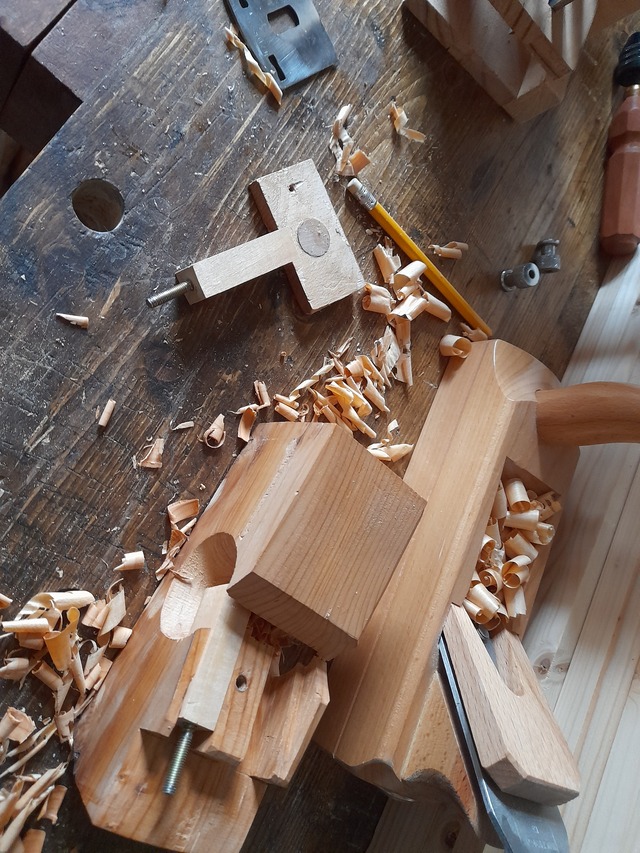
Better, but still slips a bit – I’ll add depth adjusters like a spokeshave uses to lock it in place.
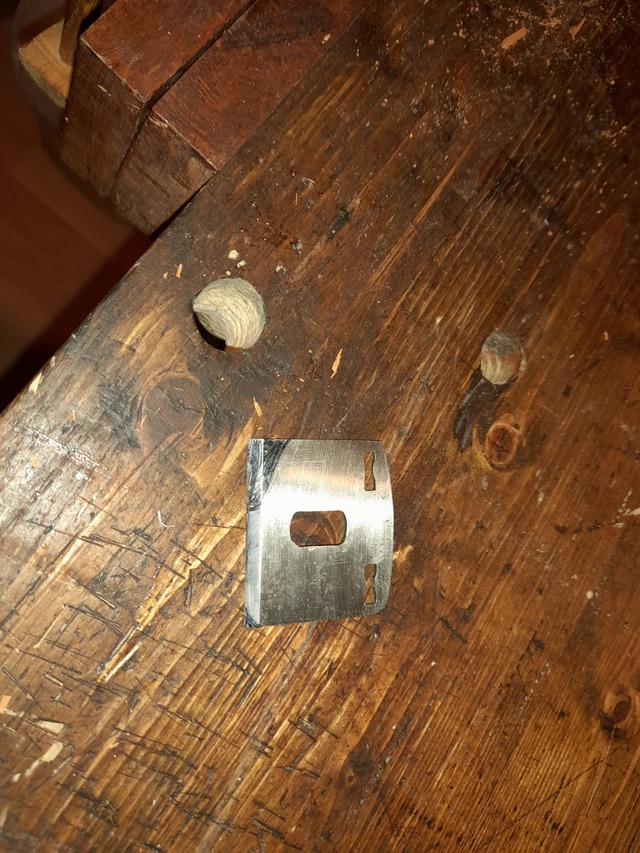
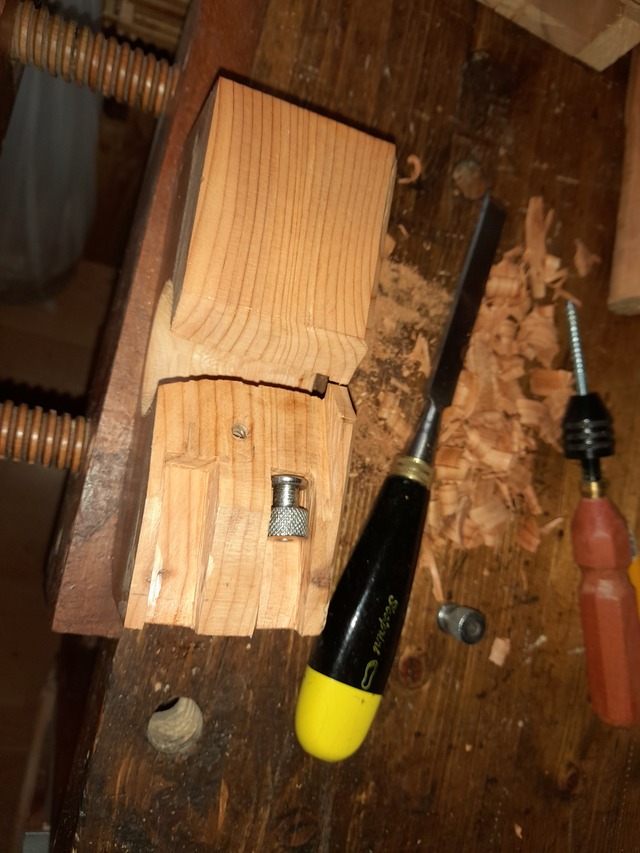
Chisel out some slots
And then remove the back so the adjusters can be tightened.
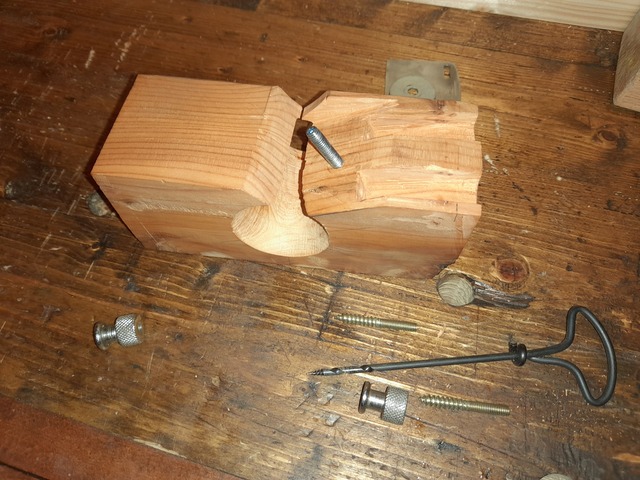
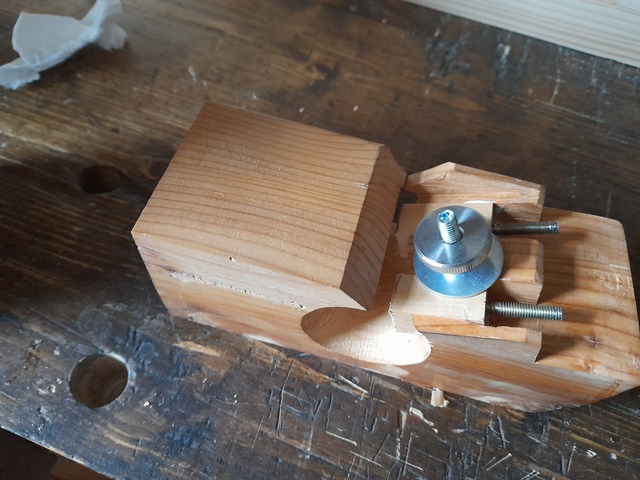
Drill the holes for the hanger bolts and dammit, snapped off a bit, although I did think I was too close the edge for that to work.
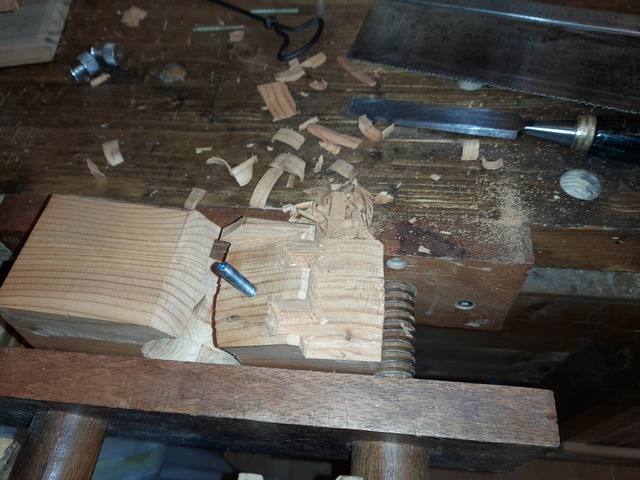
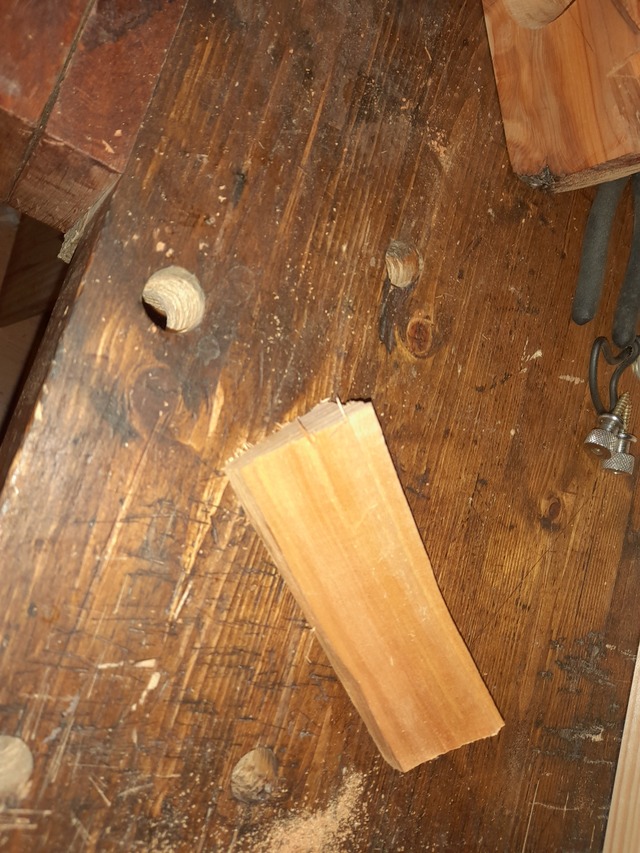
Plan C then, I’ll cut the slots out completely and patch with pre-drilled sections. Roughly shape a likely bit of wood (Willow this time as it threads really easily).
Chisel the slots.
And drill the holes, taking no change on it splitting this time.
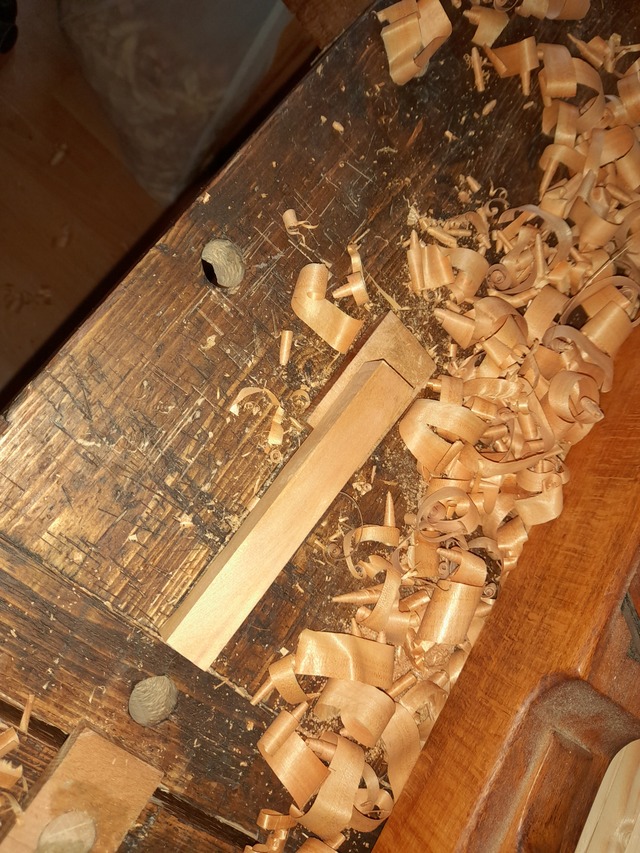
Then just plane to the right size to fit the slots.
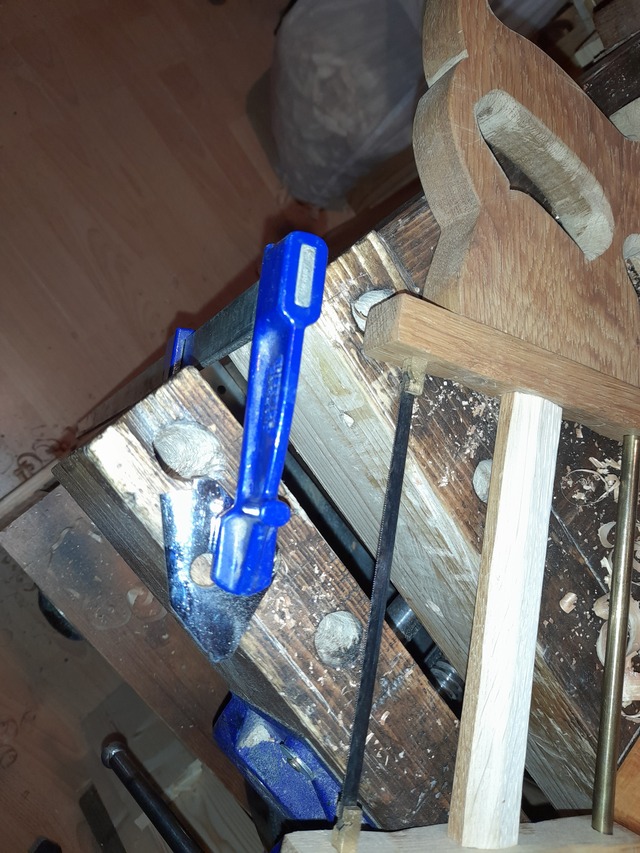
Glue them in, it now has a handy built in clamp to hold them in place while the glue dries.
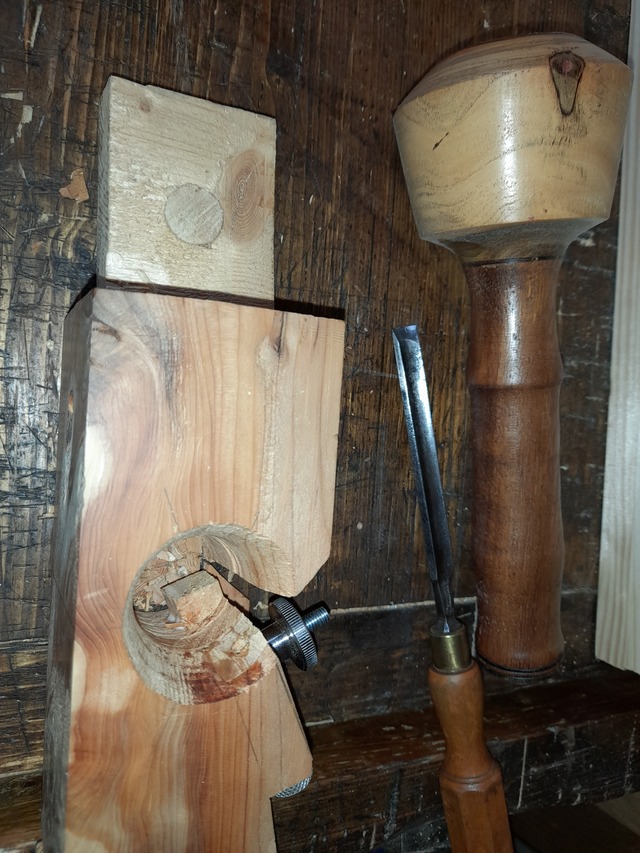
Use a gouge to remove the overhang from the inside.
And test again, that will do very nicely, the depth adjusters work really well to hold the iron in place and tweak the cut. Works a lot better that the original design, so turned out OK finally.
I’ll smooth of a couple of edges and add handle points tomorrow after the glue has cured fully, but it’s basically done and working.
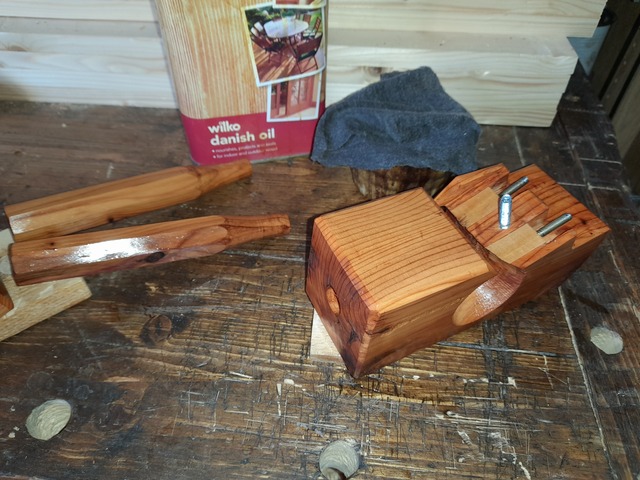
Add the holes for the handles, oil it up and call it done.