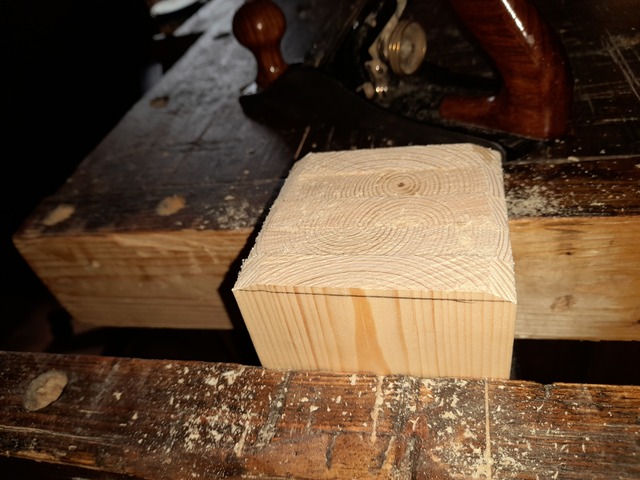
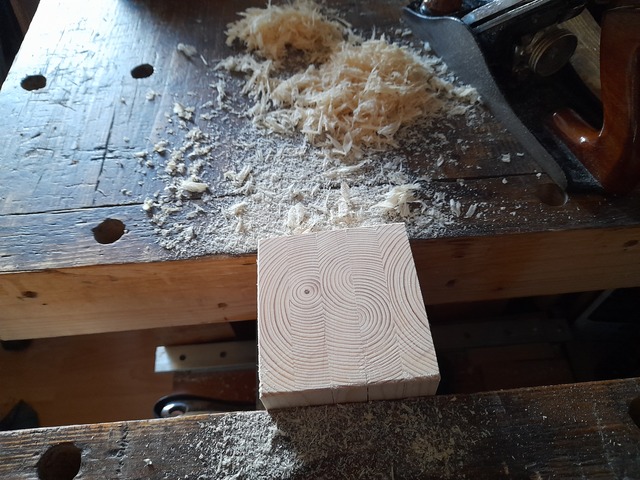
Square it up and leave it overnight in case it wants to warp at all.
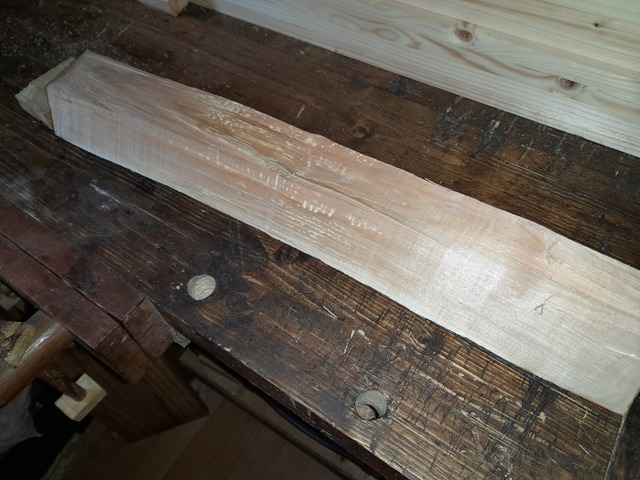
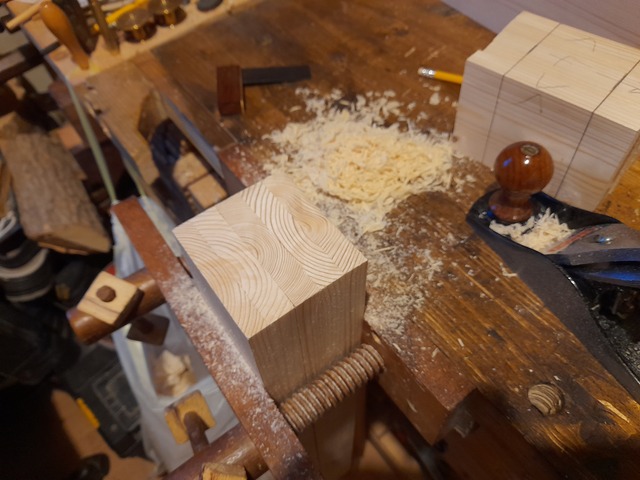
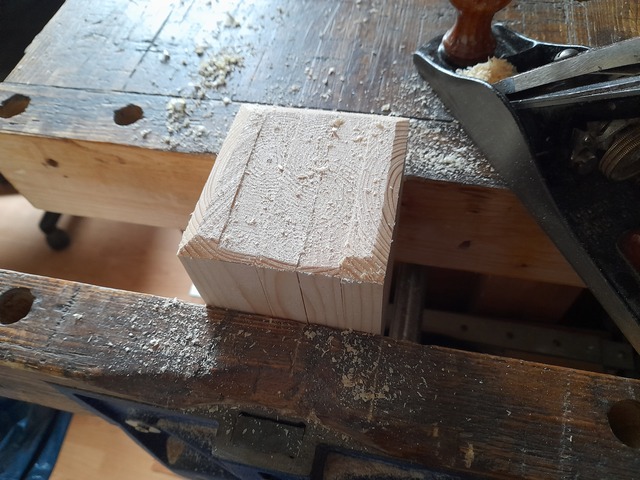
Plane to a rough hexagon.
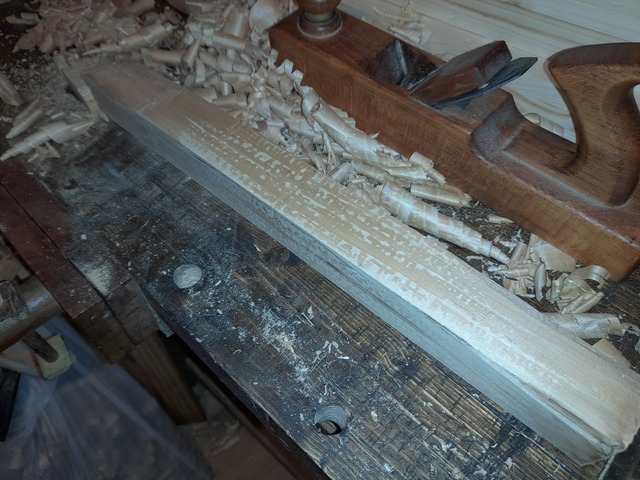
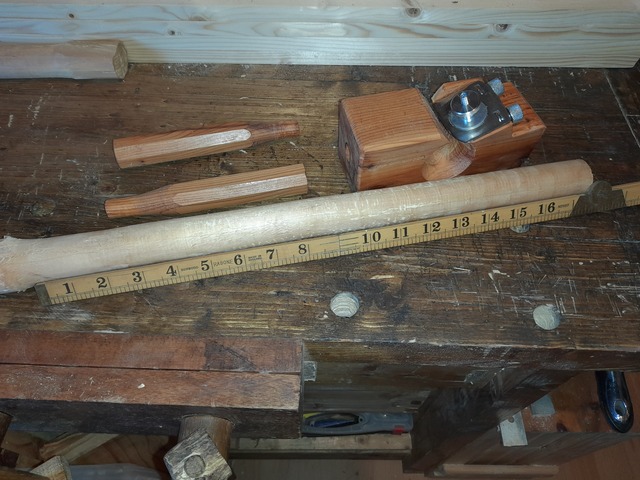
Round it off.
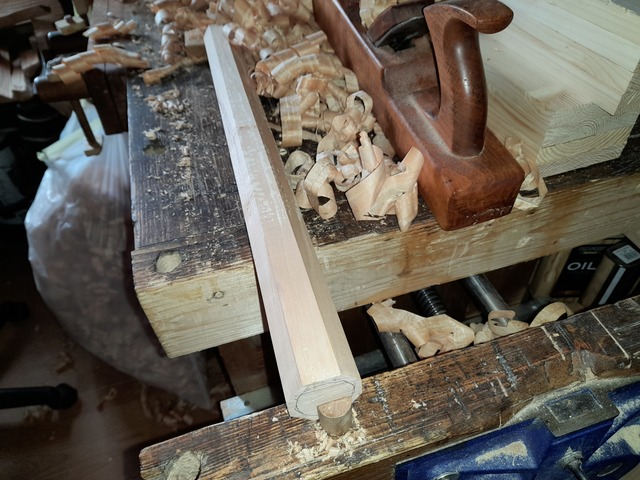
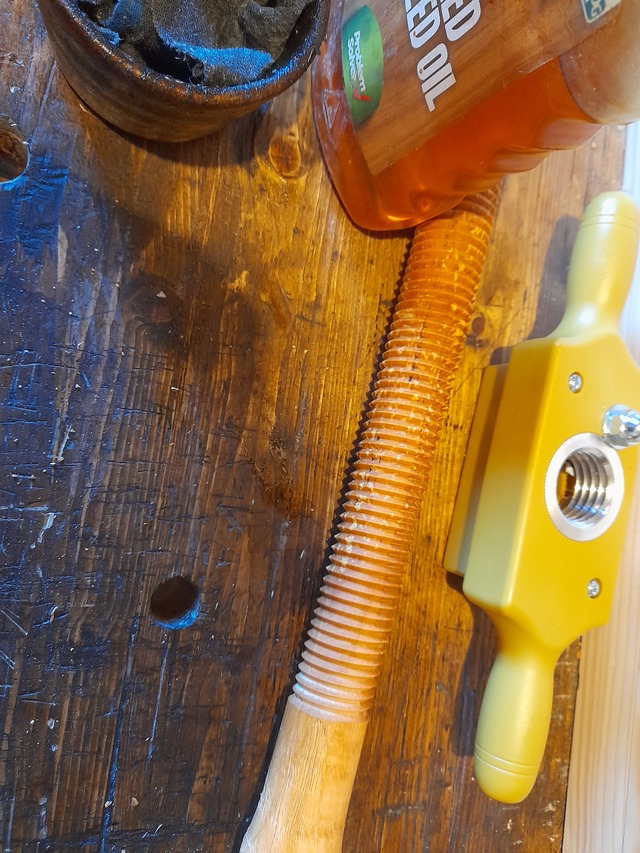
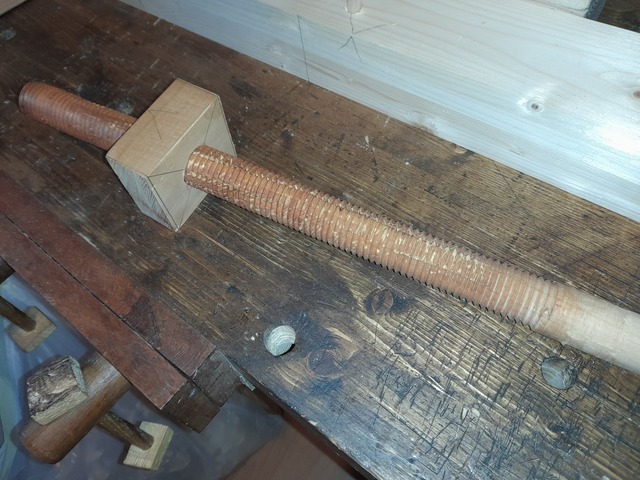
It’s a bit big to submerge in oil so I’ll just wipe it over and cut the threads.
OK, TBH I was going to use this as a test piece and make a new one, It had a lump of twisty grain that I thought would be a test for the rounding plane.
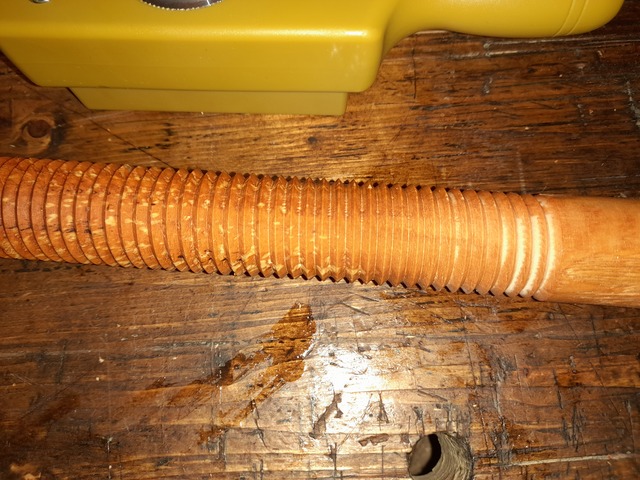
Turned out pretty good, if I’d have let the oil soak in it looks like it would have been pretty flawless the whole length, got a couple of bits of thread tear out, but nothing that will affect operation, so I think I’ll go with this one.
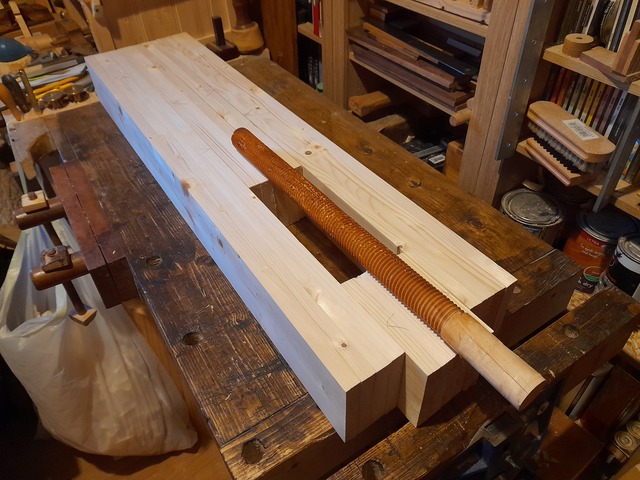
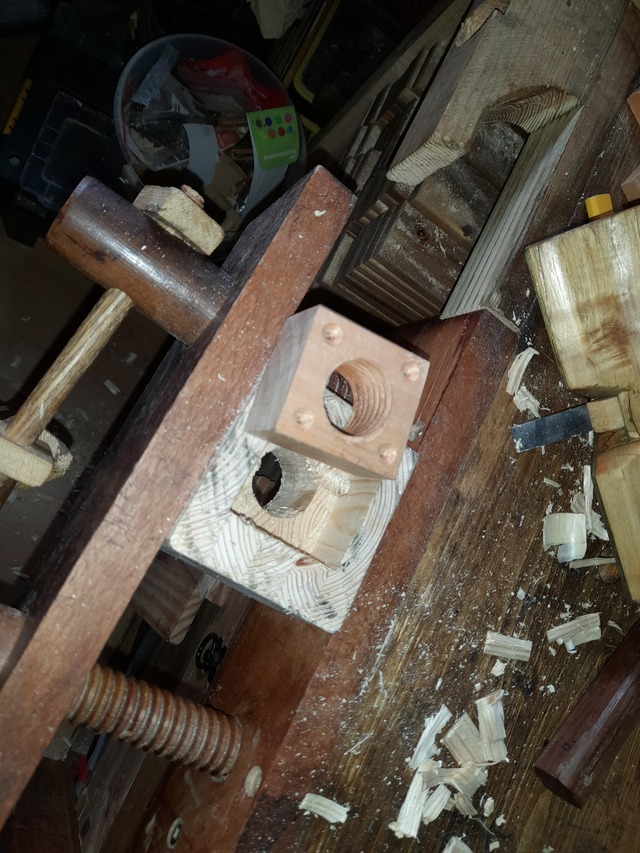
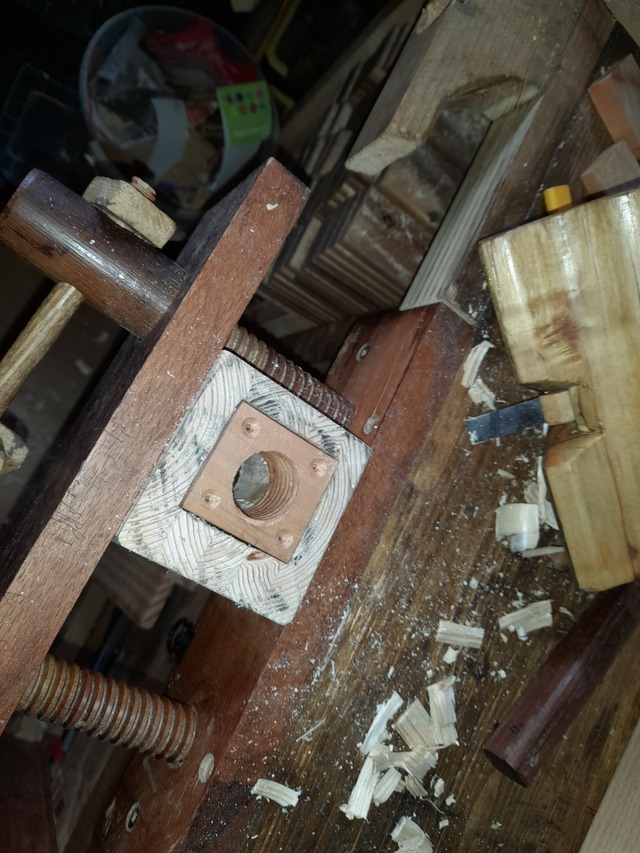
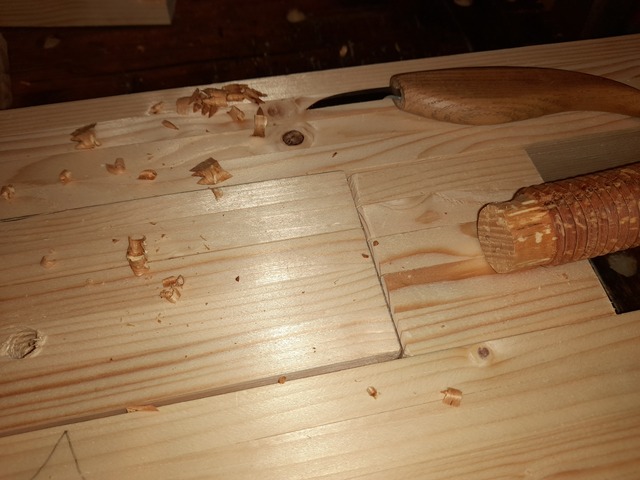
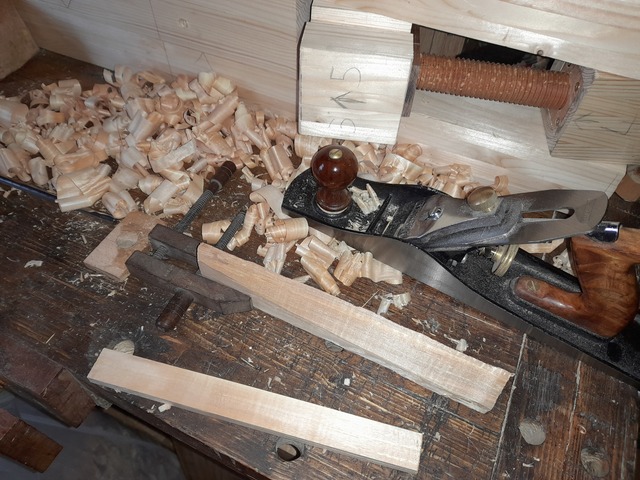
Flatten off the inside sections where the wagon vice is going.
I’m using dowels for alignment as I’ll probably have to take it apart a few times to get the vice guides in. The more observant of you may be wondering why there are dowel holes in the top of the centre section – It’s for the very simple reason that I don’t use dowels often and am an idiot. I’ll patch them later, or try and think of some way to make it look intentional.
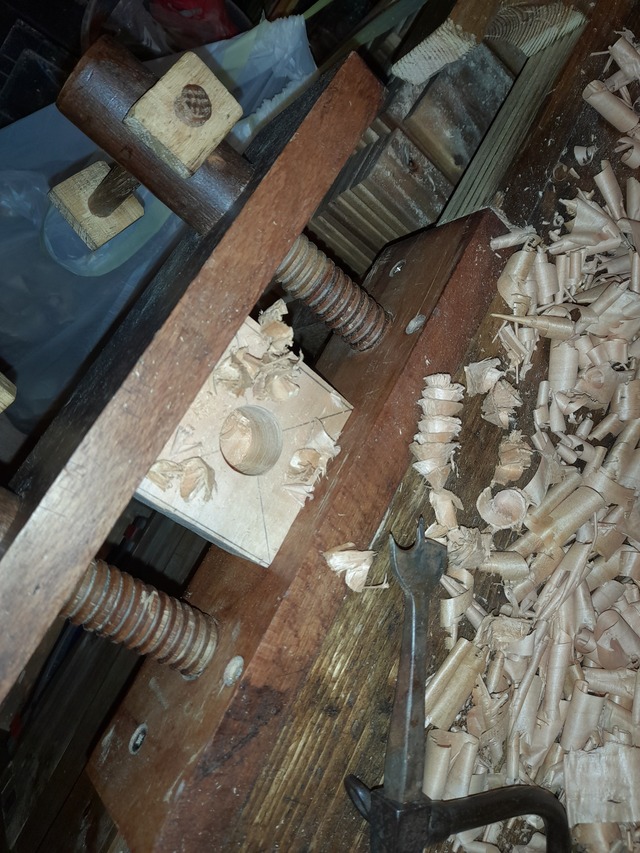
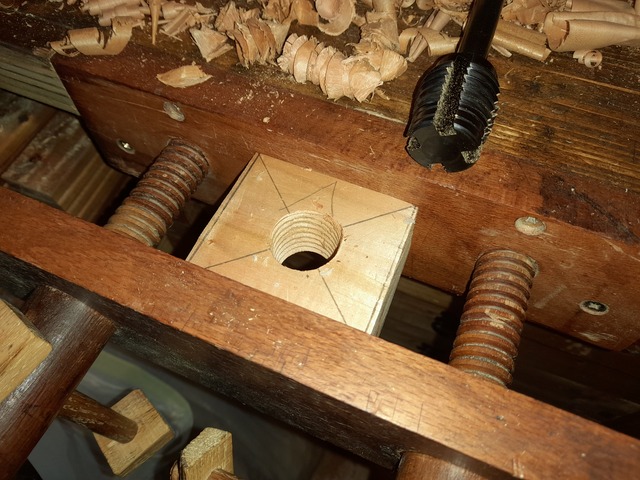
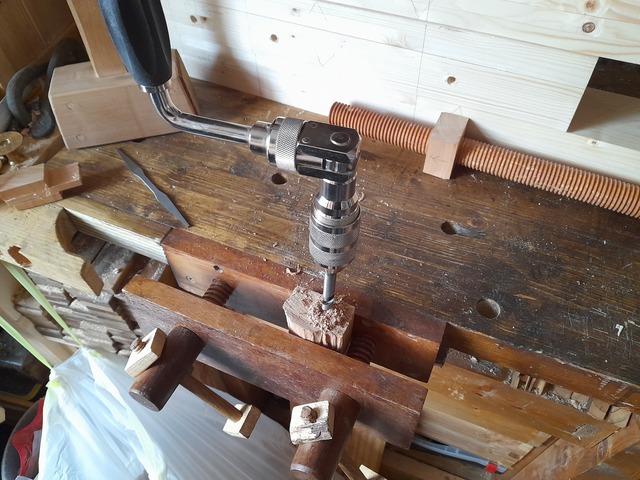
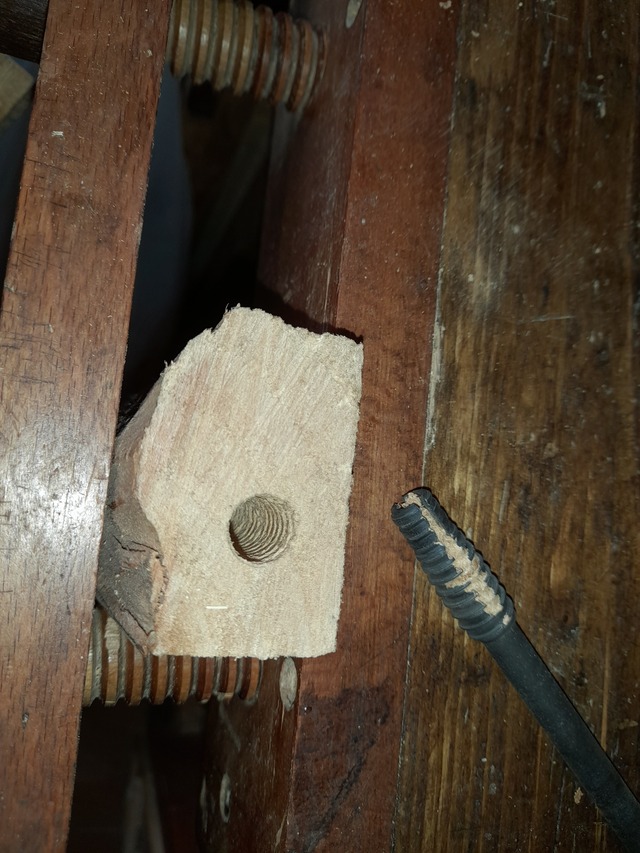
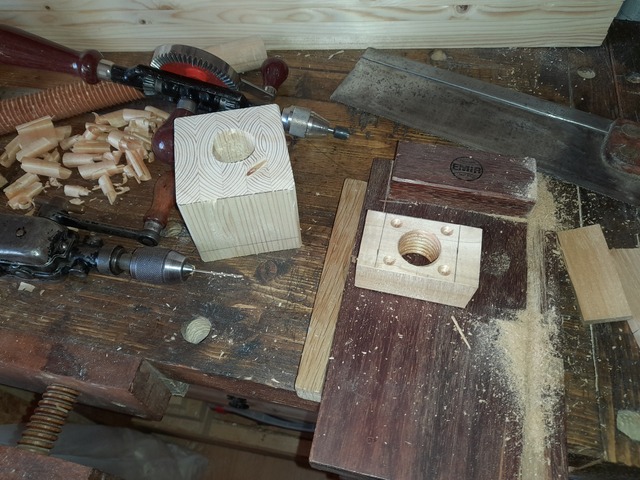
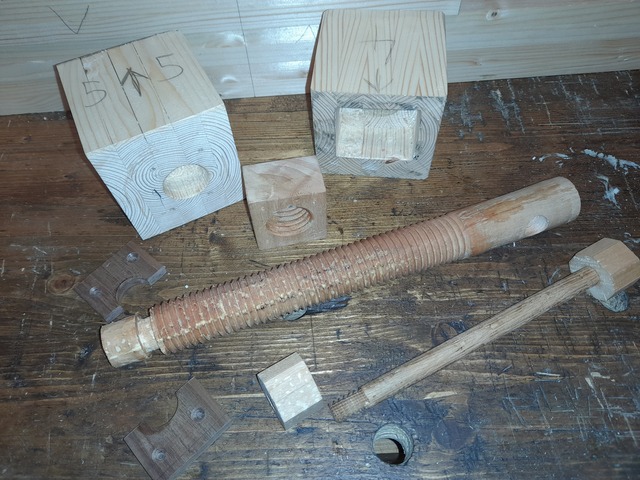
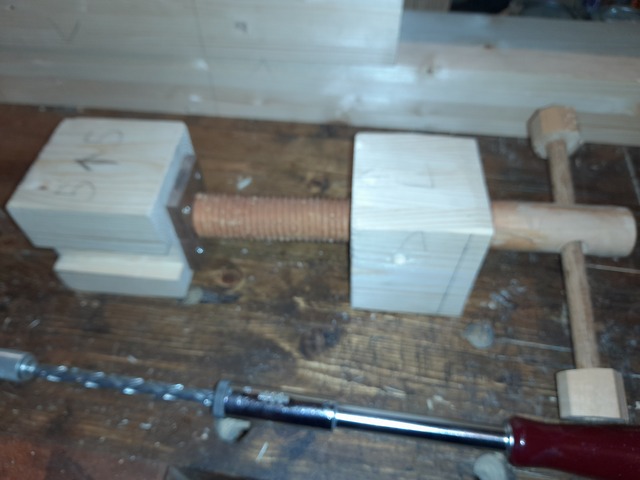
Roughly shape the nut. And bore out the hole with a 1 1/8 bit. Then tap it.
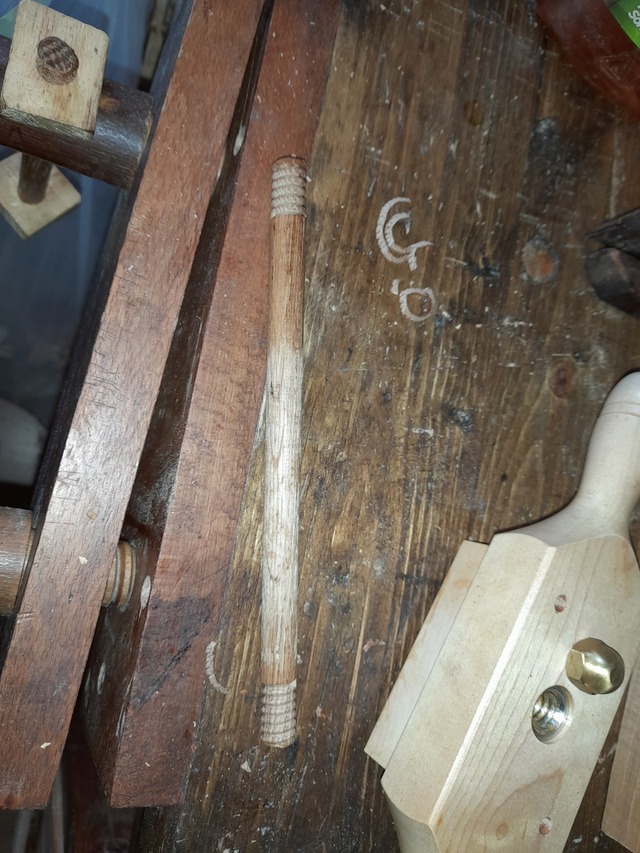
Clean up the faces with a plane to correct a slight angle and that looks like it will work well. Drill a hole for the handle, shaving from the centre point bit. 1/2 inch oak dowel for the handle, grab a chunk of willow for the end caps.
Soak and thread the ends
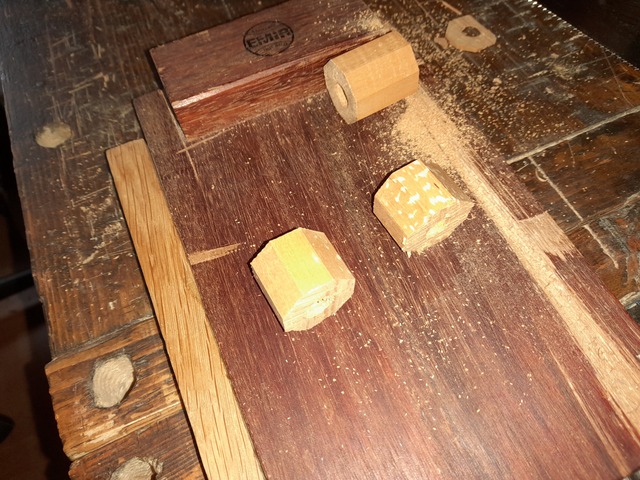
Drill and tap the end caps Then shape them - its easier doing it this way as I don't have to worry about the hole being at 90 degrees.
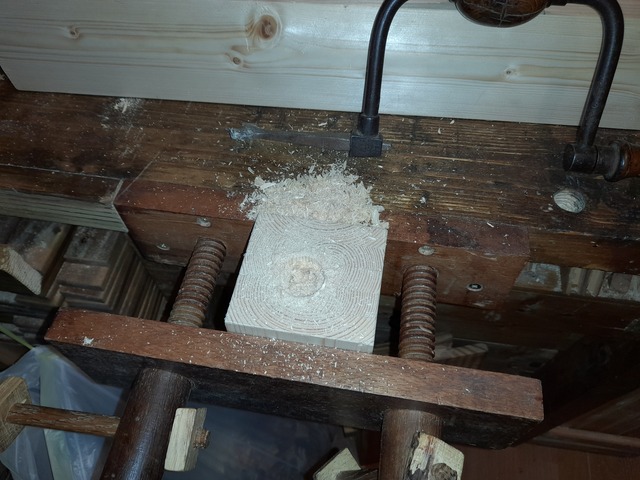
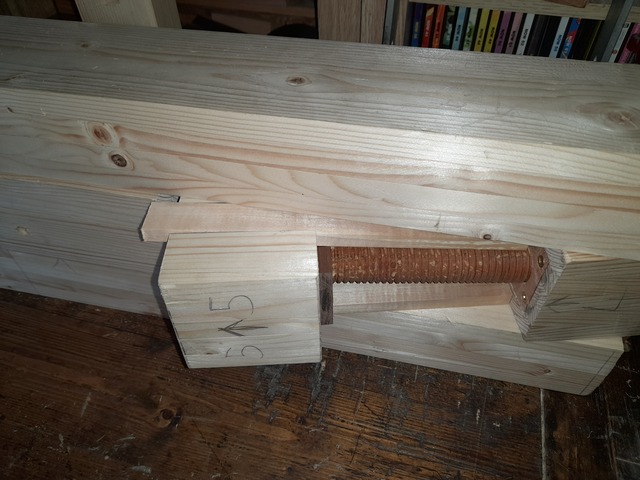
Drill a hole in the piece going in the end of the bench.
I was going to use a 1 1/2 inch bit to give me a bit of clearance, but it turns out I don’t have one, so I’ll go with the 1 1/4, If I’m off slightly I can always widen it a bit with a rasp, this hole doesn’t have to be precise, the nut will be the only thing in contact with the thread.
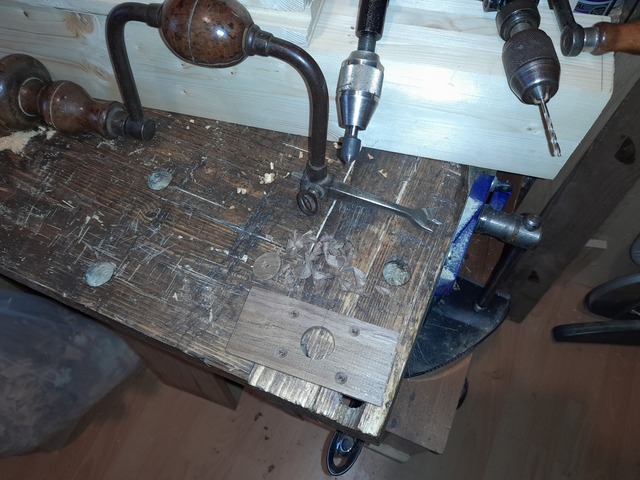
Chisel out a slot for the nut.
And, that was a lot of effort for not much gain – I’ll just do the next one so I can screw it straight to the front instead of insetting it.
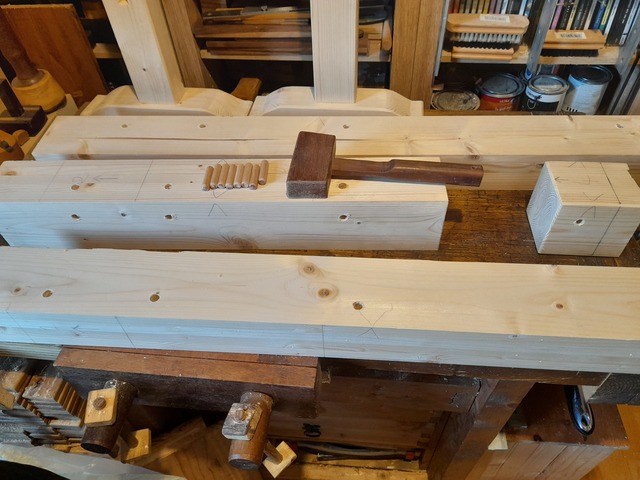
Onto the wagon.
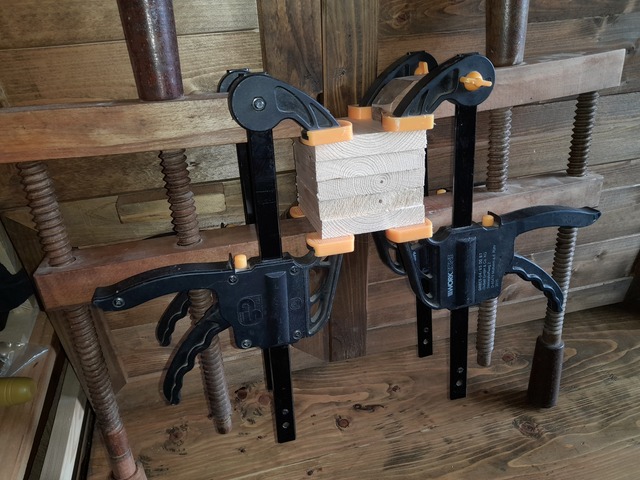
Laminate up some more pine.
Square it up, bevel the ends so I don’t get any chipping.
Then the sides to make it easy to tell when I’ve hit the line.
Then just flatten the rest.
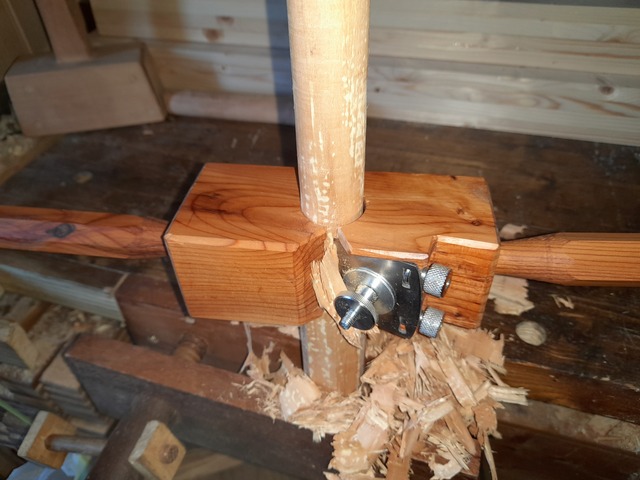
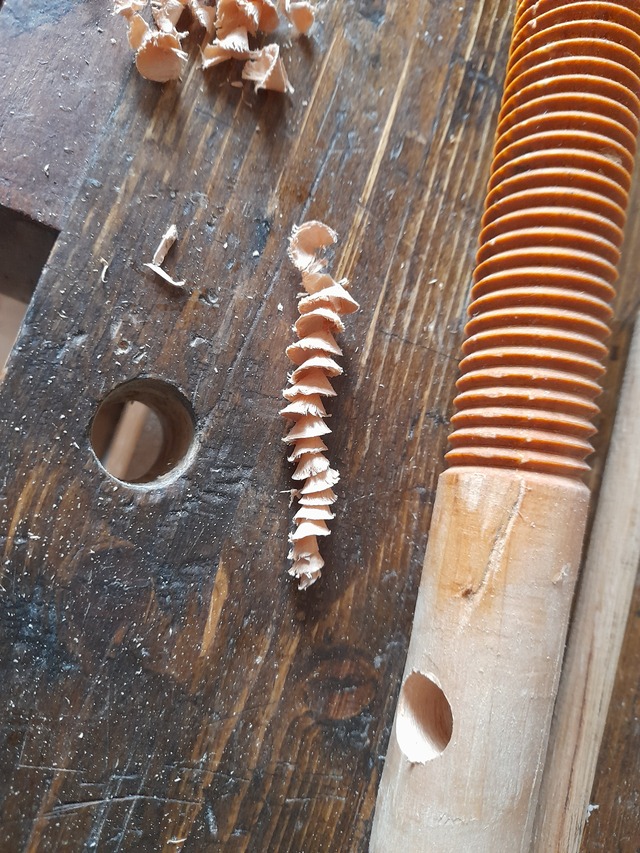
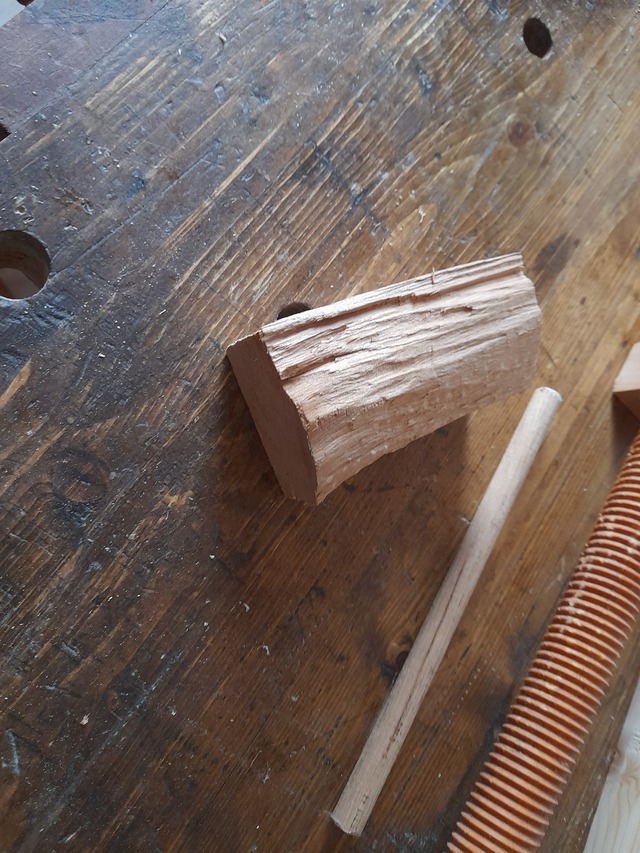
Take the thread off the end bit of the screw.
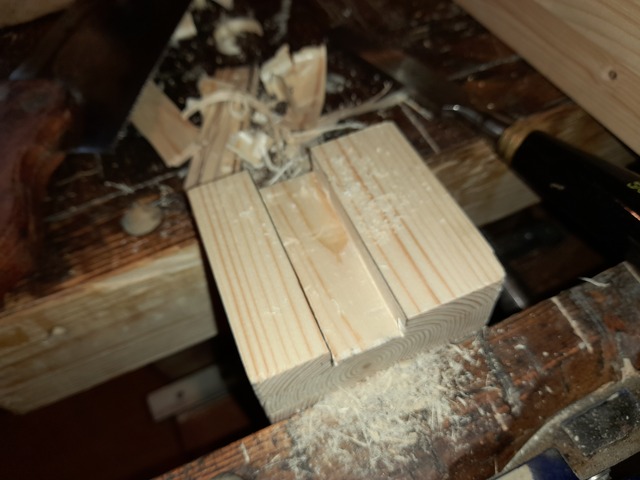
Mark up and cut a hole for the garter to cover.
Make the garter
And I couldn’t think of a good way to do this without a lathe, so I ended up just filing the grove.
Cut some grooves for the guide rails and that’s about it for the vice, just need to put it together and fit it.
Cheers - I think the important bit of info I missed out is Use a drill press/guide, my holes weren't perpendicular enough and I ended up reshaping the blocks to match the holes, would have been a lot simpler if they'd been at 90 to start with.
I'd have been alright with an auger bit I think (Didn't have one big enough), but I'm not quite accurate enough to freehand a 4" hole with those centre bits.