It's been ages since I got a chance to add to this blog, I've been doing bits and bobs to the windows at every opportunity, the most difficult parts are done, but there has been a lot of finicky little things to do.
The sashes are made, sanded and have had two coats of wood preserver applied. I need to leave them 72 hours before the next stage of the finishing process, which gives me the opportunity to get back on to the frames.
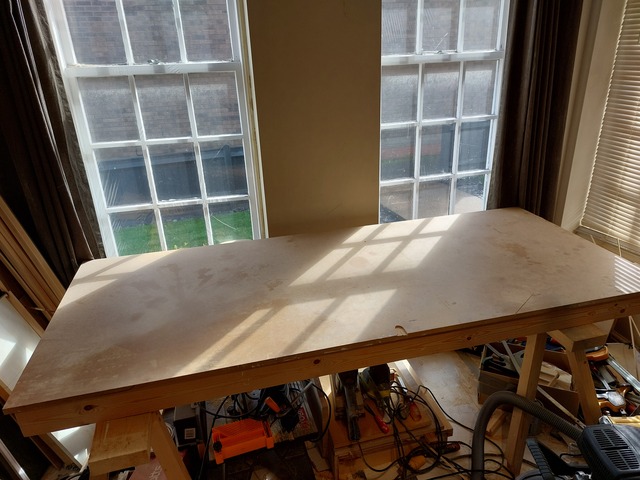
These were half assembled in June and put to one side, I started off by completely emptying the bench and giving the sacrificial mdf top a sand to get rid of any lumps of glue.
Nice to start the day with a clear bench.
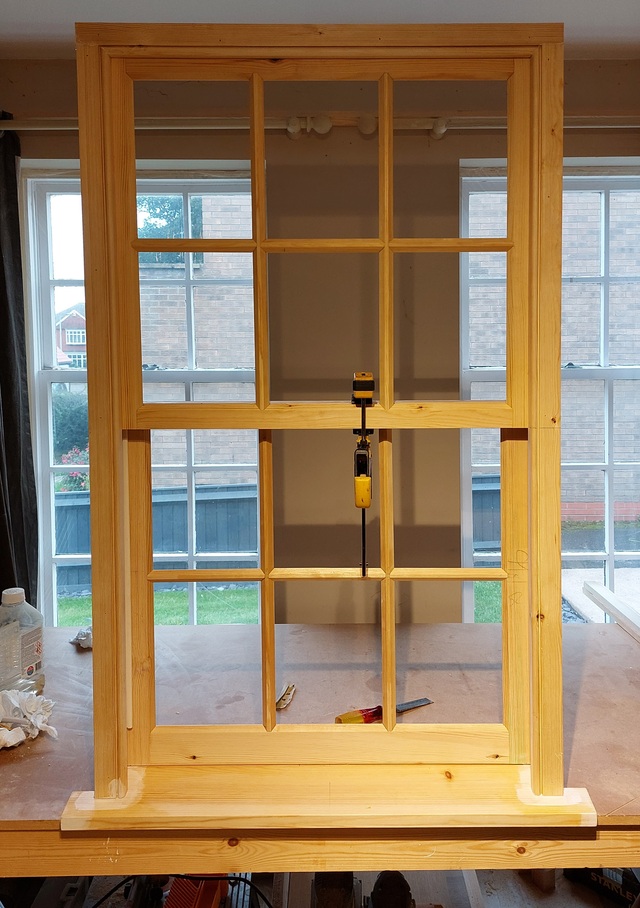
The frames are simply constructed, after everything was cut to size and grooved for the parting bead, the ends were all given a soaking in wood preserver and allowed to dry before being glued and screwed together. Coming in at 4 ½ inches wide, I chose Titebond PU adhesive for the frames as this apparently is highly flexible as well as being waterproof. I do not want a brittle glue for this application in case the glueline breaks when the wood expands and contracts with changes in humidity. That could lead to the paint cracking and water ingress.
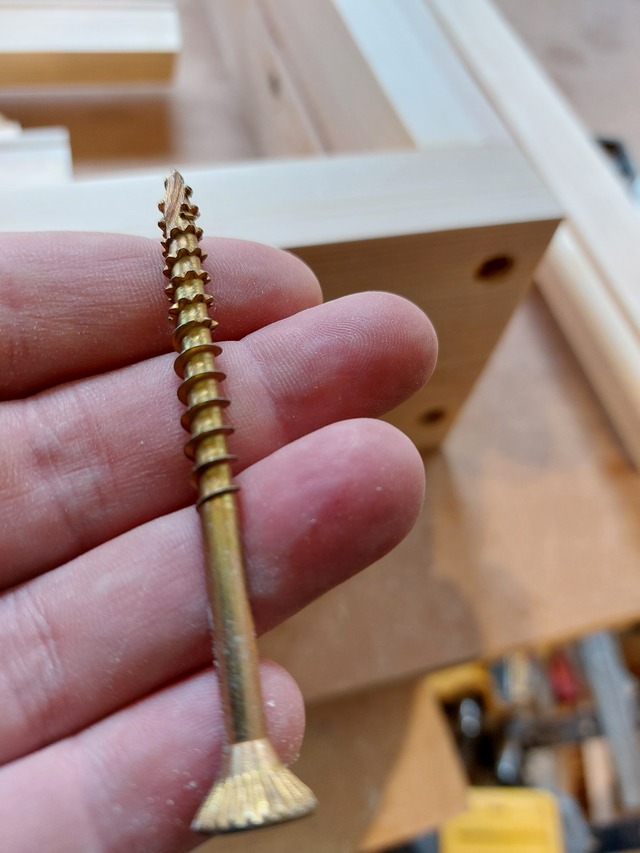
The screws are part threaded 6 x 80mm beasts. I first drilled a full length 5mm pilot hole with a long series drill bit. The screws have good holding power, not one of them stripped out the end grain they were impact driven into, the heads being pulled below the surface.
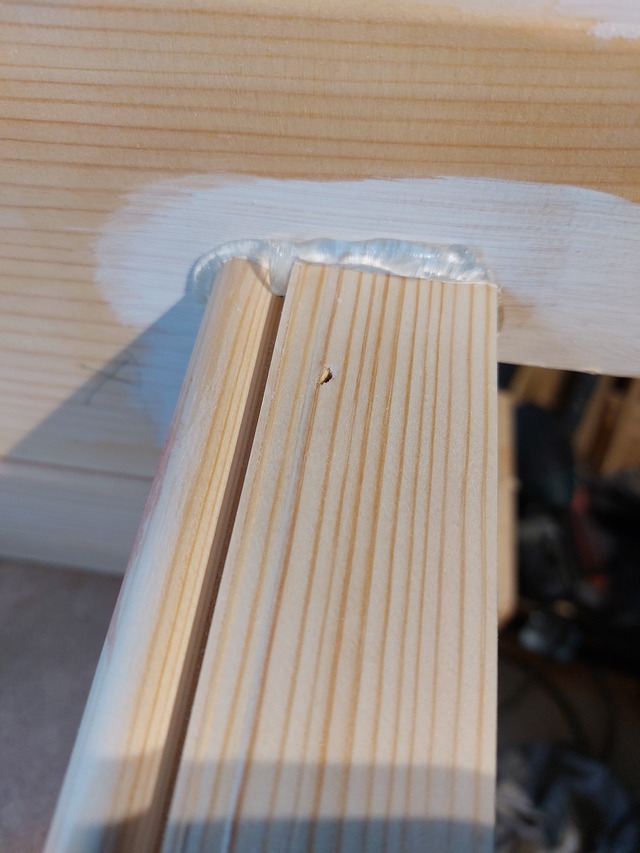
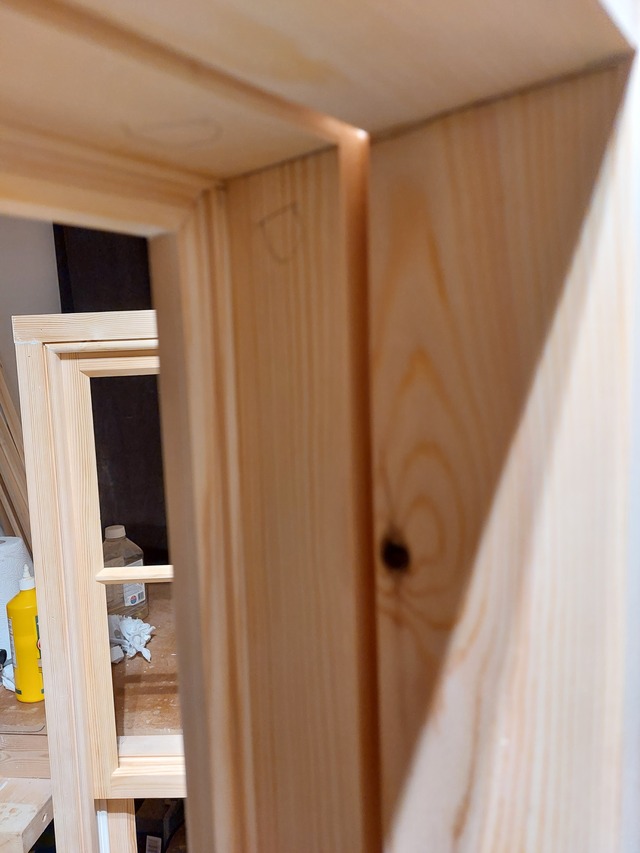
I'm putting the facings on the frames. I added a little bead to these as an embellishment and also to add my own stamp to the windows.
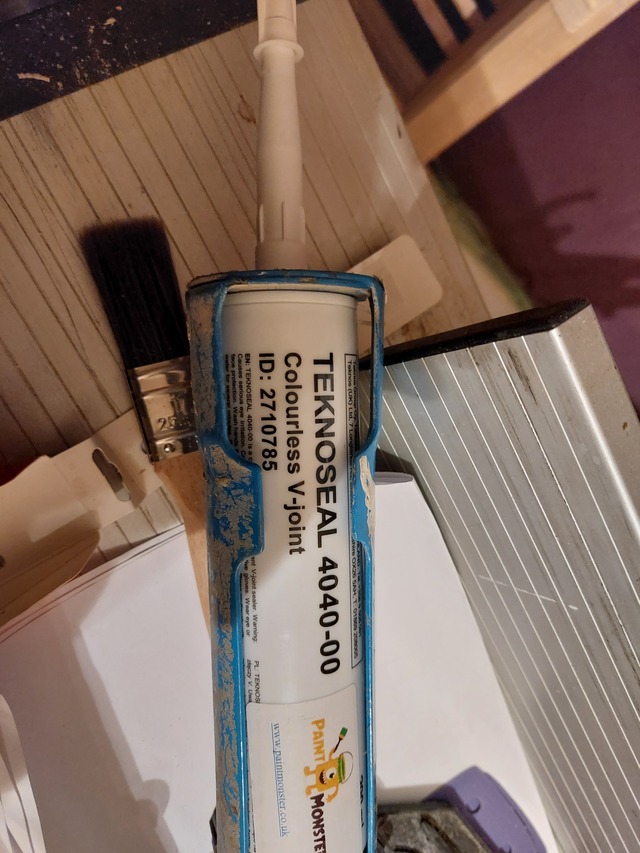
I won't lie, I was excited to give the compressor I bought in June it’s maiden outing, I dug out my Hitachi brad nailer too, it really sped things up. I first applied waterproof PVA adhesive with a foam roller along the front edge of the frame. To prevent water ingress into the endgrain of the facings, these were first dipped in preservative and painted with an acrylic end grain sealer, then a product called TeknoSeal by Teknos added to the ends of the facings before using the nailer to fix them in position. This is by far the most expensive sealant I have ever had in my caulking gun, but it will be money well spent if it keeps the water out and prevents the windows from rotting.
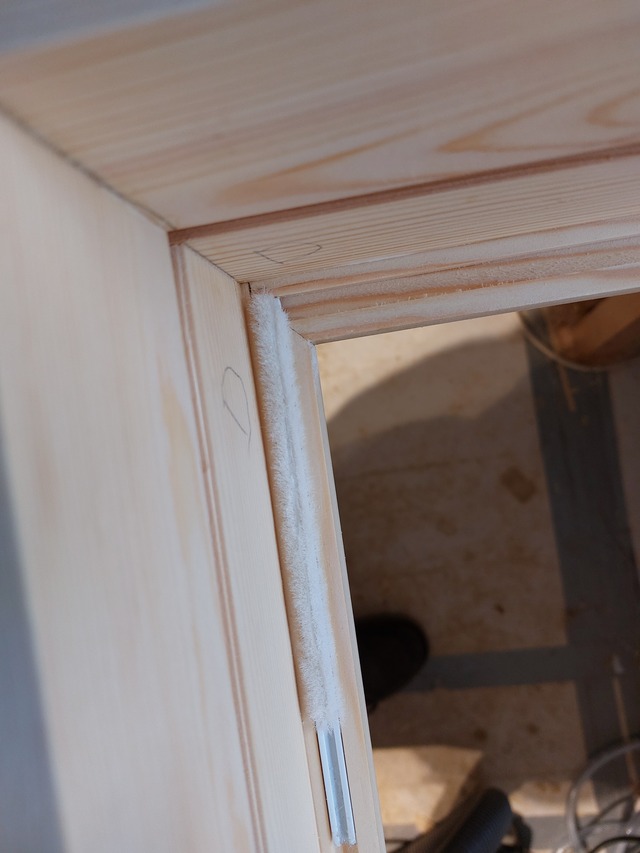
The excess was removed with a scraper and an old toothbrush. This product is fully paintable and permanently elastic. The facings are routed on the back to take a draught excluder. More about keeping the draughts out in the next part, I have my work cut out now in painting these.
Make me think how far the engineering put into windows has come. I remember reading about using cooking fat soaked paper for early cabin windows. Imagine the bugs and bears were as much a problem as water and air leakage.
Hi Dutchy, screws attracting water wasn't really a consideration tbh because my intention has always been to apply a finish to the outside of the frame. This will consist of Wood Preserver (2 coats) Preservative Primer (2 coats) Biocidal wood hardener (promotes filler and finish adhesion) (1 coat) Fill screwholes End grain sealer on all end grain Flexible undercoat (1 coat) Zinsser All Coat Gloss (2 coats) Plus when these are installed they will go in with some exact fill expanding foam, which should waterproof everything. I may have made them differently if I had room and a proper workshop, but in my little living room workshop, screws provided a good solution to the problem of how to assemble the frames. There is no hint of any movement in any of them. I was toying with adding some splines but I really don't think it's necessary.