Back onto the windows at last, got nothing done in December, I am now looking at Easter as a deadline to have them ready to be fitted. From the outset it was my intention to glaze the windows using glazing tape and then cap over with a modified polymer sealant, however, I have been dissuaded from going this route by a reliable source who warned that taped glazing is more likely to fail than bedding in glazing silicone. I have already bought the glazing tapes - they are not going to be a total loss though, as I can use them for the inside beads and glazing bars.
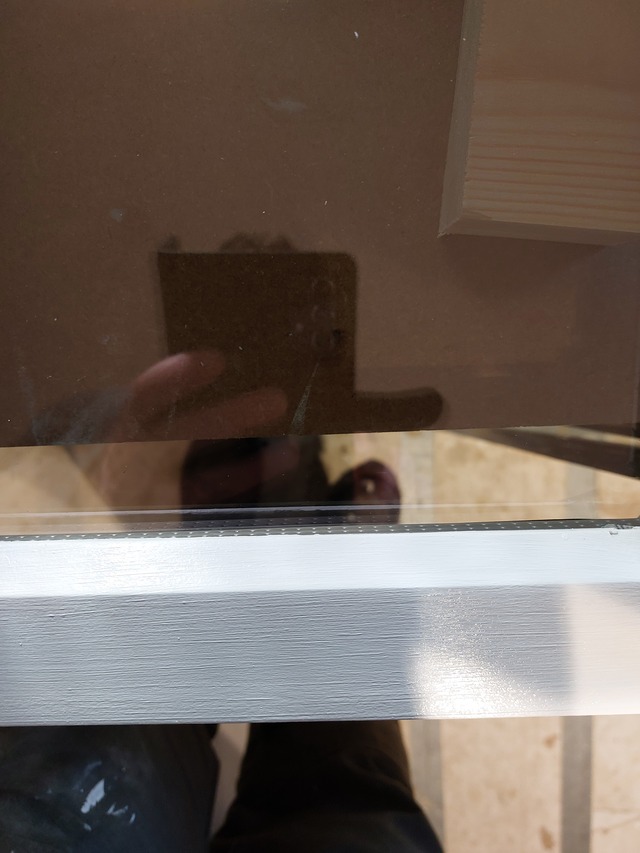
The double glazed units have an energy saving coated glass on the inside. I was 90% sure that they said the label goes on the outside but I wanted to be sure. I found a video on YouTube where basically if you hold a lighter next to to the glass, the reflection of the flame on the coated side is much more red in colour. I tried it and it worked and it confirmed that the sticker is indeed on the outside.
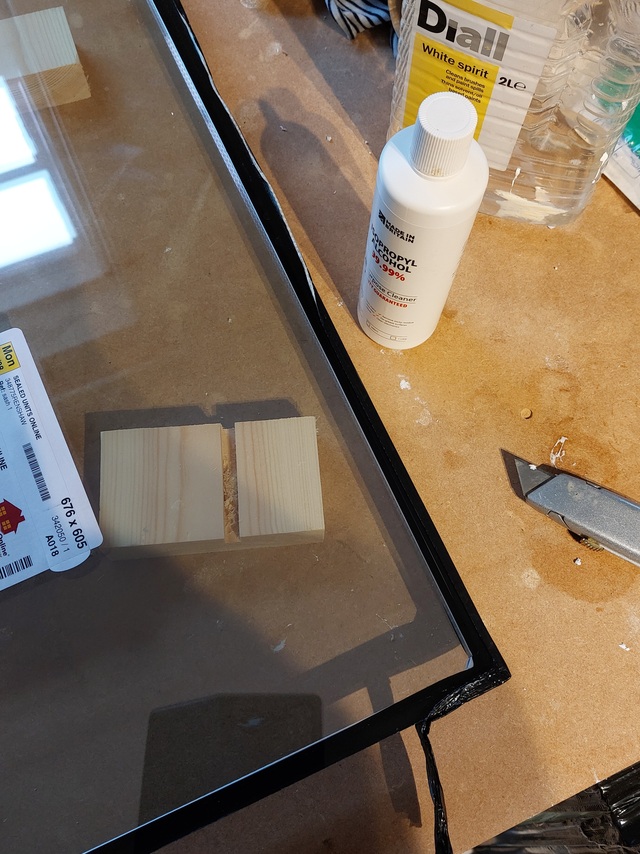
I asked for the units to be taped around the outside for ease of handling, but this has to come off before glazing. This didn't take too long using a stanley knife, the glass got a good clean with IPA.
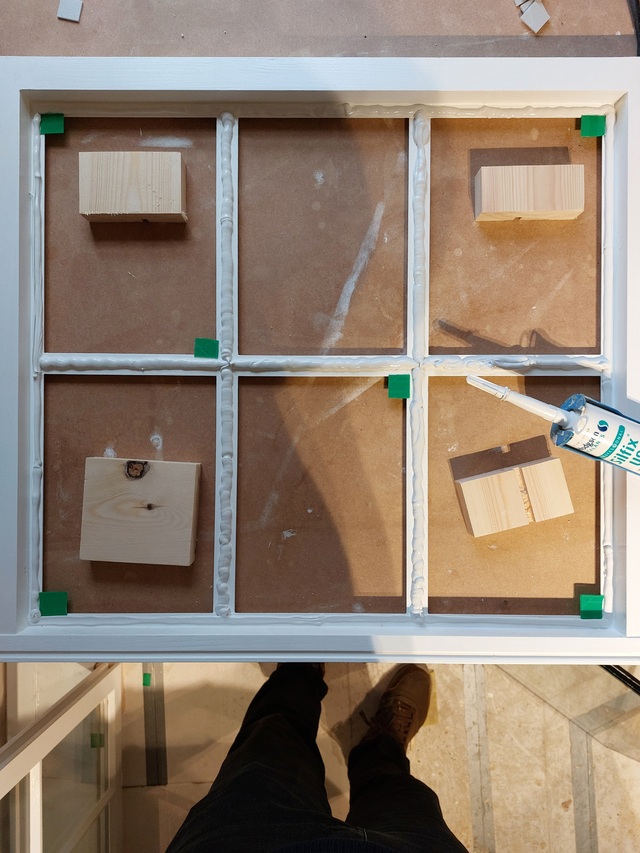
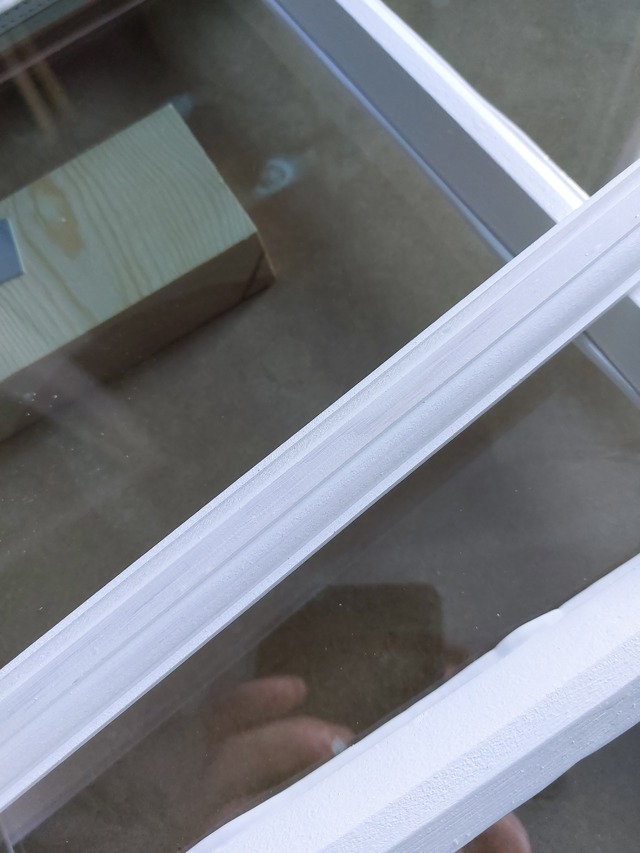
A generous bead of sealant is applied to all surfaces in contact with the glass....
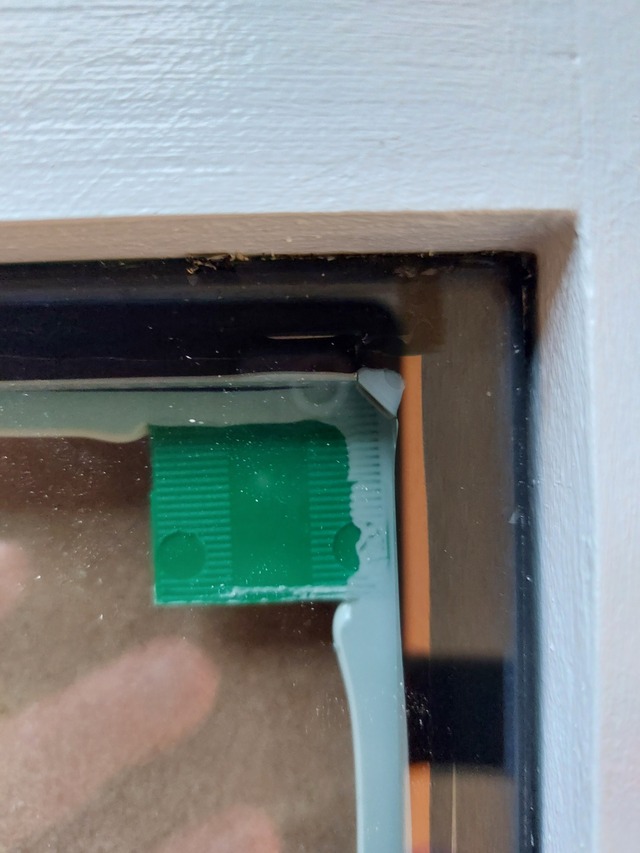
Some 1mm spacers are then added at equal points, the glass dropped in and pressed down until contact is made with the spacer
Spacers are then removed after the silicone starts to firm a little. Whilst not fully cured I ran a safety razor blade through the silicone at the edges.
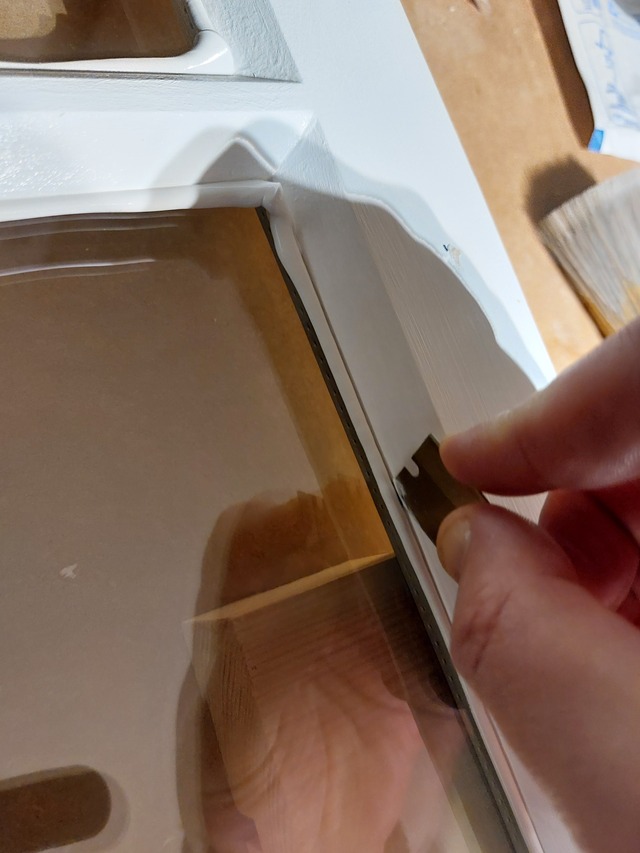
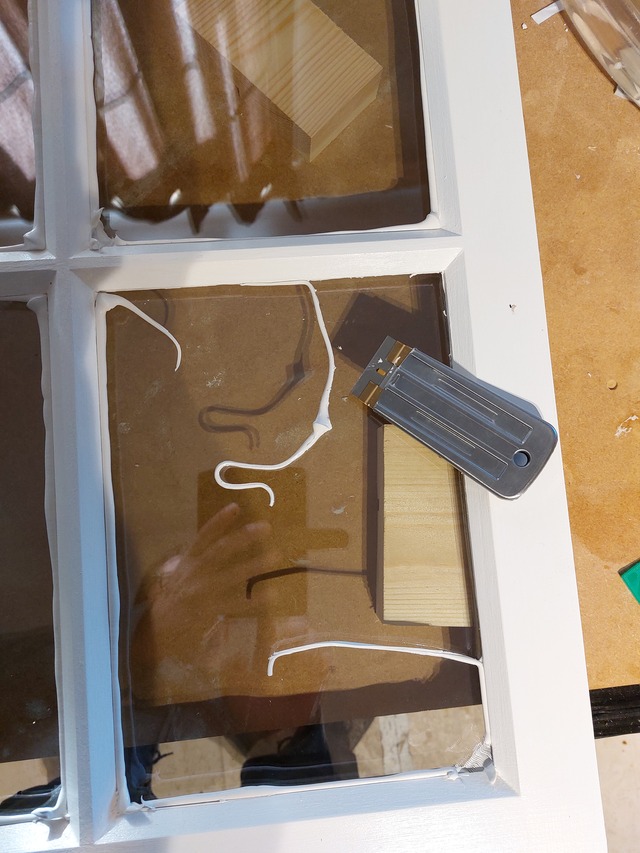
When it has cured it is then a case of peeling back the excess with a blade/scraper
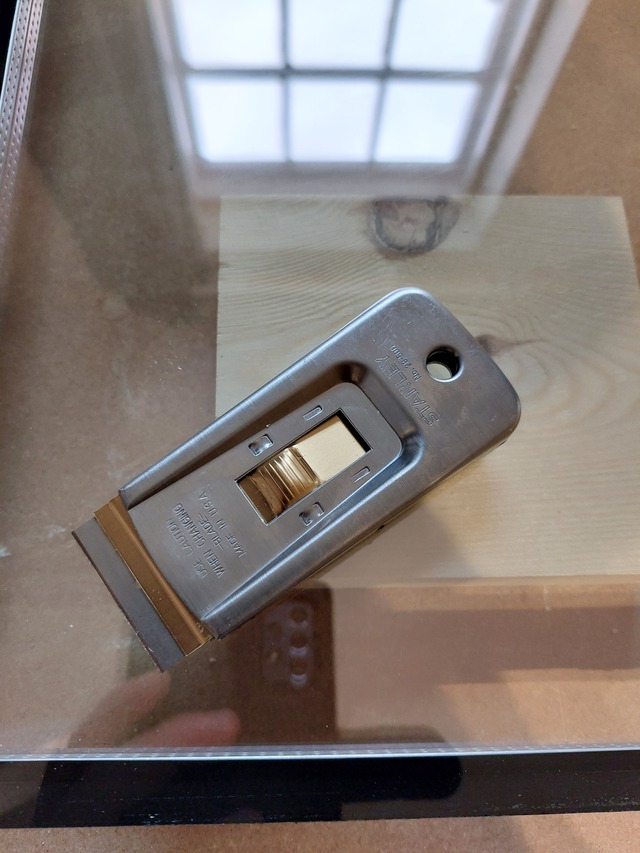
The Stanley glass scraper was one of the best buys I've made for this project
I want to get the glass in all the sashes before doing Glazing Part 2 - which will be the internal glazing beads and bars. The reason being I may have to make the beads/bars a slightly different thickness to get them exactly right, so I'd rather measure for each sash once the glass is in place. I bought a post and stile bit set from Amana to do this, seems OK so far
Great comment on the glazing! It's the one thing that needs to be 100% for a long lifespan without leaks and fogging between the panes.
I was gifted a ton of art glass (for museum artwork) and it also has specific "directionality". The guy showed me how you hold it up to florescent lights in the shop to tell which side is "out". There also i small printing along the edges to specify the same and which side to run the glass cutter along. Had one piece that I forgot to check and the cutter just made a mess trying to scratch through the side with all the coatings so I'm convinced that in this case, reading instructions has a benefit. 🙄
Thanks for the comments guys, yes it's been an interesting project and I can tell you now I will be disappointed if there's any glass rattle when they're done 😀 I'm hoping the double glazing will eliminate the sound of bell ringing practice on a Thursday too.
This is a very interesting project. It's not something I would have considered doing. It looks like you will have a very solid result. Thank you for showing the process!