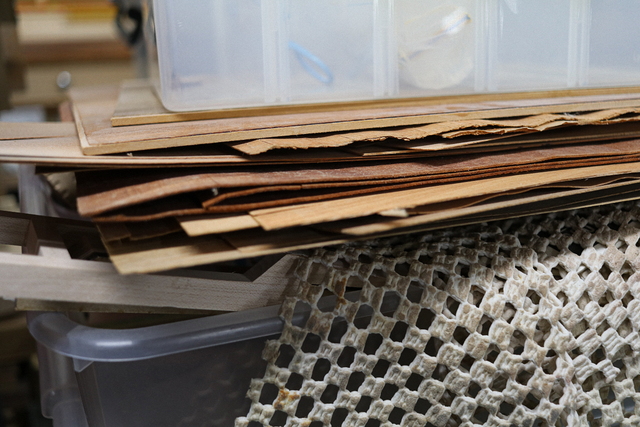
For this project, I chose some walnut and Burmese teak. The teak has some great chatoyance, a big color shift as you view it from different angles.
My choices are from the VeneerSupplies "mystery" boxes that often are on sale or have discounted/free shipping. At the time of this writing, they have free shipping of 100+ sq. ft. at $99. You can see a list of what species will be included and what might be included. Always fun trying to guess exactly what each wood really is.
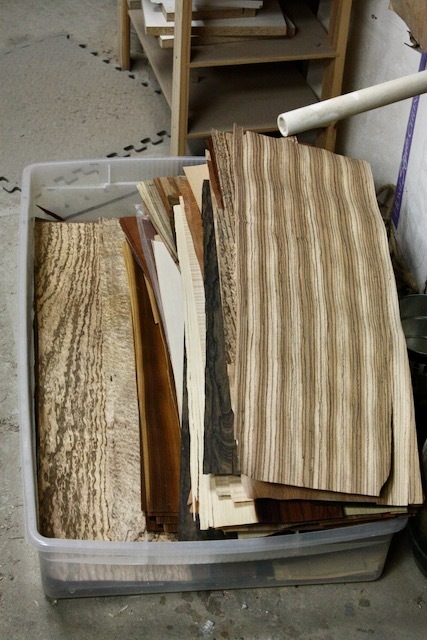
These typically are about 45" long and often include flitches. Smaller marquetry mystery boxes have the <12" pieces as with the walnut above. I use a guillotine type paper cutter to lop off what I need from the longer pieces.
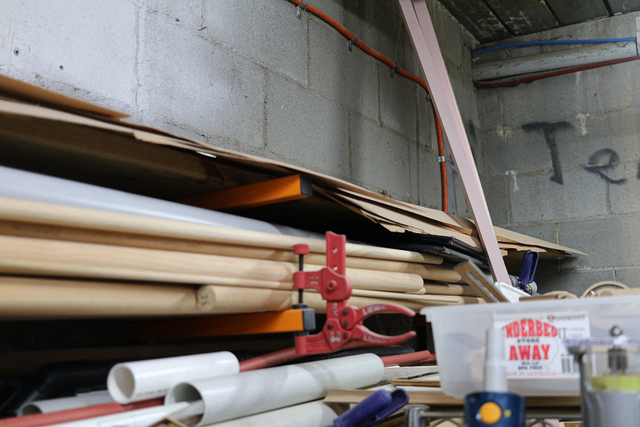
This is my stash of the longer pieces in a large under-bed type tote. I really need to set up a coat rack in my veneer attic space so I can hang each type from coat hangers and avoid having to dig.
Prepping for the laser
Each wood type needs to be checked for how it cuts. Some goes easy, others need more power since they can have tough fibers. You want to ideally cut with a single pass and have the laser move fast enough to avoid excessive burning. The power also should be minimal for the same reasons. Get the parameters set to just finish the cut, no more.
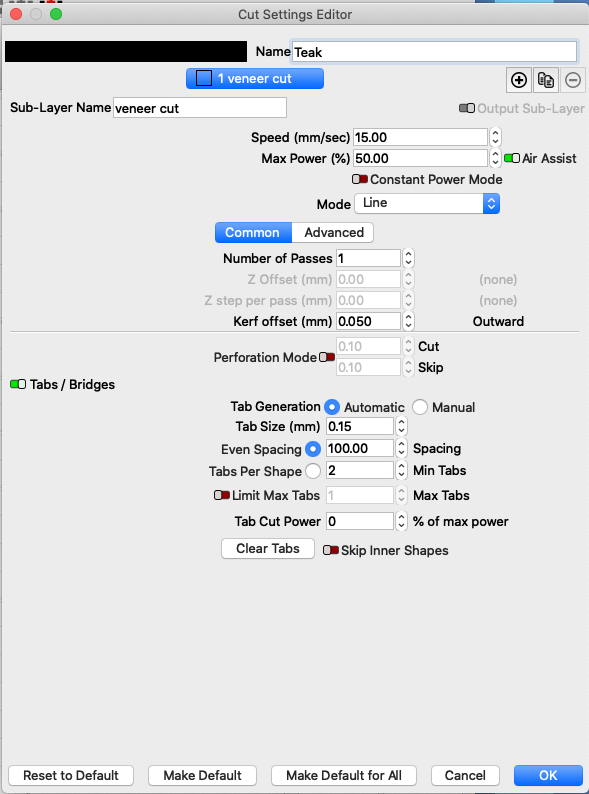
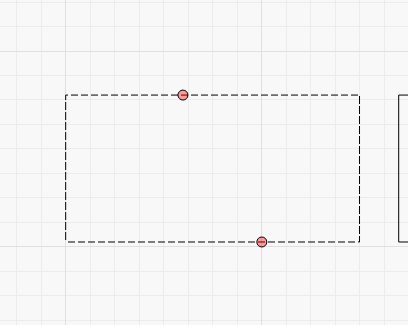
I'll do a test and cut a few of the pieces I will need. The laser parameters are twiddled. This is my setting for the teak.
In the center of this window is something called "Kerf offset". Like a table saw, the laser has a beam width that should be compensated for. This setting shifts the lasers path to be slightly outside (or inside) of your cut lines.
If this was a table saw, I'd set the Kerf offset to 0.125 (1/8"). With a diode laser, the focused spot is actually a rectangle so this value is an average.
I'll cut out a half dozen of the parts with the offset at "0". Next I'll align them side by side tightly packed and carefully, with calipers measure the total width. This value then gets divided by the number of cut edges and becomes my Kerf offset.
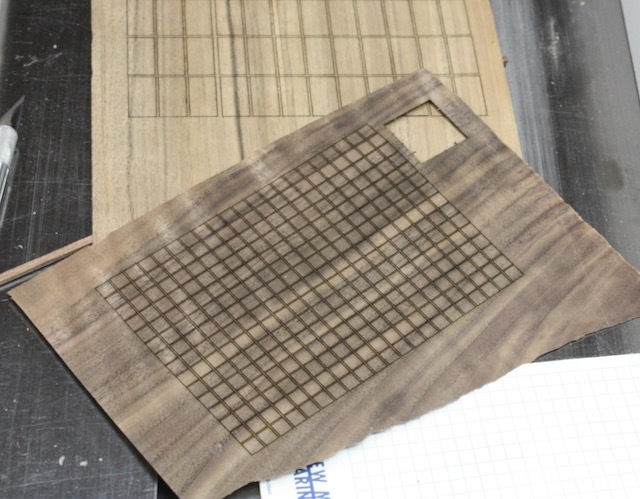
The basket weave It's a simple pattern. In this case the weave is made from pieces 1" x 1/2" and the darker walnut "fill" is 1/4" x 1/4".
One thing I try to do is keep the grain continuous so it looks like a single strip has been woven. This requires planning to be sure to cut enough pieces in a row to make the final panel dimensions. One set of cuts for the vertical strips, one for the horizontals.
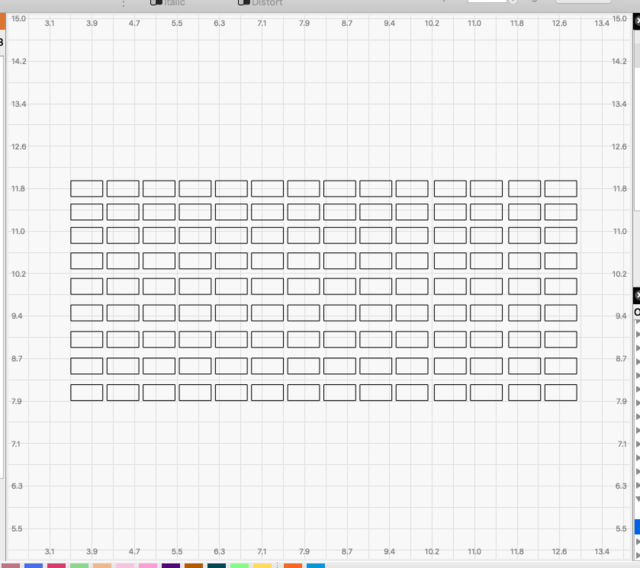
The basic layout created in LightBurn (LB) shows the array of parts. Easy to do, just draw one, then have LB create an array of parts. I one was to get picky, they would have the gap between each piece equal to the part that will eventually separate them.
You don't want these parts to fly away from the air assist blowing past because they'll usually end up landing under the beam and get fried (Murphy's Law)
To solve this, LB has "tabs". Sections of the cut path that are skipped so the parts are not completely severed from the sheet. You can see in the settings window picture above a field called "Tab Size". I've found that 0.15-0.20 mm is small enough to make removal from the sheet easy.
Another concern is placement of these tabs. They should be placed along the long grain sections since that will break easily without splintering your part. If you put them on the end grain edges, you'll have a bunch of fibers to deal with.
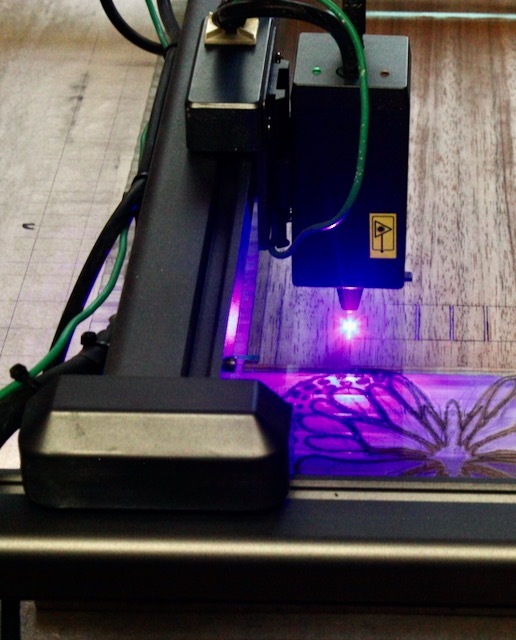
Time to cut!
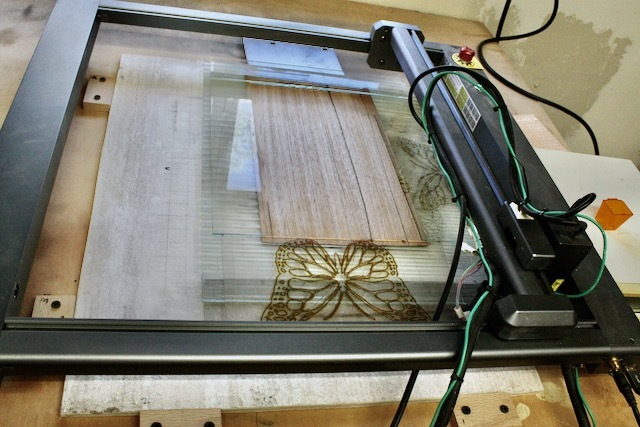
I place the veneer into the workspace and in this case I'll use scraps of glass to weight down the edges and keep everything in place. You can use tape, clips, magnets, a top cover of glass, just about anything for this purpose.
The cutting is started. I remove the light shield since it hangs low and can hit my glass holddowns. Laser-proof glasses are a must!
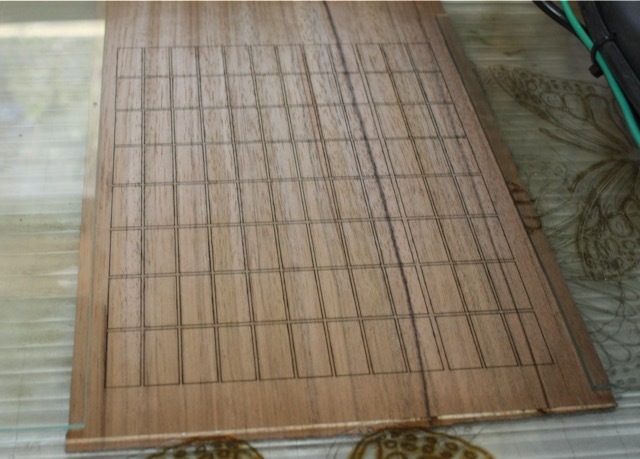
See that black stripe in the wood grain? I want to keep these pieces in order so that line will be continuous. This means I pencil in coordinates on each row so when the pieces get knocked on the floor, I won't cry 😩
I tend to label the horizontal strips (ex. "A3") and the vertical strips (ex. "3A") to further keep them in order. I also skip over letters that tend to look the same (i.e. "E" and "F") so my chicken scratch penmanship doesn't bite me.
Fun fact, the laser tends to burn more (a bit wider) on the "up" side then on the bottom, so the bottom side will show the cleanest cuts. For this reason I make the top side with the labeling become the surface that gets glued to the plywood panel (work is done inside out).
Pieces are cut and I'll break the off the sheet as I need them. An Exacto knife is handy to cut any Klingons that may be left if the cut didn't fully penetrate that piece.
If you need to do mulyi passes, try the lamination upside down.
? Not exactly sure what, but if you mean making a veneered panel then cutting parts out, yes. With the good veneer on the bottom, the final pass of the laser just poking through leaves a nice clean line whereas the top is a bit crustier.
My router templates are usually 6 mm "dark" masonite hardboard. Dark is so the laser will work faster, doesn't like light colored surfaces for cutting thicker stuff. The 6mm is about right for a pilot bearing straight bit. There is always a gap between the bearing and cutting edge and this has enough thickness so I can get a full cut and still have enough template for the bearing to make contact.
If I need thicker I'd just take the template to some thicker plywood and make a thicker template.
Compared to a CO2 laser, mine is a lot like your new micro-mark saw compared to a 3hp cabinet saw. Nowhere the brute power, maybe a bit more finesse in some situations, but completely different class.
Maybe a better analogy for you would be Festool compared to Bosch?, Leica compare to Clack? 🤠
Yep, you've got it right about my "upside down" reference... I wasn't suggesting moving to Aussieland.
Never considered the implications of dark material. I've always stuck to 3mm or 6mm MDF single pass cut.... though at times if presentation is a factor, I'll cut the 3mm on the 6mm setting so I get the same shade of "burn" on the kerf. If I need thicker, I just laminate with layers of 3mm and 6mm using laser cut holes for dowel alignment.
Masonite may be worth a try if for no other reason than probably less glue that in MDF.
The thing I like about MDF is that it seals the edges giving a strong crisp surface.
SplinterGroup ..... Maybe a better analogy for you would be Festool compared to Bosch?, Leica compare to Clack? 🤠
C'mon Splinter, Leica is not all that bad... though I'll hold my disclaimer for Bos¢h!
If your first cut is too short... Take the second cut from the longer end... LBD