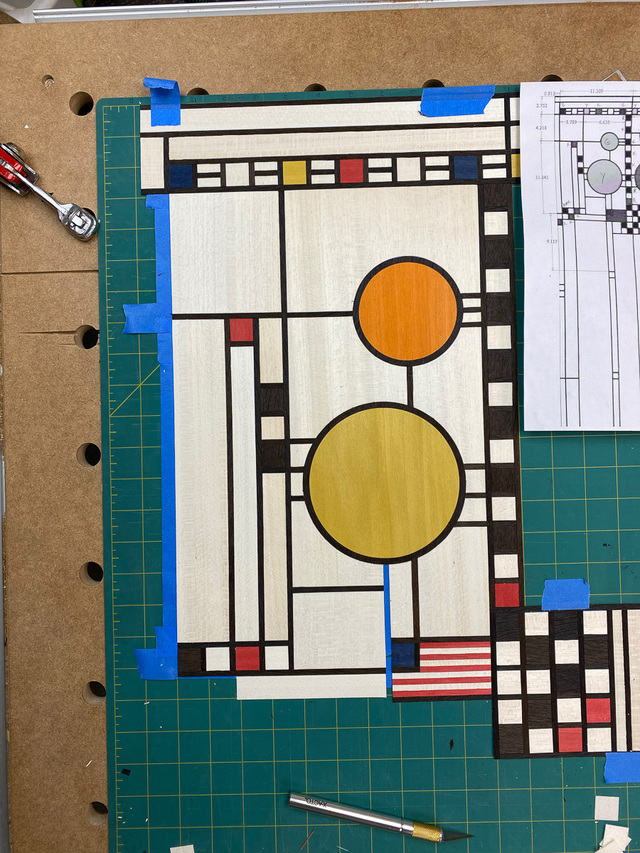
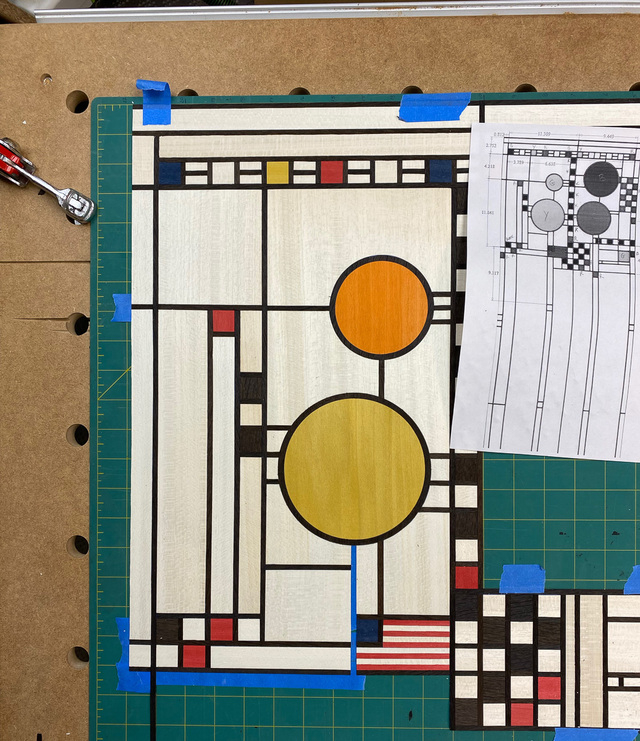
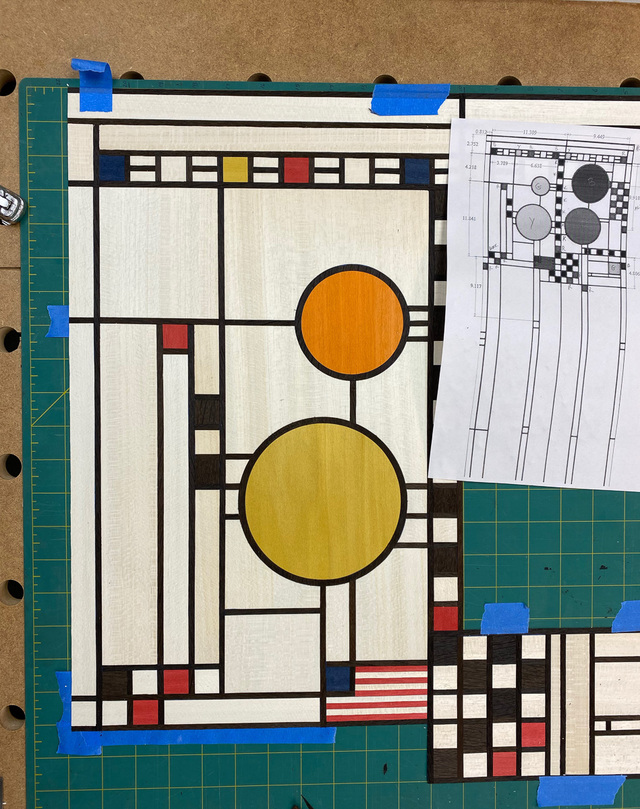
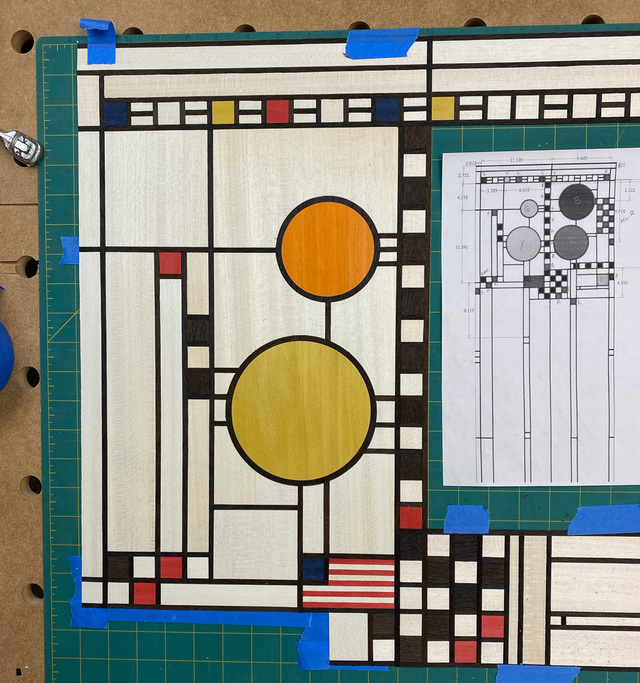
Tonight I finished the top-left quadrant. No hiccups, fortunately.
I had left space for the "string" for the yellow balloon, thinking I might place a long strip there that would extend further south. Ultimately, I just placed a short strip there that terminated at the boundary of the quadrant. That will give me more wiggle room when building out the lower-left quadrant.
Detail is amazing and you still managed to keep all the grain aligned (just one of the 1000 things to pay attention to!)
You must have a cat-free work area 🤠
Thanks, Splinter. Keeping things aligned has definitely been challenging. Luckily, the eye is forgiving at normal viewing distance. It's definitely wonky in places if you know where to look. Also, there are cats in the house, but fortunately they stay out of the workshop for the most part.
Dutchy - The cats are safe from me an my cutting tools. 😀 The X-acto knife does come in handy for trimming the narrow strips to length and for cutting out negative space in the white field for those strips to go into.
Good to hear you are not at a stop with the circles Ross.
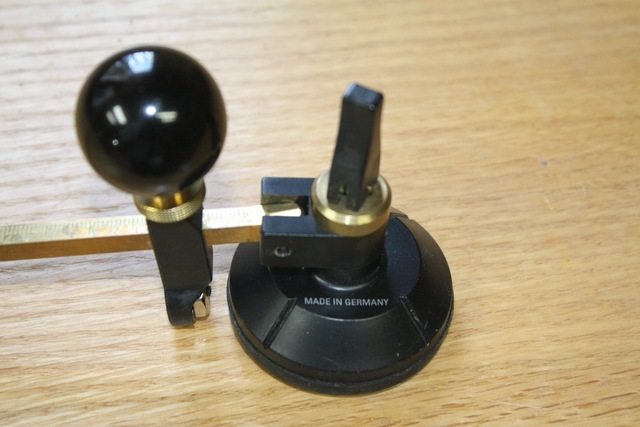
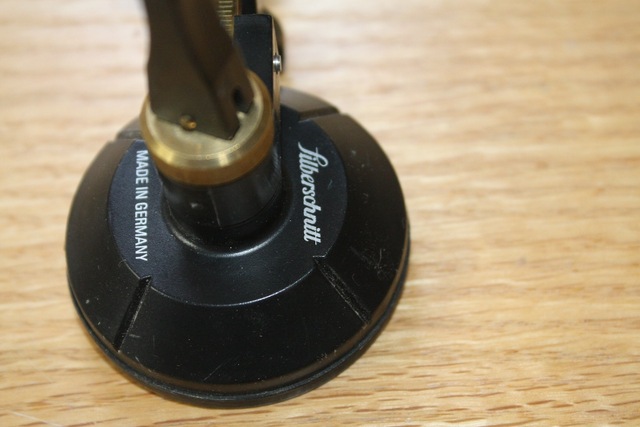
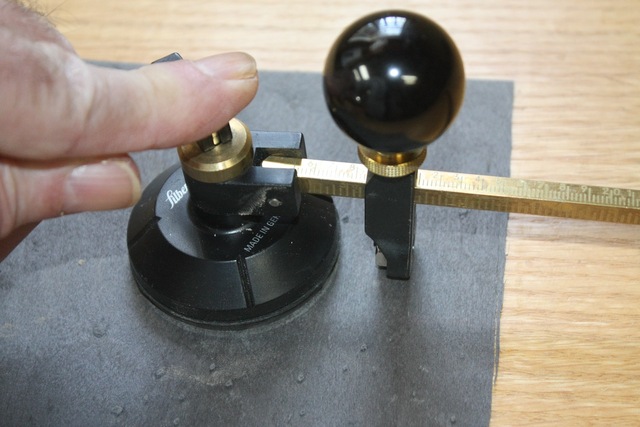
I found one of my wife's glass circle cutters.
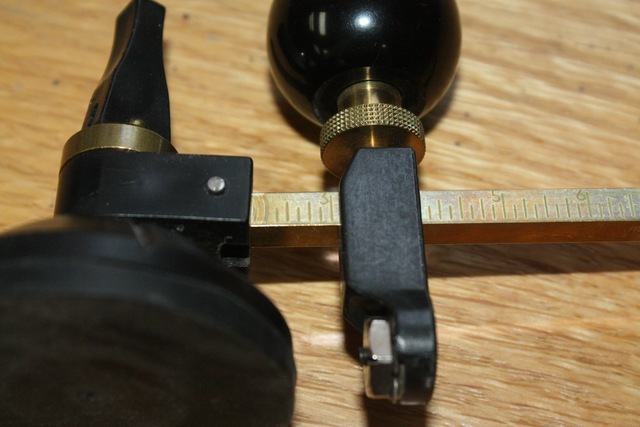
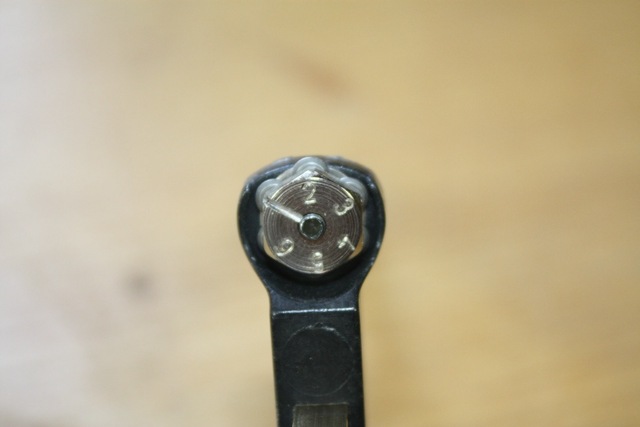
Of course the center pivot point is a suction cup, but the body parts are aluminum and the pivots are brass bushings, Scribe lock is very solid when set. I could get a near exact radius by using the built in scale, swing out a circle, and measure to determine the error. I then could clamp a small stop block on the arm against the cutter head, then released the cutter head and inserted a feeler gauge between the stop block and cutter head. Slide it up tight, and locked it down. Worked great!
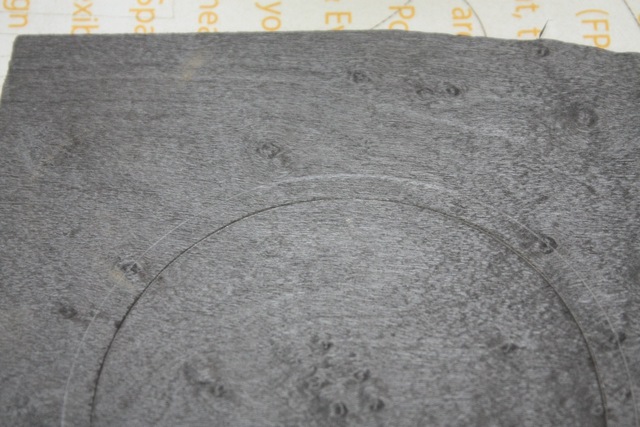
Now of course the cutters were not sharp enough to slice, just indent.
This is dyed maple:
The cutter head, at the working end, has a nice flat side and locking screw that could easily be adapted to a proper cutter wheel. but the pivot point would need to be changed to something that would work for veneer. It's pretty stable, just not quite sharp enough to cut veneer.
Splinter - thanks for sharing your experiment! I saw those kind of cutters on Amazon, but since they were glass cutters, I passed over them. They look like they have much better construction than what I bought, and if they could be adapted to use a different wheel and pivot point, they'd be just the ticket!
I've been modifying my wife's glass equipment for quite a while, seems there always is something that turns a so-so tool into something great.
Your cutter is low profile which helps and seems to have a good scale to read, but like my wife's stuff, seems there is plastic or some other thing that seems cheap pr gets in the way of "perfection" If I was without a laser, I'd probably make a new post for this glass cutter (that can be located without damaging the veneer and holds solid) and figure out a cutter. I could easily attach an Exacto knife blade but realize a roller is superior since the grain wouldn't take over the blade. Of course it seems you have the same potential and just different, but similar, fixes for your cutter. Either way, you are well on your goal. 👍
I just started looking at this, it's pretty interesting! Pretty, too. Don't know where I would put something like that, atm. Looking at the glass cutter, I'm wondering if a #11 X-Acto blade in a holder would do the cutting better. I'd put a wheel further out on the beam and use that to set the depth of the blade. Seems like it would work?
Steven, It might work, but the problem in my mind is any blade will tend to follow the grain, especially for a circle once it starts cutting "uphill". A wheel basically shears the fibers and hopefully could keep on the proper path.
True enough. I used to design tools. I'll think about this a bit. Can't work in the shop atm, arthritic knees are acting up and I can't stand without a cane. I have a cyst in my hand that interferes with carving, so that's out.
The only tool I've tried to cut irregular shapes with accurately besides an Exacto knife has been the laser, which works perfectly, aside form a fine black line left between pieces when assembled (unless the pieces are first lightly sanded, which can be tiring) 🤔
Hope you get better, I'm sure your project to-do list is growing!