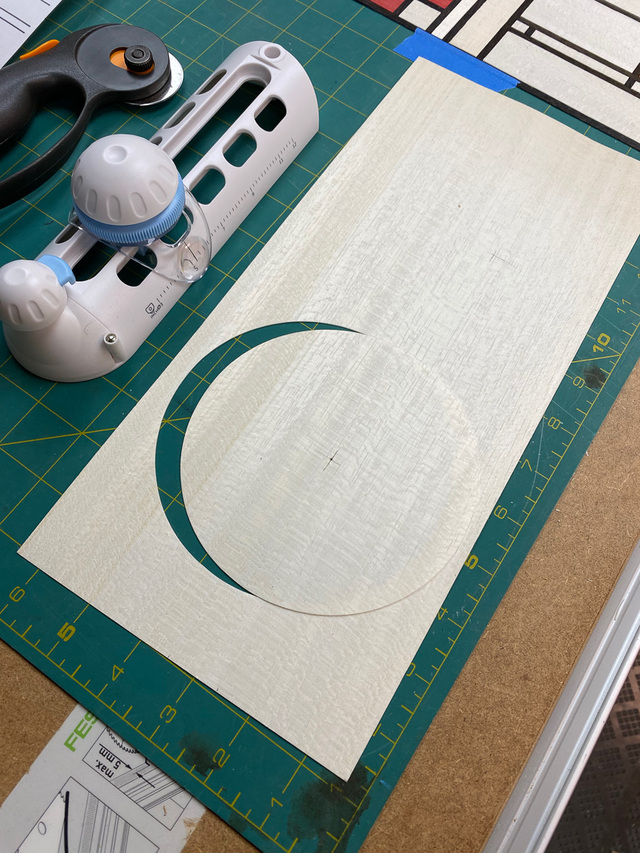
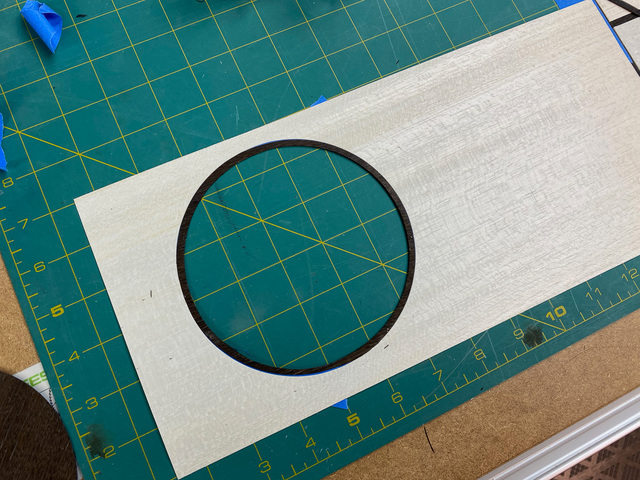
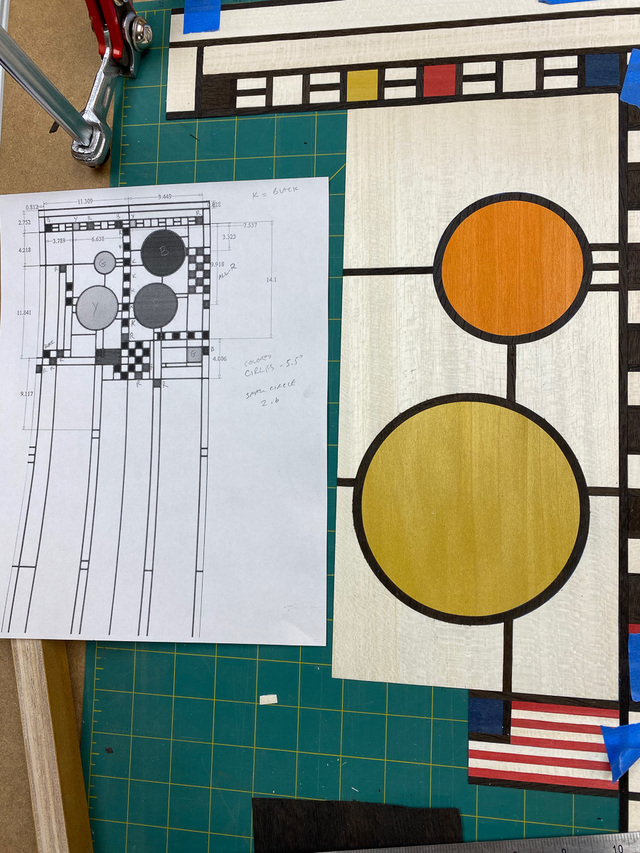
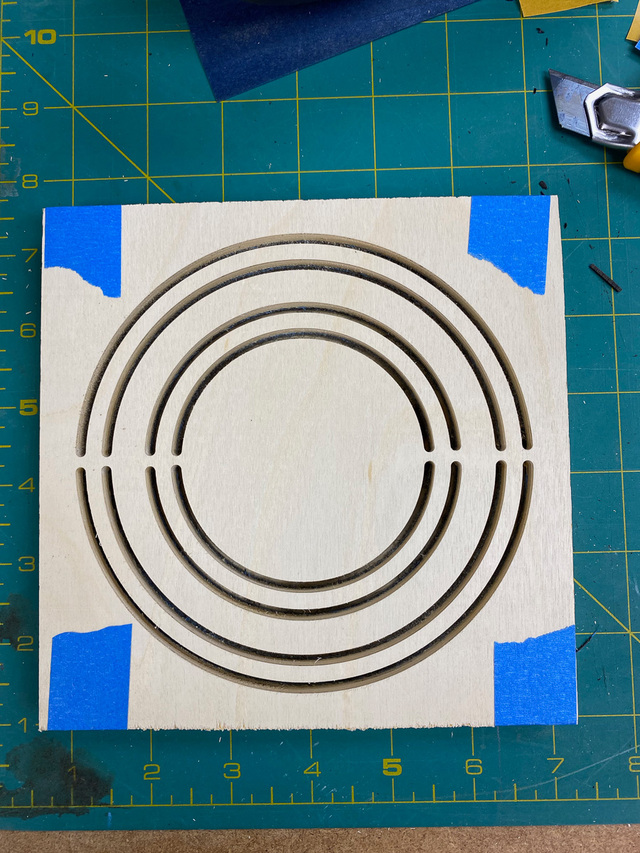
Armed with a new circle-cutting tool, I thought it would be smooth sailing cutting out the balloons and the outline rings. Nope. There were two things that made this challenging: the fragility of the oak rings where that grain runs radially, and the imprecision of the cutting tool.
The tool I ordered has a trammel point and a grippy foot that slips over the trammel point (to avoid making a hole in the material). The order of operations I tried first was:
Trammel point, large radius in the white field (because I could drop the trammel on the marked center for the circle).
Without changing the radius, trammel point in the oak for the outer edge of the ring.
Reduce the cutter radius by approx. 3/16". Set the trammel point back in the hole left by step 2 and cut the inner edge of the ring.
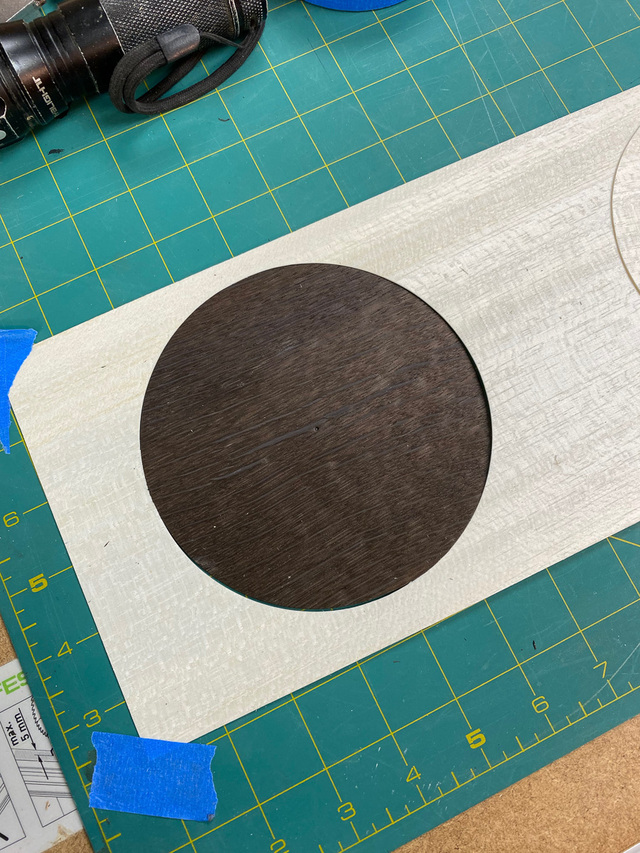
Without changing the radius, install the grippy foot and cut the filler circle of the dyed veneer.
The underside had been taped where the ring would be, so the ring held together. An earlier attempt without tape was a bit of a disaster and the fragile ring broke apart.
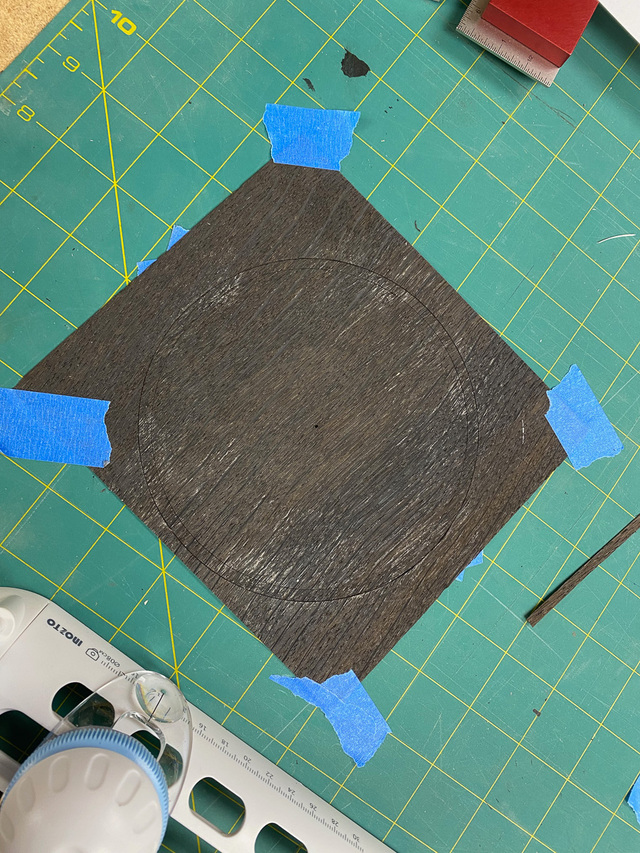
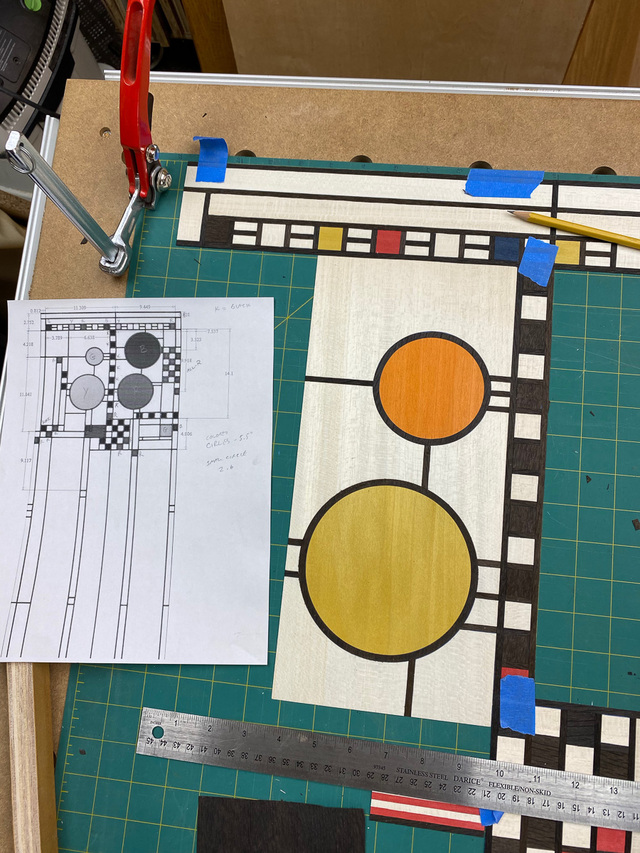
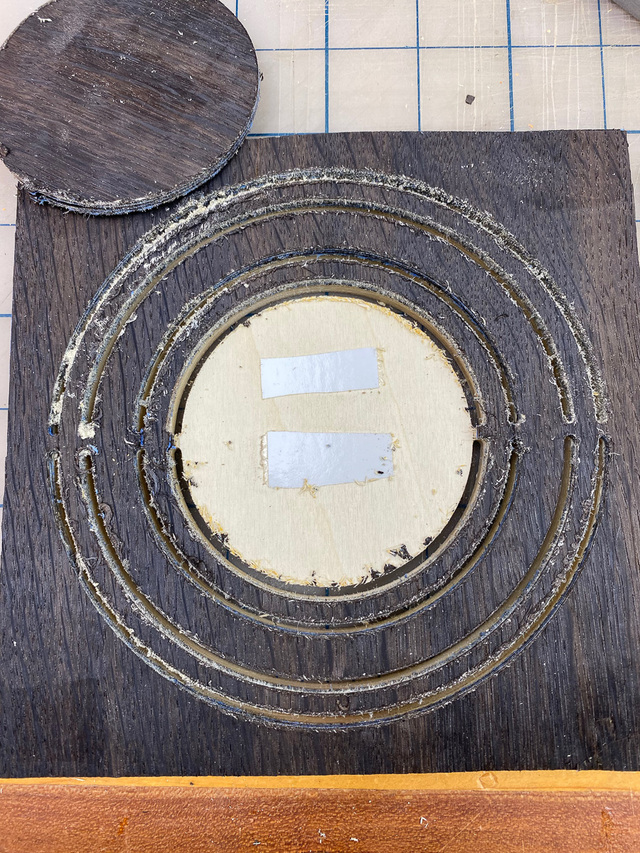
Unfortunately, due to a slight tool wobble when cutting with the trammel, the resulting ring was oversized and wouldn't fit right. I started over, trying to reset the tool to the outer radius. The tool does have markings on the side, but they're not very precise. I adjusted as best I could and cut another oak disc. It fit into the white field, but there were irregular gaps (tool wobble).
I decided to keep going just to work out a technique that would give decent results. I taped the disc in place, reduced the cutter radius, and cut the inner ring edge using the trammel point. Not bad results, but there were still gaps and the inner circle was very slightly off-center. But, the order of operations seemed to work.
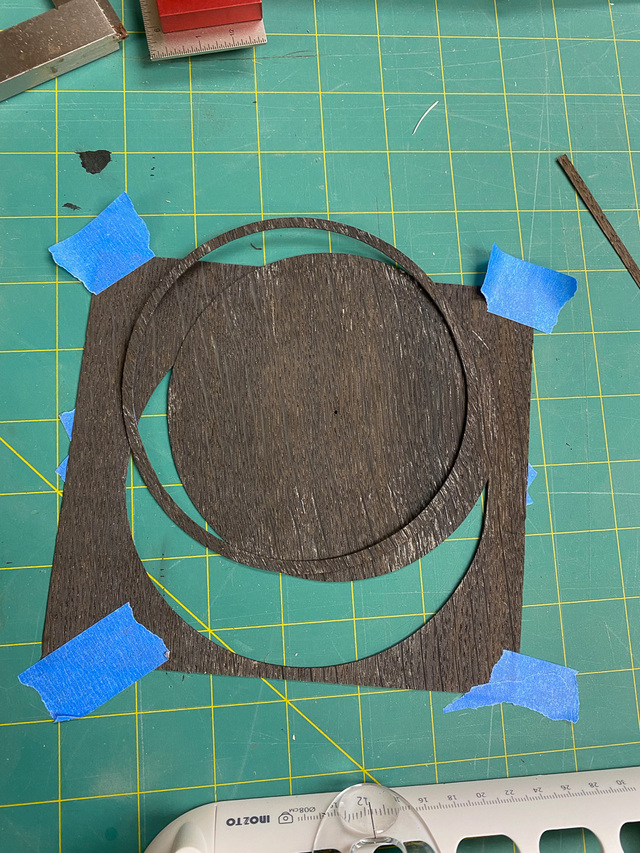
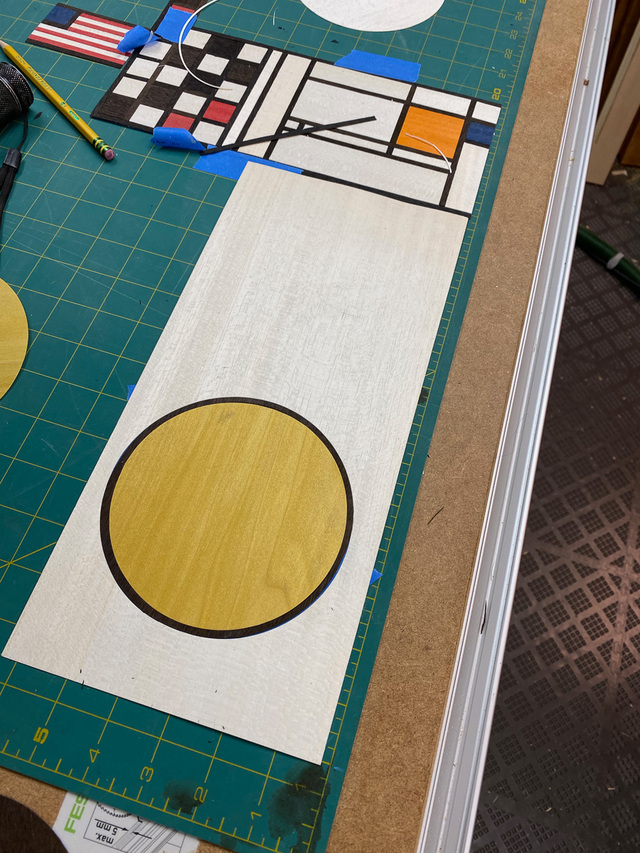
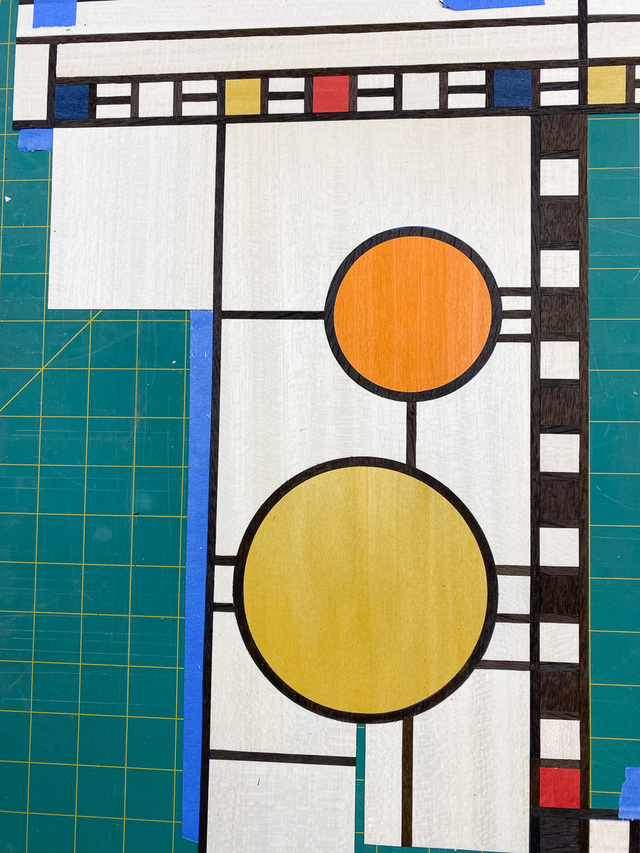
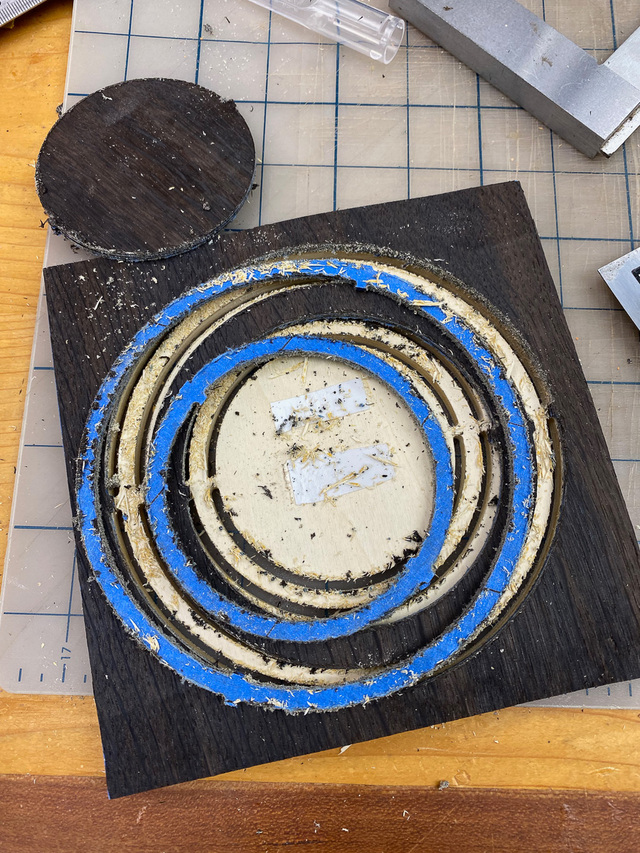
Using the same steps, I cut the smaller circle. I went with the smallest radius the tool could cut (which is larger than the original design). This went well, except that I made the ring width larger than I intended to.
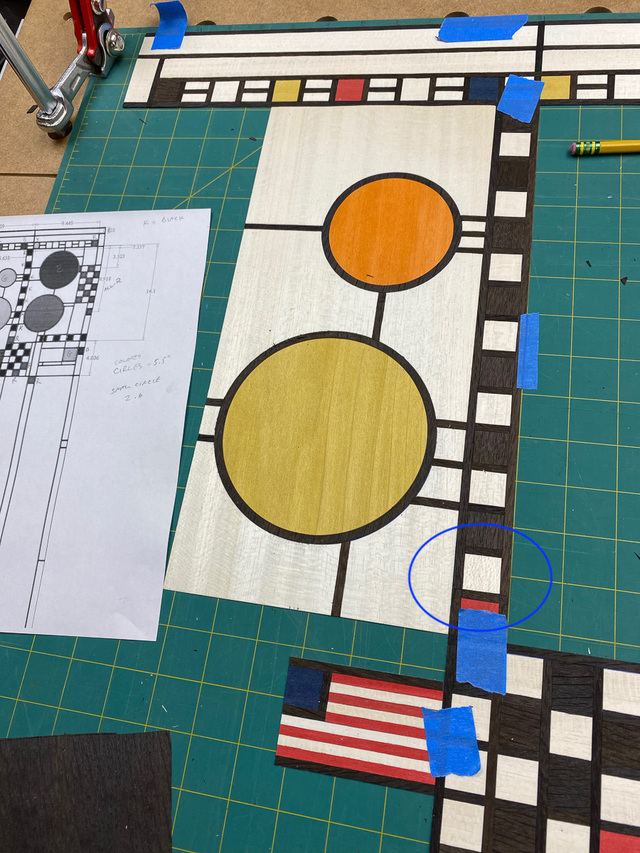
The smaller ring looked off compared to the larger yellow circle, so I went back and re-made the larger ring and disc (since it had gaps anyway). Here I've started back-filling the lines, which went smoothly. It involved cutting out little pieces of the white background and fitting-in the thin strips.
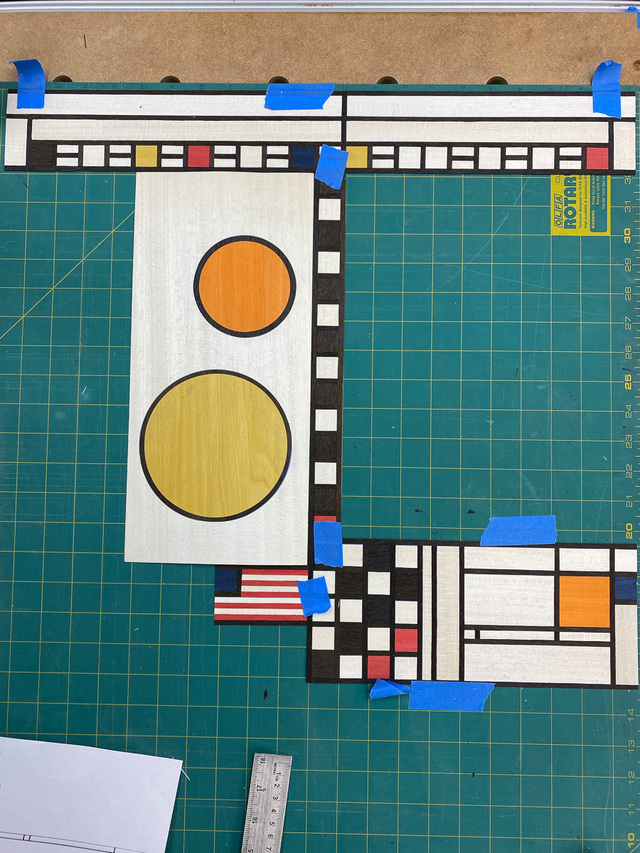
Here's when I spotted my first goof on the pattern. The circled white square was missing, and I added it. This shifted things down one square and meant I needed to re-fit and extend the lower right corner of the the balloon module. The lower left would be cut out too, but that had already been the plan.
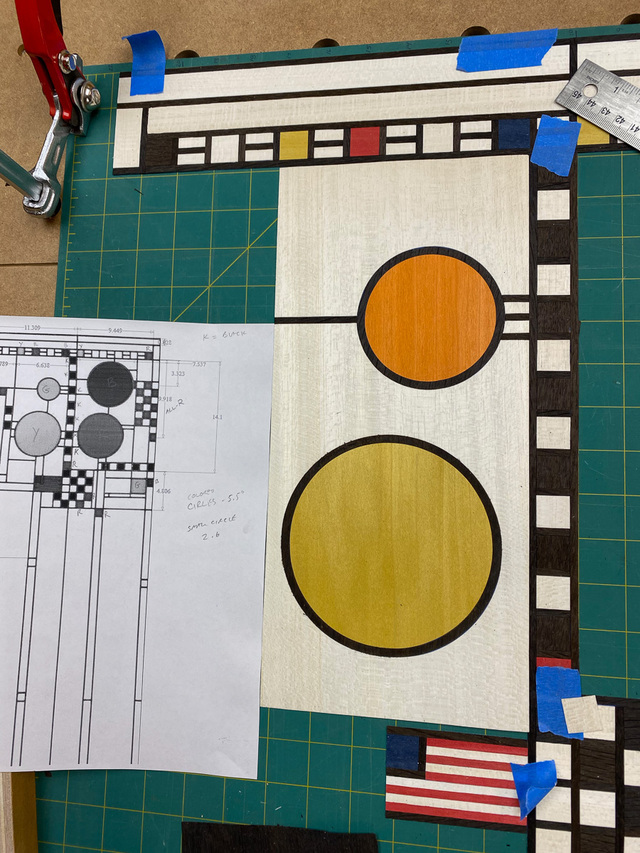
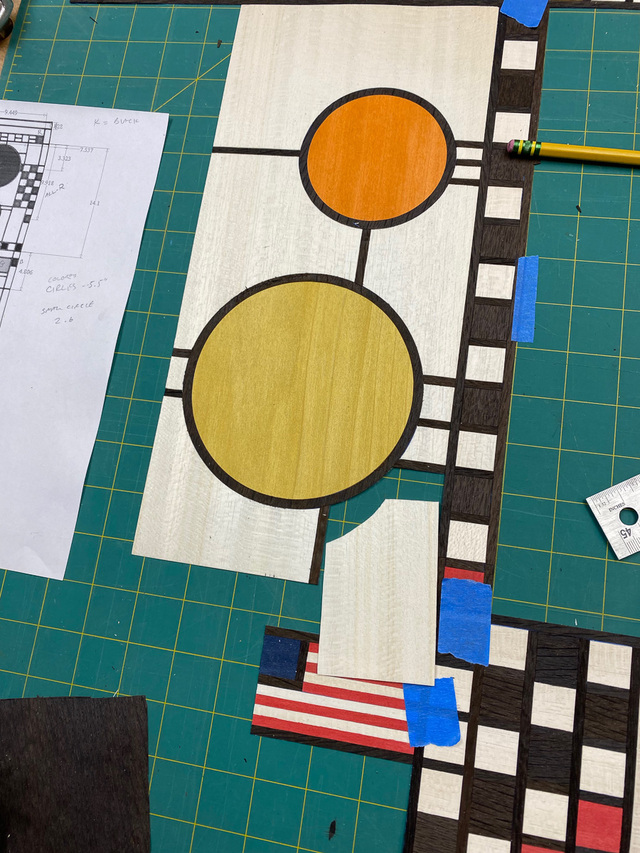
That wrapped up the left balloon module, and it could be taped in place. Next, I'll start filling-in to the left, as I've already started here:
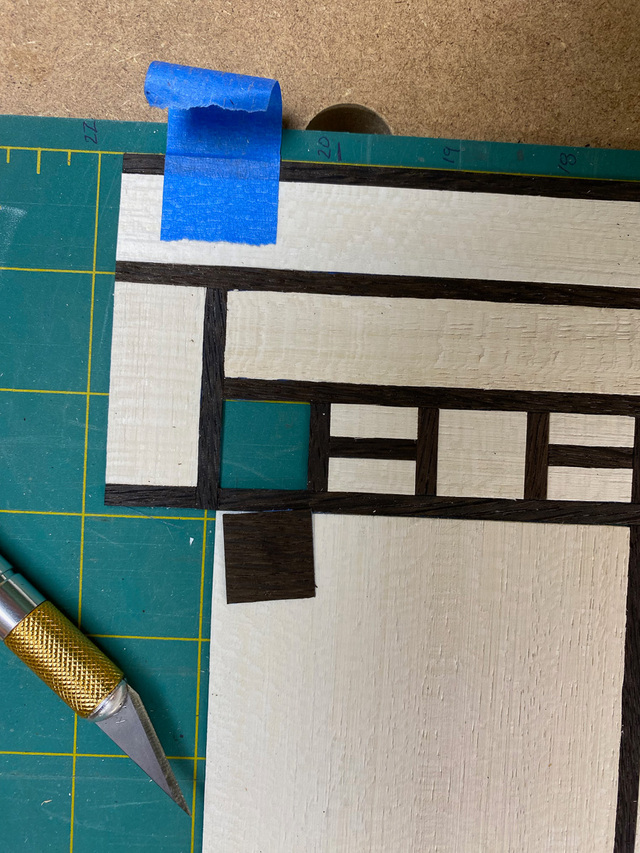
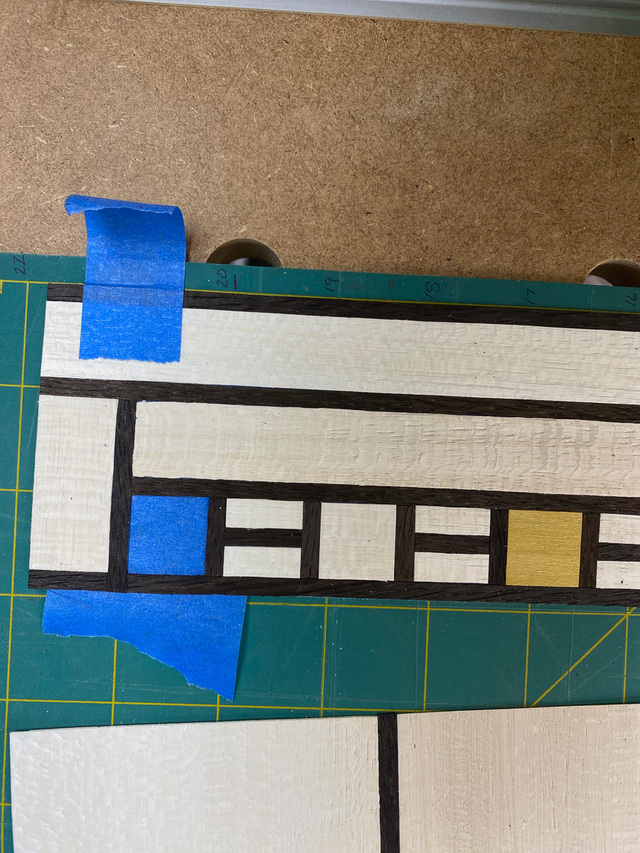
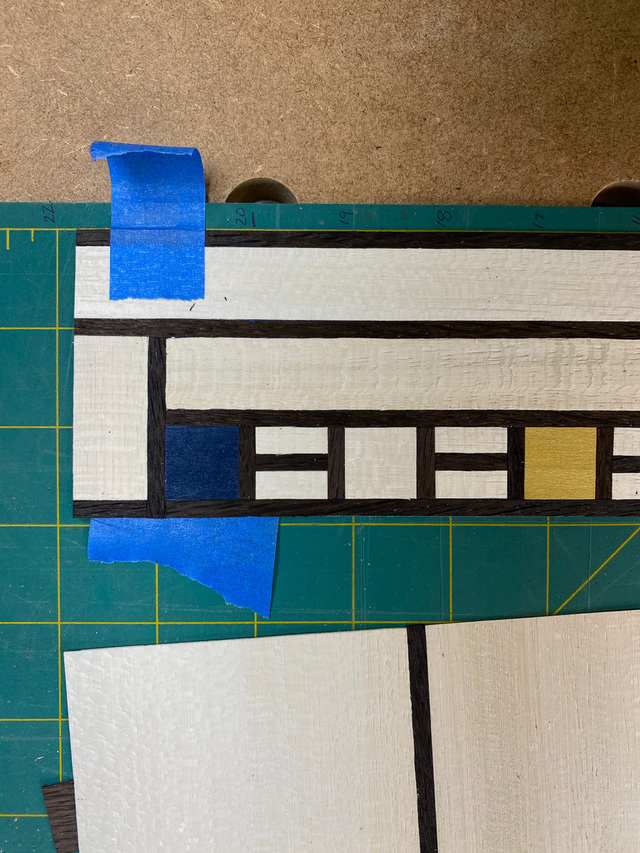
Oh, and the 2nd goof I found was the upper left square in the photo above. I had placed a black square instead of a blue one. And that was the very first square I had laid down on day one. Not a very good start. 😁 The repair was simple using an Xacto knife.
You are flying through this! I don't think I'd ever be brave enough to manually cut the rings, let alone the circles, Glad I have a laser to blame, but you seem to have taken it all in stride! 👍
Thanks, guys. Splinter - I was wishing I had a laser for those rings!
I didn't mention that I made one failed attempt to use the CNC and a small bit to cut them out. I sandwiched a stack of 4 veneers between 1/4" plywood, each veneer backed with blue tape, and made a toolpath to cut out a set of small and large rings. The tape did keep the veneers intact, but it also created a bunch of gummy sawdust that was not practical to scrape-off the fragile rings.
I'm deferring work on the final two balloons while I consider other options. The manual cutter method worked, but it was fussy and was easy to mess up. There still may be a path using the CNC. I have 1/32" diameter end mills that wouldn't be as torturous to the wood as the 1/8" bit used in the experiment above. I'll post if I give that a try.
I like your thinking! a "V" bit might help. just cut deep enough to heavily score the veneer (but it'd be a pain to get the ID/OD accurate). Small bit may be good at high rpms, probably no top caul? maybe even masonite/thin mdf to avoid slivers and get fine dust instead.
SplinterGroup commented about 1 hour ago I like your thinking! a "V" bit might help. just cut deep enough to heavily score the veneer (but it'd be a pain to get the ID/OD accurate). Small bit may be good at high rpms, probably no top caul? maybe even masonite/thin mdf to avoid slivers and get fine dust instead.
I do plan to try without the caul. I think the main issue will be keeping the veneer from flapping around while being cut. My current plan is to cut a quadrant, tape over the cut portion, then cut the next quadrant, tape, etc. until I've cut all the way around.
What does the business end of that circle cutting tool look like? Is is a blade (like the tip of an X-Acto knife) or a small rotary blade?
It's a small rotary cutter, which was my main reason for choosing this particular tool. It's better at cutting clean and not tracking with the grain as a straight cutter tends to do.
I'm thinking I might raid my wife's collection of glass cutting tools for some tests. I've never tried anything rotary on veneers and her tools, gantry cutter (like a panel saw), circle cutters, etc. all have the small wheel, but sharp. The circle cutter is nicely rigid and precise, tailored for smaller circles (<6"). The straight cutter is one I "improved" by mounting the cutter head on a linear bearing.
I'll be interested to hear how the glass cutting tools work. My sense is that the blade may not be sharp enough to cut the veneer (although it would at least mark it). The fabric/paper cutting rotary blades are thin and sharp.
These are carbide and "sharp", but not "sharp-sharp", will make one bleed and feel it but not just bleed and not realize it. Just have to see, but now I'm thinking I can find other cutters to fit the tool if these are not up to the task
SplinterGroup commented about 2 hours ago These are carbide and "sharp", but not "sharp-sharp", will make one bleed and feel it but not just bleed and not realize it. Just have to see, but now I'm thinking I can find other cutters to fit the tool if these are not up to the task
I am really interested to hear about what you find out.
Wife has a circut too. Never used it and I don't know if it is rated for veneer. She uses it for stencils (transparency type sheet if anyone remembers transparencies! 🤠
I could give it a go and blame the dog if it all falls apart.
It looks like Cricut sells veneer (don't know how thick), so it should theoretically work. I don't know how it will cope with thin rings like Ross needs, but it should be a fun experiment.