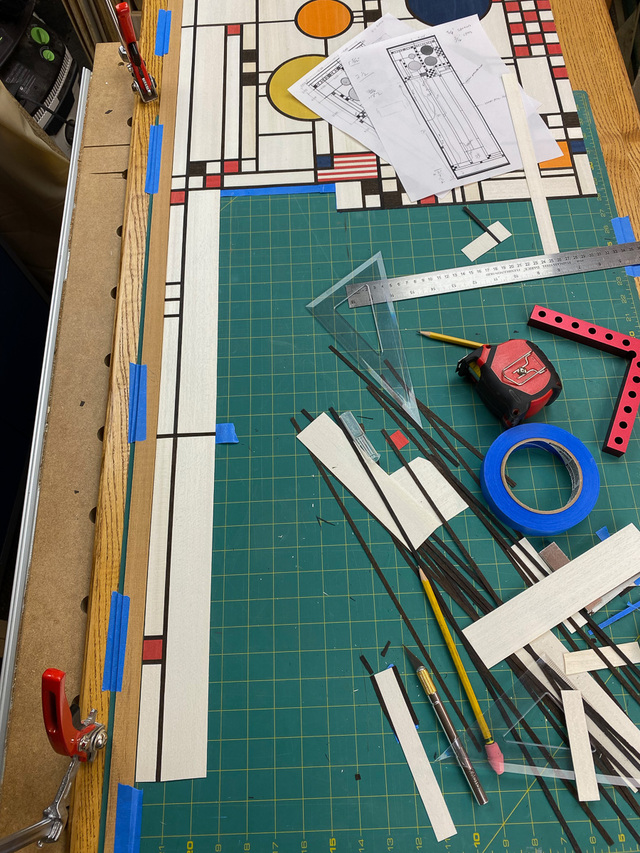
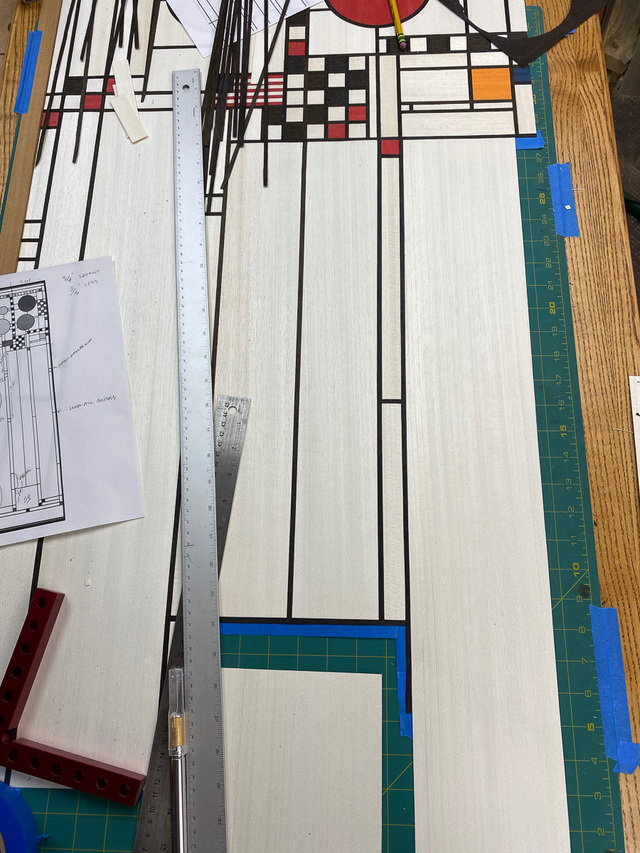
I shifted the cutting mat down to work on the bottom portion and put the whole thing on top of some salvaged plywood shelves for full length support. A strip of hardwood fixed to the left side of the mat provided a fence to build from, and keep all pieces vertically aligned.
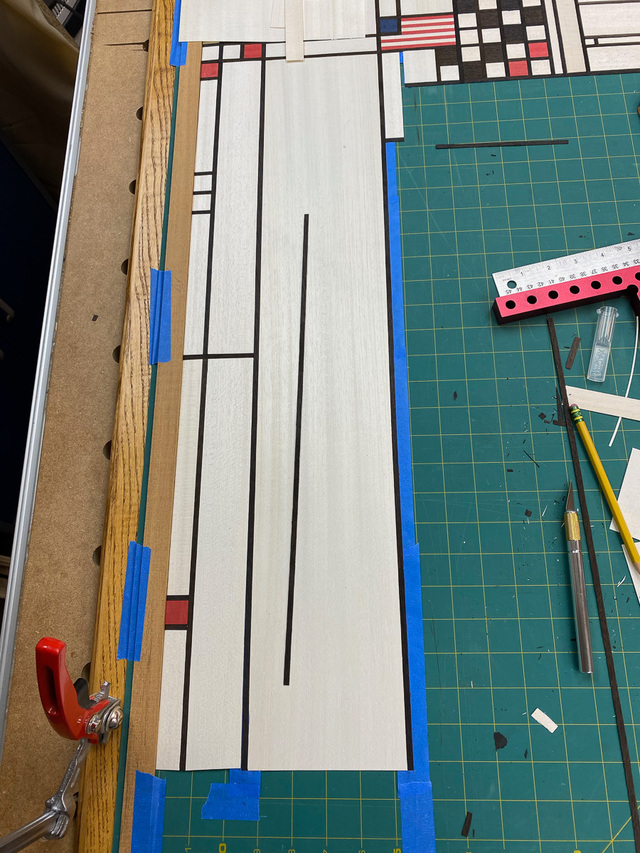
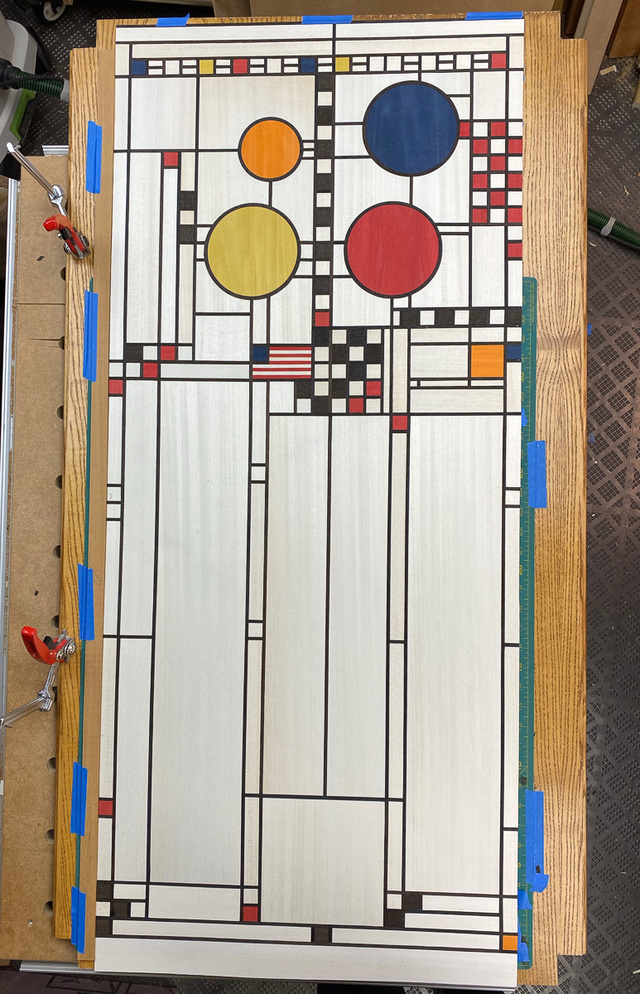
The pattern of the lower section is somewhat vertically compressed to arrive at the overall proportions I needed. Some things I scaled down (the length of vertical strips), others I didn't (the small squares, the large white square, etc.), and I left out a couple "lead" lines entirely. So, I took some liberties with the design, but I think it still turned out pretty nicely.
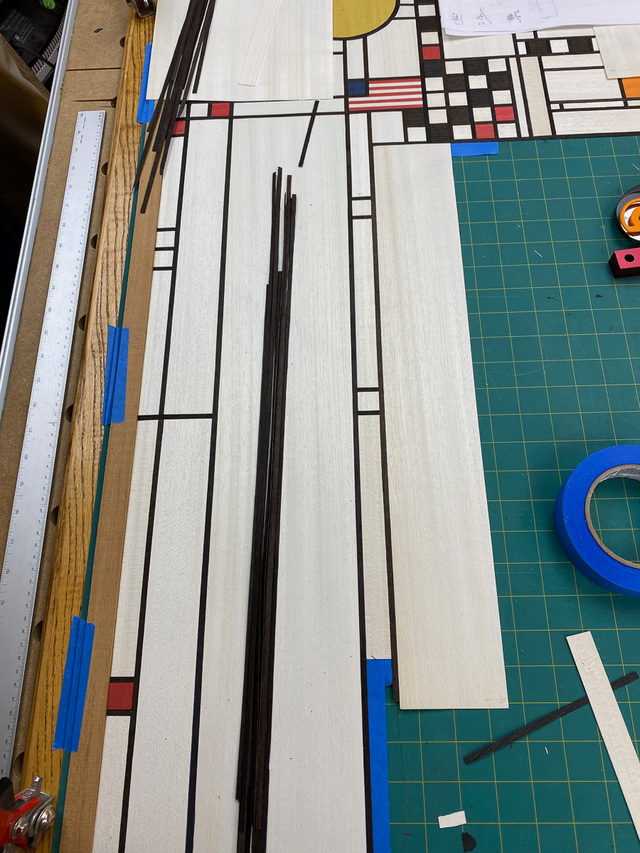
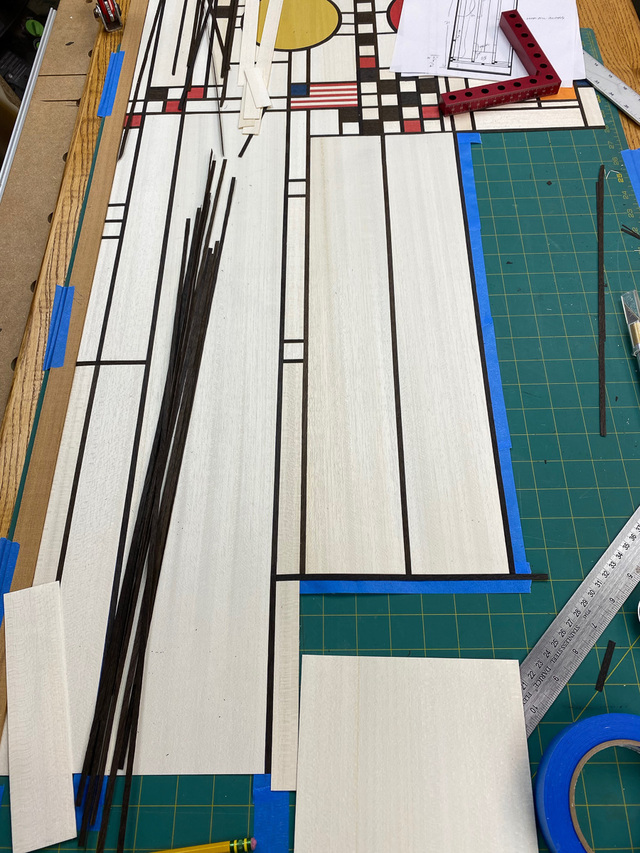
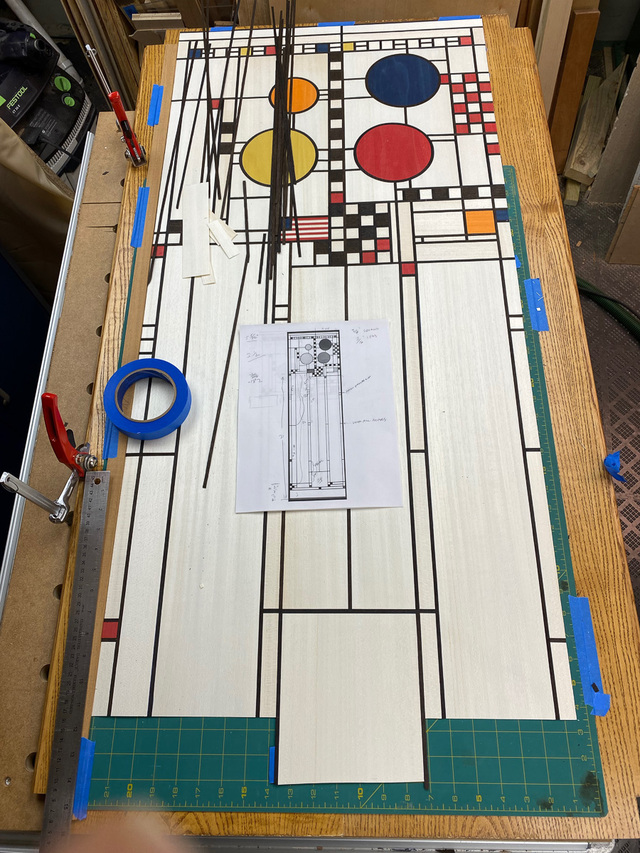
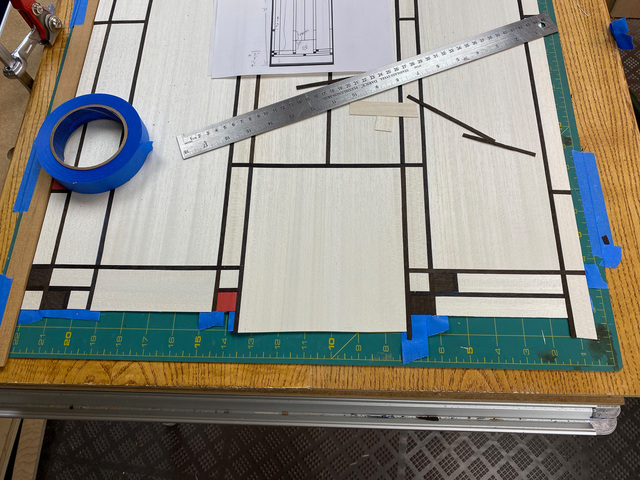
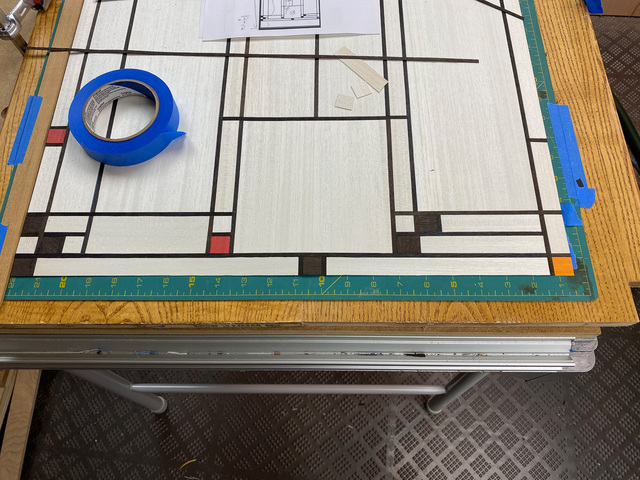
Here is the final set of photos of completing the remainder of the pattern (except for the final border around the edges).
Next, I'm going to build a small sample pattern to practice the next steps.
I showed a few images from your previous entry to a friend of mine who works with glass. I had to explain twice that your work was not in glass but wood veneer. She was blown away. This is turning out excellent!
Thanks, Steve. I'm pleased with the results so far, although since I chose to use essentially featureless wood, the end result may end up looking no different than if I had used colored poster board. I think the results would have been more striking had I used natural colored wood with pronounced grain or figure. There's always next time.
I think that looks excellent, Ross. It’s all very crisp and clean.
It doesn’t look like poster board to me. The grain is subtle, but it’s there. I can see where natural wood with dramatic grain would work well in the (largish) circles. I’d worry that using it in the background/field might compete too much with the lines and small squares. I guess wood with a grain pattern that looks more like a texture (like lacewood or the “snake skin” parts of sycamore) might add interest to the background without detracting from the geometry too much.
Thanks, all. I’m part way done with the sample assembly (roughly 8” x 11”) and will post an update when it’s done. As I work out the remainder of the steps I’ll be considering:
How well the veneer tape holds everything together after the blue tape is removed.
Once glued to a substrate and the veneer tape removed, how well does it hold up to sanding. Different veneer hardnesses may dictate hand sanding.
Is there any color bleeding due to sanding or wipe down with solvents. The white obeche has open grain and may trap the sanding dust.
Dave - thanks. Ordinarily, I’d use shellac, but I’d like to prevent yellowing of the white background wood. I’ve done some sanding on the test panel (which will be in the next post) and the sanding dust wasn’t a problem, luckily.