


Share your craft projects
Make new craft buddies
Ask craft questions
Blog your craft journey
Pallet projects #1: DIS-ASSEMBLY OF PALLETS
This is
part 1
in a
1 part
series:
Pallet projects
-
DIS-ASSEMBLY OF PALLETS
- DIS-ASSEMBLY OF PALLETS
First, let me say, I am not a student of blogs, tweets, facebooking or how to correspond responsibly to the internet world. I have had a few requests to hear my thoughts on the art of successful pallet repurposing so, in no particular order, here we go. When I quote a percentage or claim a measurement, there is no scientific data to back this up, just my WAG, (wild ass guess).
• There are two components to a pallet… I’ll call them runners and boards. Runners are usually 1.5” X 4” and there are usually 3, (sometimes 2 or 4), per pallet. The top and bottom boards are nailed to them. The boards are evenly spaced across the top working surface, (to support the load being shipped), and there are 3 or 4 across the bottom, (to give the pallet structural integrity).
• Most pallets are made from hardwood, but a few, maybe 10% to 15%, are pine or some other softer wood. Harvesting hardwood is much more difficult, but more rewarding because of the cost of hardwood lumber. Pine pallets are usually one off, made for one-way use and 60% of the time built using nails and hammers vs. nail guns. When I’m searching for pallets, I decide which to haul off based on condition and a mental calculation of time to harvest vs. quality of the yield.
• 98.15% of hardwood pallets are built using glue coated, super-hardened, spiral nails fired by a $500 nail gun with power likened to a 357 magnum. Pulling these nails from hardwood runners without damaging the boards has a 5.2% success rate.
• For any pallet, the first thing I do is test its vulnerability. All pallets have a “weak sister” board that is cracked, broken or horribly scarred. I gently try to pry this board off its runners without further damage. I try to get a 1/4” to 3/8” gap between the board and runner for both nails, (85% of the time, only two nails are used). Then I hammer the board back down and try pulling one of the protruding nails from the runner. If it’s somewhat easy, I have a disassembly plan. If it breaks the head off, I go to the other nail in the ¼” protruding position and hit it hard with a hammer. Now go I back through the steps and see if pulls out relatively easy. Theory is, violently wanging the nail back in, breaks the bond between the nail and the glue and the runner. Now, the truth is, I have only used this method on very unique pallets that I wanted the runners to be nail-free. More about unique pallets later.
• So the bottom line is, I rarely disassemble a hardwood pallet by pulling nails. It’s time consuming and even when things are going great you end up breaking a third of the boards. And, most importantly, you end up with lumber with nail holes in it anyway. Over five years of doing this, I have a roll-around full of tools of destruction. I have two excellent corded weapons made by Rockwell… A boy-dog reciprocating saw and an F40 oscillating tool. I also built a dedicated HD table made from reclaimed lumber that has a 50 year old cast iron top that is from a Craftsman table saw that finally gave up. It’s on casters and I use it almost exclusively for pallet harvesting. I have a collection of pry bars, hammers, (claw, plastic dead blow, ball peen and soft face), and various thickness hardwood blocks to use as fulcrums. I also have standard pliers, channelocks and side cutters in the roll around cart.
• I have one more indispensable set of tools to mention. In the interest of full disclosure, I sold these tools at a company I had several years ago. And I also worked for them as a paid marketing consultant in the same time frame. The tool is called “Spring Tool” and here is an Amazon ad for one of their toolsets I use… http://www.amazon.com/gp/product/B003BHDHI6/ref=pd_lpo_sbs_dp_ss_2?pf_rd_p=1944687562&pf_rd_s=lpo-top-stripe-1&pf_rd_t=201&pf_rd_i=B0006Q4I60&pf_rd_m=ATVPDKIKX0DER&pf_rd_r=198MWFP0XD5DCZSMX7S2
• My demolition method for hardwood pallets is to set the pallet on edge with the boards horizontal, (runners vertical), and working surface, (top), facing out. I clamp it to the above mentioned table for stability. I start by gently prying the end of the boards away from the runner. If a gap is easily archived, I use the recip with a wood/nail blade to cut the exposed nail shank. If the board won’t move at all or enough, I use the osolater with appropriate metal blade. Repeat this for both board ends. Now rotate the pallet so the bottom boards are exposed and cut all of their nails the same way. The two outside runners are now free and laced with buried nails. You now have what looks like a wooden fish skeleton with only the middle runner as the backbone, (the rare 4 runner pallets require more ingenuity, but I’m sure after working on the common 3 runners, you’ll figure it out). You can now rock the boards back and forth to get the gap necessary to use the recip or the osolater. Now you have a stack of great hardwood boards full of nails that are about 3/4” long.
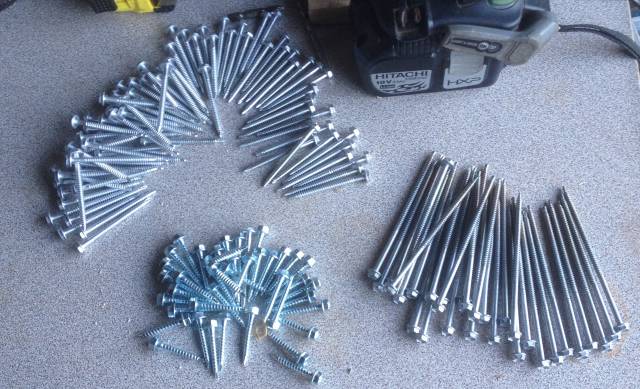
• This where my cast iron table top comes in handy. Board are placed nail head down so we can punch those little boogers out. Obviously, you can use any horizontal work surface for this task. You can use an appropriate diameter drift and a hammer to punch them out. I find it easiest to just get the nail head up a ¼” or so and then flip the board over and pull it out. The Spring Tool mentioned above is much quicker and you never turn your thumbnail blue with a hammer. Now you have some great lumber for your next project.
• When you harvest a pallet, the boards are usually the same width and thickness… and always the same length. I stack them up wrap them together with 4” shrink wrap used in shipping departments. I measure the length and write it on the bundle. I have several racks in my shop with probably a couple of hundred boards in stock and this method saves time when a project comes to mind.
• I mentioned unique pallets earlier. These use huge runners, (sometimes as big as rough cut 4X4’s that actually measure 4”). The boards are more like cross-members that can measure as much as 2” X 8”. These pallets are used to transport heavy machines that are bolted to them. I have had to use my car hauler to move a couple of them that were over 20’ long. These are usually assembled with spikes which are removable, but they’re a real bitch. The other good thing about these is usually there is 3 or 4 feet between nailing points. So even if you can’t get the nails to budge, you can chain-saw or skil-saw them up and have some great table legs or planks to glue up into table tops or plane down to make perfect dimensional lumber.
• This brings me to my very favorite power tool… my 12.5” Porter Cable “lunch box” planer. You talk about a brutal “balls to the wall” unit… this screamer requires you to wear ear protection like you were tuning a 3,000 hp top fuel dragster at 5,000rpm. I never run it after 7PM to keep visits from the Sheriff to a minimum. I can fill a 5 gallon bucket with shavings in a couple of minutes. My sister-in-law keeps chickens for chemical-free eggs and she uses these shavings for something. It turns pallet boards into something that would cost a ton per board foot. Works great for large pieces like the 4X4’s mentioned above… even if they have nails in them. Reason is, only one side cannot be planed because of the nails; the other 3 sides are nail-free for at least a half inch in depth. By the way, I have an electronic nail-finder I got from Rockler that was $20 and is necessary if you plan to get a blade you care about near wood that might have nails. Main point is, a $300 planer can expand the world of possible projects exponentially.
Well that’s it for now. As I warned you, I tend to ramble a little. I know a 10 minute video would be much better and the next time my 12 year old granddaughter visits, I may get her help with that. There is more I’m sure, but I’ll be happy to answer questions. Since I don’t have a clue as to how the WoodworkingWeb works, I’m just assuming this entry will be seen by other members. I maining hoping “jmr”, one of the folks that asked will see it.
One last thought… I am not a great wood-worker. I’m a better than average welder and a fairly decent race car mechanic, but at 72, I have a great time making stuff without cutting down trees. I marvel at pieces I see that you guys build and post on this site. Most of it looks better than stuff I see featured on TV shows and in magazines. My point is, when I tell someone that I built this footstool from old pallets, it helps them overlook my lack of craftsmanship…
Mark
6 Comments

Mark,
I tried disassembling pallets but it was WAY TOO MUCH work for me! So this is how we use them now.
L/W
“Those who would give up essential Liberty, to purchase a little temporary Safety, deserve neither Liberty nor Safety.” Benjamin Franklin

Mark, I think you did an excellent job on your blog post. I’ve got two pallets on the side of my house that I believe are oak. I attempted to disassemble them once, with little success. I ended up using a reciprocating saw to cut small boards from between the nails on one, and didn’t end up with anything really worth while, so the remainder of that pallet and the other continue to sit. I may revisit using your methods and see if I have better success.
Thanks!
David
Hi David…
I know what you’re talking about. I use that method sometimes. I’ll use my skill saw to free the outside runners. This leaves me with boards that are about 3" shorter and still attached to the middle runner. Now, if I’m very careful, I can rock each board and get enough gap for the recip or the osolater saw. The point is, when they build the pallets, the blunt, spiral nails will split the wood on the outer ends because there is only about 3/4" of wood to the end. However, the nails in the middle runner have enough meat around them to avoid splits. Hope this makes sense.
Mark

Very interestinginfo Mark.
I also use a lot of recycled timber and pallets are high on the list for use.
To get them apart I use brute force for example to get the first slat off I usually lever it off with a other piece of timber as with you I find the weak link to start.
Once this is off flip the pallet on the driveway, elevate the pallet by placing a block under the top slat and then thumping the bearer again displacing the slat and nails, repeat and I have a slat with the three rows of nails almost straight I then just bash the slat nail points down in the concrete to raise the heads then remove them. Mind you subtract about 10 years from the age group !!
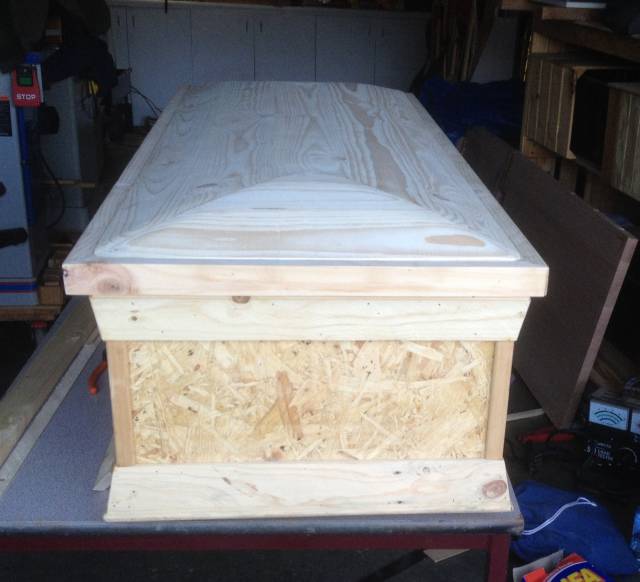
Byproducts
Results
Regards Rob
I assume this a blanket chest and not a coffin.
Mark44
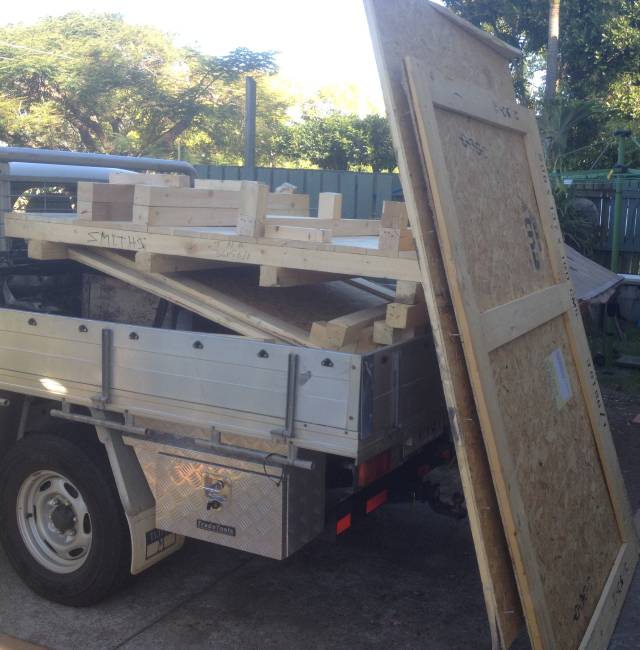
Its a tool box for the ute, designed to discourage stick beaks,
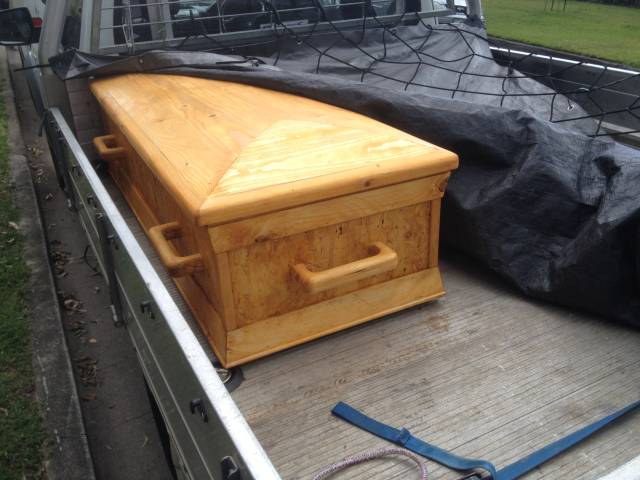
Regards Rob